Camisole No 9 by My Favorite Things Knitwear
My first summer knit!
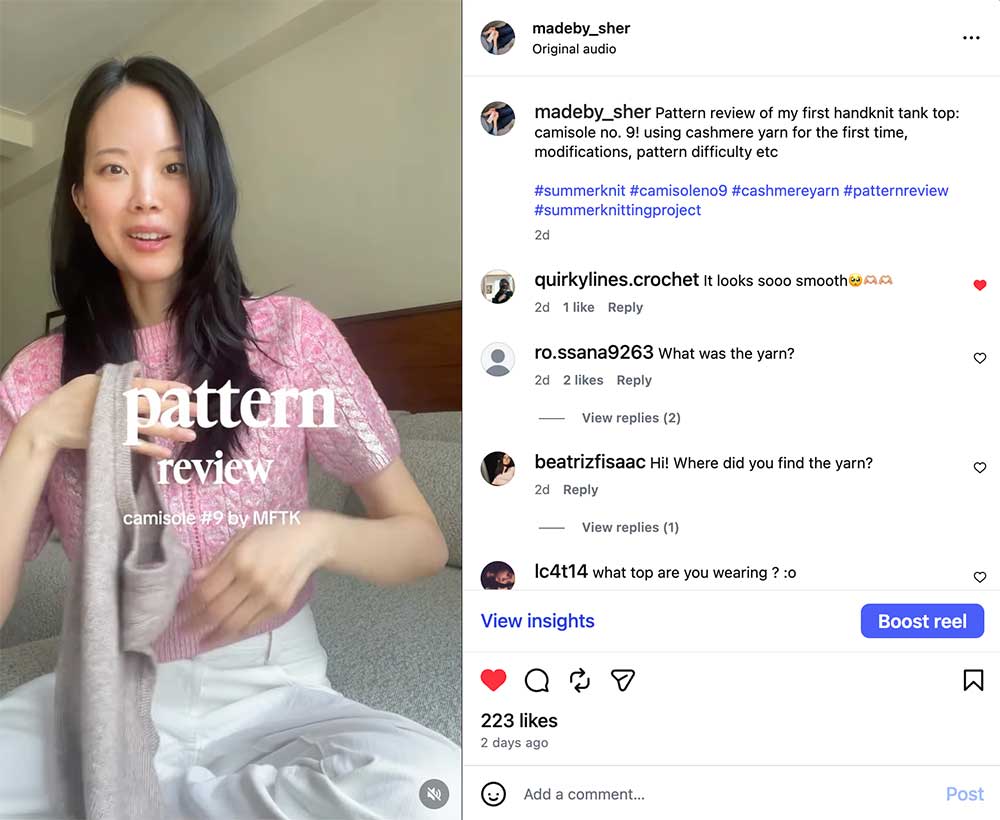
After posting it on Instagram, I got a lot of questions about the pattern, the yarn, etc so I figured I’d write a review.
This is the first garment I’ve knit that I made modifications for. It’s the Camisole No. 9 pattern and I knit it off-gauge in a super soft, fine-gauge cashmere.
I went off-script with the following modifications:
- finer yarn at a smaller gauge
- tweaked strap width and placement
- adjusted armhole depths
I debated whether to write this pattern review, because it felt a little odd reviewing a pattern I didn’t strictly follow.
But I think some of the most useful reviews come from knitters who did modify things, not just those who followed every instruction to the letter.
If you’re planning to knit Camisole No. 9 with different yarn or needles, hopefully this saves you some of the trial and error I went through.
So consider this less of a traditional review and more of a modification debrief.
Here’s why I wanted to tweak the pattern in the first place, what I changed, tips + advice and what I’d adjust if I ever cast on a second one!
- Project Overview
- Cashmere Yarn
- Tools
- Difficulty Level
- Project Notes
- Tips
- Modifications
- Blocking
- Finished Object Thoughts
My Favorite Things Knitwear
I’ve bookmarked several patterns from Danish designer Louise Rasmussen, better known as My Favorite Things Knitwear (MFTK).
She makes elegant, wearable designs that might look simple at first glance, but have the kind of refined finishing and small details that make them look like store-bought sweaters.
If you follow me on #knittok, you know I’m all about knitting garments that look store bought.
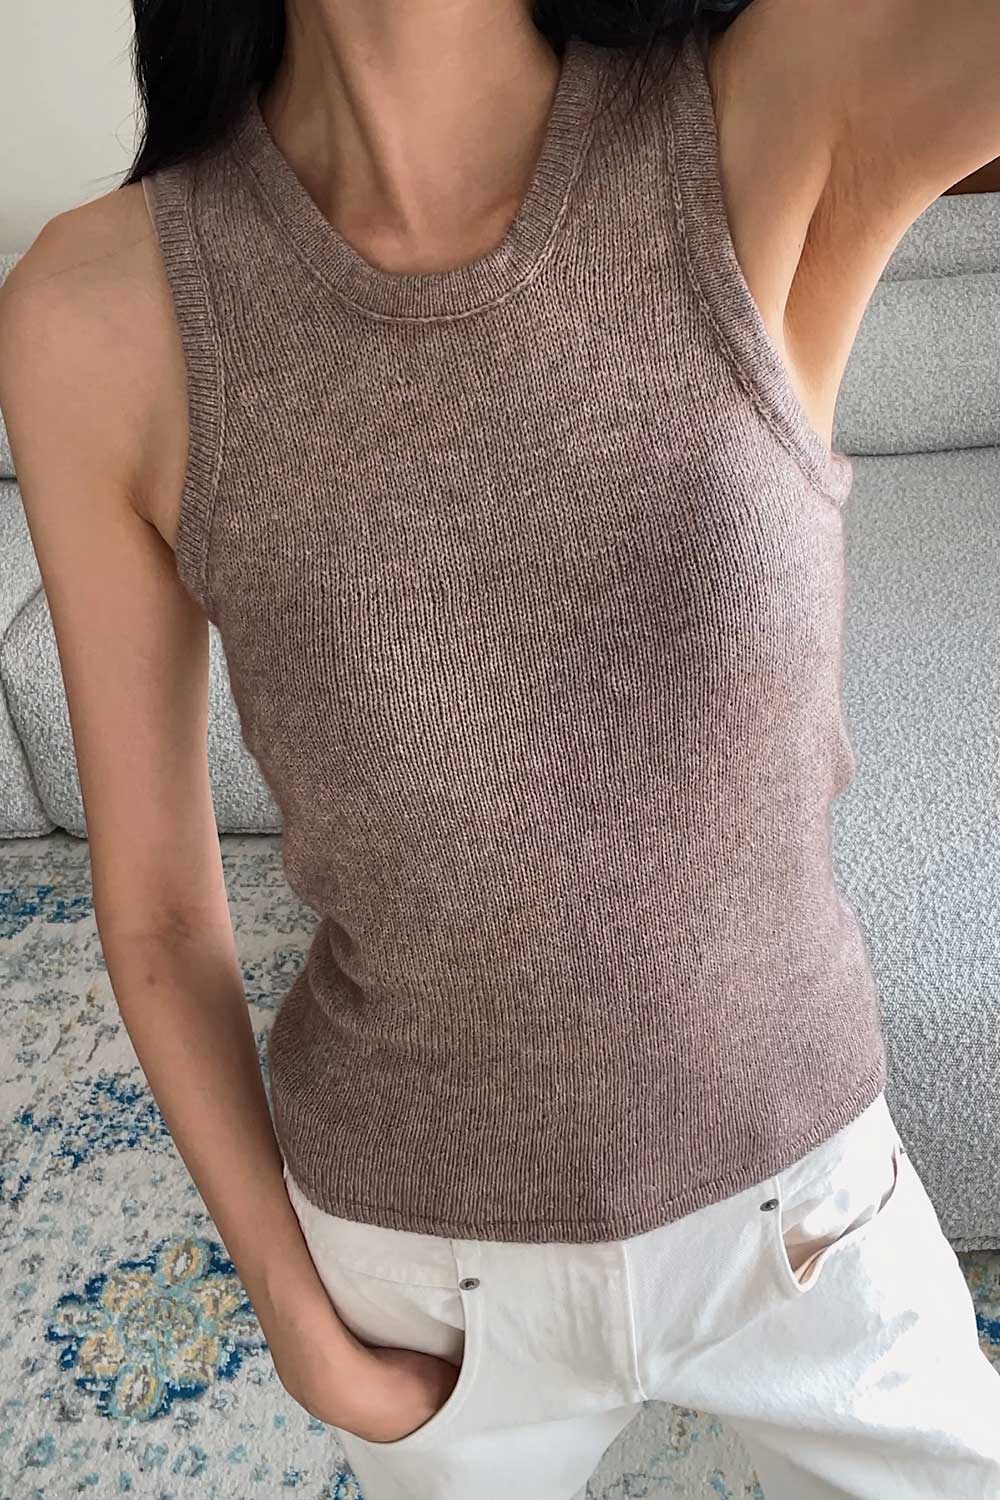
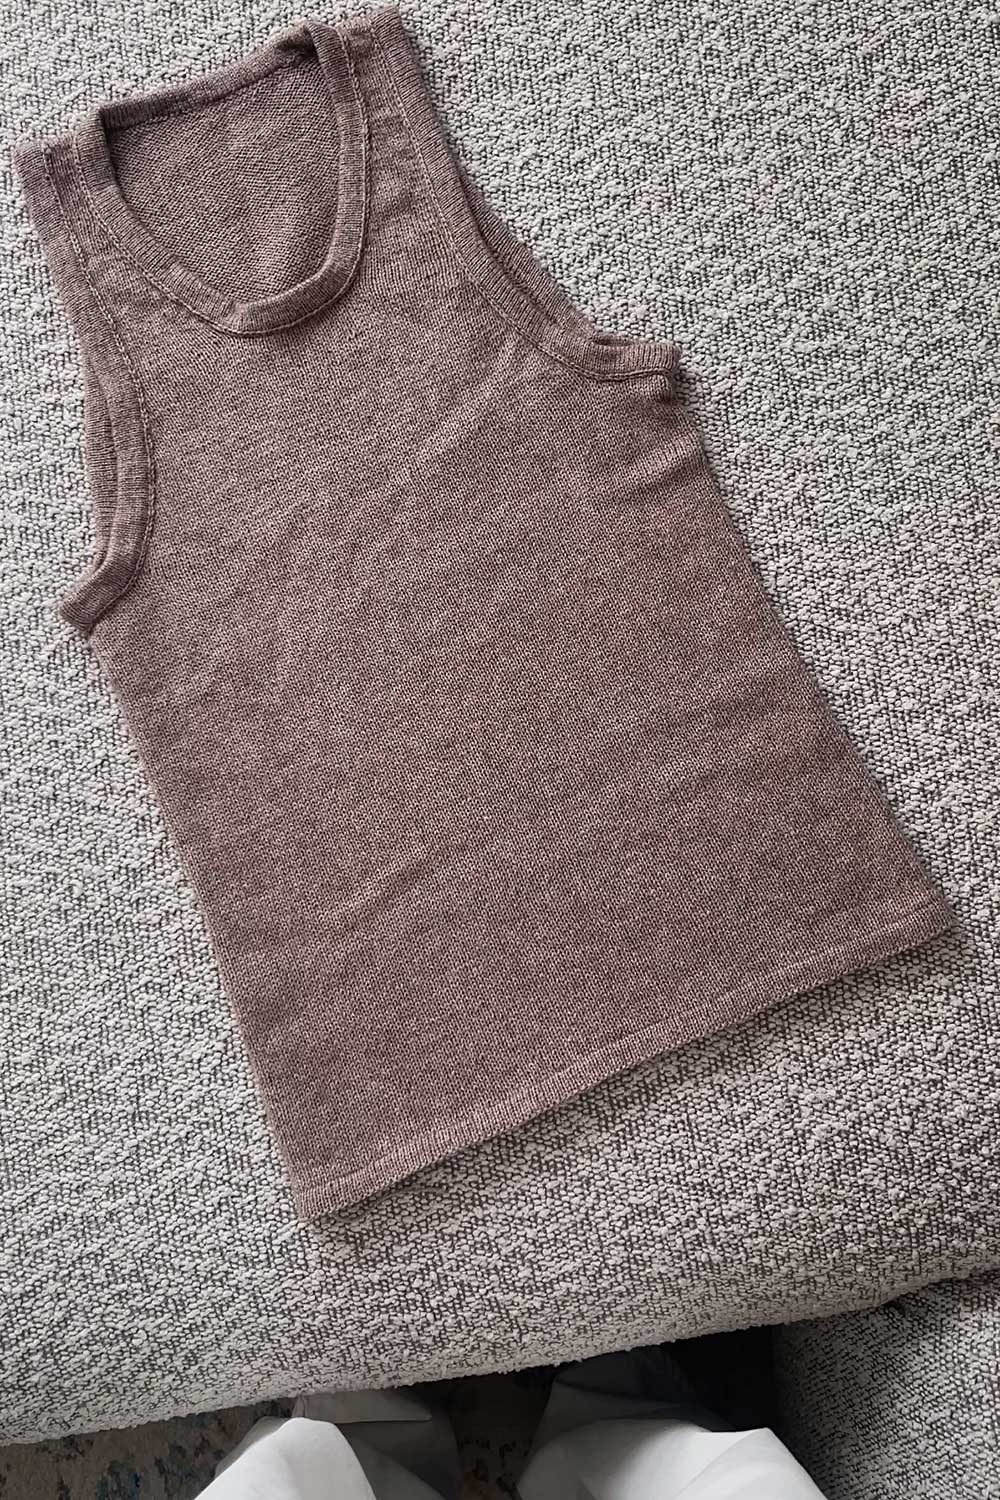
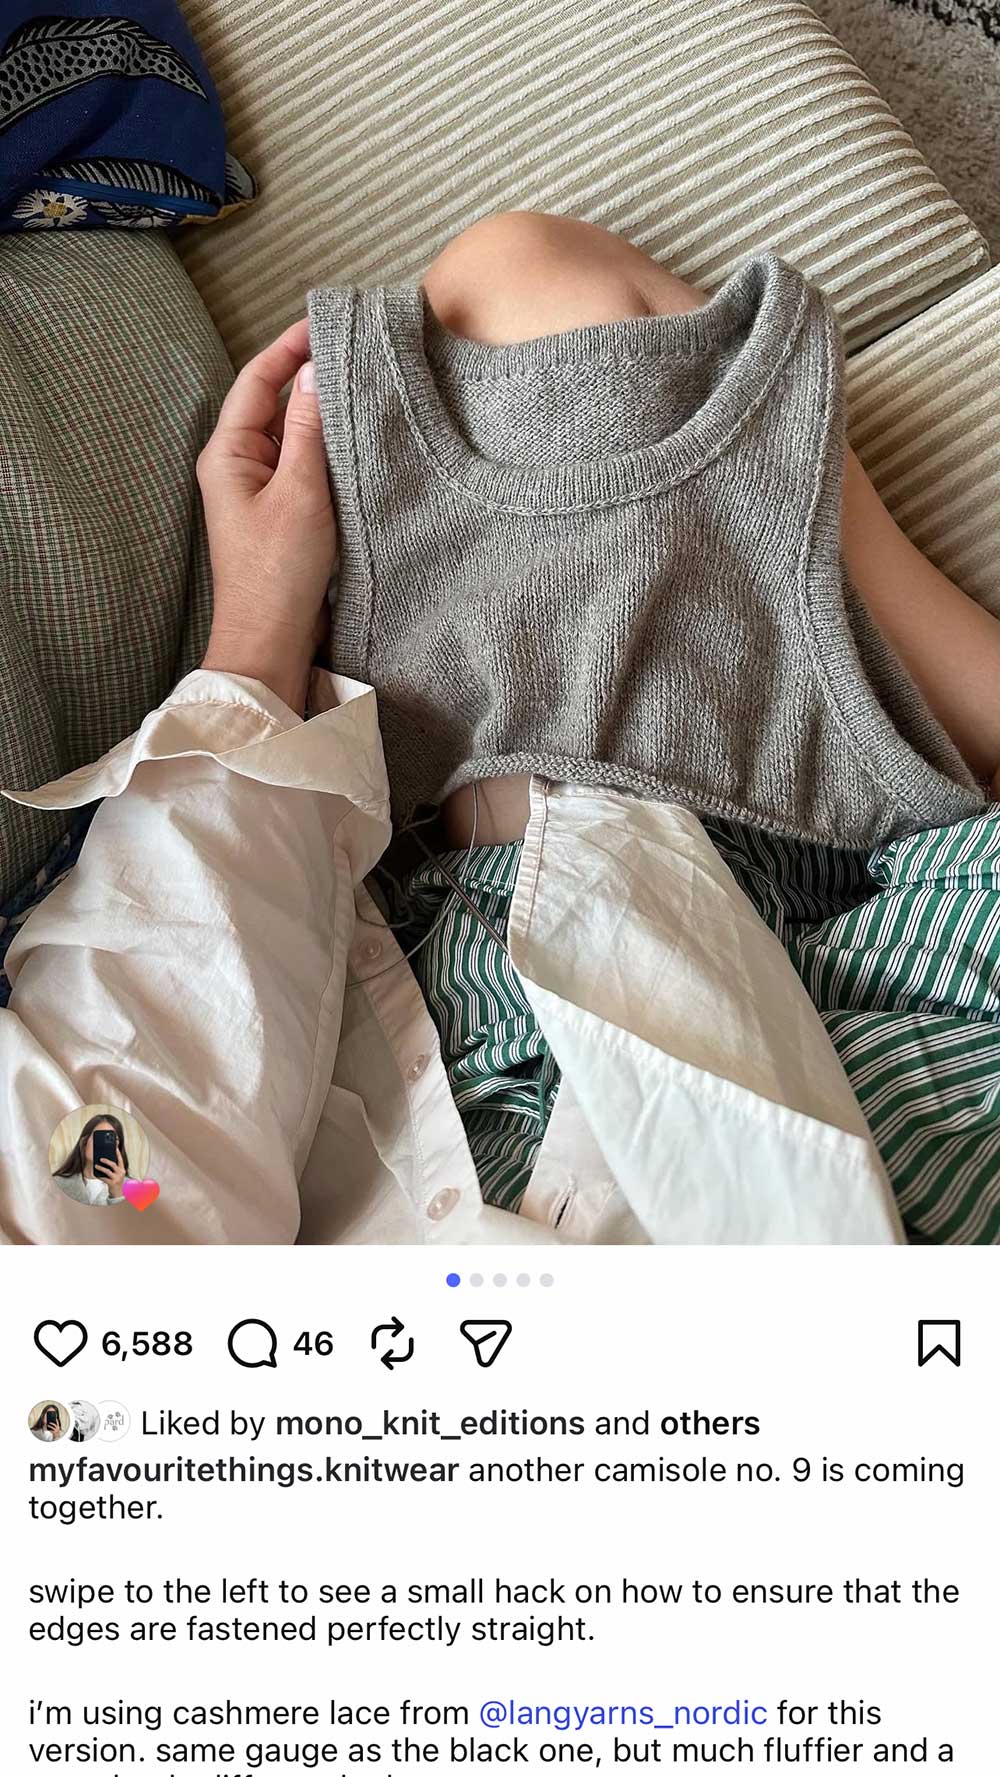
I was especially drawn to her Camisole No 9 pattern, specifically in her cashmere pattern sample.
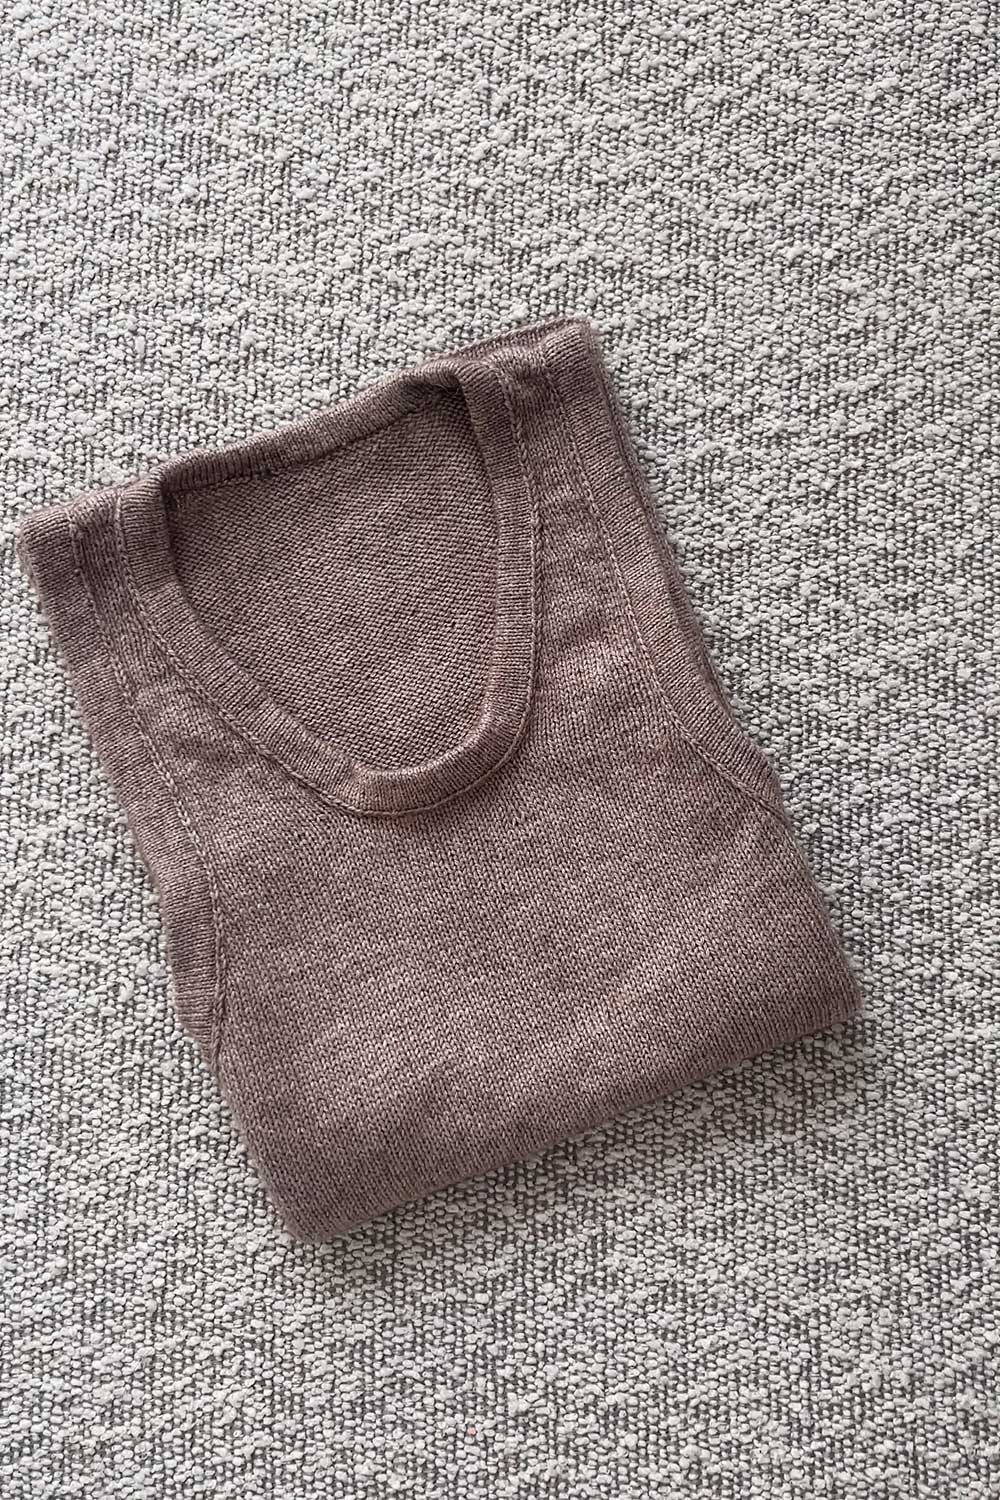
It’s essentially a very simple tank top, with a couple polished finishing details along the neck, armholes and hem that make it look very elegant.
Read more: The Best Knitting Books for Beginners
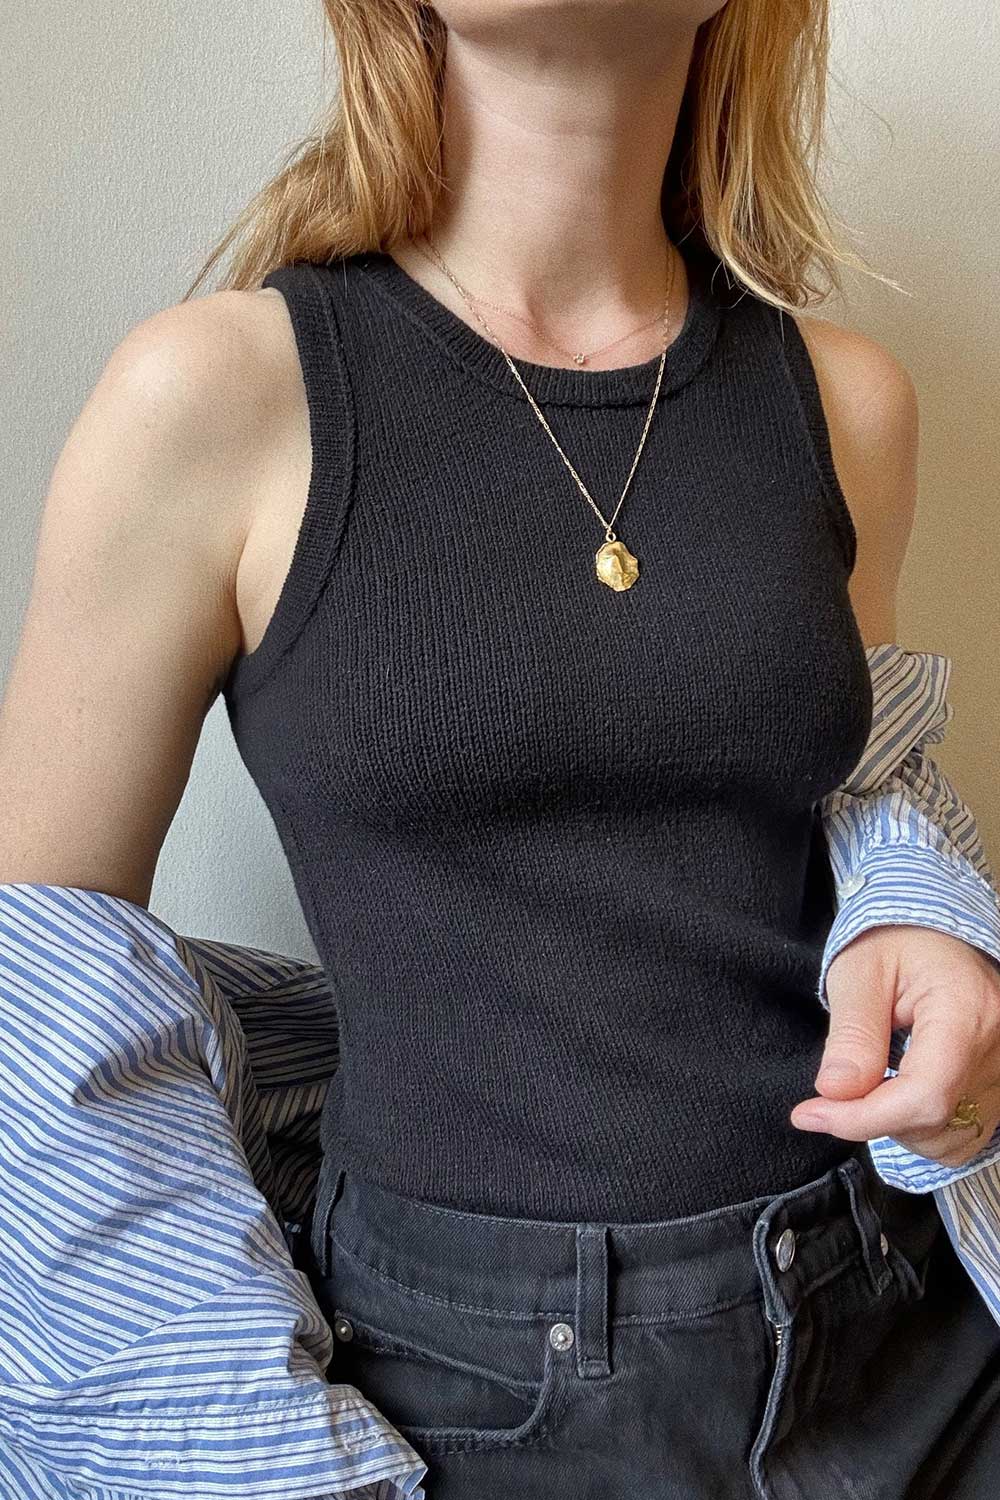
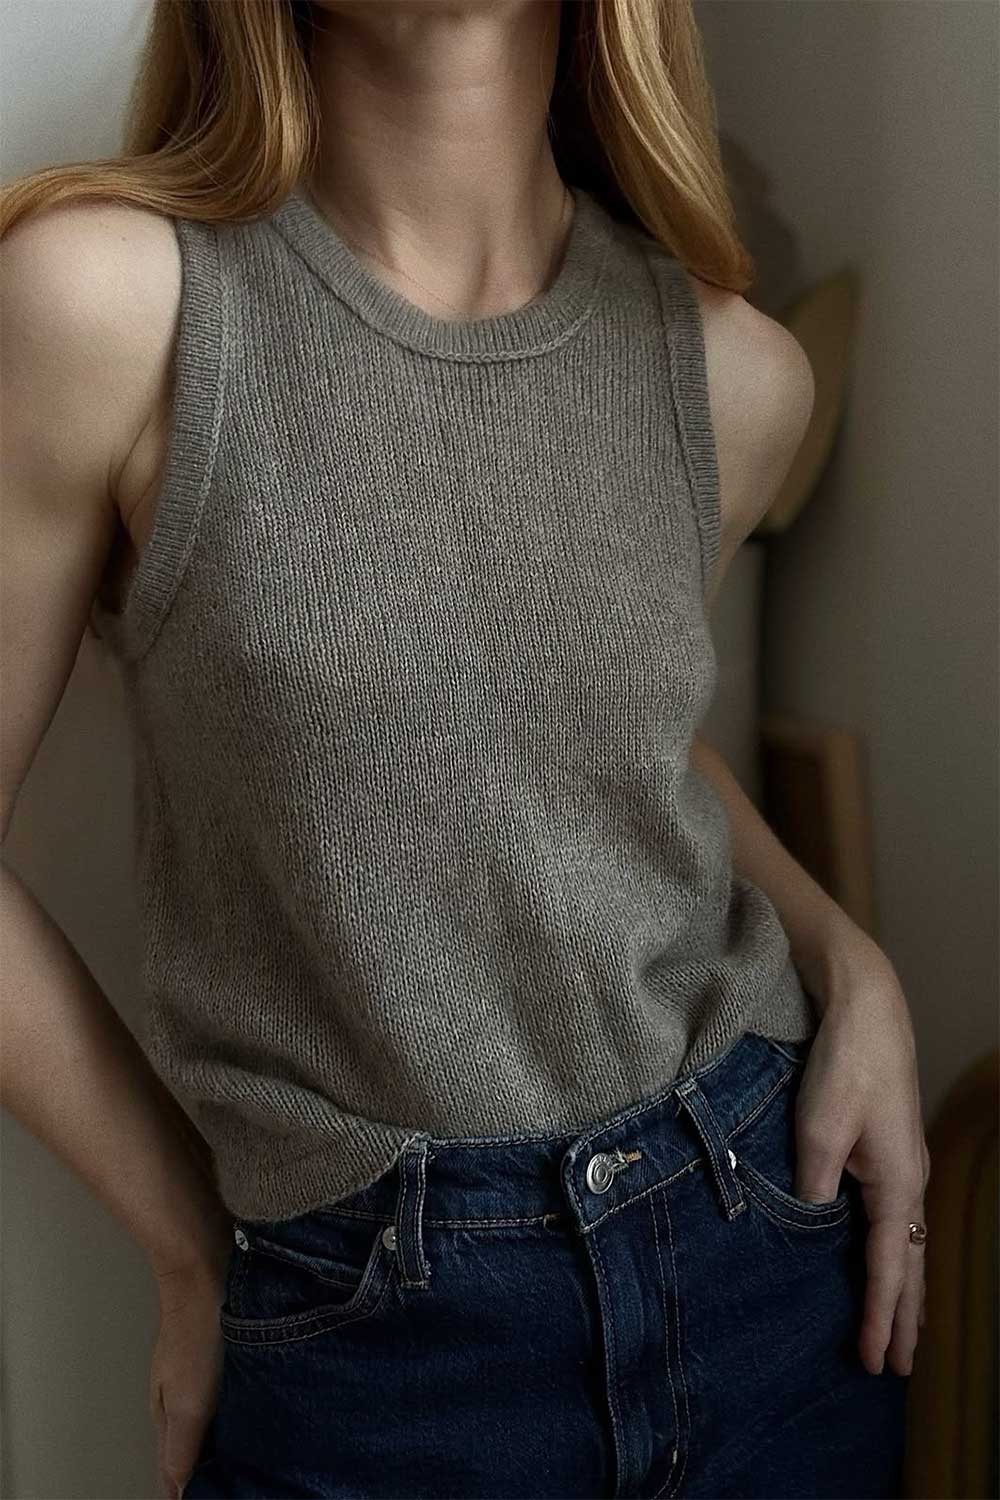
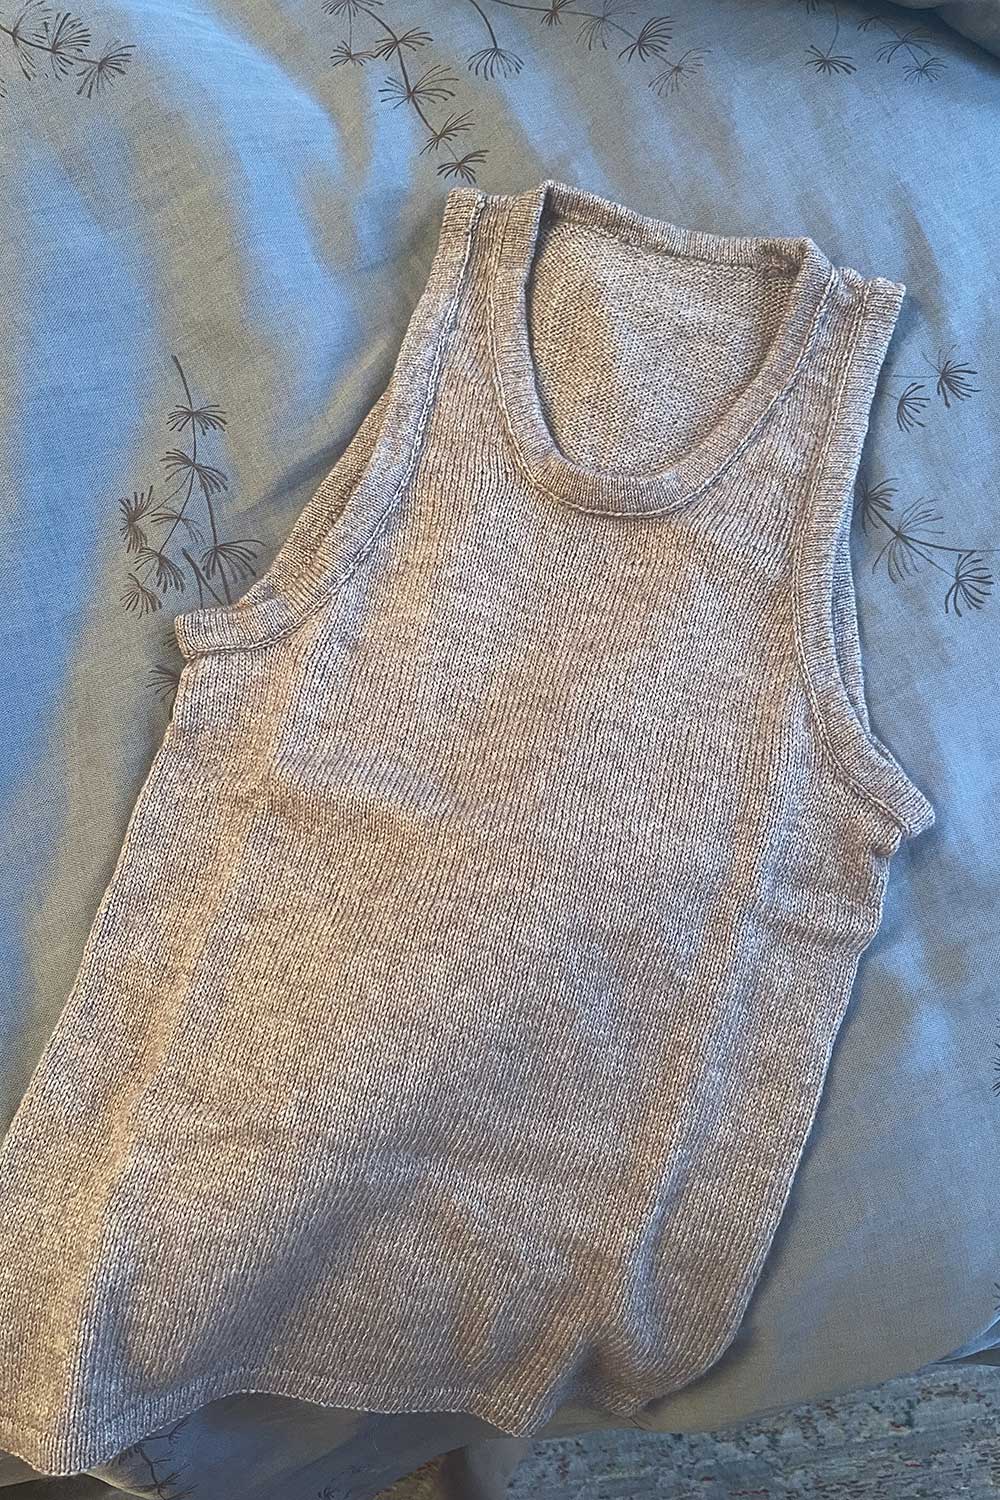
the pattern samples: black, in merino yarn and greige, in cashmere
Camisole No. 9 Pattern Overview
| Pattern | Camisole No 9 by My Favorite Things Knitwear |
| Construction | Top-Down Tank |
| Yarn | Mongolian Cashmere in Brown Fancy |
| Needles | 2mm + 2.5mm + 3mm circular needles |
| Date Started | February 18, 2026 |
| Date Finished | March 28, 2026 |
| Time Spent | ~38 days |
Yarn I Used
MFTK featured two samples of the design, the black in Knitting for Olive Merino and the greige in Lang Yarns Cashmere Lace
I really loved the drape and elegance that the cashmere version had (she notes that she sized up +1 for her cashmere sample).
Lang Yarns cashmere was impossible for me to get a hold of in NYC.
The only other cashmere yarn I’ve heard lots of people talk about is Cardiff Cashmere.
It’s expensive though, about $35 a ball and DK weight. The pattern calls for fingering weight yarn and requires ~3 balls.
So overall Cardiff Cashmere Classic was a little too thick for this tank pattern and a little too difficult to find here in the US.
Buying Cashmere Yarn on.. Amazon?!
I searched around for other lightweight cashmere yarns and considered this smooshy cashmere and this cashmere-silk blend.
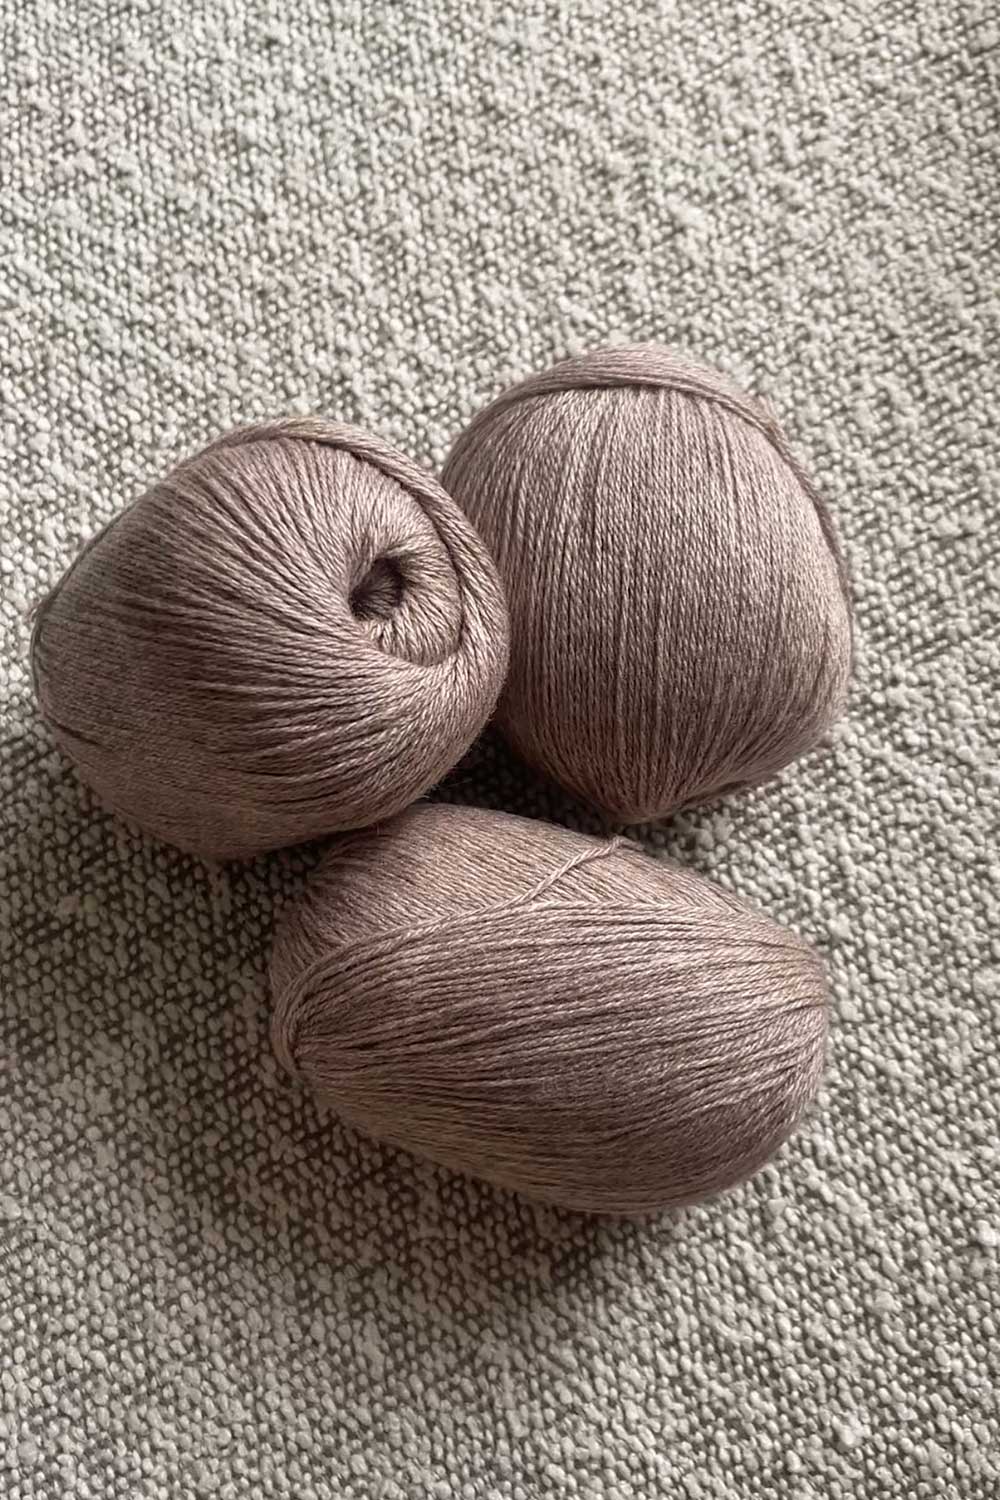
Then my friend Christine showed me her WIP. She was using this inexpensive cashmere yarn to knit a cozy beanie and it was SO soft!
It comes in 15+ colors, is a very fine fingering weight and incredibly affordable.
It’s not from a brand I’ve heard of before, so I was shocked when she told me the price.
I asked her several times ha, and also thought perhaps the product page listed the yarn quantity incorrectly.
But it is indeed ~$12 a ball!
It came with 3 balls per order, free shipping and I have 90% of the third ball left over.
more knitting content on Instagram @madeby_sher
So in total, it cost me $24 to knit a cashmere tank. Incredible!
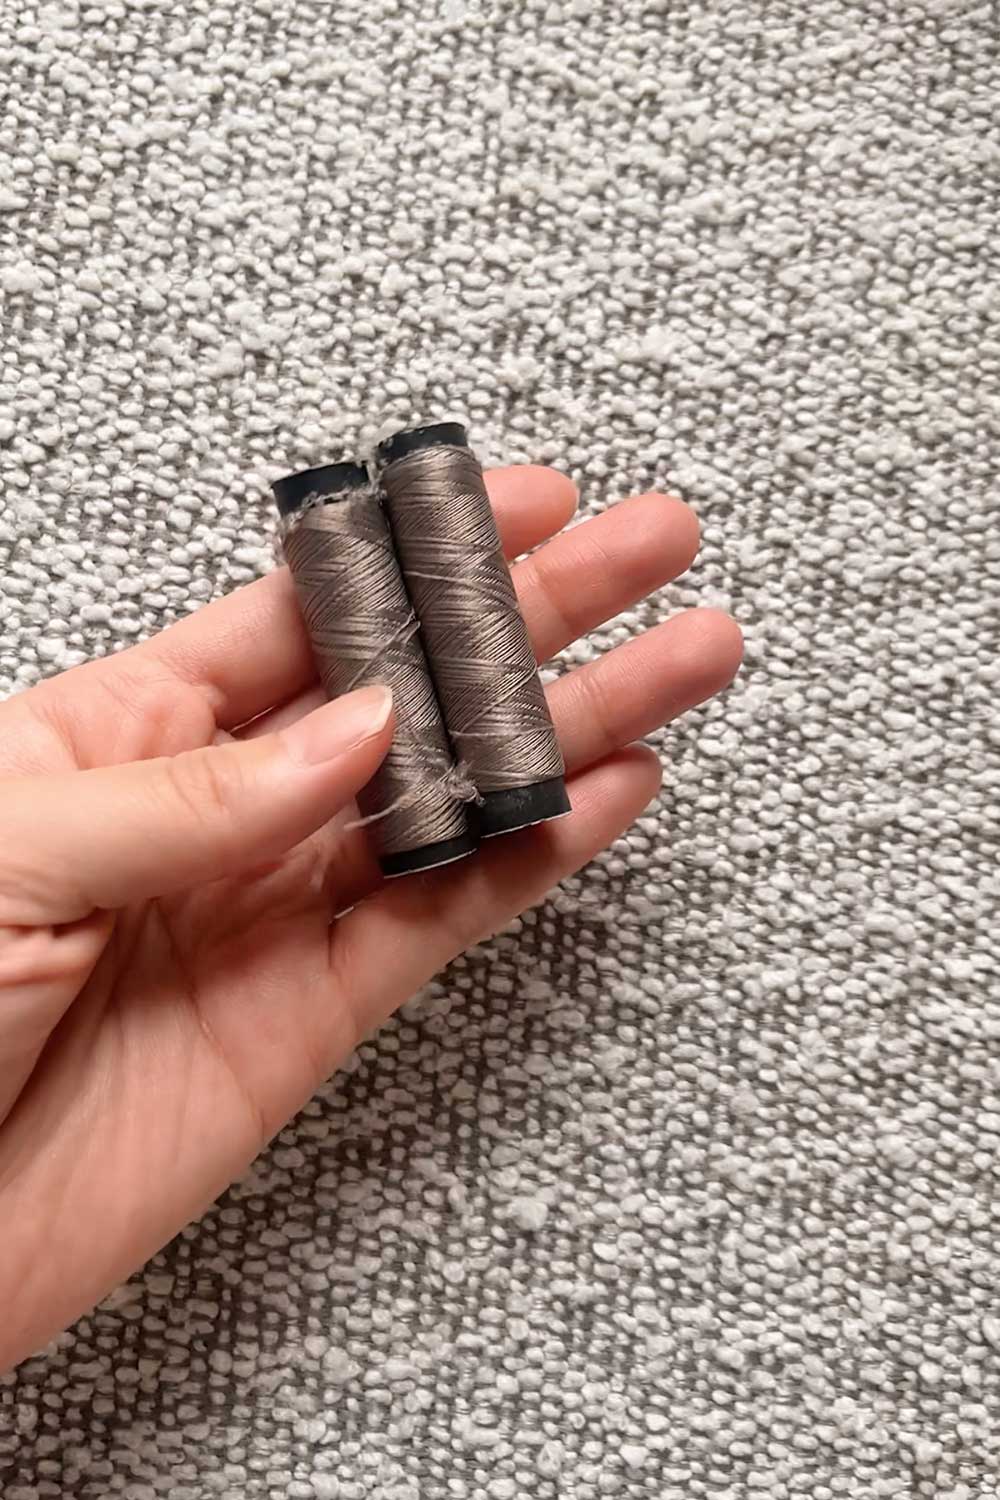
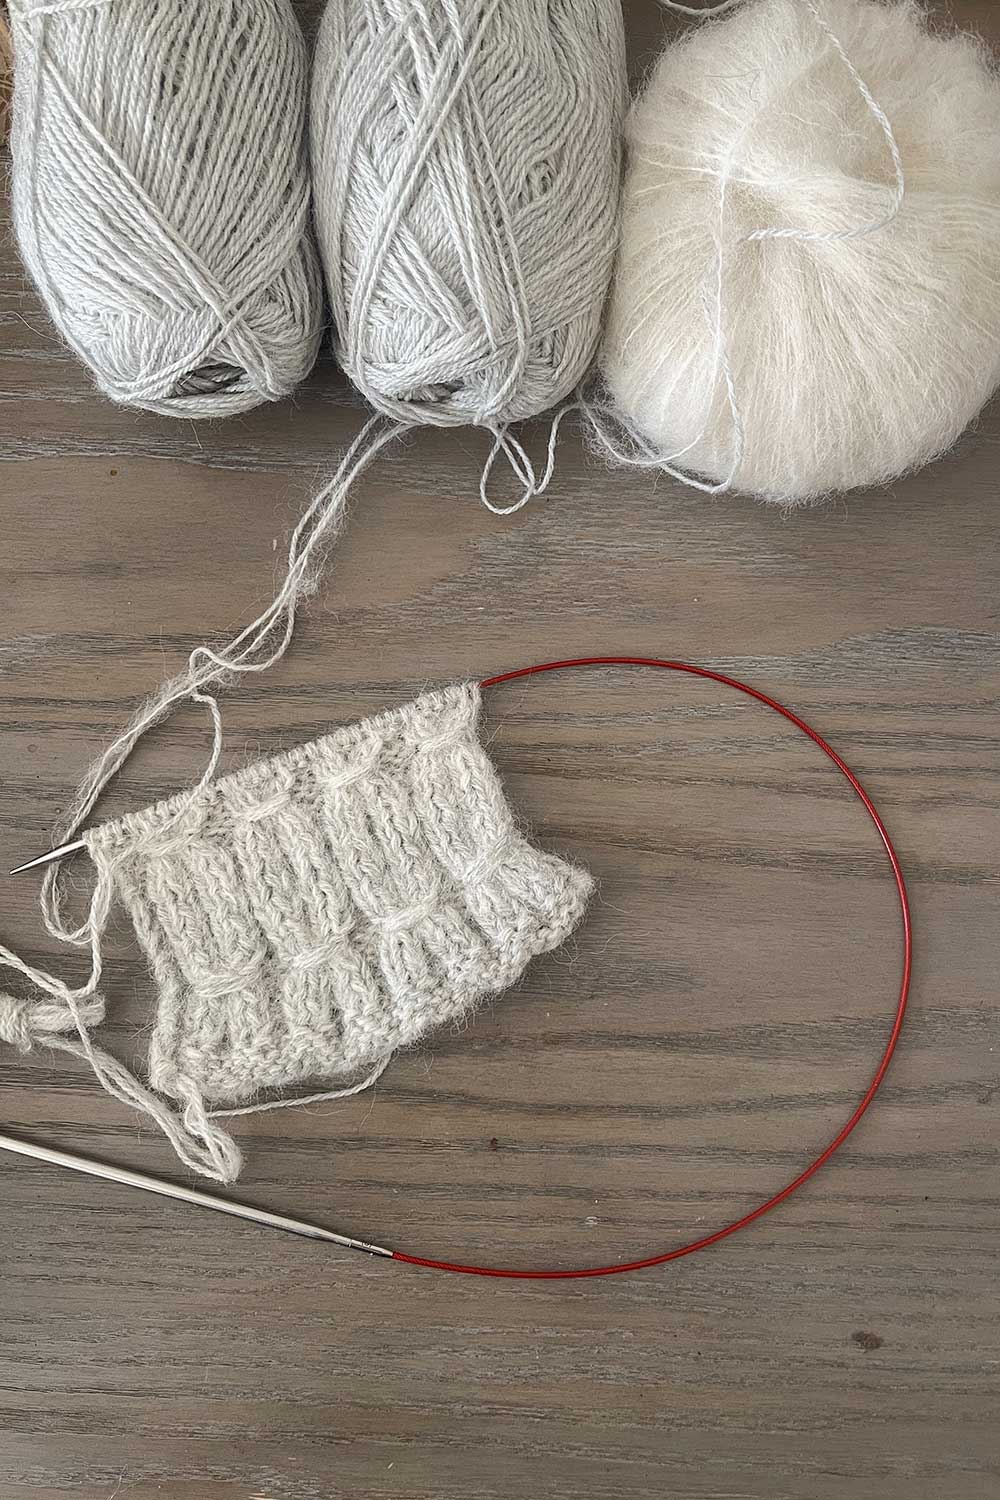
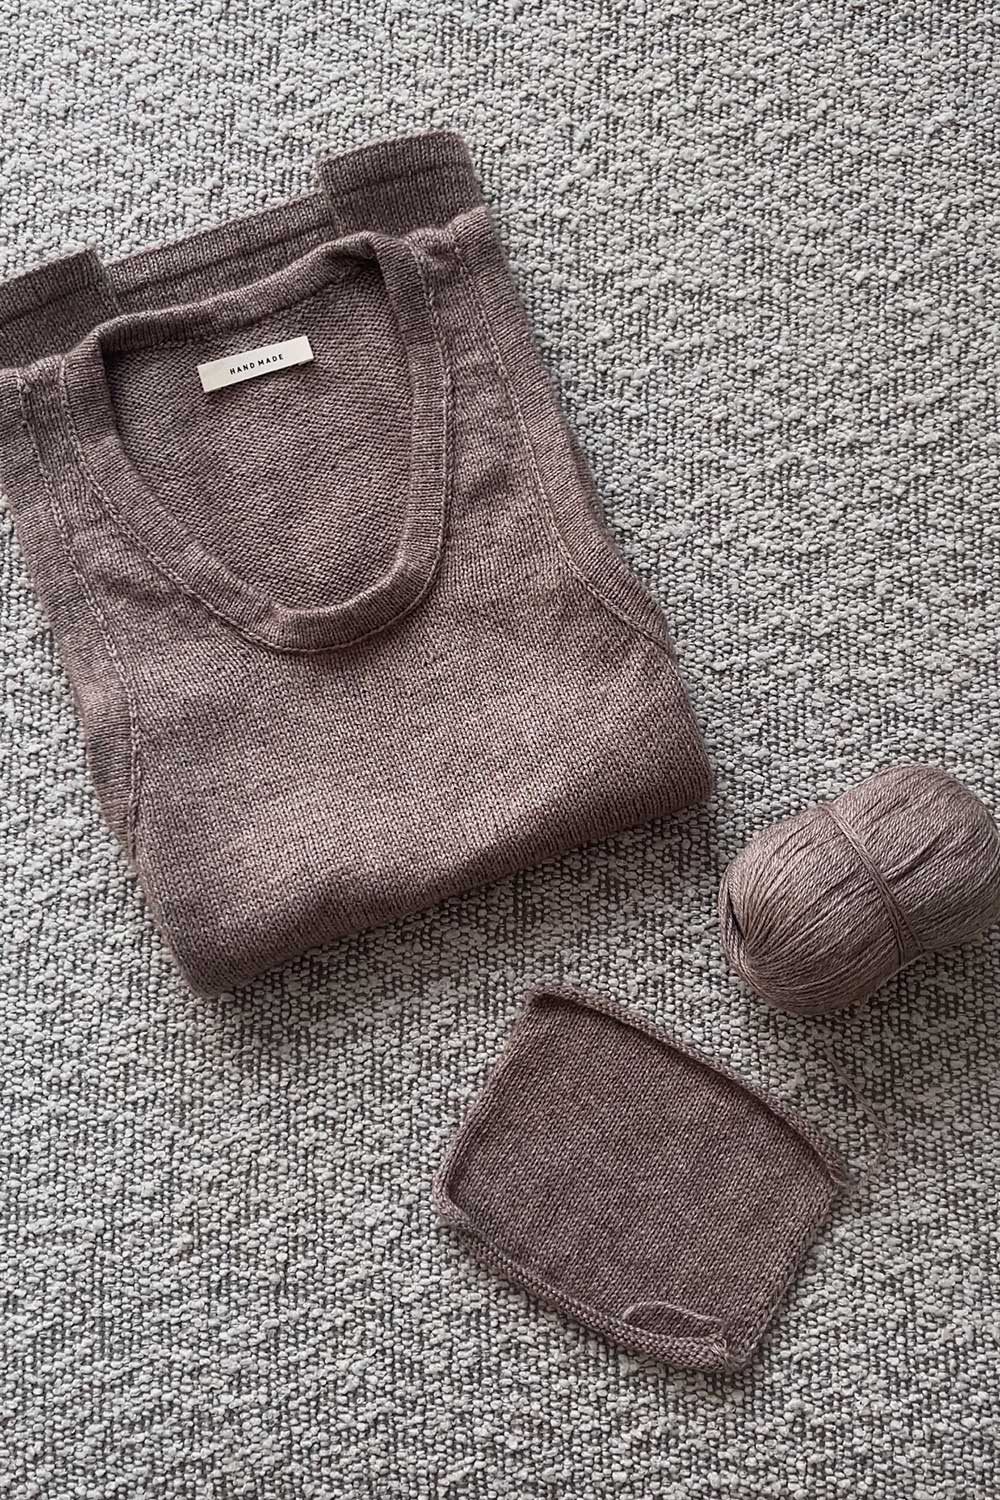
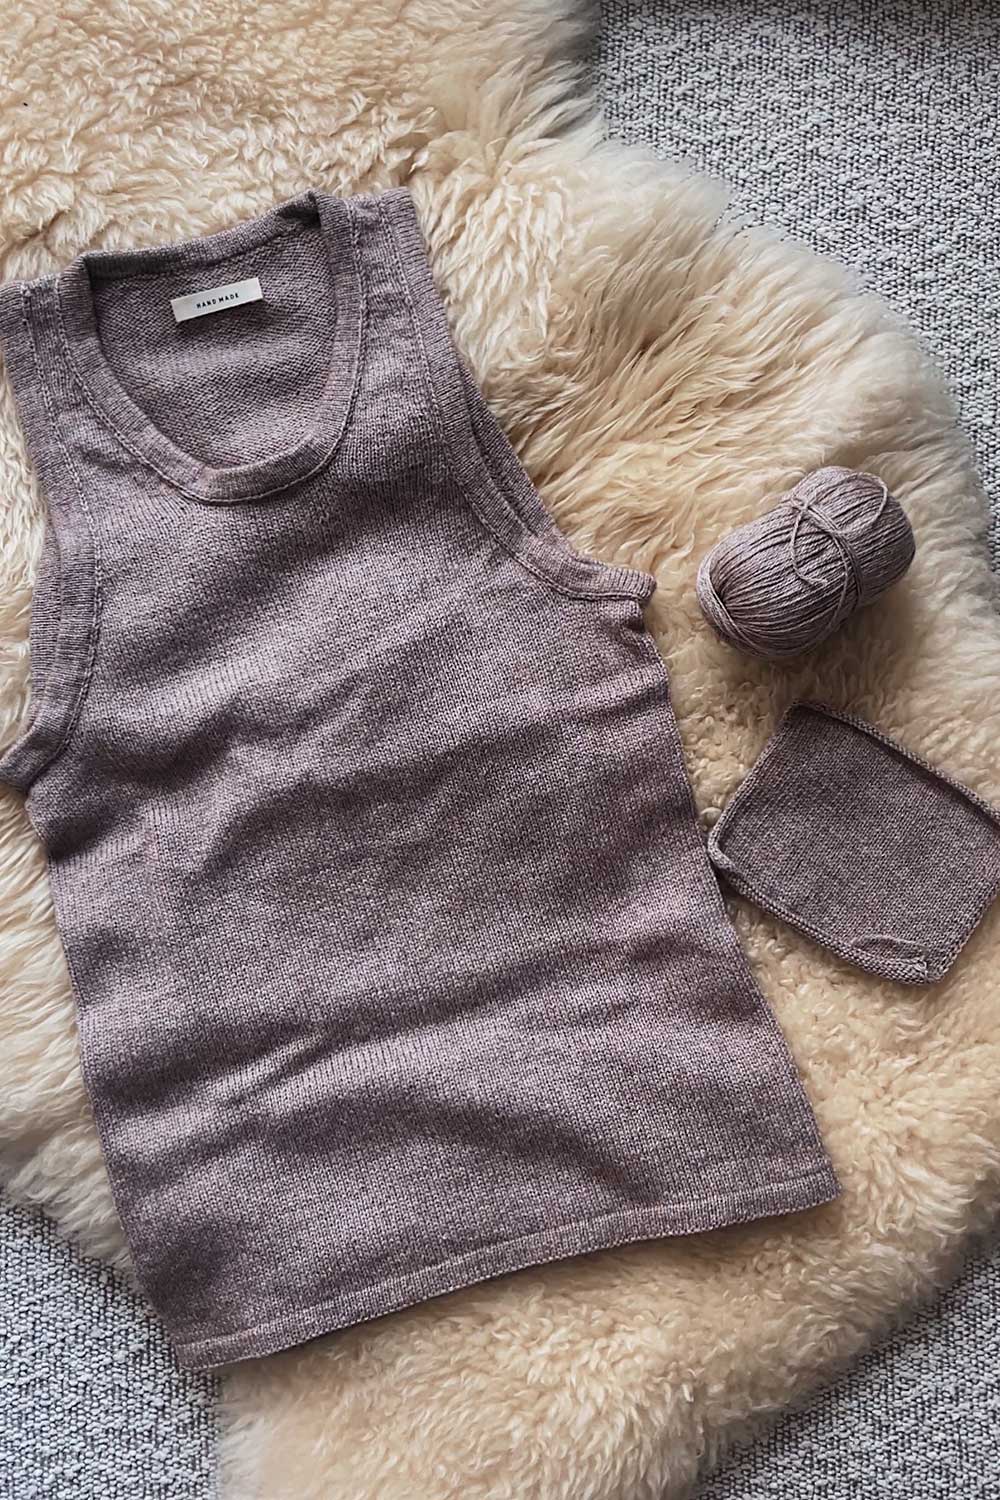
the cashmere yarn up close. it also comes with embroidery thread
Affordable Cashmere Yarn
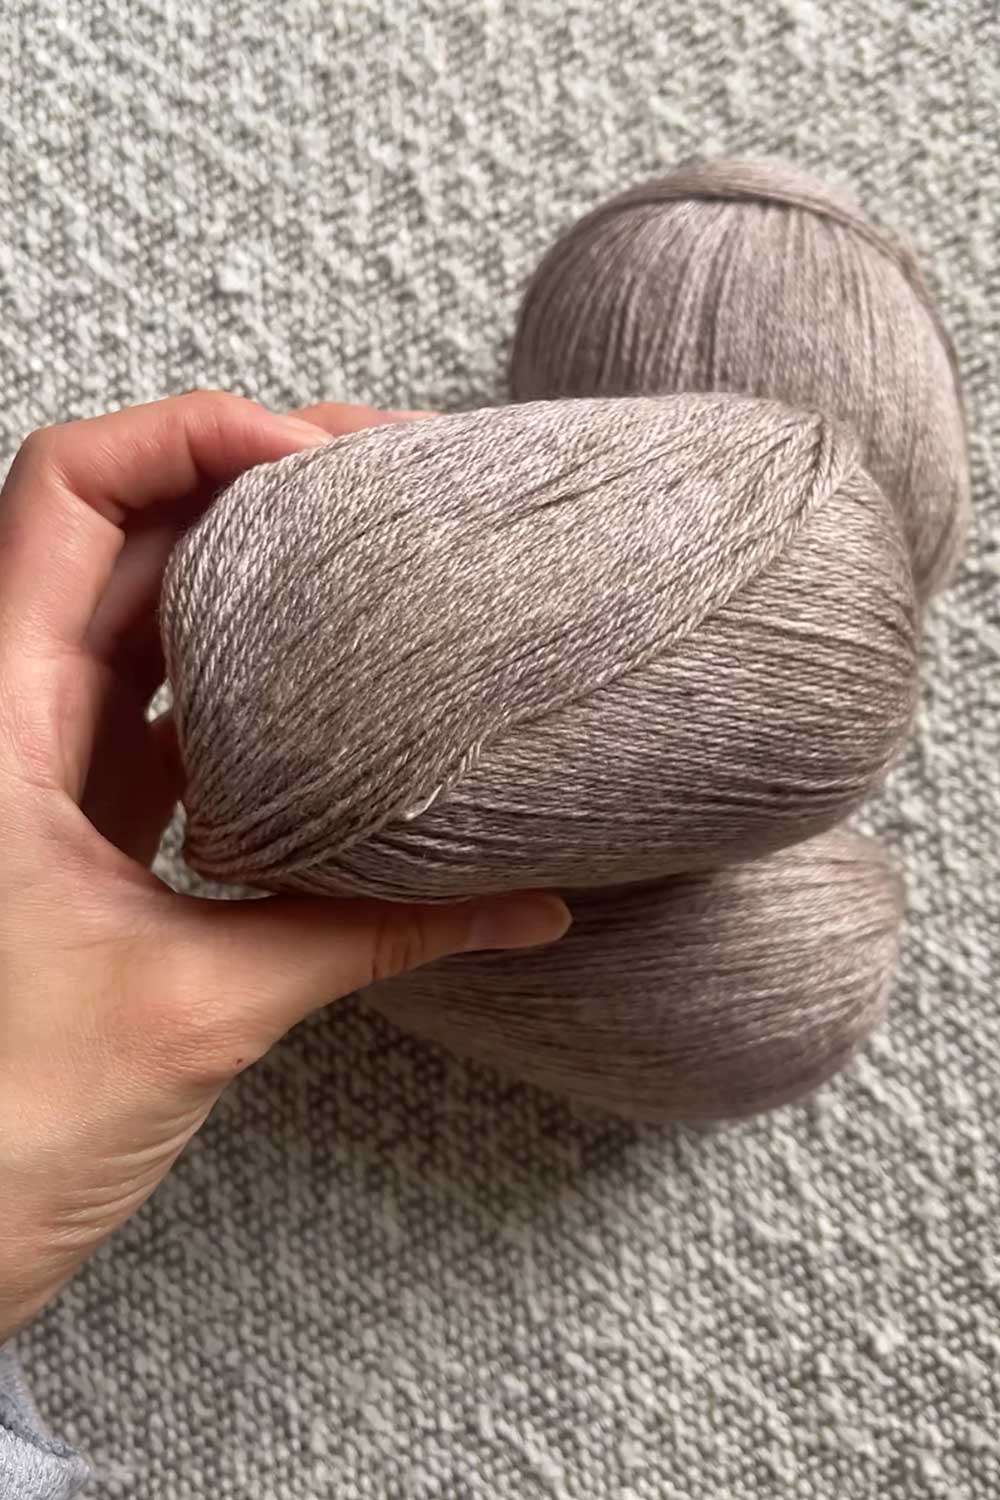
Highly, highly recommend giving this affordable cashmere yarn a try, especially if you’ve been wanting to test knit a cashmere garment but are hesitant due to price.
While this cashmere yarn isn’t quite as nice as my designer cashmere sweaters (which fair – they cost 10x the price), it’s still incredibly soft 100% Mongolian cashmere.
I had a really pleasant experience knitting with it.
I also realized I like knitting on small needles!
A lot of the Ravelry reviews mentioned they hated the fine-gauge knitting experience and would never do it again, but I actually really enjoyed it.
Something about thin yarn and small needles felt very ergonomic to me, and I finally got into that smooth, easy flow that experienced knitters have as they knit.
The cashmere yarn produced a finished fabric that’s really soft and light, with great drape (especially post block).
Does It Pill? Not Exactly..
Surprisingly, the delicate cashmere also held up very well to multiple frogging attempts.
I had to re-knit the sleeve armholes 5x, because I couldn’t quite get the sewn bind-off to lay nicely.
Each time I frogged the section, the yarn would pill slightly.
But after picking off the little balls and re-knitting, the fabric looked immaculate once re-knit up – no pills in sight.
Overall, my thought process on the yarn is this – I’ll buy this anytime I want to knit a cashmere piece going forward.
I’d still love to try Cardiff Cashmere someday, but it’s hard to beat this Amazon cashmere when it comes to price and value for money.
Even if I don’t wear the finished camisole that often, the $35 I spent on the yarn leaves me feeling much less guilty or upset then if I had spent $100.
I hate feeling pressure to knit something ‘perfectly’ because I’ve spent a lot on the upfront yarn.
Tools
Camisole No 9 calls for quite small needles:
- 2.0mm (US 0)
- 2.5mm (US 1.5)
- 3.0mm needles (US 2.5)
I’ve linked what I used below.
Note: I had to do a bit of hunting before I found the right ones. Not a dealbreaker, but worth knowing and ordering ahead of time so you’re not held up mid-project.
I’m used to having whatever needle I need, since I previously purchased both the Chiaogoo Twist circular set and the small Chiaogoo Twist shorties set.
They were an investment, but I really, really enjoy knitting with the Chiaogoos and they’ve been worth every penny.
It turns out I didn’t have any of the 3 needles needed for this project, ha.
In fact, I found it pretty confusing to figure out how to order the right needles.
Read more: Are Chiaogoos Worth the Money? Red Lace Twist Review

I use my Chiaogoos for every knitting project!
Chiaogoo doesn’t seem to make a 3.0mm / US 2.5, but their regular Twist circular set has
- a 2.75mm (US 2) and
- a 3.25mm (US 3)
So since I couldn’t find an easy way to buy Chiaogoo needles in the in-between size of 3.0mm / US 2.5, I substituted my existing 2.75mm anywhere the pattern called for a 3.0mm.
For the other two needles in the project (used for the finishing work), I ended up having to buy needles as I didn’t have anything small enough.
In the end, I found this Chiaogoo Twist Mini set that includes five small needle tips (ranging from 1.5mm – 2.5mm).
The Chiagoo Twist Mini essentially has thin, fine gauge needle tips paired with the longer cords you’d typically use for a garment.
Most kits pair fine-gauge needle tips with short cords, since I think most people use small needles for small projects (socks, mittens, etc).
It seems to me like this Mini set is designed for people knitting shawls, aka large projects on small needles.
So it works great in this instance, for a fine-gauge tank like the Camisole No 9!
The Chiaogoo Twist Mini Sets come in two needle tips options – 4″ and 5″.
I went with the 4″ to try out, since my regular Chiaogoo Twist interchangeable set is in the 5″ tips.
I heard some people have strong preferences when it comes to 4″ vs 5″. Personally, I didn’t notice a difference!
I think I have large hands. Or, at least I don’t have small hands..
If anything, I have a stronger preference when it comes to the Chiaogoo shorties, 2″ vs 3″.
The 2″ is quite short, and can cause some light cramping for my hands. Anytime I go from knitting a sweater body to sleeves, it takes my hands sometime to adjust.
I also like combining, where I use the 2″ on the left hand needle and the 3″ on the right hand. It results in a small circumference (good for sleeves) without too much cramping.
Difficulty
Ok back to talking about the Camisole No. 9.
There’s no project rating on MFTK’s website, but I would say this is a basic, simple stockinette project at its core.
It’s the finishing portion that makes it difficult.
The finishing details (the sewn necklines and armholes) are what attracted me to the pattern in the first place, so this ended up being a little tricky!
I found that I had to re-do the finishing sections several times in order to achieve a professional looking result.
And honestly, my final tank doesn’t really look that ‘professional’ up close.
Project Notes
Modifications
I made several modifications to account for my cashmere yarn substitution and personal body measurements.
I also did my homework on Ravelry before casting on. A recurring note in reviews was that the straps sit quite narrow in the back and don’t offer much bra strap coverage in the front.
So I adjusted both the strap width and placement to give more back coverage and a wider set at the front. More on how I did that below.
Smaller Gauge
Pattern gauge: 30 sts per 10cm on 3.0mm (US 2.5) needles
My gauge: 36 sts per 10cm on 2.75mm (US 3) needles
>> So my gauge was much tighter than the pattern.
This meant my overall garment would knit up both shorter and smaller.
Specifically,
- ~17% tighter horizontally across the bust and
- ~21% tighter vertically, notably in armholes and hem length
I liked the fabric of my gauge swatch – it was a very finely knit cashmere, similar to the small even stitches you’d get from machine knitting.
And I was content to use the 2.75mm needles I already had.
Choosing a Size
I have a short torso and know from buying sweaters that I often have to size down in tops for a better fit.
I knit a size S but if I were to knit it again, I think I’d knit between a size S and M.
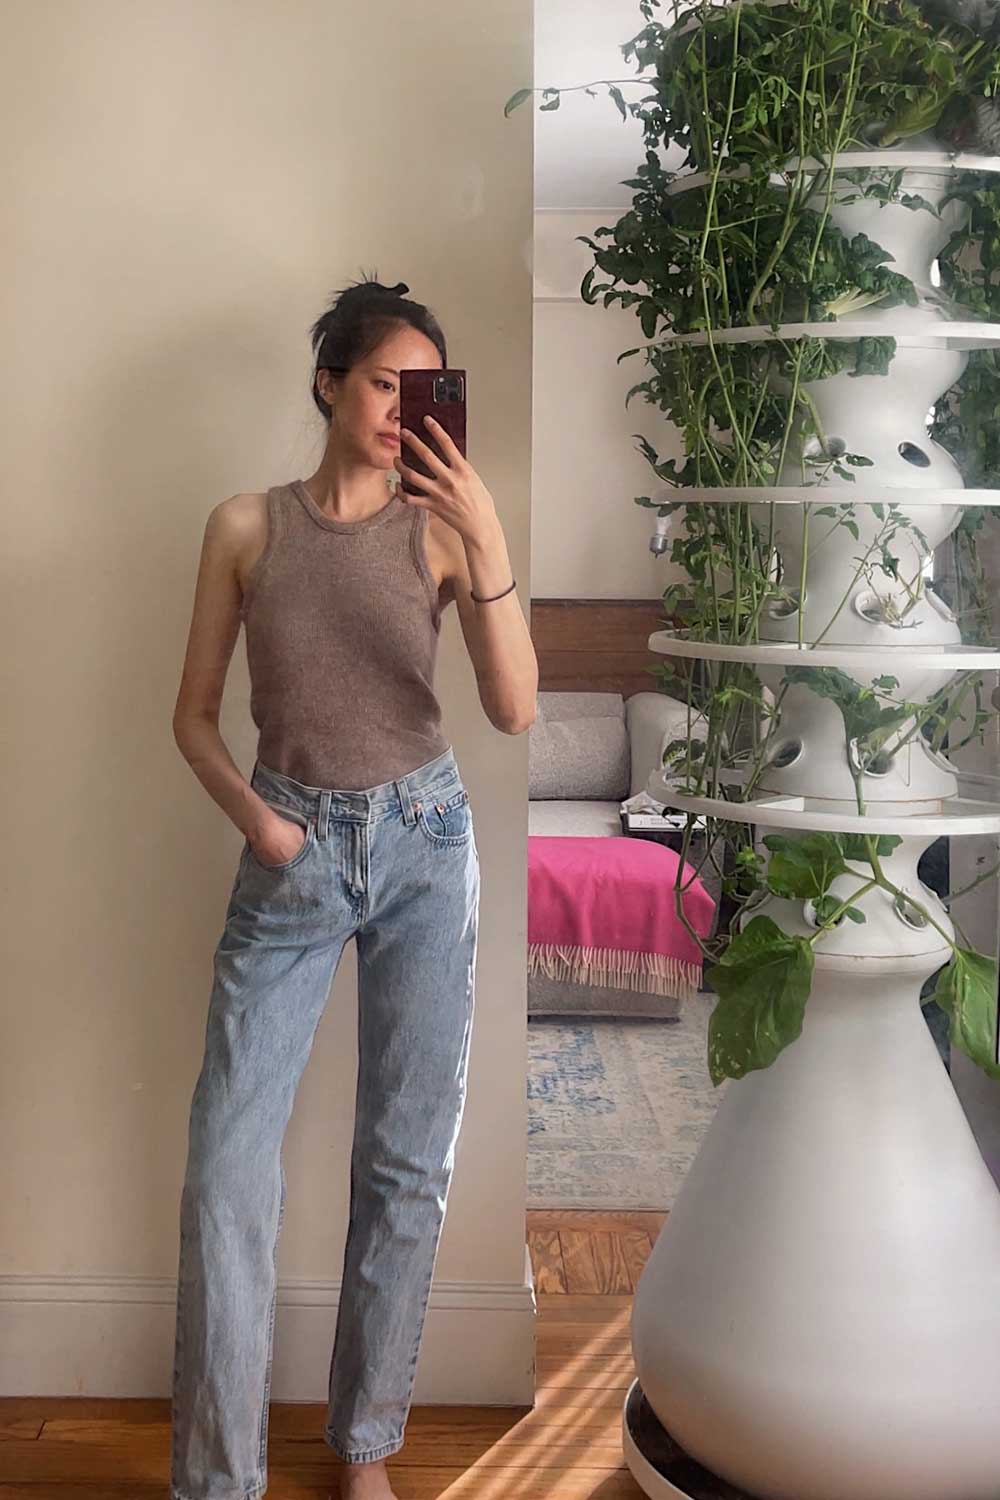
While the S fits me true-to-size, it’s more of a close fit, especially around the stomach. I was hoping for slightly more ease and drape in the body of the tank.
Modifying Strap Placement and Armhole Depths
Looking at the pattern sample, Camisole No 9 was designed to have
- relatively thin straps
- a narrow strap placement across the collarbones
- and low, deep armholes under the arm
I liked that my smaller gauge swatch automatically meant the armholes would sit higher under the arm.
But I did make some tweaks to further modify the straps and armholes.
First I cast on 2 additional stitches so the straps would be just slightly wider, and therefore thick enough to cover most bra straps.
I also modified the pattern sections that dictated how the neckline was shaped. There’s two sections of shaping:
- the slope and fit across the chest
- then adding vertical drop
I followed the first section as the pattern was written.
For the second, I worked 2 fewer repeats (in the section that calls for increases every other row).
This kept the slope and fit across the chest, but reduced the vertical drop for a higher armhole.
I made these changes across both the front and back.
In hindsight, the upper portion of the tank is still a bit too long for my short torso. If I were to knit this again, I’d also reduce the first section of increases as well.
Tips
Knitting the tank was pretty straightforward.
It was the finishing portion, where you pick up stitches to knit the armholes and neckline, that was tricky.
Probably because I modified the shaping, I found that I needed to come up with my own pickup ratio for the armholes.
The sewn binding looks beautiful if done correctly.
My first few attempts, I picked up too few stitches and there was lots of puckering around the curvature of the armholes.
It took me 5 attempts to finally get a result that looked decent. In the end, I picked up too many, so my armholes are a little deeper than I would like. But the 5th attempt finally resulted in an OK finish, so I left it!
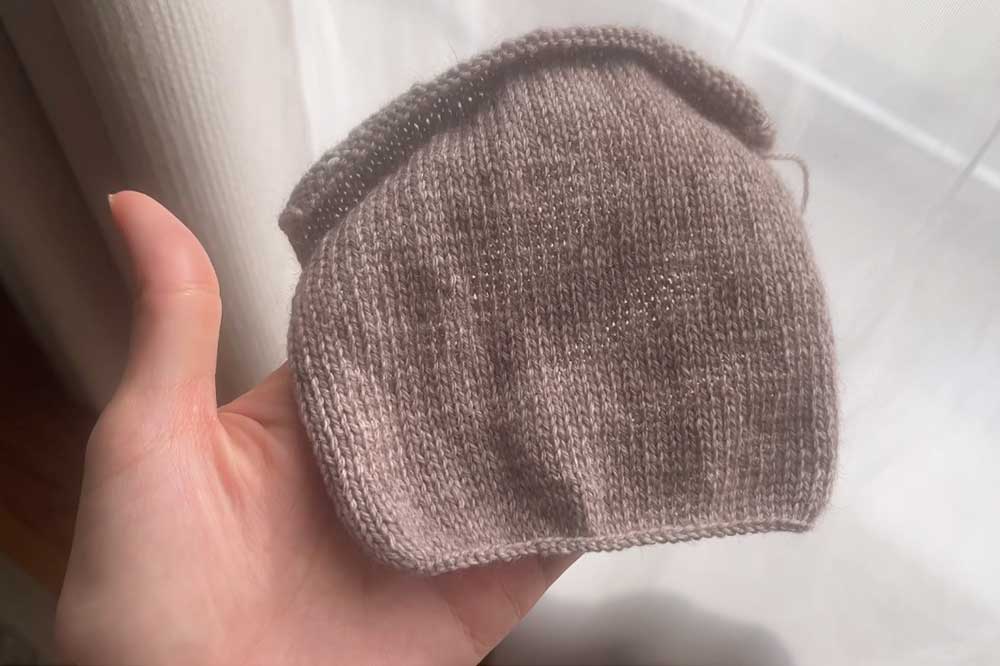
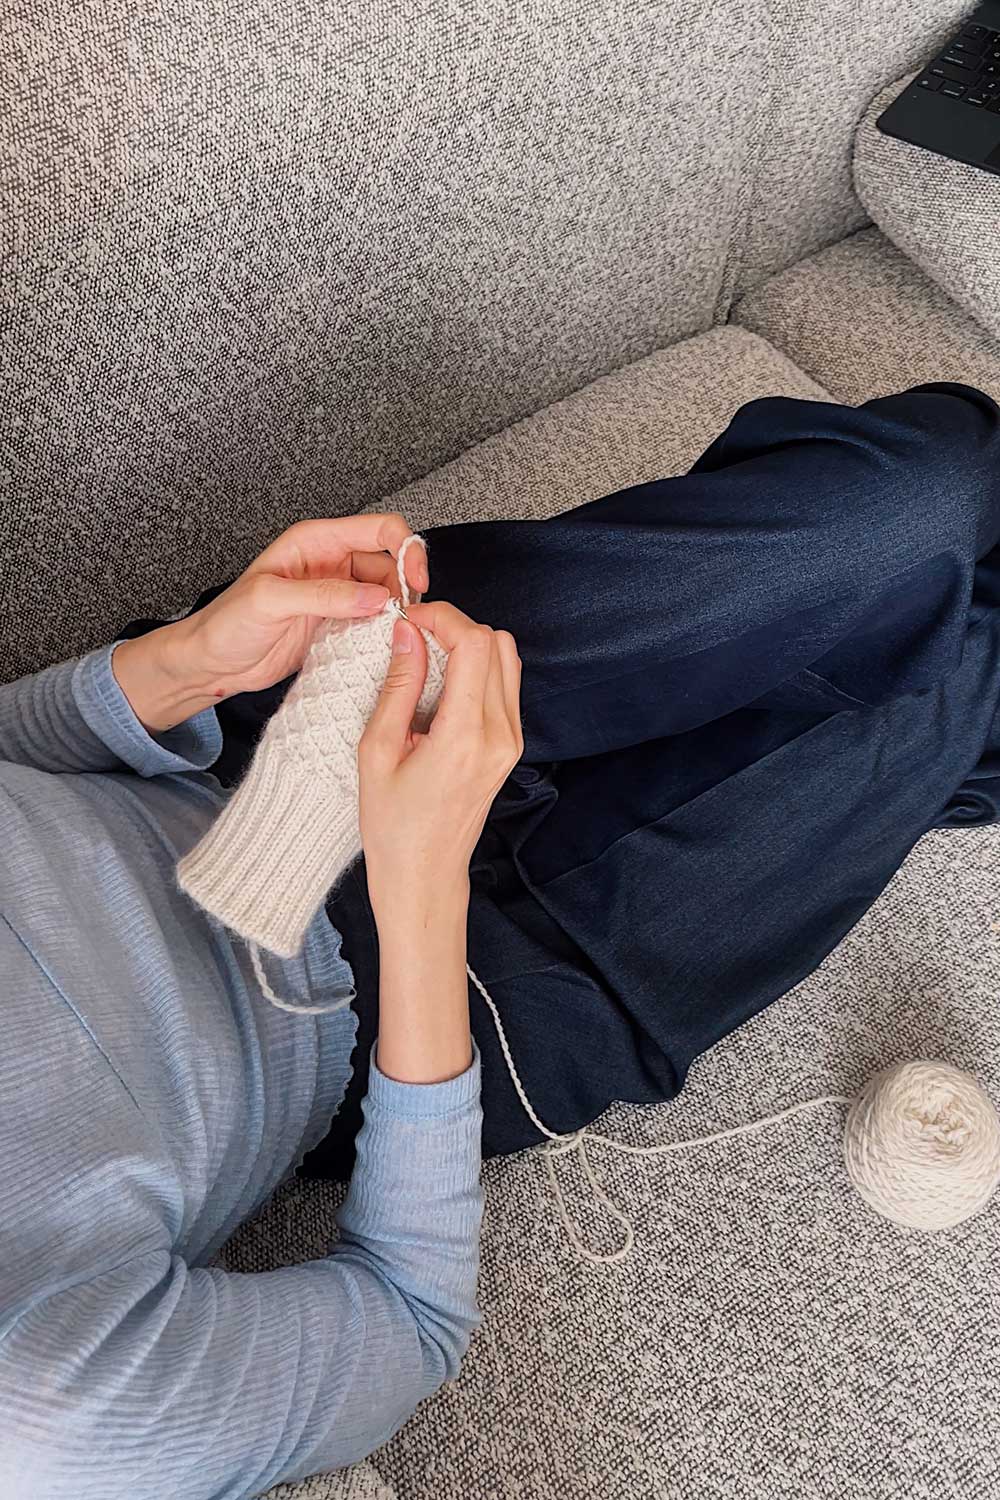
One tip I have is to trust the process.
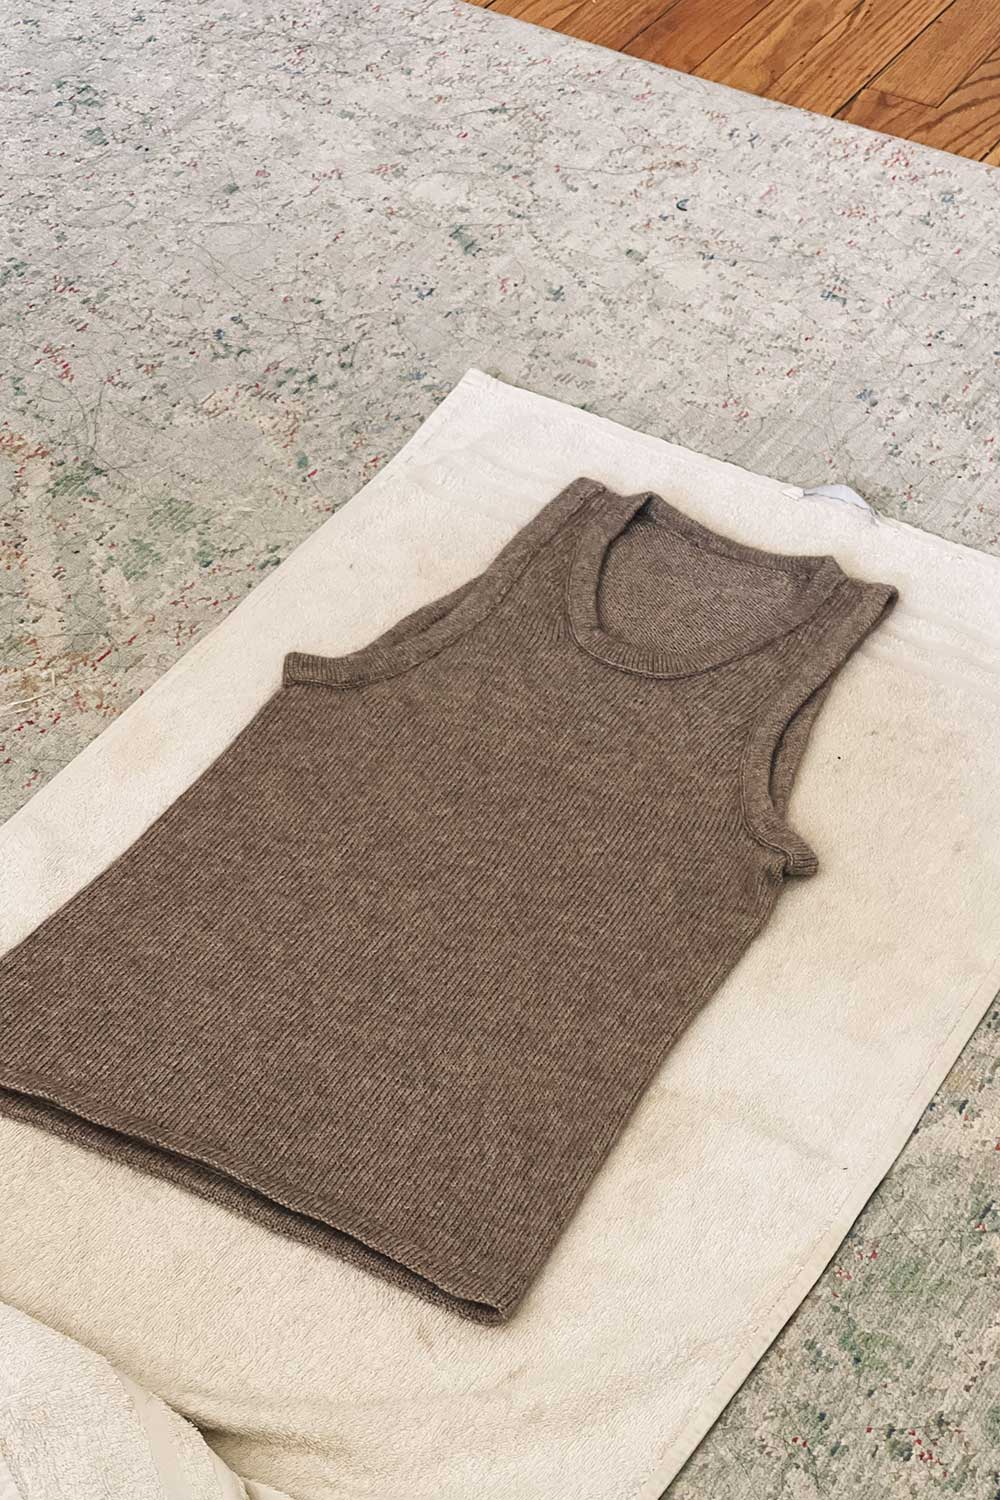
Before the armholes and neckline are finished, the project looks very small and scrappy.
The armholes look way too deep.
But doing the pickup and binding really help to tighten up the armhole and neckline areas.
Video Tutorials
I also found a couple video resources on Youtube quite helpful. I recommend this one for the neckline and armholes and this one for the bottom hemline.
My Favorite Things Knitwear has this one video on how to do the sewn binding for the neck and arms.
It’s only in Danish however, and I couldn’t quite figure out what she was doing simply by watching.
I needed to translate her voiceover to English in order to understand, and I’ve pasted my transcription below, in case it helps anyone else:
In this video I will show how we make this nice neck edge that we use in sweater number 26 and in 10 on the board it is such a nice folded neck edge that is actually sewn down instead of knitted down like we would normally do.
I have my sample here where I would normally pick up stitches from the right side so in this case we are going to go to the wrong side of the work I start by locating my stitches and pick up stitches exactly as normal but from the wrong side of the work.
You can just double check from the right side that the stitches are picked up in the right place and then otherwise just continue picking up stitches all the way around when the stitches are picked up then we will knit straight up in stockinette stitch So your work will look like this so the back of the sweater and this stockinette edge which then turns the right side towards the wrong side
the edge here must be cast off in a completely normal way I have used as you know in the pattern a larger needle I use a double pointed needle here You can also easily use a circular needle stitch off so, one knit another knit and pull the previous stitch over and like this you simply continue all the way around so one knit Pull the previous stitch over and that will then give you this fine chain edge which is what we will use to make our detail when the edge folds to fasten when you have finished closing your edge it will look like this
So you have the back of your sweater and such a stockinette here with a fine chain edge at the top to that should be folded down and visible so we simply just fold the edge here like this so that the right side is the edge facing up and then we are going to search I have a needle here with the 20 cashmere thread And that’s it
we start by going up through the first stitch here on the sweater and up through the first stitch on the match itself the important thing is that the closed edge Exactly covers the pick-up edge down through the second stitch on the Edge and down through another stitch on the sweater and like this we simply continue all the way where we go up through the first down through another up through third down through another up through 4 stitches and down through the third stitch up through fifth and down through 4 you have to keep going up through the stitch after that you get the last clue in and down through the previous stitch and that way the edge here will lay it is so nice
All the way around and with a search in the cashmere thread which is actually almost invisible
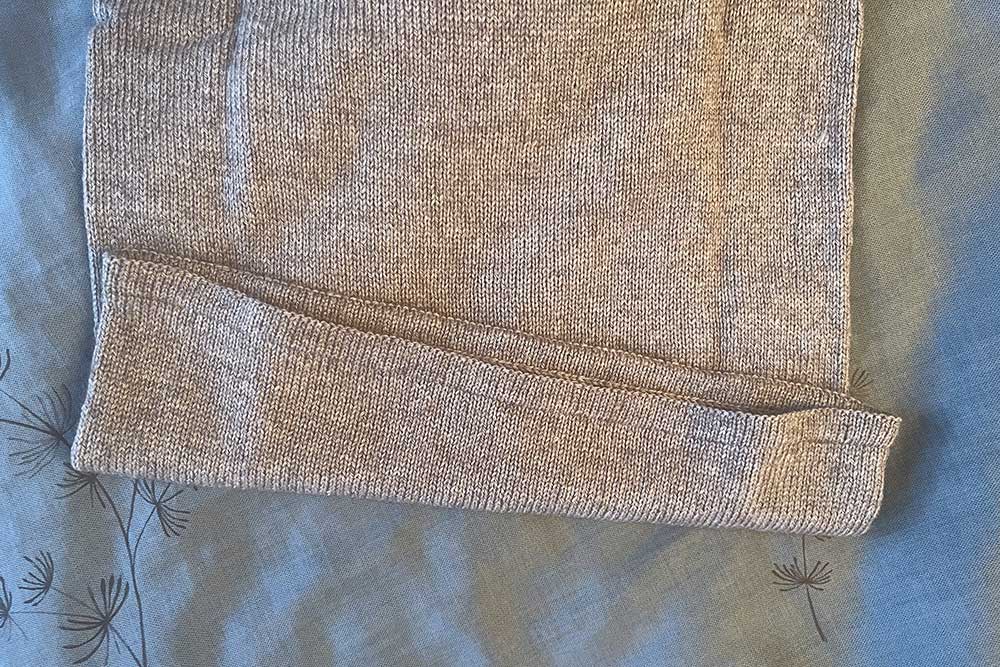
up close: the folded stockinette edge on the hemline
I do wish the pattern had included more detail and instruction for the finishing portion.
That’s really what drew me to the pattern in the first place, and it took quite a bit of trial and error to figure out.
In the end, my sewn bindings look a bit messier than I’d like.
After I finished the project, I saw that the designer had posted some tips on her Instagram. It’s an older post, so you have to scroll back to find it.
I can tell the designer’s version is really neatly done – she’s quite the expert!
Here’s her old Instagram post for reference, in case it helps anyone:
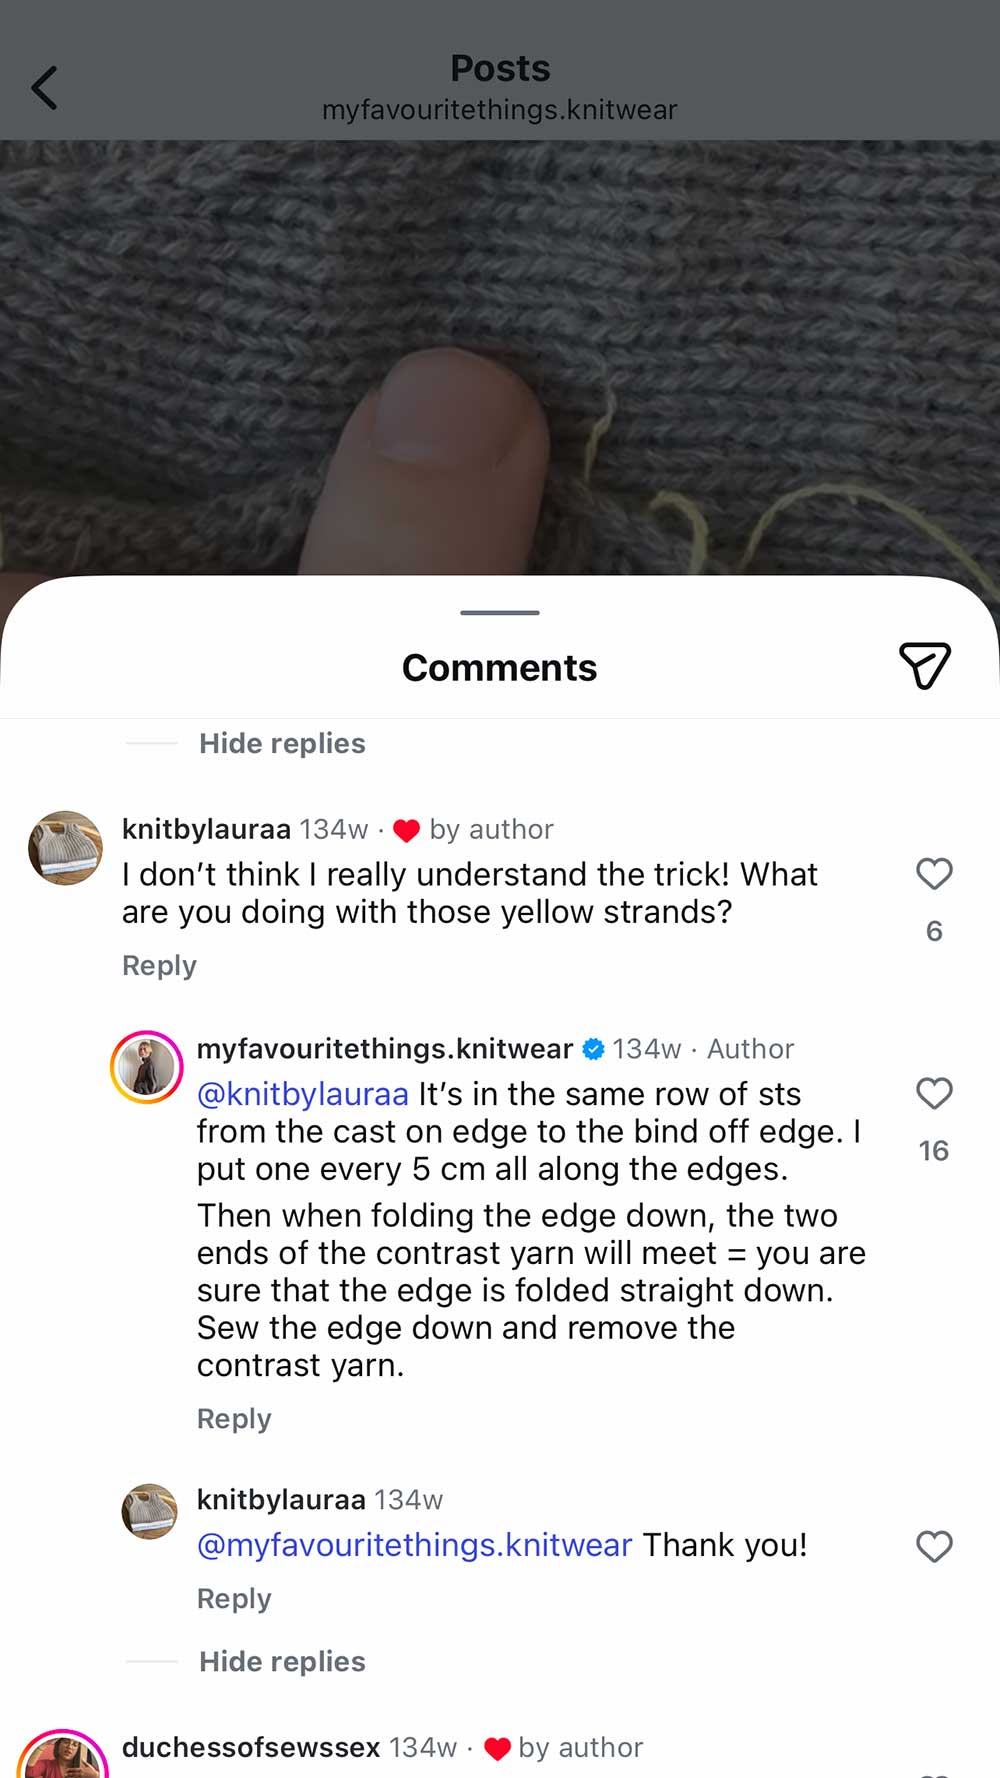
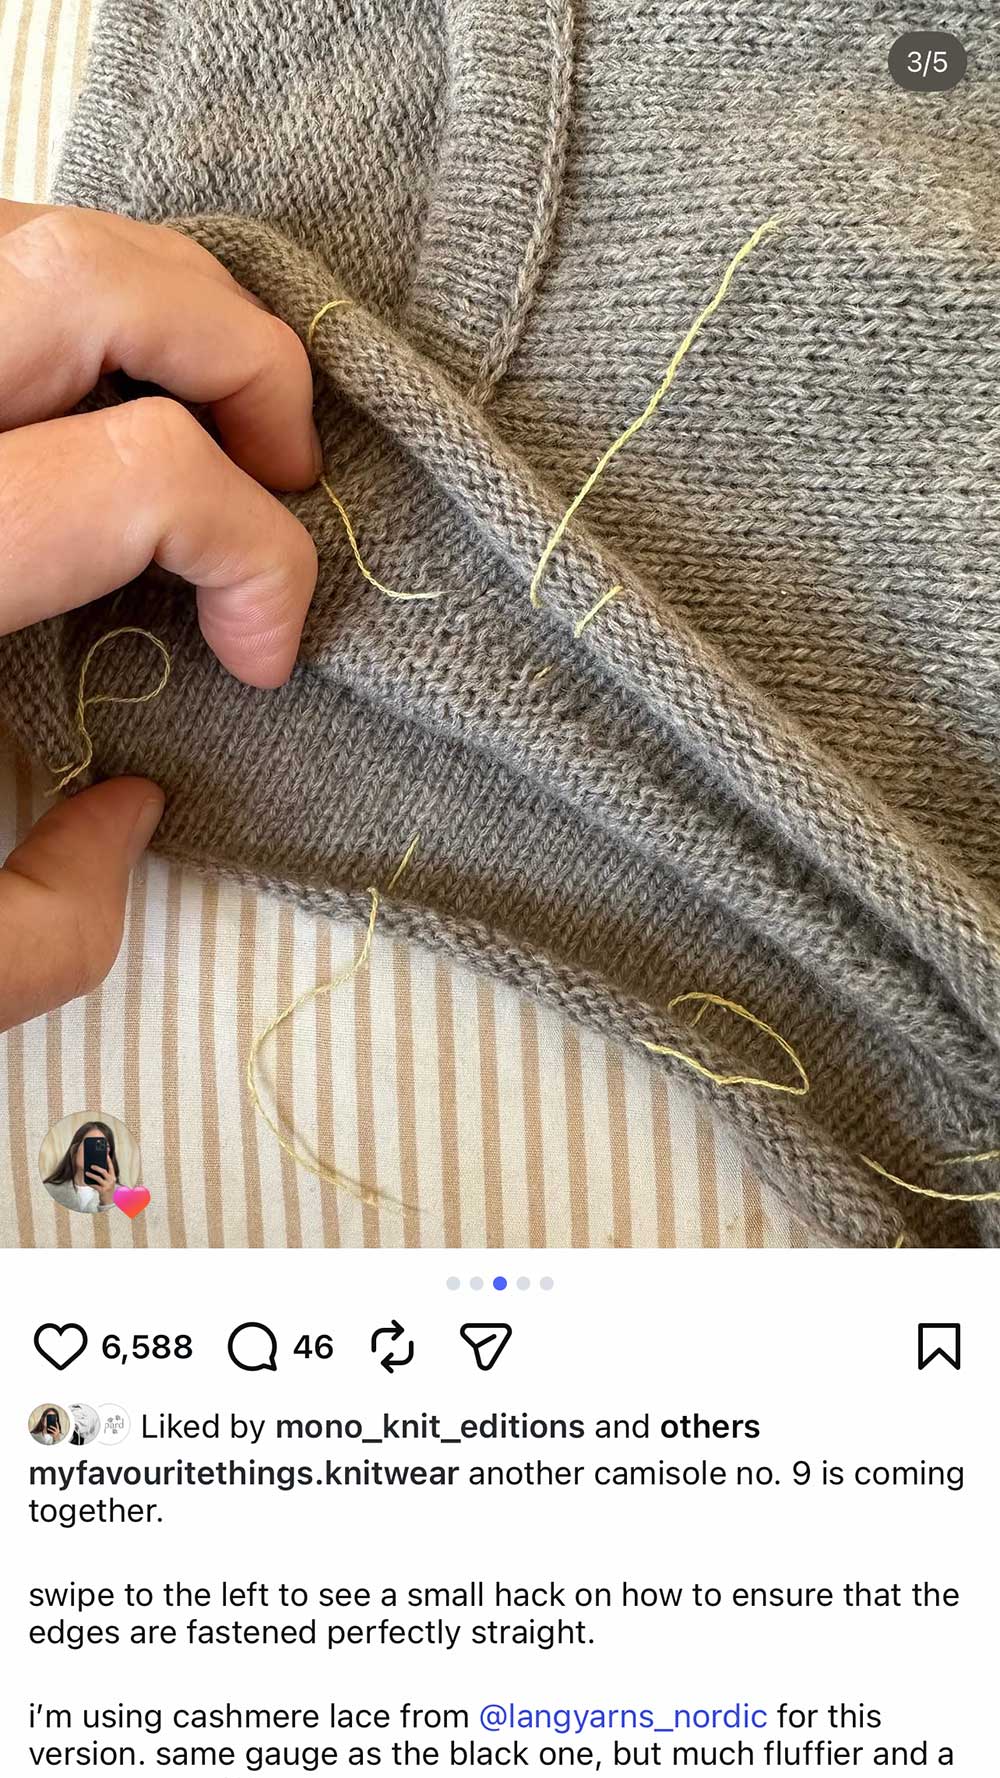
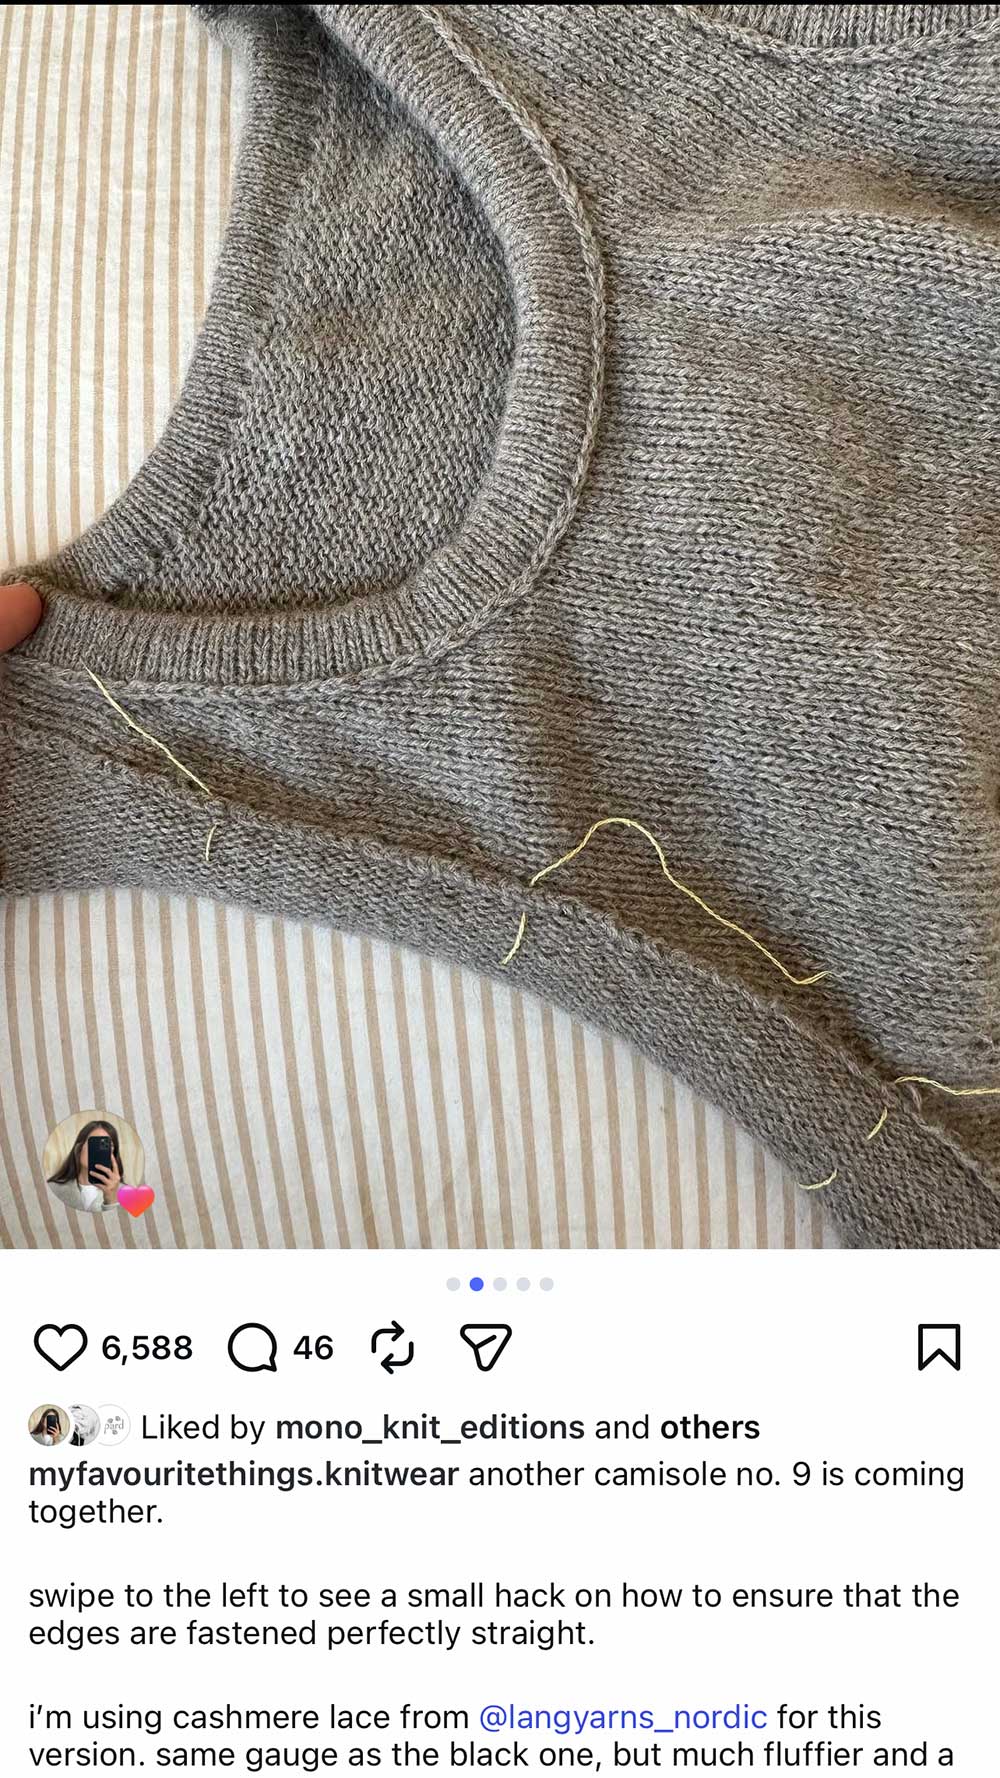
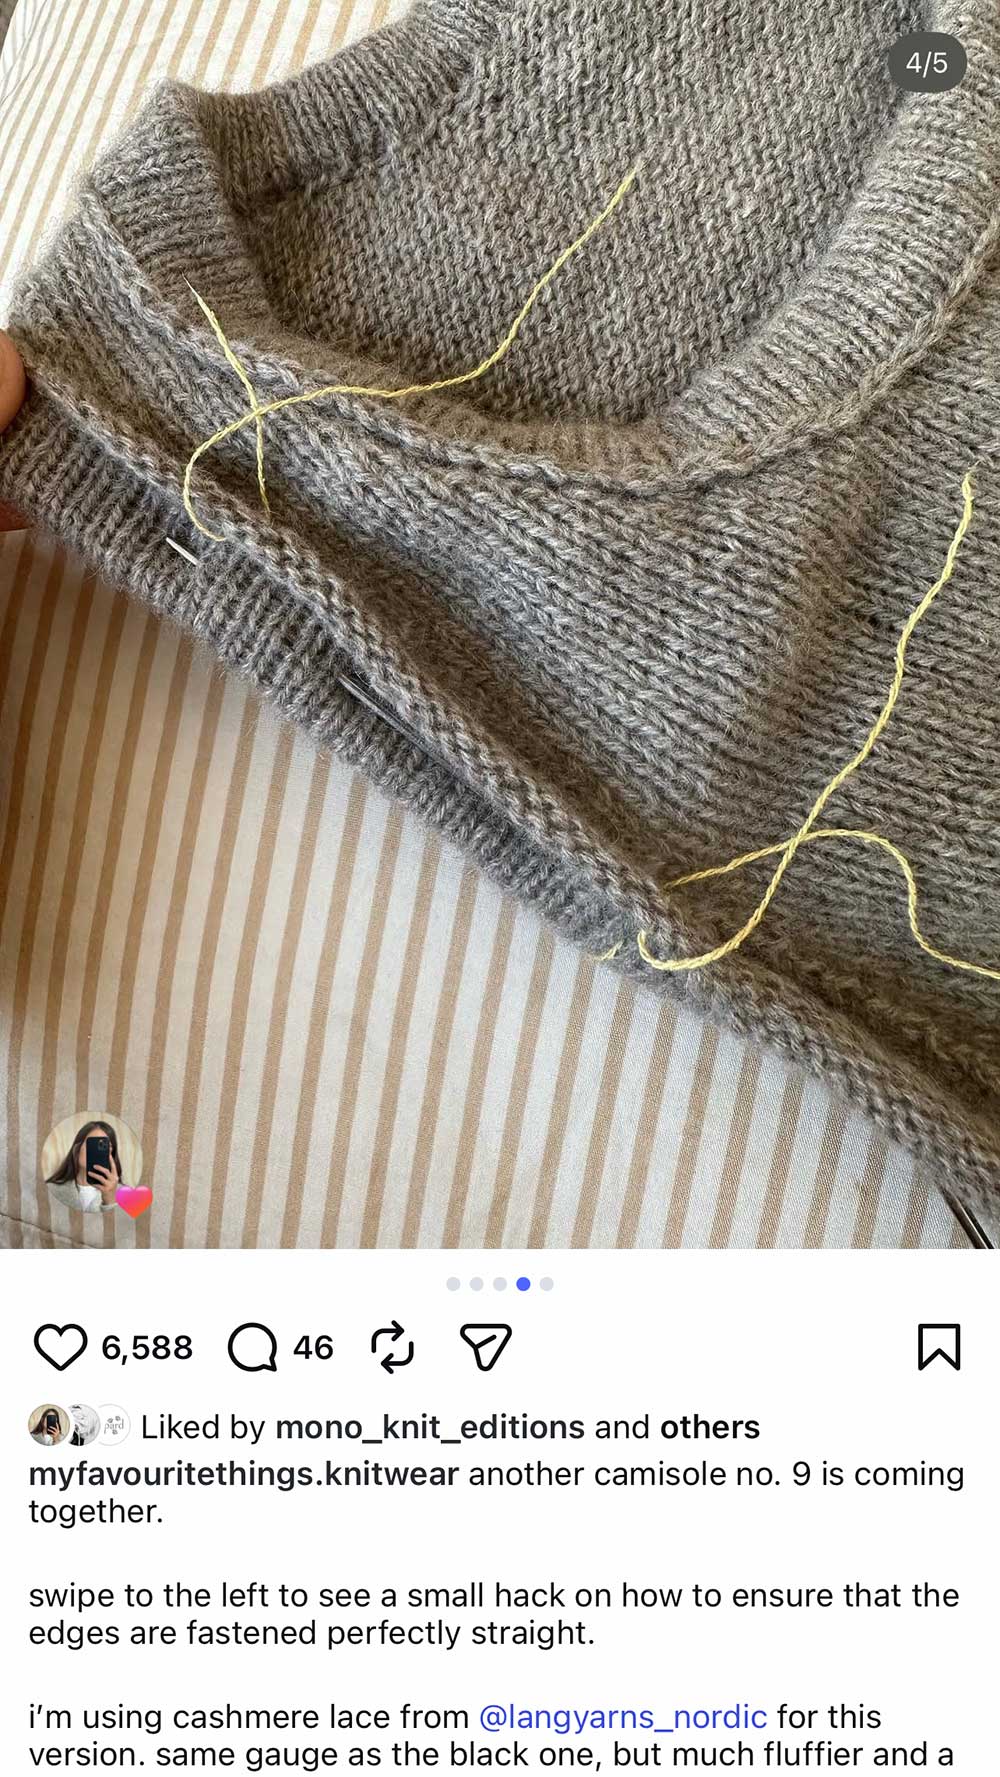
Louise’s tip: put a contrast yarn in the same row of stitches, from the cast on edge to the bind off edge. Then when folding down, the two ends of the contrast yarn will meet and you’ll be sure that the edge is folded straight down. Sew the edge down and remove the contrast yarn.
To be honest, I still don’t quite understand how she did it..
Blocking
The cashmere yarn didn’t change much with blocking.
It didn’t grow or shrink in length.
The stitches simply plumped up and filled out nicely.
Overall, I really like how knitting with fine yarn on small needles produces very tidy stitch definition.
Review
Overall, My Favorite Things Knitwears’ makes really beautiful designs!
They’re beautifully refined, and working on Camisole No. 9 taught me some great new techniques.
That said, this one confirmed that fitted garments with negative ease are probably not my sweet spot right now.
Going forward I’ll likely gravitate toward more oversized styles: sweaters with positive ease, that kind of thing.
Finding this post helpful?
Support me by buying me a coffee on Ko-fi!
One thing that would have made customizing the upper bust section easier is a schematic.
With a schematic drawing, you can mix and match sizing across sections. Take size 1 here, size 2 there… which makes fit modifications much more intuitive.
I’d like to try some of those types of patterns going forward, as well as patterns that offer multiple necklines as customization options.
I often see a pattern and immediately think — I love this! But I’d love it even more if I could tweak xyz…
Getting better at making those small adjustments successfully is something I’m working toward.
I think the most practical route for now is choosing patterns that offer more guidance built in, to reduce the amount of trial and error.
Update: I’m making some pretty major modifications as I knit my Haraboji cardigan and so far, so good!
Knitting Camisole No. 9, as frustrating as it was, taught me a lot through all the trial and error. I’m currently making some pretty major modifications as I knit my next project (the Haraboji cardigan) and so far, so good!
The cardigan pattern doesn’t offer customization either, but I think building up enough experience through trial and error teaches you a lot.
Will have some hard-won tips to share in my next pattern review.. stay tuned! xx
Follow me on
Youtube | Tiktok | Instagram | Ravelry | ShopMy
![]()
