Aerogarden Tips
Everything you should know before getting started with an Aerogarden!
I’ve been growing indoors for several years now and today I’m compiling all my top tips for making the most out of these small hydroponic units.
I got my first Aerogarden six months before the pandemic hit and it was one of the greatest gifts of that crazy time.
I’ve always wanted to have a garden and grow my own food, but since I live in New York City in a tiny apartment (without any outdoor space) I thought it was an impossible dream.
But then… I discovered Aerogarden and hydroponic gardening!
Hydroponics is the method of growing plants without soil, using nutrient-rich water instead.
Hydroponic gardening is becoming increasingly popular for home gardeners (probably due to companies like Aerogarden).
But it’s been a gardening method for large scale commercial farms for many years.
In fact, lots of the produce you find at the grocery store has been grown via hydroponics!
Why Hydroponics?
Hydroponics offers several benefits over traditional soil-based methods.
Here are just some of the key advantages:
Great for Small Spaces
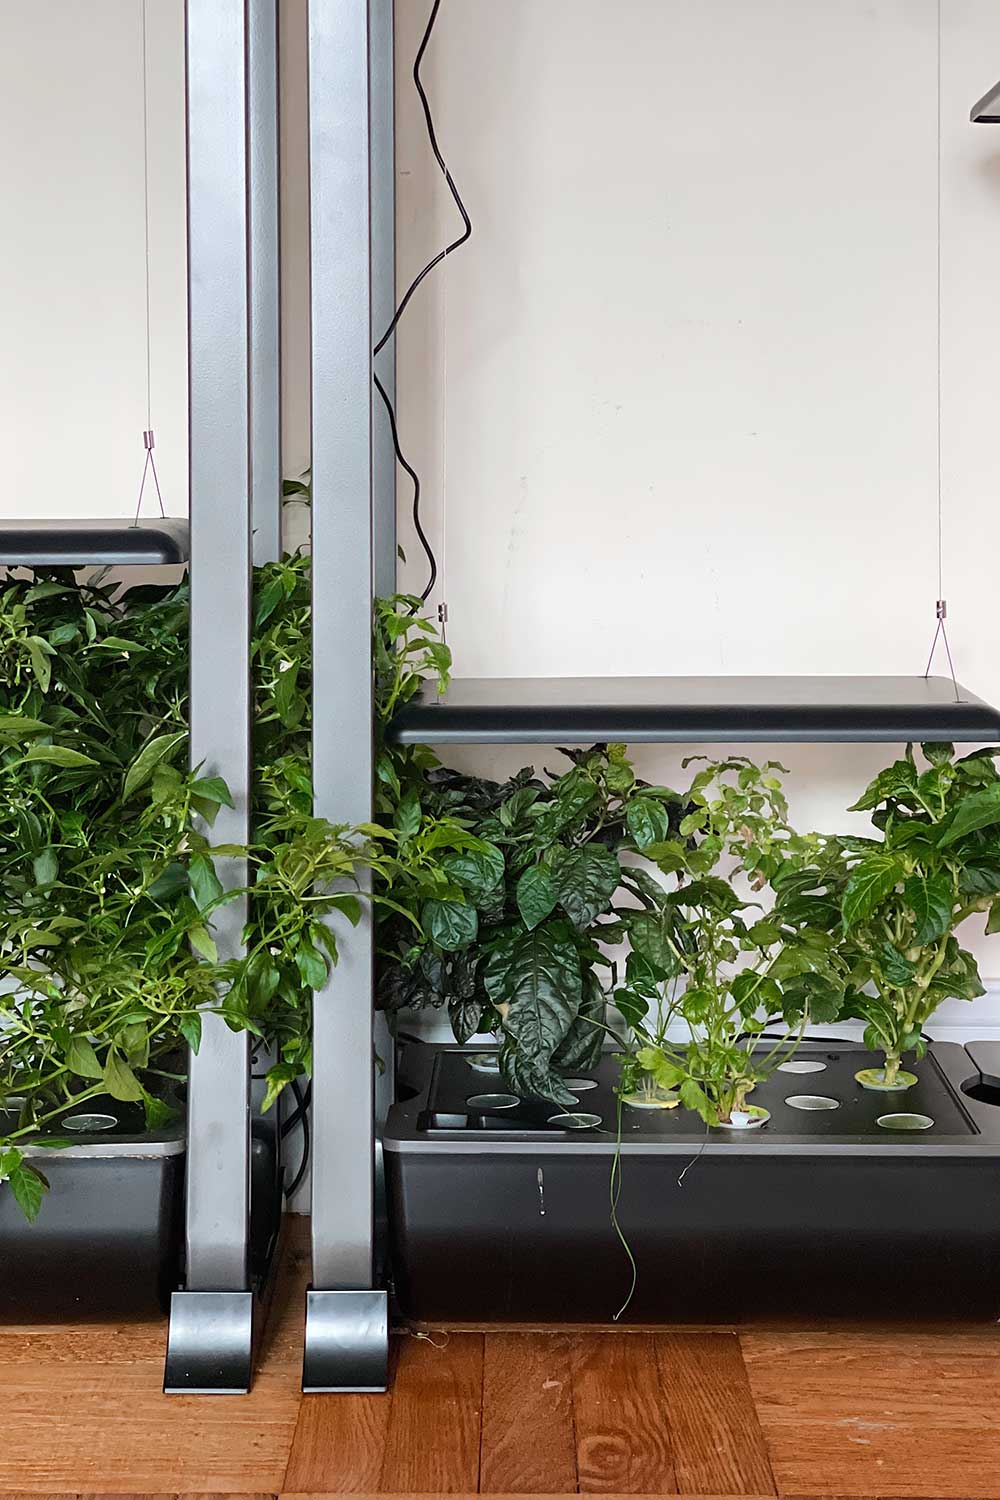
Hydroponic systems take up less space than soil-based gardens, as the plants can be grown closer together and in vertical arrangements.
This makes them ideal for indoor gardening, where space is often limited.
Conserves Water
Hydroponic systems use up to 90% less water than soil-based gardens, as the water is recirculated through the system.
This not only saves water, but also reduces the risk of over-watering and helps to prevent soil erosion.
5x Faster Growth
Because the plants are grown in nutrient-rich water, they’re able to absorb nutrients more efficiently than when grown in soil.
This can lead to faster growth, larger yields, and healthier plants overall.
No Pests
Soil-based gardens are more prone to pest and disease problems, as the soil can harbor harmful organisms.
So with hydroponic systems, eliminating soil eliminates most pests.
Year Round Growing
With hydroponics, you can control the environment in which your plants grow.
This means you can grow them year-round regardless of weather conditions.
This is especially beneficial for indoor gardening, where seasonal changes can affect the growth of plants.
Fun!
And honestly – the sheer joy of it.
Waking up and seeing my plants grow.. using what I’ve grown to make a meal..
I get so much satisfaction out of seeing plants grow from seeds and then using what I’ve grown.
It’s addicting, good for you and I highly recommend it as a therapeutic hobby!
Plus, it’ll encourage you to eat more greens and live a healthier lifestyle :)
Aerogarden
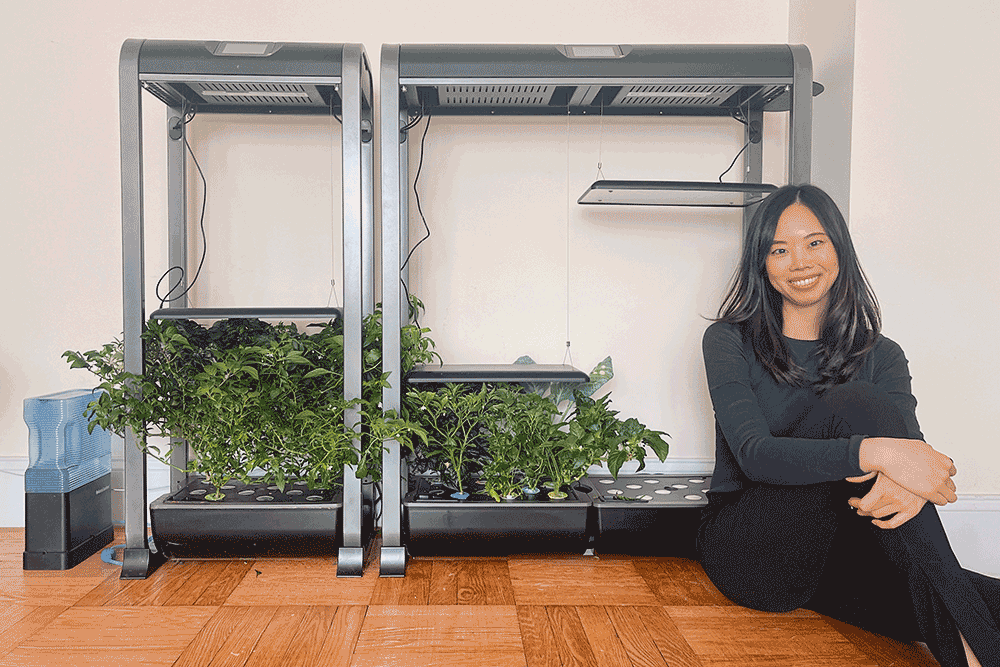
The Aerogardens are essentially a fancy all-in-one hydroponic system.
They’re compact, beautiful and sleek machines that can easily sit on your kitchen counter or in the corner of your home.
The Aerogarden units handle all of the heavy lifting when it comes to gardening.
You simply add in your plant pods, fill the tank up with water and the machine basically does the rest!
Built-in grow lights run on an automatic schedule to give your plants all the light they need.
The machine has a water pump to re-circulate water and pump in air so your plants grow healthy, strong roots.
And then the system itself sends you reminders to add plant food and top off the water!
Before I got my first Aerogarden (the cute 6-pod Harvest model), I killed every plant I had.
But then I started to learn more about what plants actually need to survive through the Aerogarden models.
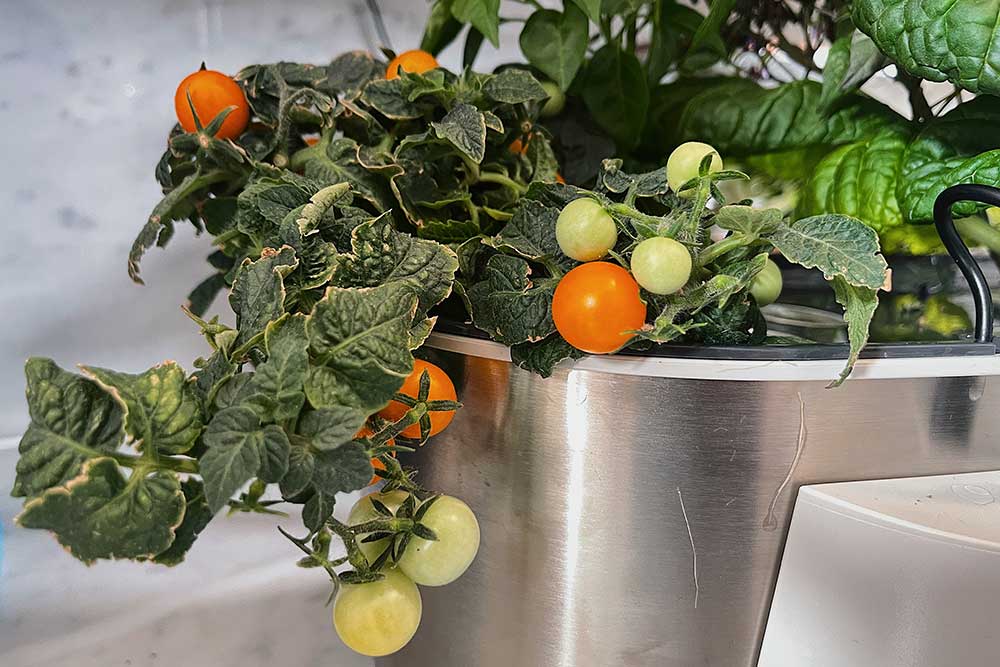
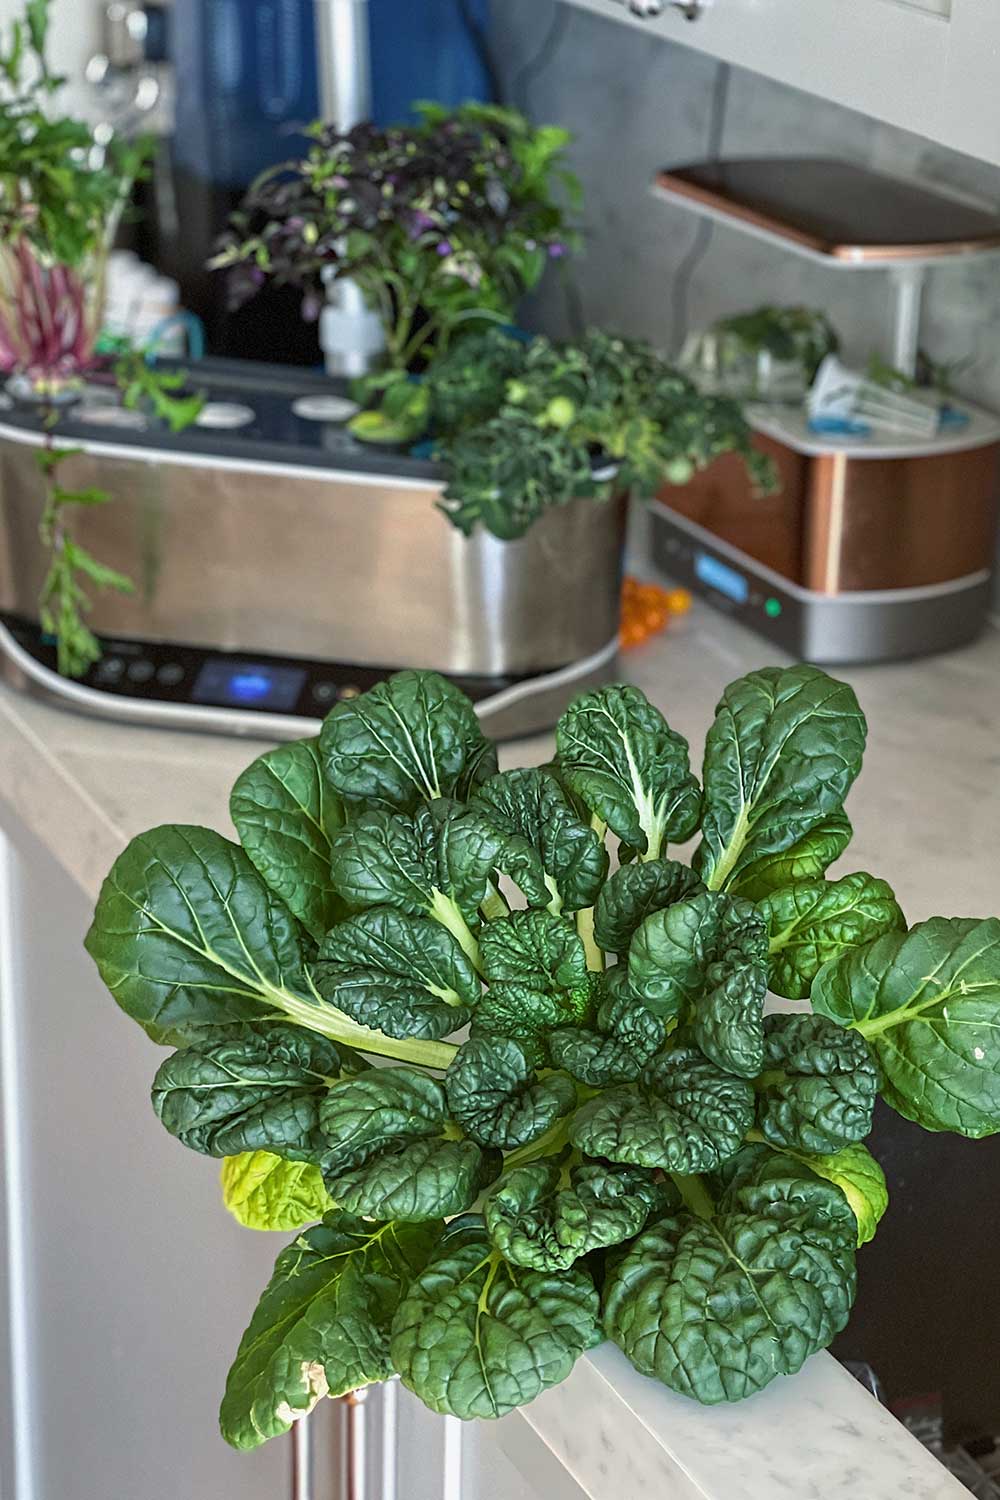
In the years since, I’ve grown everything from herbs to salad greens, tomatoes, hot peppers and eggplant!
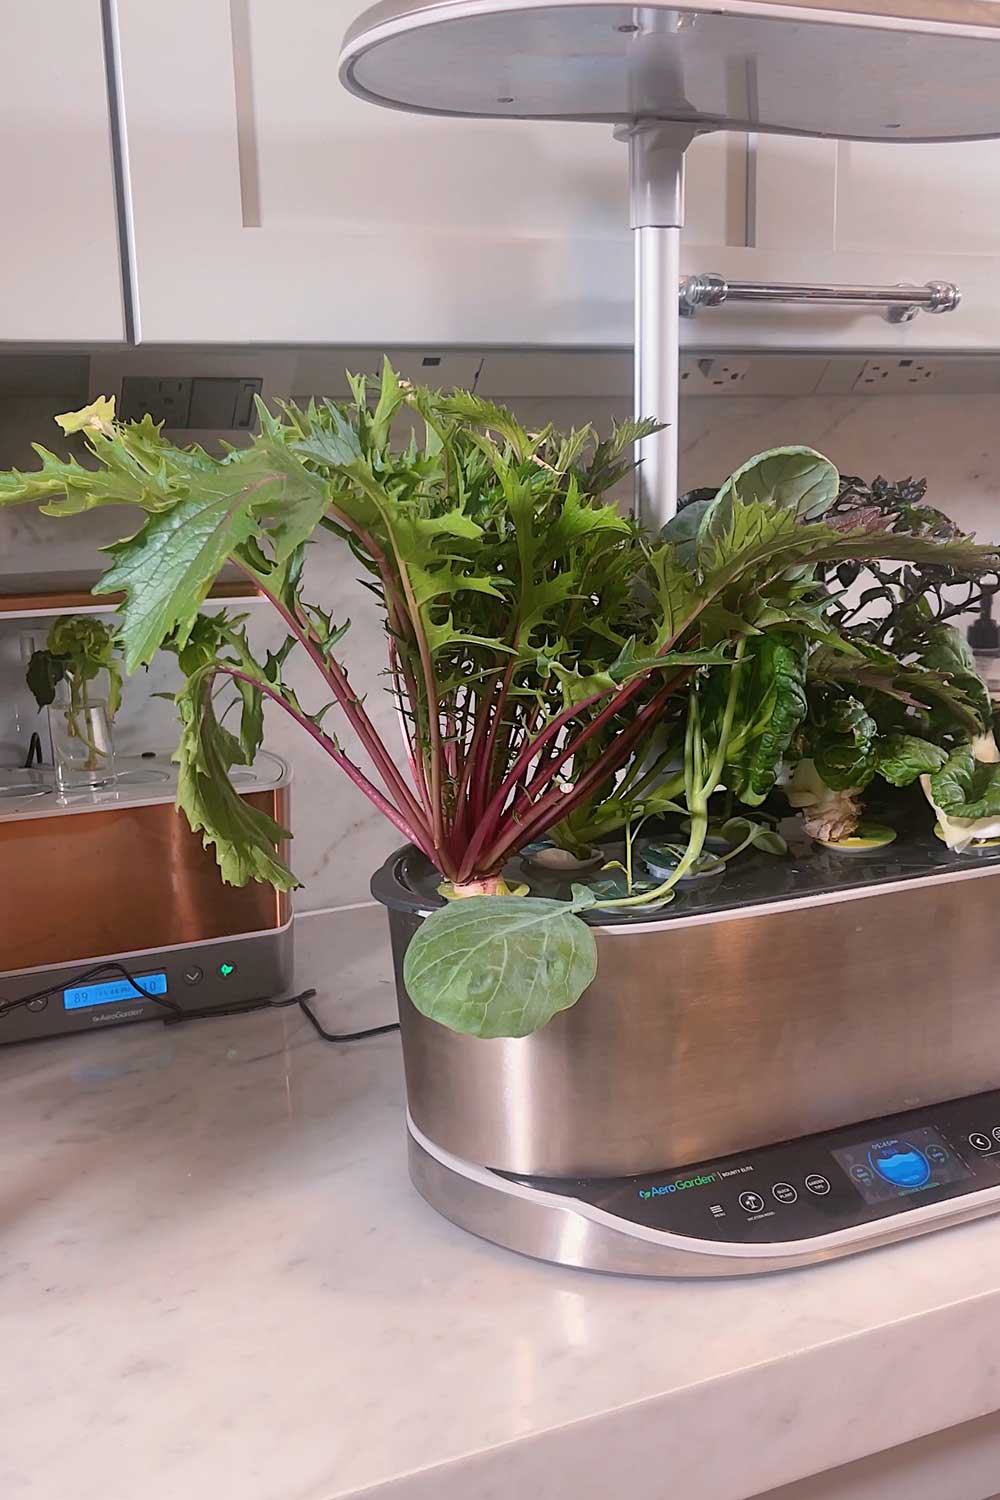
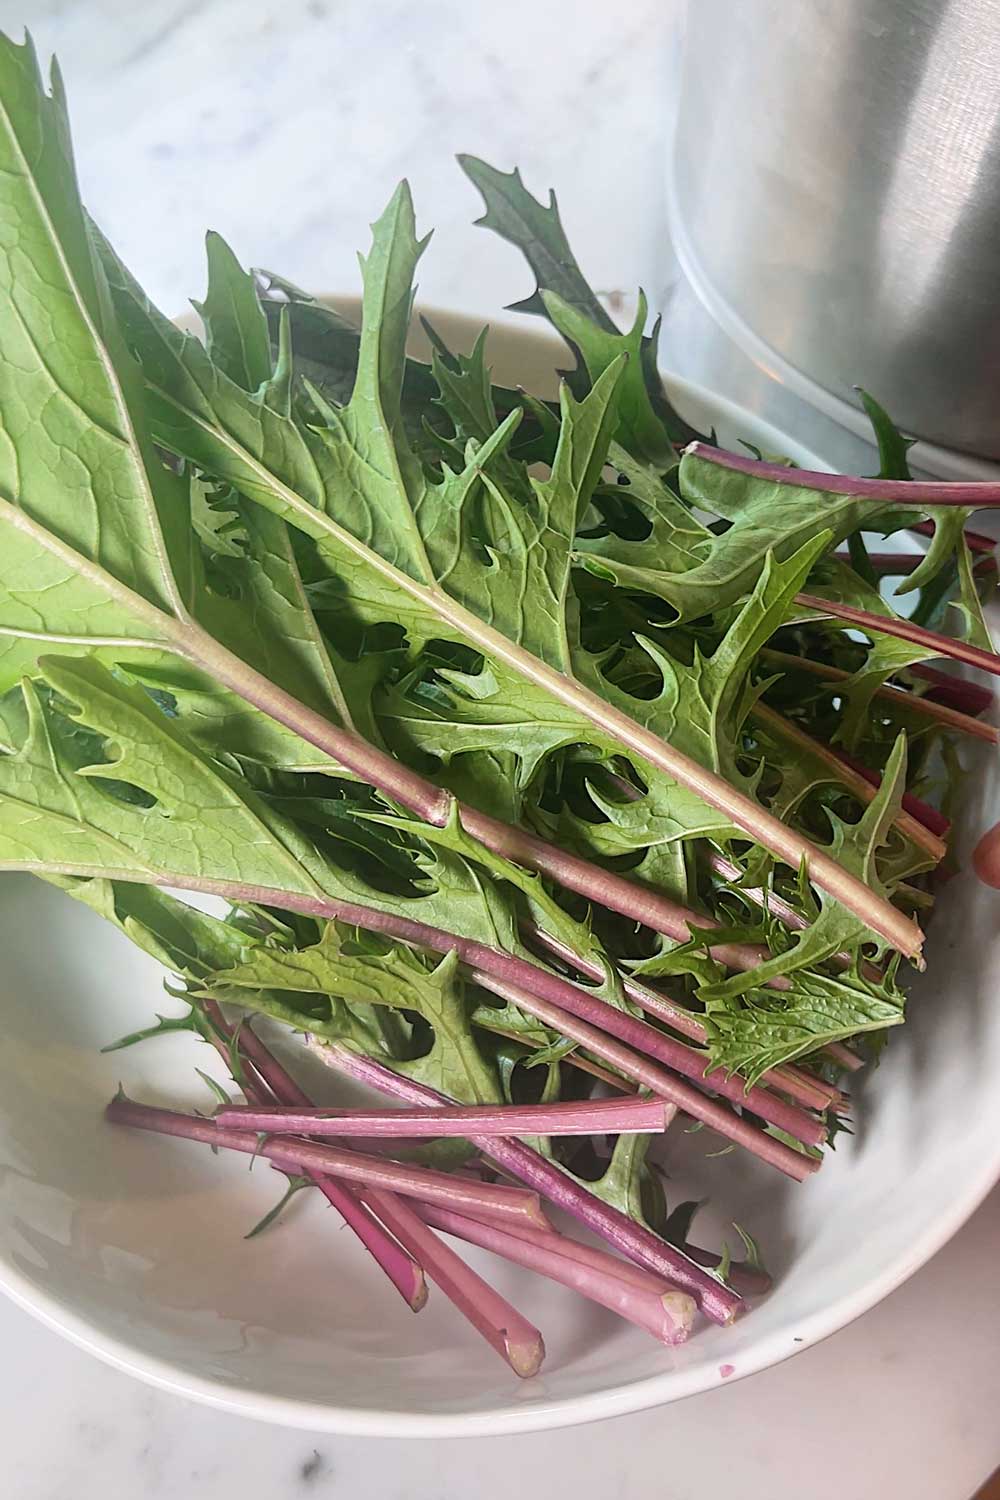
more hydroponics + recipes on tiktok @shershegrows
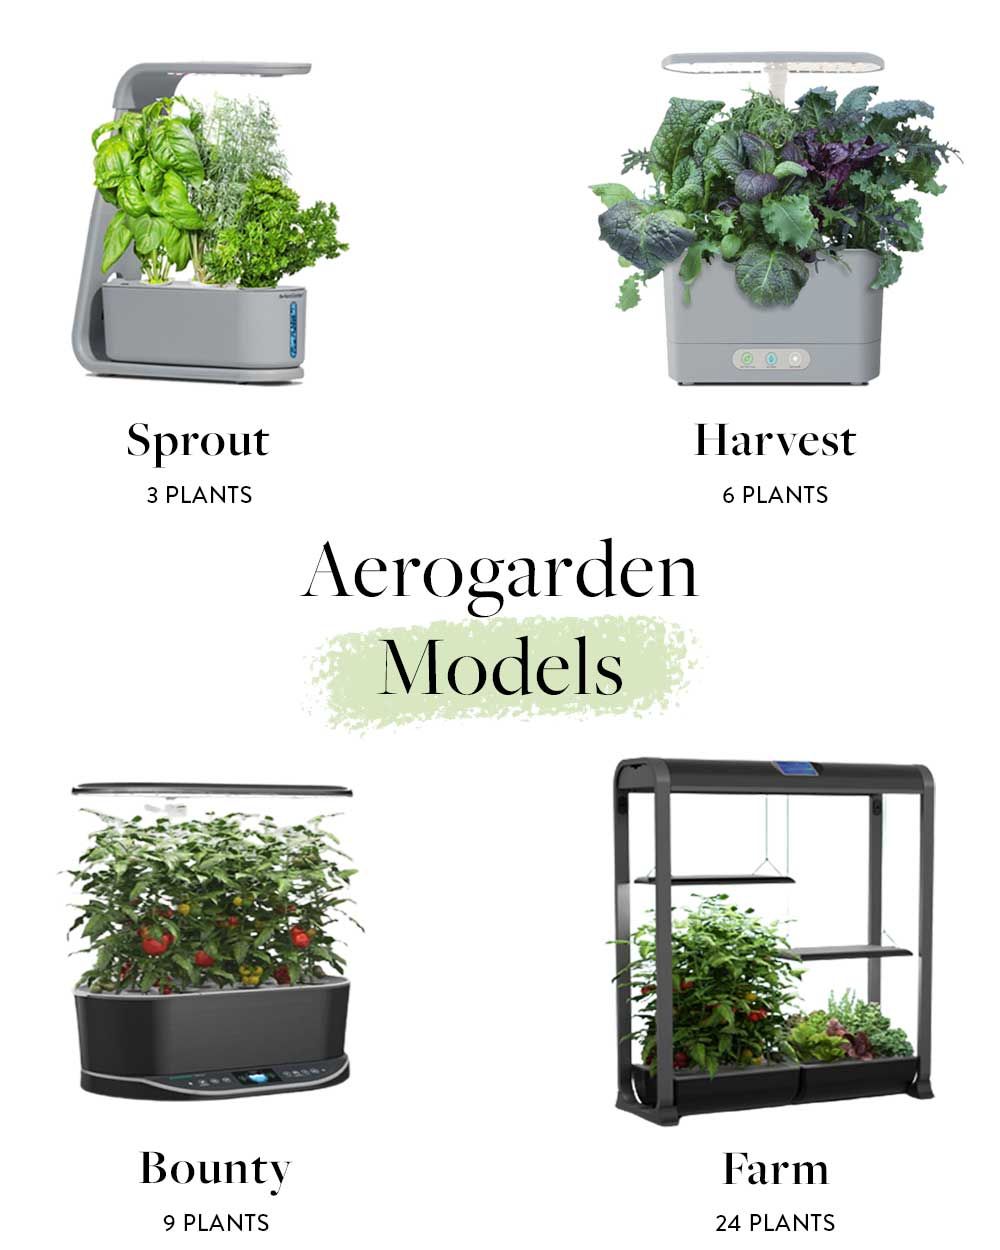
Aerogarden Models
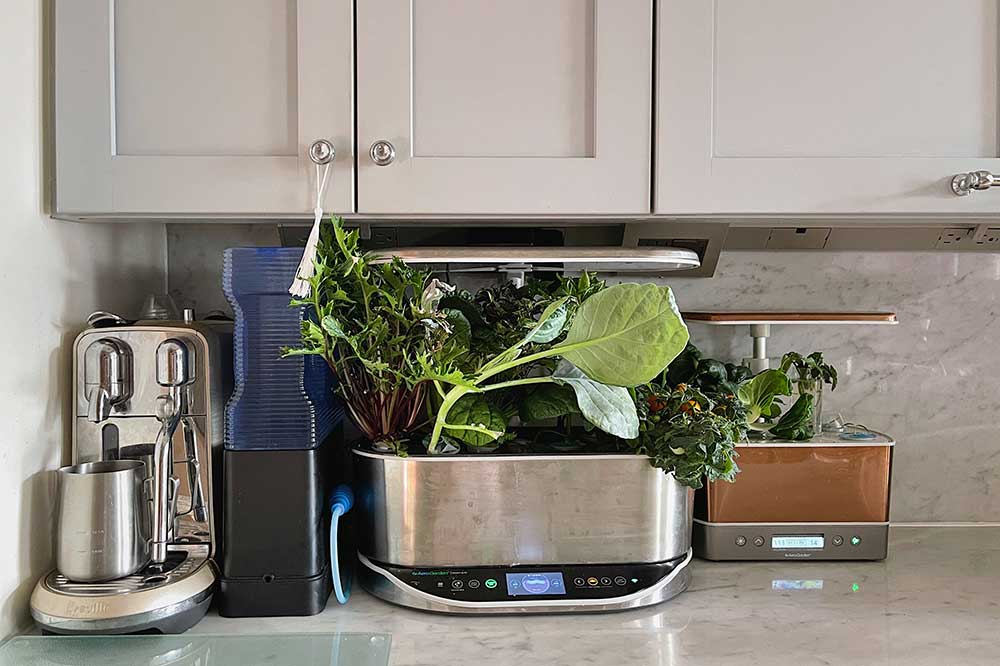
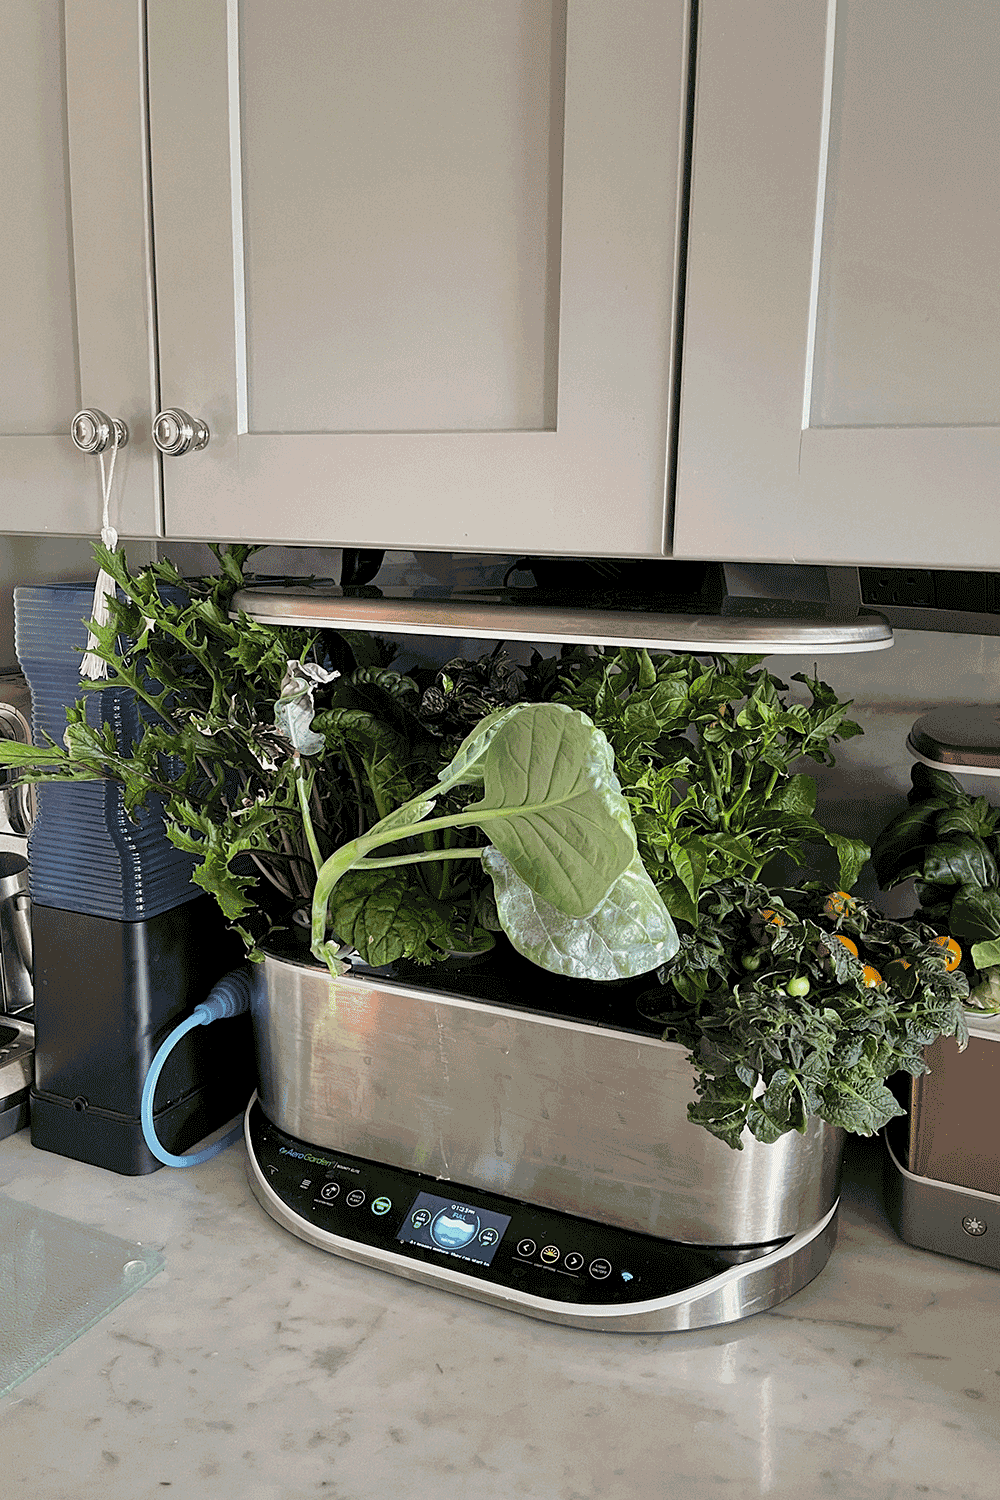
my Aerogarden Bounty and Harvest on my kitchen counter. the Bounty is about double the size of the Harvest
Which Aerogarden to Start With
I often get asked which model I’d recommend for beginners and usually, for someone without any prior experience, I recommend the Harvest.
It’s compact (so perfect for apartments and condos) and offers the best bang for your buck.
And it’s a 6 pod model, so it allows you to grow just enough plants to give you variety and excitement, without being overwhelming.
What to Grow in Your First Aerogarden
And as for what to grow, I recommend herbs for beginners!
Fresh herbs make a big difference in cooking (if you’ve ever made your own pesto, you’ll never buy the grocery store pre-made stuff again).
And you can grow 6 different herbs in the Harvest!
Plus, herbs grow quickly and are relatively simple and straightforward so they’re a great way to dip your toe into hydroponics.
Seed Pods
Each Aerogarden unit comes with seed pods so you don’t have to worry about what to grow for your first time.
You can choose between various seed kits, with options like
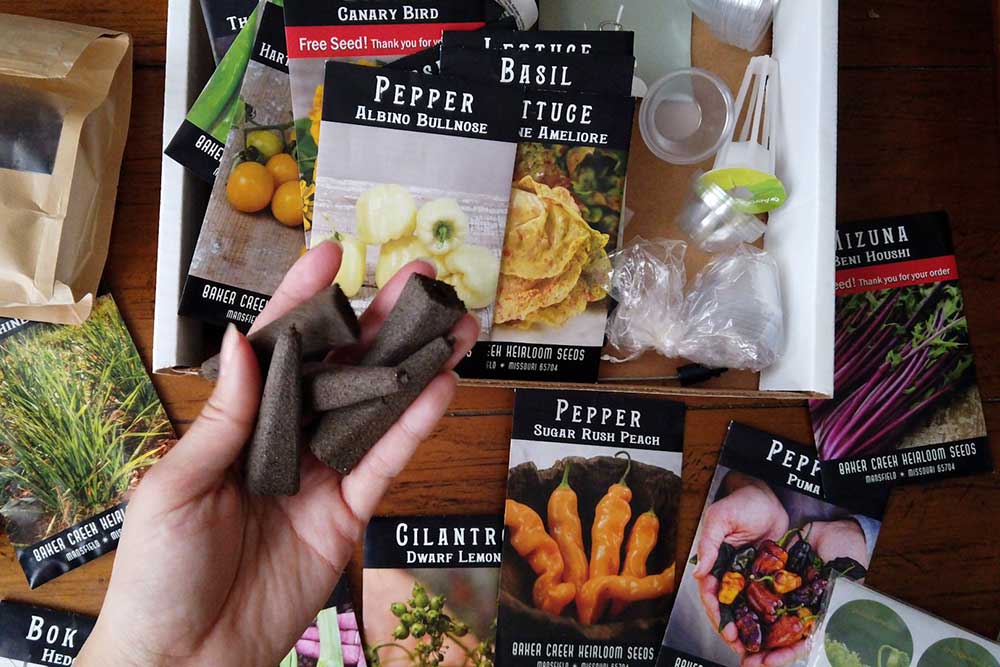
When you have more experience (or if you already garden outdoors), you can even use your own seeds to grow anything inside the Aerogardens.
I have a whole video on plants I’d recommend for the Aerogarden – you can watch it on Youtube here.
Read more: How to Use Your Own Seeds in the Aerogarden
Aerogarden Tips for Beginners
Here’s everything you need to know before starting an Aerogarden.
1. Pre-Moisten the Sponges
Each Aerogarden comes with seed pods so that you can get started with gardening right away.
But, often these pods have been sitting in a warehouse for a while, so they can be dry.
Seeds need water and light to germinate.
I recommend gently misting some water over the top of each pod once you’ve placed them in the Aerogarden.
Note: the machine does wet the sponges by re-circulating water from the basin to the top.
I just find it helps increase the rate of germination if you moisten the top of the sponge!
Just don’t be too rough and accidentally flush the seeds out of the pod.
2. Use Distilled Water
Water quality can impact the growth rate of your plants.
If your local tap source is great, then feel free to use tap!
But, if you’re noticing your plants exhibit some signs of stress (yellow leaves, wilting, etc) then you might want to try using distilled water.
Commercial hydroponic growers often use reverse osmosis (RO) water to ensure it’s entirely free of minerals.
Then they’ll add their own custom nutrient mix.
I don’t do any of that though.
I live in NYC and our local tap water is great. I’ve never noticed any issues with using water straight from the sink.
3. Keep Your Grow Domes
When you first start your garden, you’ll place small plastic domes over the top of each seed pod.
The domes tend to not fit perfectly but it’s ok if they wobble around!
Essentially, the clear domes act as a mini greenhouse for your baby seedlings by trapping moisture and humidity.
This helps the seeds to germinate and your seedlings to grow!
Once the seedling’s leaves grow tall enough to touch the dome, you can remove them.
But – don’t throw the caps away!
These can be reused over and over again each time you start a new garden.
2026 Update: Aerogarden no longer includes the grow domes with their gardens.
The company said it’s a more environmentally friendly measure to cut down on plastic. The domes aren’t necessary, just nice to have – especially if your home is on the cooler side.
You can pick up replacement domes here if you want to use them!
4. Don’t Add Nutrition Right Away
When starting up your Aerogarden for the first time, there’s no need to add the liquid plant food during the initial set up.
Seeds will germinate just find in water alone.
And nutrients in the liquid plant food can actually be too strong for a baby seedling.
So, no need to waste the plant food!
Wait until your seeds have germinated and your plants have sprouted into seedlings.
Then start the nutrition feeding schedule.
5. Keep the Lights Low
The grow lights are what helps your plants grow both roots, leaves and fruit.
In order to have the best results, you’ll want to keep the Aerogarden lights as low as possible, for as long as possible.
So start with the machine lights in their lowest position and regularly prune your plants.
Ideally, you want to prune your plants to keep them all around the same height.
If one plant grows faster than the others, don’t just automatically raise the lights to accommodate the one plant.
Try to keep everything growing at the same rate, so your garden can flourish for as long as possible!
6. Check On Your Plants
While the Aerogardens practically do everything for you… I do suggest monitoring your plants on a daily basis!
I have my Aerogarden Harvest and Bounty on my kitchen counter.
I usually give all my plants a look over when I’m making my coffee in the morning.
I filmed a quick day in the life vlog on the process here.
Make sure the plants aren’t growing into the lights, that one plant isn’t crowding out another, etc.
The more you stay on top of your garden, the better it will do!
7. Stay Organized
I also find that it helps to create a schedule to stay on top of your garden.
I like to make a note in my phone calendar when I’ve added nutrition or had to re-fill the bowl with water.
That way, I have an accurate sense of how much water my plants are drinking up in case I need to leave town for a few days.
I also like to take progress pics – usually on Monday mornings.
It’s a fun way to see the visual growth in your plants and I have a photo album of all my colorful harvests!
8. Make Sure to Prune
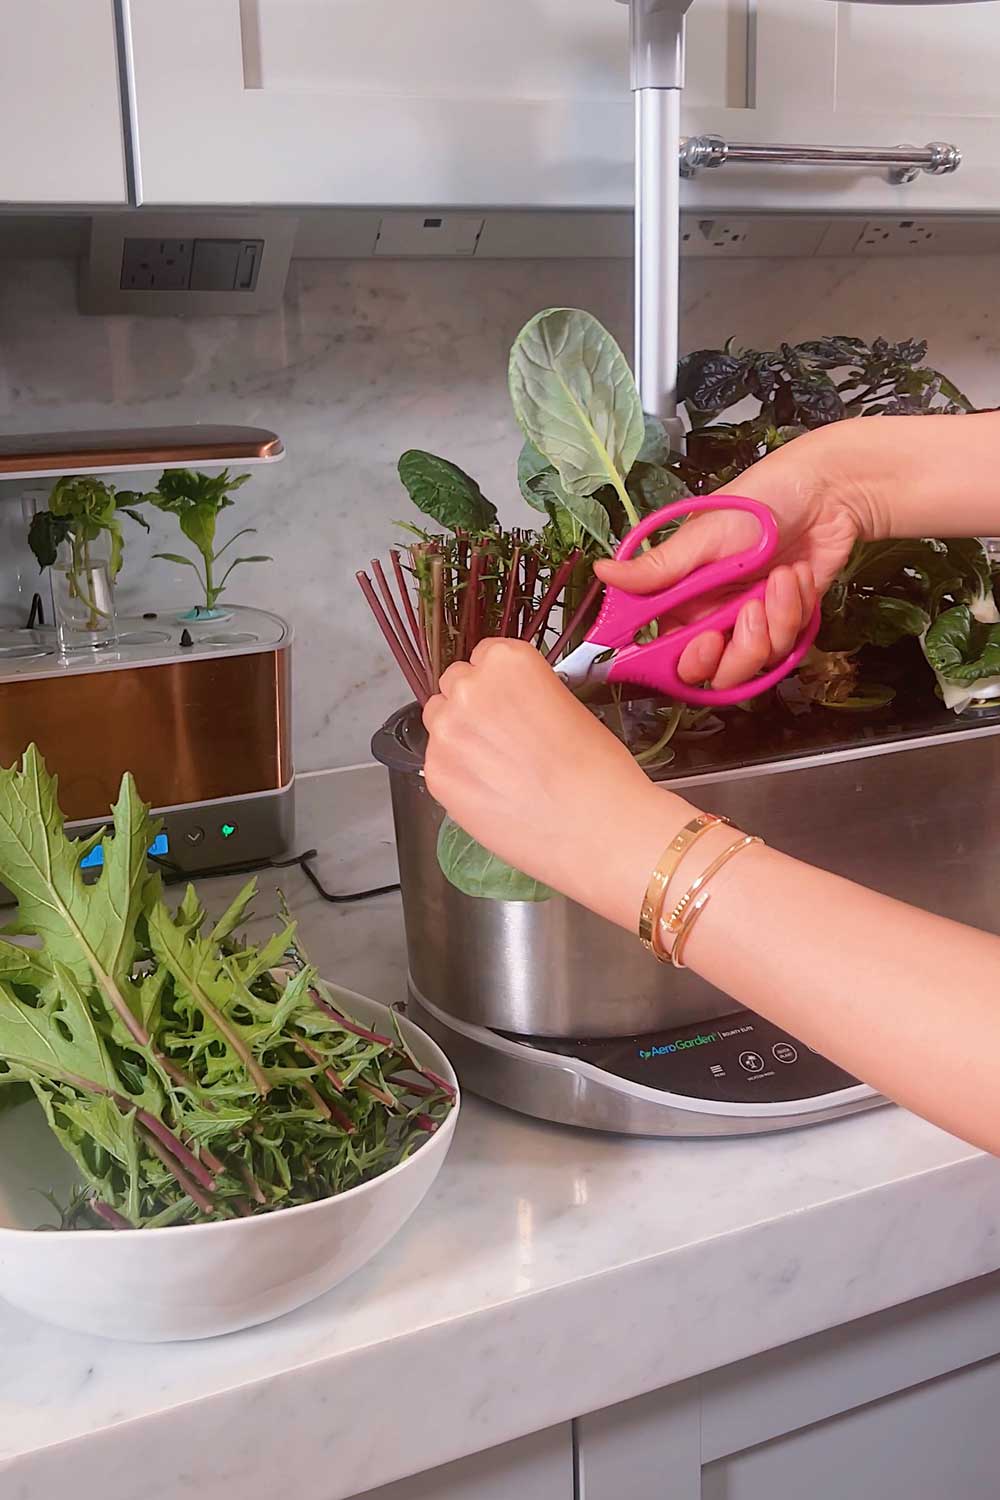
Pruning is a must when you’re growing indoors.
The Aerogarden units are small, with a maximum height clearance of roughly 1 to 3 feet, depending on which model you have.
So you’ll want to make sure your plants stay low and compact enough to last many months, if not seasons, inside the unit.
To do that, you’ll have to regularly prune.
Pruning is also beneficial to plants as it encourages them to produce more.
Generally, when you cut off the stem of a plant, it will produce two new branches of growth from the cut point.
It’s kind of like the mythical Greek Hydra monster, where every time Hercules cut off one head, two more appeared!
The Indoor Gardening Guide
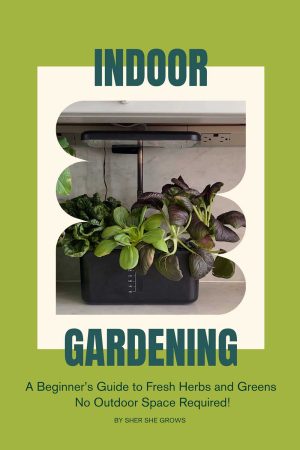
Cyclosporiasis, e.coli, whatever outbreaks affect grocery produce hasn’t phased me because I grow my own clean, pesticide-free lettuce.
If you’re looking to start an indoor garden, I’ve written down my exact process for growing herbs, leafy greens and fruiting vegetables in my ebook:
It’ll take you from black thumbs to flourishing indoor gardener!
Grab your copy here
Want 10 more tips? I created a Youtube video with even more tips which you can watch here.
And if you’ve already gotten the hang of using your Aerogarden, why not try using your own seeds to grow whatever you want?
I wrote a guide on how to do that here, or check out my next post on advanced Aerogarden tips here.
Have fun and happy gardening :)
Follow me on
Youtube | Tiktok | Instagram | Substack | ShopMy


what is tiny dial next sponge filter – what set on
I only see 8 tips.