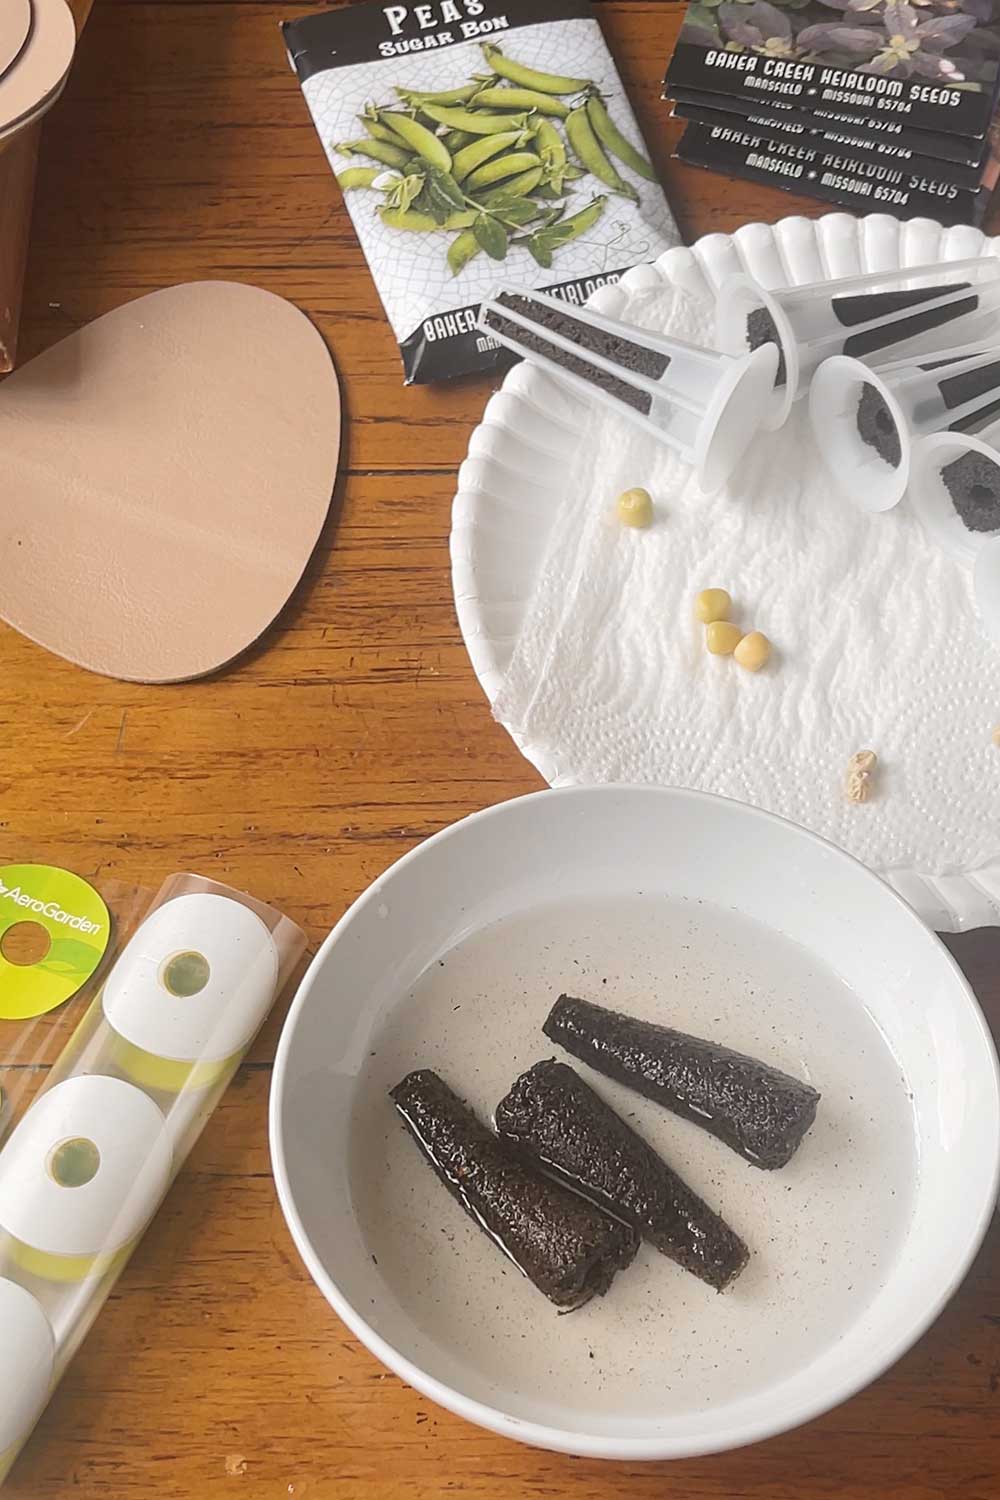
Aerogarden Replacement Pods
Most of the cost with indoor gardening is at set up.
The machines can be a little pricey, but after the first planting, new seeds and replacement pods can be pretty affordable.
…Especially if you know the tips and tricks for saving on replacement Aerogarden pods.
How to Make Your Own Aerogarden Pods
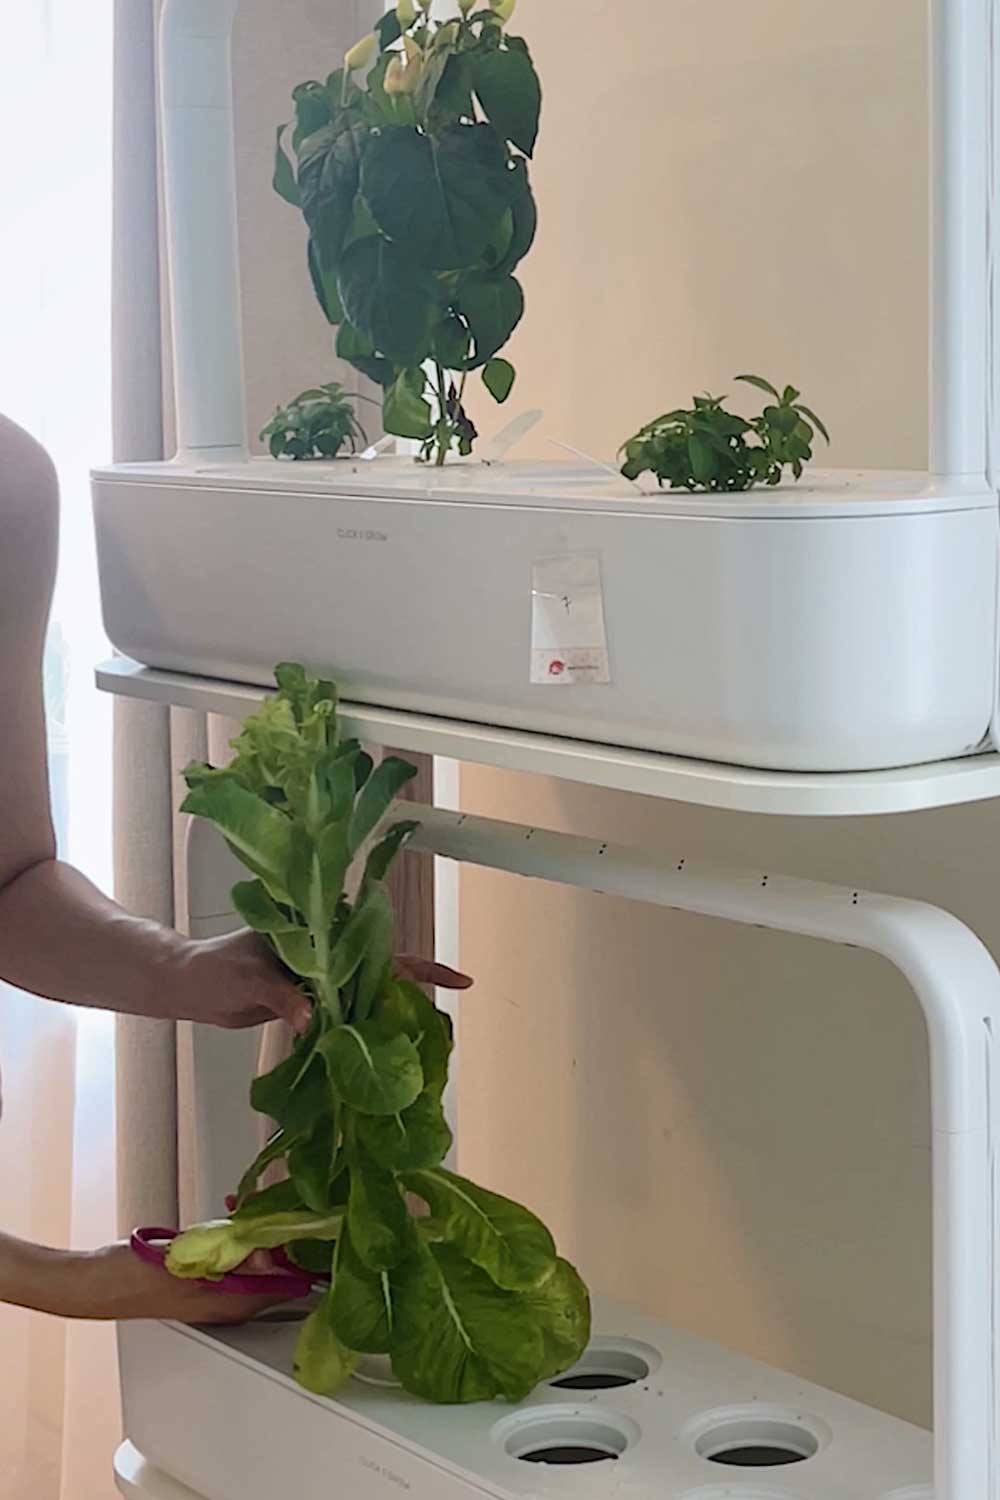
Aerogarden indoor gardens are reusable.
I’ve been growing indoor herbs and veggies with my oldest Aerogarden Harvest for about 5 years now!
And the nice thing is, you’re not limited to the company’s pre-seeded pods.
You can grow practically anything you want in these hydroponic systems – herbs, lettuces, tomatoes, eggplants, flowers, etc – as long as you keep the machine well maintained.
You just need some basic materials and then you can use your own seeds to grow whatever you want:
Aerogarden Grow Anything Kit
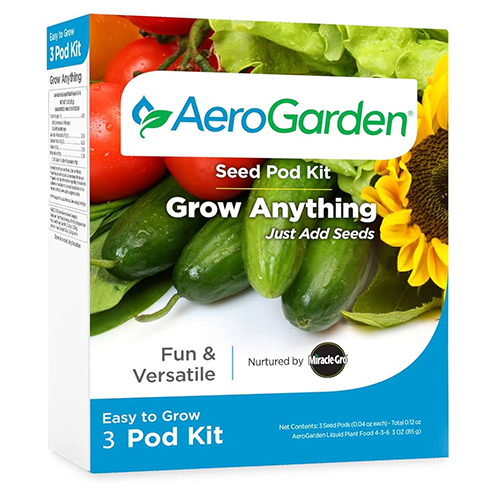
Aerogarden sells a handy kit called the Grow Anything Kit that contains all the supplies you need.
In the beginning, I bought their seed pod kits and from time to time, I still buy them!
They’re the easiest all-in-one option and everything is perfectly made to fit the Aerogardens.
Aerogarden Discount Code
Use SSG15 for 15% off any order of $50+
In case you’re wondering how to use them, I have a tutorial on the Grow Anything kit here as well as a Youtube video.
How to Use Your Own Seeds in the Aerogarden
DIY Aerogarden Pods
The company’s Grow Anything Kit is just a bit expensive to keep repurchasing.
Over time, you can save quite a bit of money by purchasing the supplies from third-party sellers. You can even make your own!
I’ve tried all different Aerogarden alternative brands and DIY options at this point.
So I thought I’d share the best budget friendly alternatives to Aerogarden’s pods.
Aerogarden Pod Alternatives
In some instances, you can save quite a bit from buying non-branded pods and supplies (that work just as well as the originals).
While in other instances, I’d recommend Aerogarden’s in-house option.
I’ll go over each below.
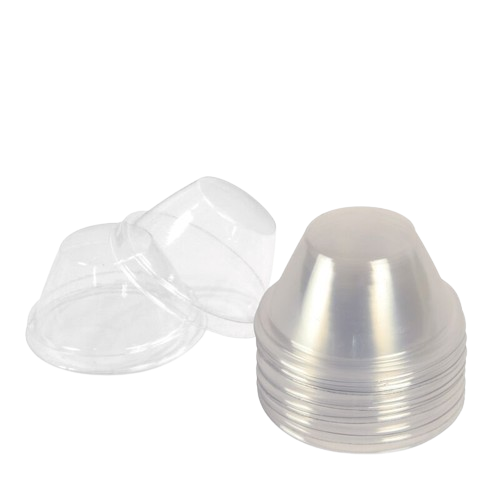
Grow Baskets
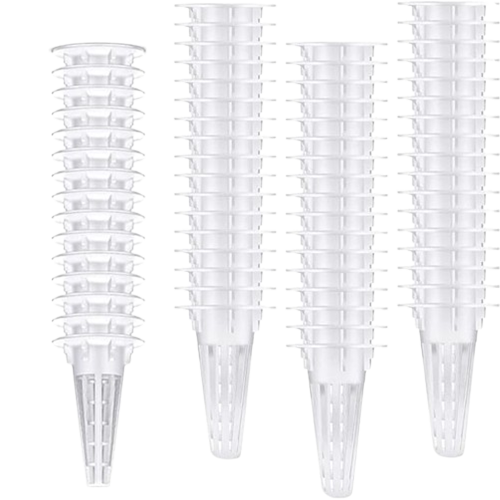
Aerogarden grow baskets are little plastic cages.
They retail for about 30 cents each, whereas non-branded grow baskets cost ~15 cents each.
I’ve noticed Aerogarden’s baskets are made of a a thicker, more durable plastic. They have little ridges or perpendicular ‘teeth’ marks so the baskets.
The third-party plastic pods work just fine, but aren’t as well made. They usually are a lighter, flimsier plastic and sometimes don’t have a seamless fit inside the holes of the grow deck.
As long as you can get a good quality basket that fits the same shape as the Aerogarden baskets, you’ll have no problem.
For me, I’m brand agnostic. I try to re-use the grow baskets when I can, as it’s more environmentally friendly than constantly using and throwing away plastic.
I’ve noticed that since Aerogarden’s grow baskets are thicker, they maintain their shape over time and are easier to use. I just clean off any roots or debris and wash them with soap and warm water before re-using.
But, because of the little ridges inside the basket, it’s a little harder to keep them clean.
Algae sometimes grows in the crevices, and can be more difficult to clean than the non-branded cages.
So, if you want a stronger pod basket that will survive repeated plantings, get Aerogardens.
Aerogarden Sponges
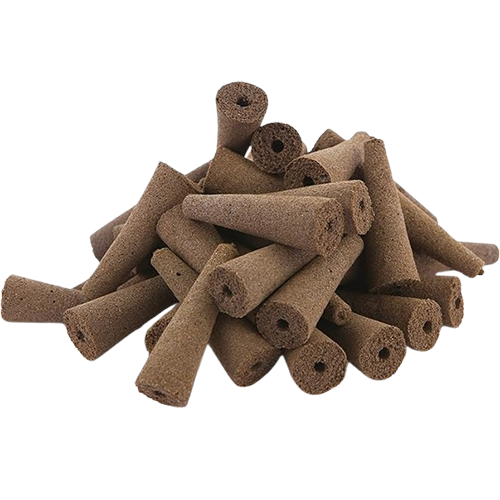
Aerogarden sponges are made from Canadian spaghnum peat.
It’s a kind of sponge-y brown moss grown extensively in Canadian peat bogs.
They retail for about 40 cents each, whereas knock-off sponges cost ~15 cents each.
Spagnum peat moss is a great growing medium for hydroponics because it doesn’t contain any soil.
Avoiding soil means avoiding weeds, insects and diseases!
Spagnum peat moss also has a high capacity to hold water without restricting airflow.
What that means is your plants will be able to adequately absorb water and nutrients without suffocating.
Hydroponic roots should always look white and healthy.
They may get stained a light brown from the nutrients, but if they start turning dark brown and slimy, they’re likely dying of root rot.
You can buy spagnum peat moss sponges from any third party company.
But I find that the quality of Aerogarden’s sponges is better for plants. They have a lighter, more crumbly texture that the plants seem to find easier to push roots through.
I don’t think the non-branded sponges are made from coco coir at all as they feel quite stiff and plastic-y.
While they work just fine, I think it takes plants longer to push roots through the plastic sponges, so your plants will grow slightly slower.
They’re also slightly different sponge shapes.
Obviously, Aerogarden sponges are perfectly sized to fit the Aerogarden grow baskets.
They’re shaped like an inverted cone, measuring ¾ inch wide at the top and tapering down to ½ an inch at the bottom.
Height wise, they should be almost 3/4 the height of the plastic grow basket.
Some of the knock-off brands are short and wide, so they don’t fit quite as nicely.
And, because the sponges are more ‘solid’ pieces, with smaller hole openings, they can fit in less seeds than the Aerogarden sponges.
Sponges are one part of the Aerogarden pod that I don’t recommend re-using in between plantings.
They get quite tangled with roots and can harbor bacteria or disease if your old plants weren’t healthy.
I always recommend using fresh sponges (unless a plant has died off very early and the sponge has barely been used).
I typically buy a bag of 100 from a third party brand for ~15 – 20 cents a sponge.
Aerogarden Sponge Alternatives
The main purpose of the sponge is to hold the plant in place.
So if you wanted, you could save even more money by using alternative growing mediums, like:
Peat moss is not really an environmentally friendly material (it releases huge amounts of carbon dioxide when harvested) so lots of people prefer less harsh products.
Here’s a quick overview of various Aerogarden sponge alternatives:
Rockwool
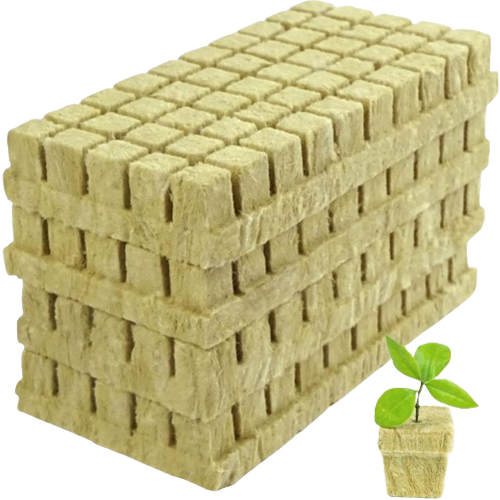
One of the benefits of rockwool is it’s a great option for DIY hydroponic systems, so you could use it for other indoor garden projects.
But, you do have to buy them in bulk and break apart every sponge individually.
Rockwool blocks can contain micro dust particles and loose fibers that can aggravate allergies, so use if you’re not sensitive to dust!
They’re also typically designed for hydroponic projects that use 1″ net cups, which are much larger than Aerogarden’s plastic cages.
So you may have to gently cut them down to be narrower and shorter.
Clay Pebbles
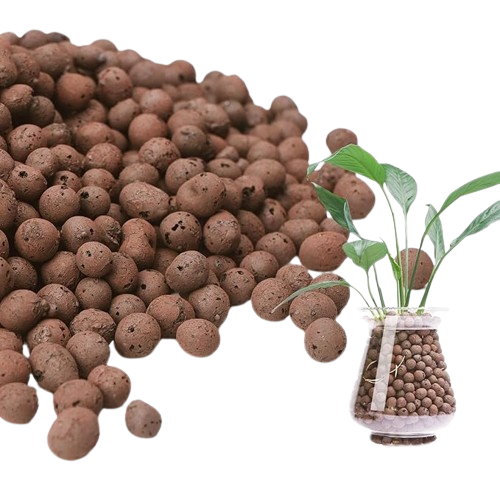
Clay pebbles are another popular hydroponic growing medium.
For some plants, I find that clay pebbles work better than the peat moss sponges.
Clay pebbles are sold in a large 8 pound bag for ~$20 and are pretty affordable.
For example, chives are an herb that grow best in a thick bunch.
The seeds can take a while to germinate (~21 days) and each seed is roughly medium sized.
I try to plant 10-20 per slot in the Aerogarden but this ends up being too many seeds for the small sized hole in the Aerogarden sponge.
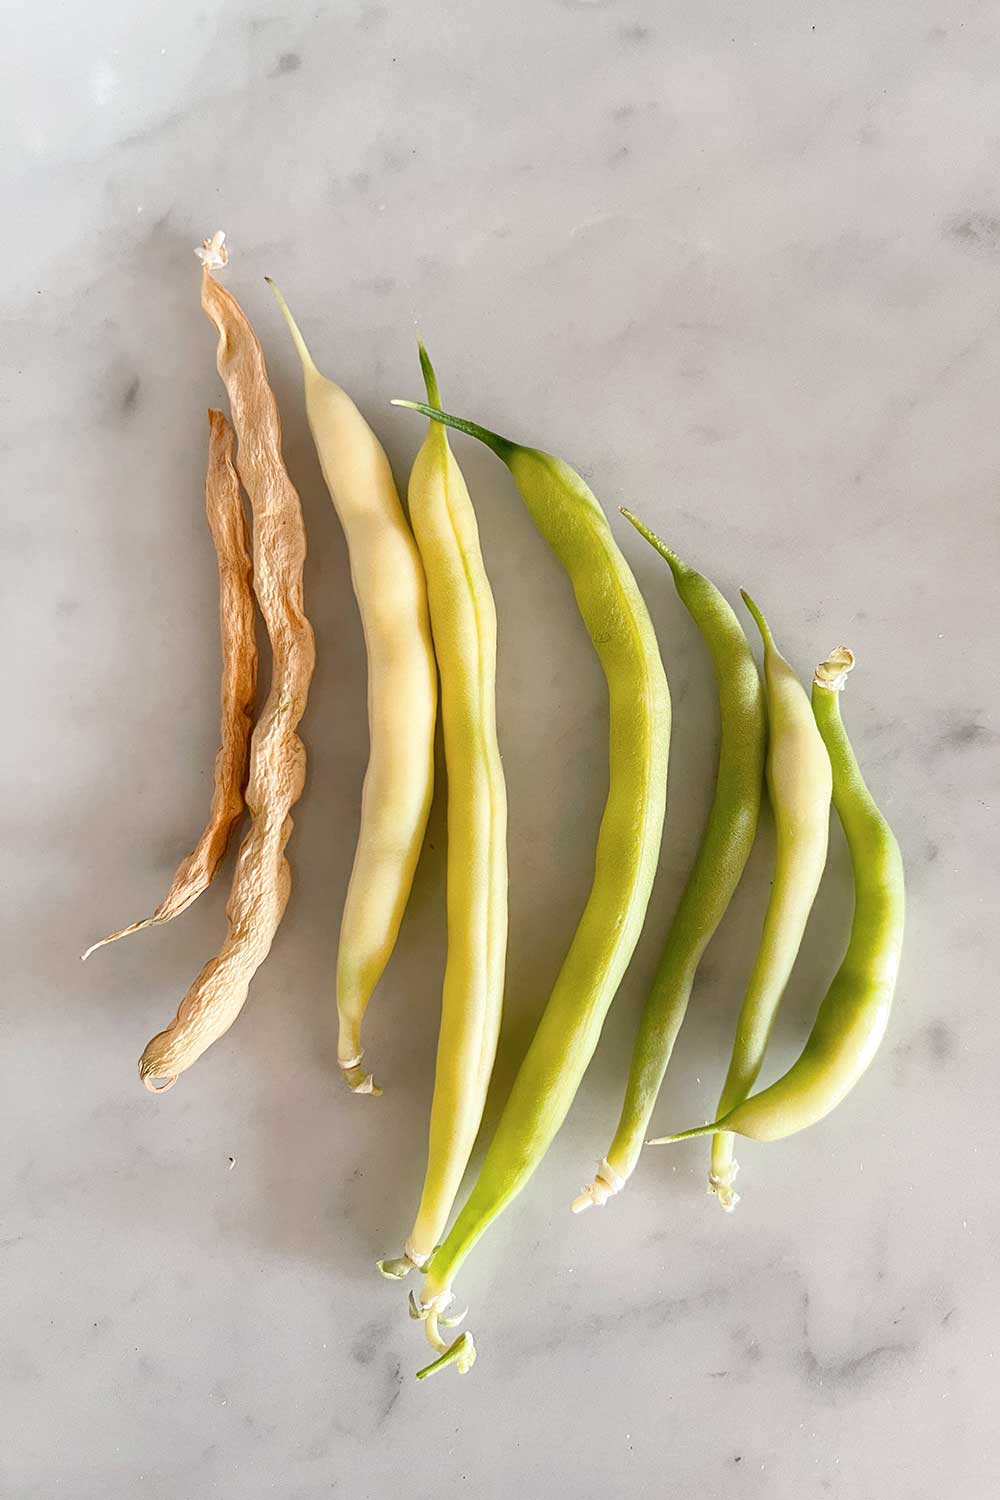
Veggies with extra large seeds like green beans and peas can be a tight fit for the peat moss sponges and a better fit with the flexible clay pebbles.
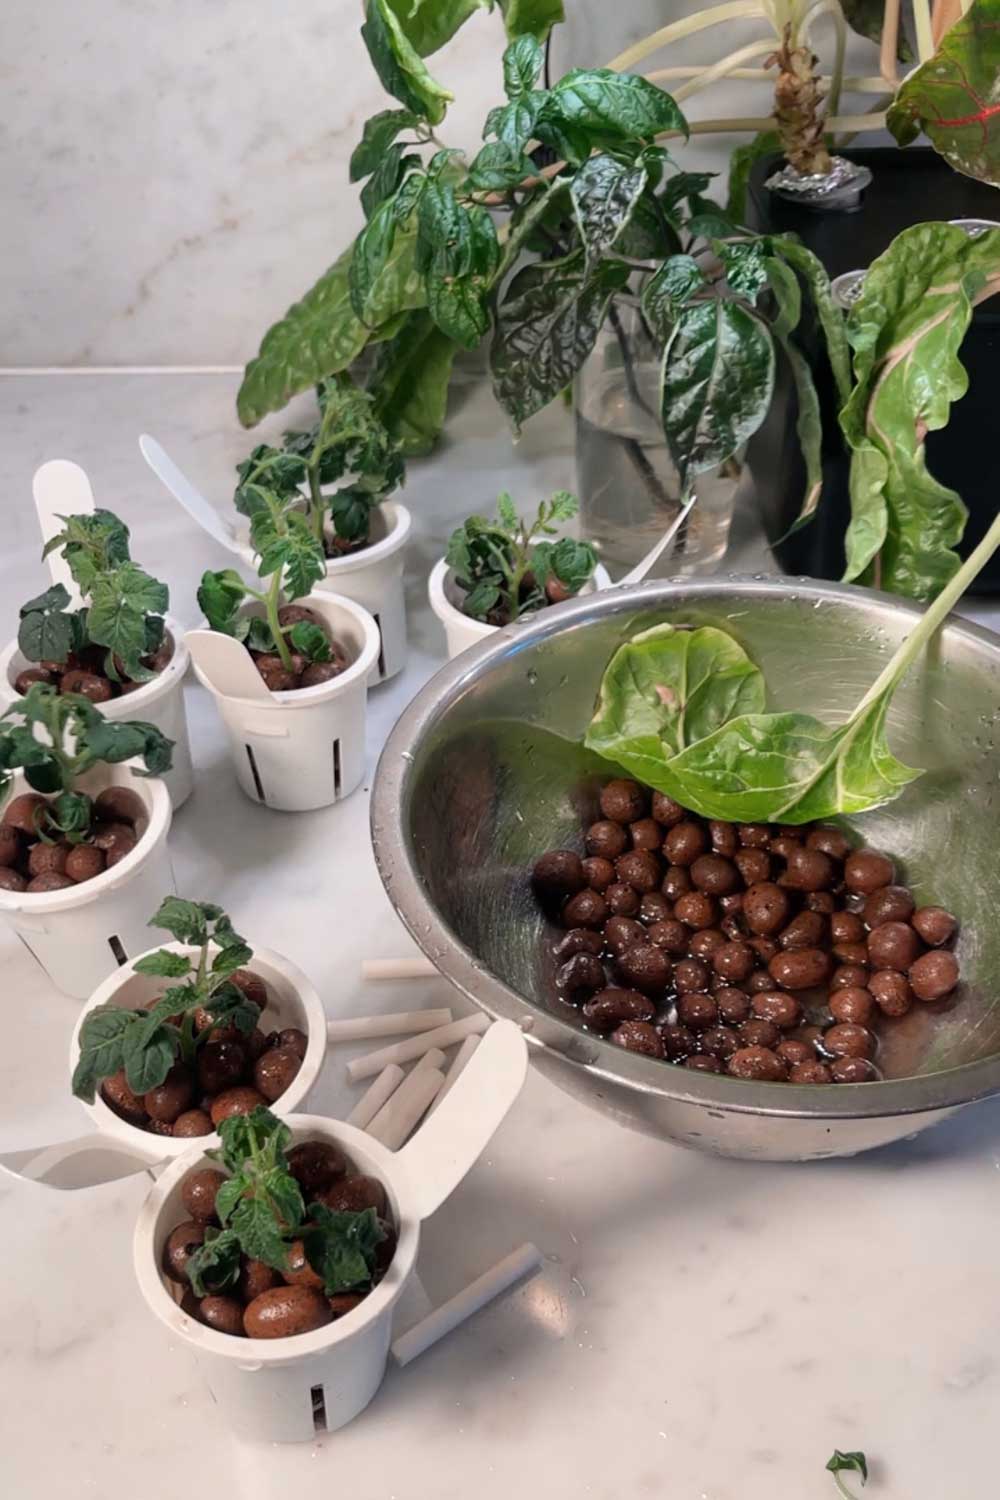
Clay pebbles are also a great growing medium if you want to create DIY hydroponic garden projects, like kratky mason jars or LECCA pots.
I’ve also used clay pebbles as an alternative growing medium in my Click & Grow setup.
So they’re multi-purpose and quite useful!

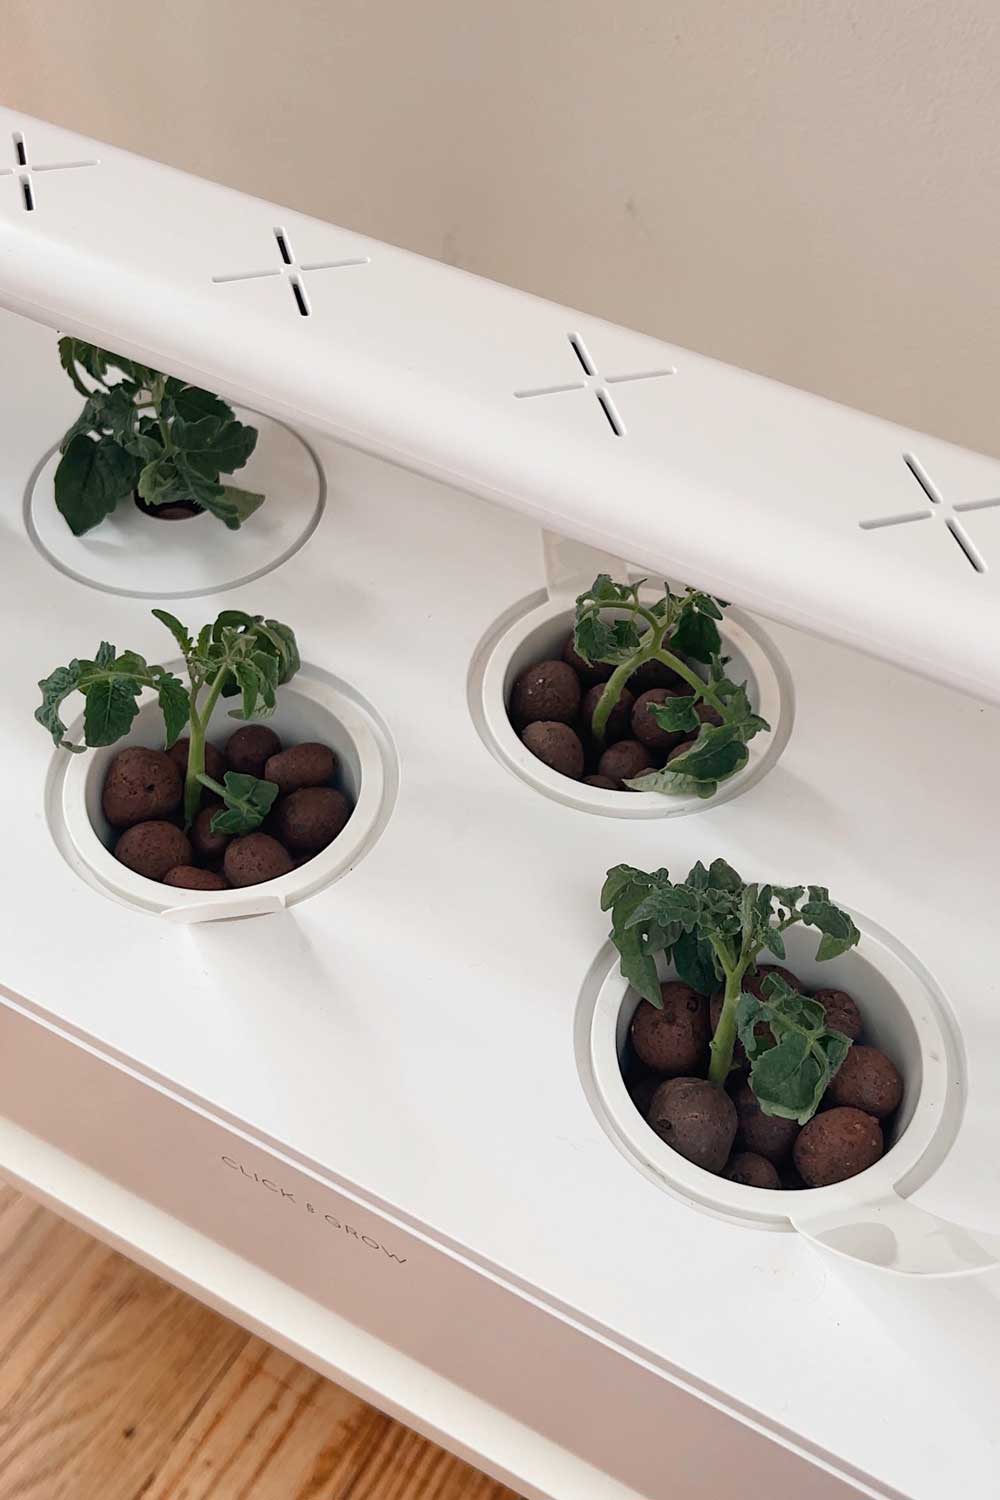
using clay pebbles as an alternative growing medium in my Click & Grow garden
Clay pebbles also re-usable.
I’ve used them in grow cycle after grow cycle, with just an easy rinse to clean in between plantings.
You also want to give clay pebbles a good wash before using them for the first time, as they can be a bit dusty.
One bag will last you basically forever!
Coco Coir
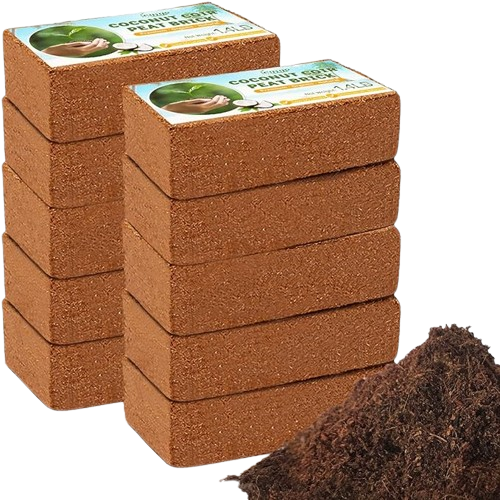
It has one of the highest rates of water retention (it can absorb up to 10x its weight in water).
So plant roots growing in coco coir will stay hydrated for longer whic helps with strong, healthy root development.
It’s also environmentally friendly, because it’s a repurposed product from what would otherwise be waste.
Coco coir can also be re-used over and over.
I use coco coir for starting ‘trickier’ plants.
Sometimes, starting seeds indoors can be tricky so anytime I’ve having a lot of trouble with seeds rotting or germinating and dying, I switch to using coco coir.
In particular, I recommend using coco coir for beans, squash and peas!
using coco coir to seed start is helpful, especially when you’re starting a massive amount of seeds all at once!
Coco coir is pretty cheap.
The main con is that it’s a bit more labor intensive and can be a bit messy.
The coconut coir fibers are dehydrated and compacted into dry bricks for easy shipping, so when you buy one you’ll need to re-hydrate it on your own.
To do that, just wet the brick in a large bowl or container, and fluff until it turns into a crumbly mixture.
It’s easiest to rehydrate the entire brick at once so you’ll also need to store the bag of ‘soil’ somewhere if you’re only using a little bit at a time.
Dish Sponges and Pool Noodles

I’ve personally never tried using these, but have seen others DIY them.
You can buy a pack of inexpensive sponges and cut them down to fit the Aerogarden grow baskets.
They don’t provide the best airflow, but they’re one of the most economical growing mediums.
You could also re-purpose a pool noodle.
These rounded sponge collars work best for wide-mouth net cups though, as opposed to the small Aerogarden spaces.
Aerogarden Seed Kit Alternatives
When I first started out, I used Aerogarden’s seed kits.
The company carefully cultivates their own plant varieties that they’ve tried and tested.
So if you’re just starting out, I recommend using their seed kits.
They have over 30 different kits, with lots of unique options like mighty mini cherry tomatoes, ghost hot peppers and fairy tale eggplants.
And all the plant varieties they’ve selected will have high germination rates, stay compact to fit inside the indoor gardens and be satisfied with Aerogarden’s liquid nutrients.
But, if you have more gardening experience, it’s more fun (imo!) to use your own seeds.
As I mentioned earlier, you can grow practically anything inside the Aerogardens.
I typically buy my seeds online from online seed companies.
These heirloom seed companies offer fun unique varieties of herbs and veggies that I can’t easily find at the grocery store.
Some plants will grow easily, from start to finish, while others will need to eventually be transplanted outdoors.
The best types of plants will be container varieties or dwarf sized plants, since they’ll naturally be short and compact.

I have a whole post on my favorite online seed companies here, but my top recommendations are:
Ferry-Morse
Use code SHERSHEGROWS10 for 10% off your order and free shipping!
When shopping for seeds, look for keywords like ‘container friendly’ or ‘compact’.
I also find that it helps to read customer reviews.
I’m always looking for how tall the plants get, how long it took for fruit to develop and of course, taste!
The size of plant you can grow depends on the Aerogarden system you have.
I typically grow large fruiting plants (peppers, eggplants, beans, etc) in the Aerogarden Bounty or Farms, since they have a height capacity of 3 feet and stronger LED lights.
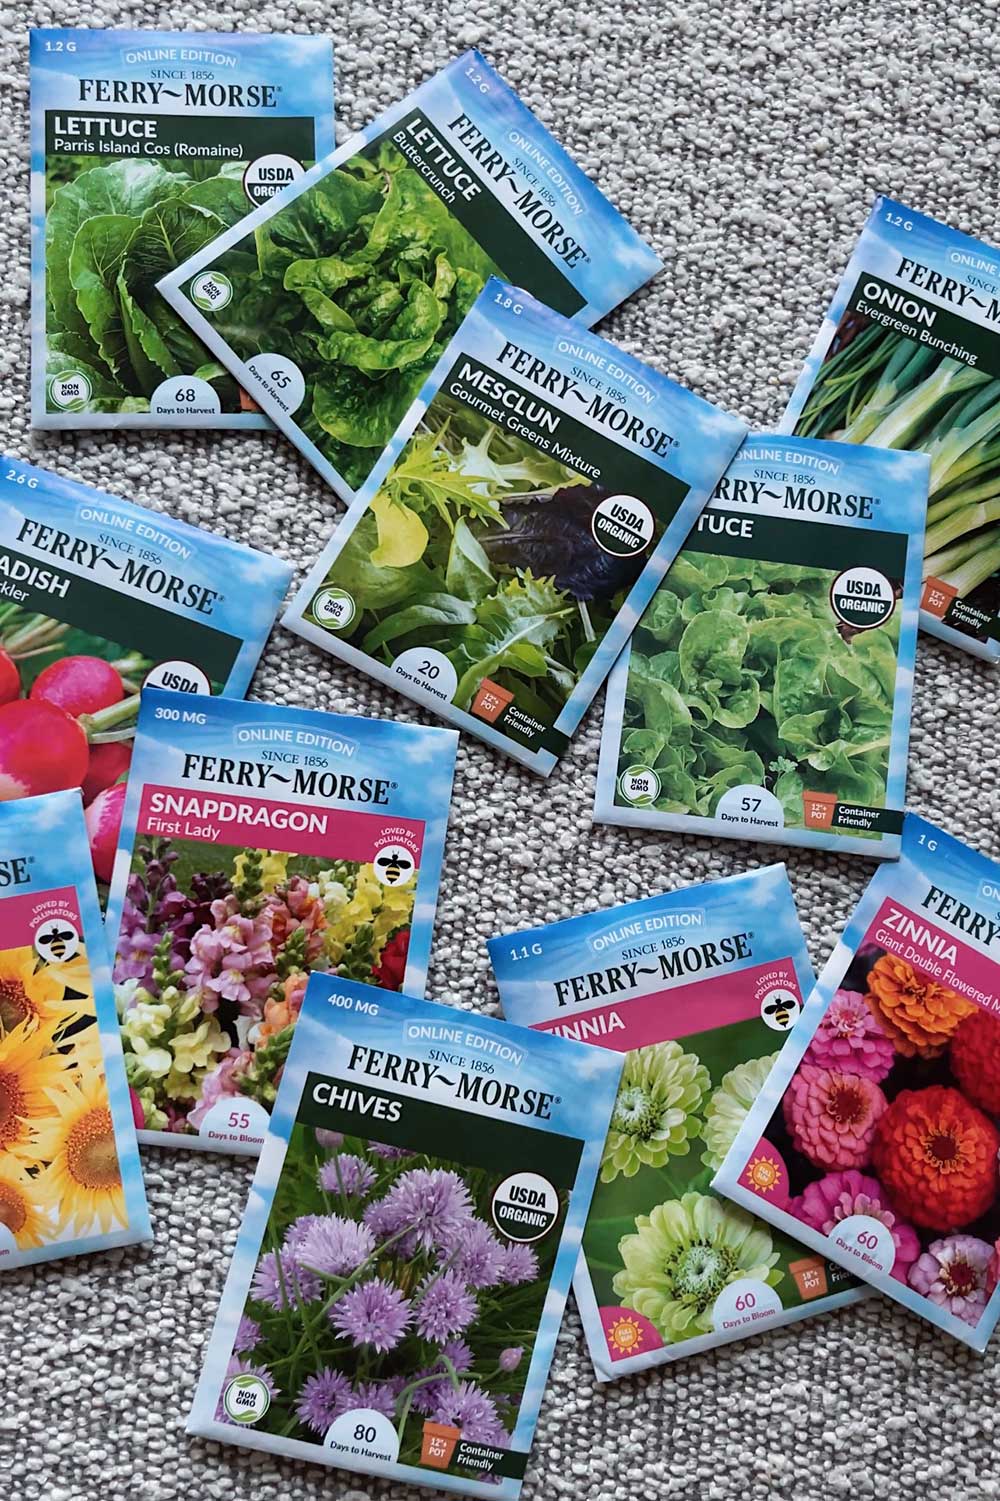
Ferry-Morse is a great example of a seed site that makes shopping easy.
You can search by specific vegetable or herb, then use the sidebar filters to narrow things down further.
Look for “easy to grow” under Categories and “good for containers” under Use if you’re gardening indoors or in a small space.
I also recommend browsing their AAS Winners section (America’s Best Winners), which highlights seeds that have been independently tested and recognized for outstanding performance.
Ferry-Morse
Use code SHERSHEGROWS10 for 10% off your order and free shipping!
Saving Money on Seeds
To save money on seeds, you can save seeds from your full grown plants.
This is especially easy to do for fruiting plants like tomatoes, peppers, beans, peas, etc.
For lettuces and salad greens, wait until your plants have bolted and gone to seed to collect them.
I also recommend buying seeds off-season.
saving seeds is a great way to save money on buying new seeds and pretty easy to do!
Botanical Interests Discount Code
Use SHERSHEGROWS for 5% off
Most seed companies will start to have sales in late spring and early summer to clear out their inventory.
Often the unique and most in-demand varieties will sell out, but it’s a great way to stock up on seeds you might otherwise not have bought.
I’ve gotten seeds for as little as 20 cents at places like Aldi, and heirloom seeds for ~$2 per packet from Botanical Interests during their sales.
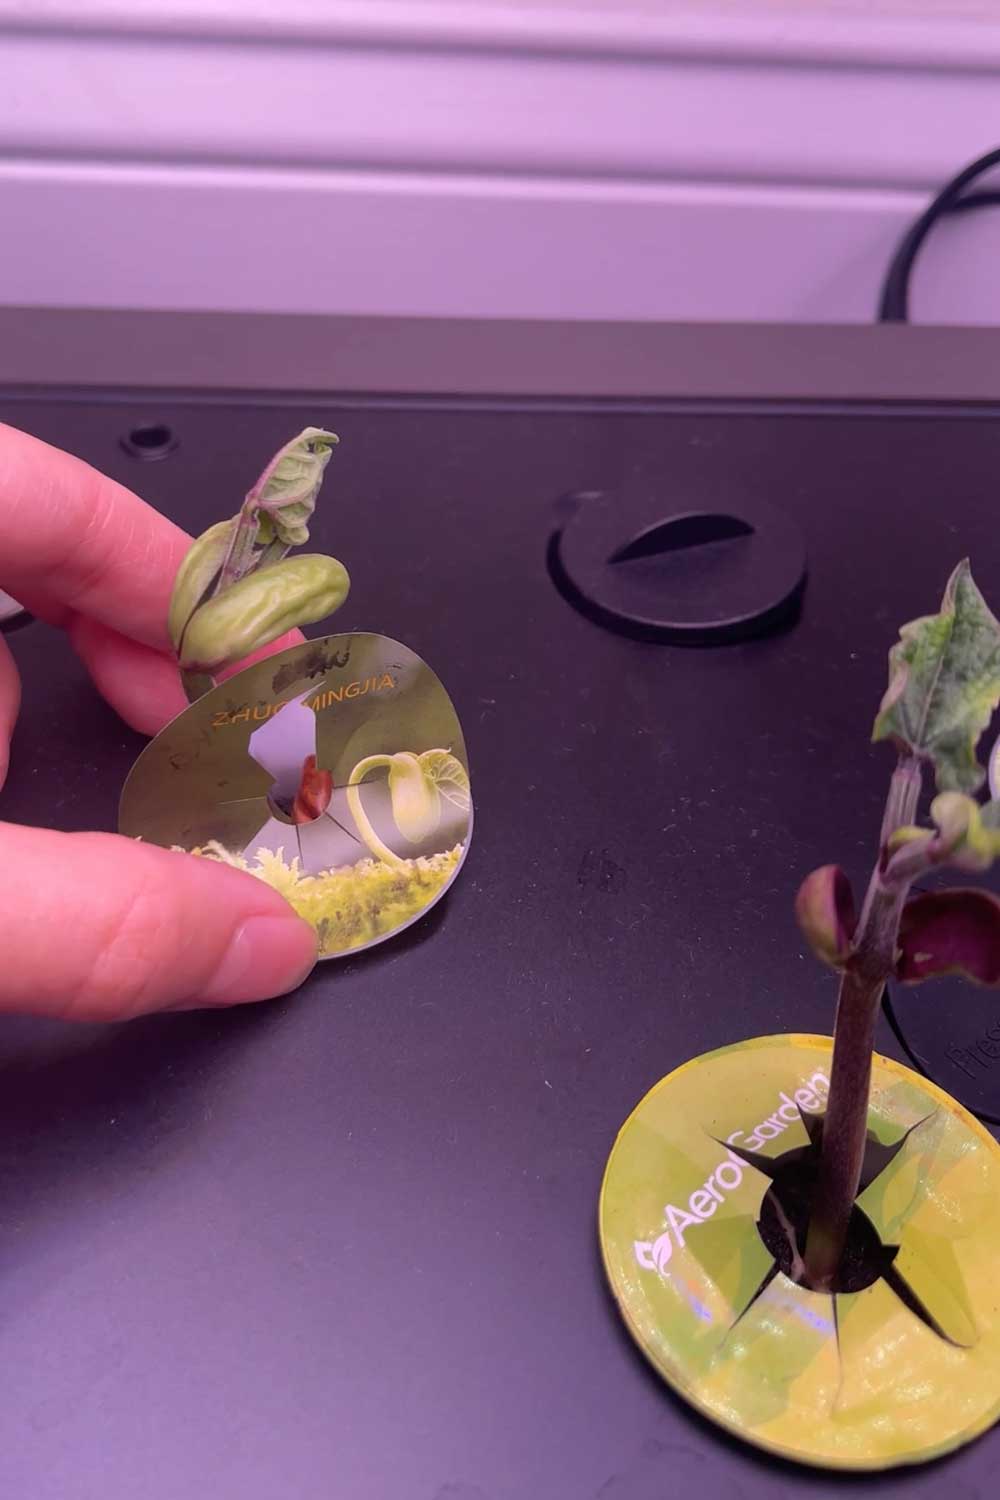
Labels
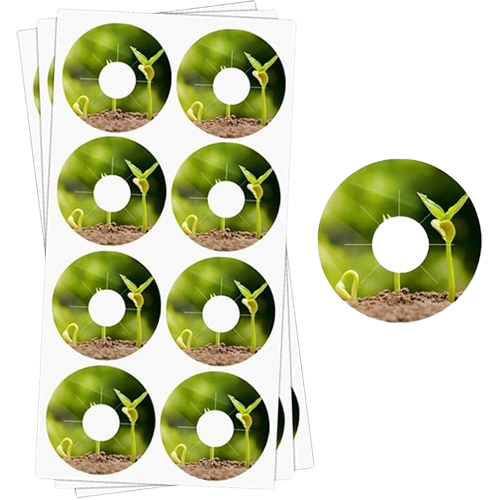
You technically don’t need labels, but I find them helpful to identify what you’re growing.
I’ll often plant a bunch of stuff, swear I’ll remember…
and then promptly forget which exact variety of pepper I’ve got going where 8 weeks later.
So far I haven’t found the ‘perfect’ label, as both Aerogarden and third party stickers have their pros and cons.
The Aerogarden labels are peel-and-stick stickers.
Ink tends to smudge on them so if anyone has tips for what type of pen or marker to use, let me know!
The Aerogarden labels have a wider central opening, which works better for large seed plants, like beans and peas.
They’re also a light yellow-green color, which makes blue or blank ink much easier to read.
I often grow plants for 6+ months and have found that Aerogarden labels last much longer.
Perhaps the glue is stronger or the labels are just made of sturdier paper.
Third party labels are inexpensive and also operate on the same sticker method.
The labels are darker colored, with plant designs printed on them, so it can be a little harder to read writing against the background.
But, the finish on the stickers seems to make ink smudge less.
I also noticed the third party labels often have a smaller central hole, which more effectively blocks out light and more thoroughly prevents algae growth.
The smaller central holes has pros and cons.
The smaller opening can be tricky for plants in the early seedling stage of growth.
I noticed when growing beans that the giant bean seeds are much larger than the opening and it affected the baby seedlings.
Some got stuck on the sticker glue and didn’t grow properly…
Others pushed against the sticker as they grew and caused the sticker to split and pop off.
So you just have to keep an eye on your plants and make sure they’re growing straight.
In general, I find that the third party stickers tear, rip and break more easily.
The sticker glue isn’t as ‘tacky’ so they don’t last as long as the original Aerogarden stickers.
But… everything comes down to price!
Aerogarden labels cost about ~35 cents per sticker, while third party labels can be as cheap as 7 cents a sticker!
Aerogarden Sticker Alternatives
For a DIY option, you can use aluminum foil to replace stickers.
Little squares of foil are easy to wrap around the base of the plastic dome.
They serve the purpose of blocking out light and preventing algae or mold growth.
Some of the third party Aerogarden systems use square pods so the circular stickers aren’t a good fit. In those instances, I use aluminum as a cover and forego the labeling.
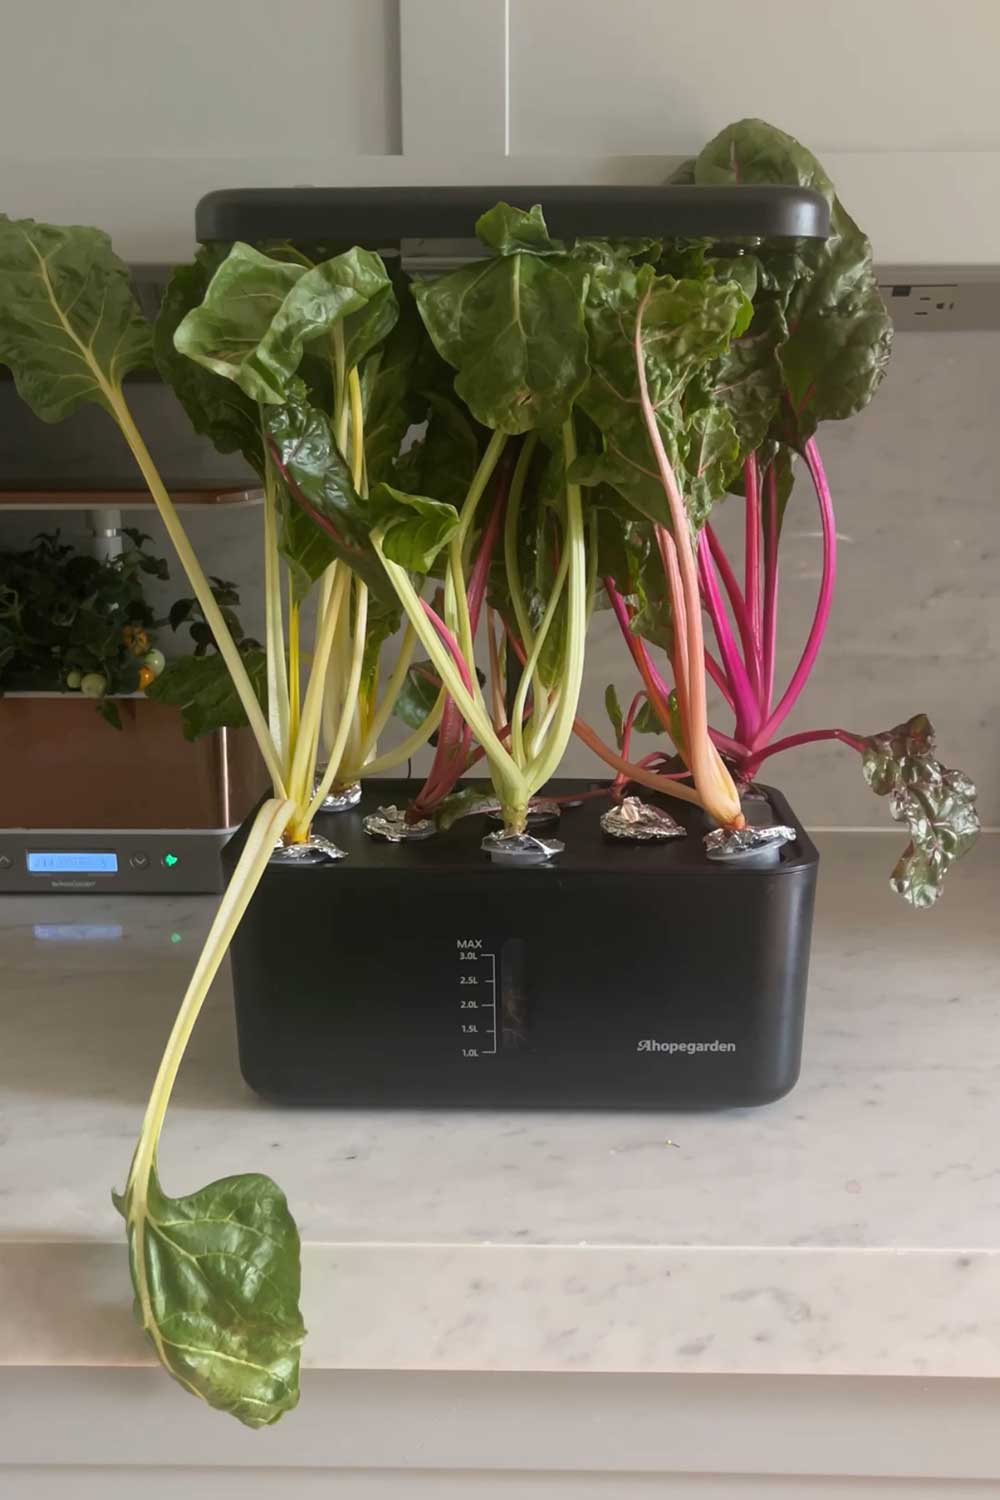
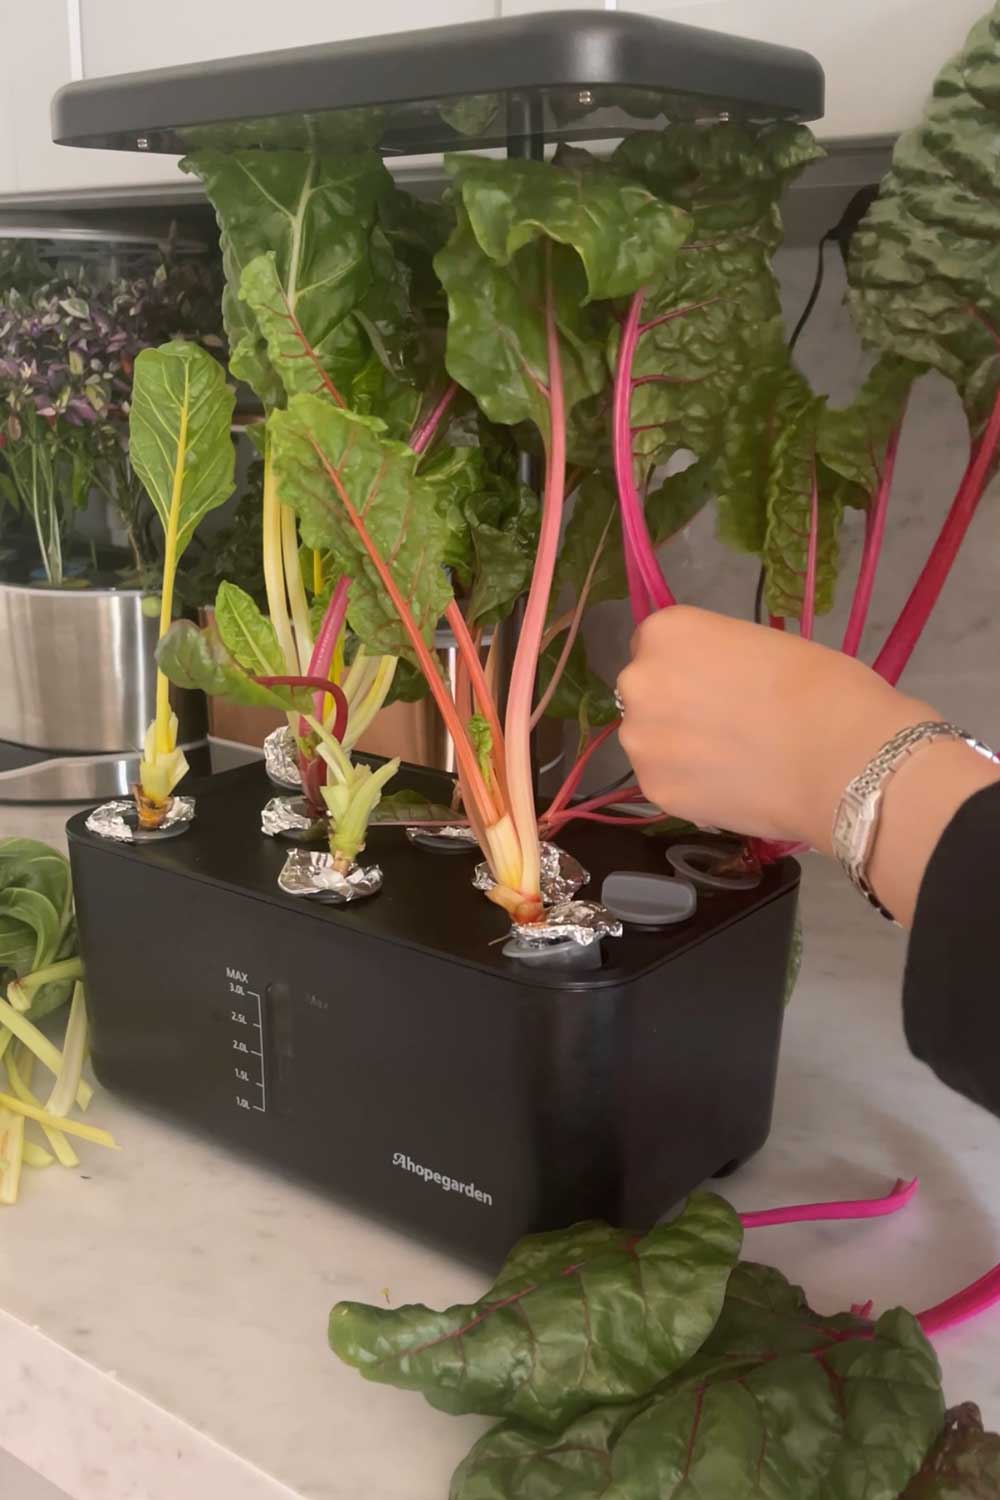
I used aluminum foil for the Ahopegarden, as the sticker labels were too large for the smaller pod baskets
Grow Domes
The initial Aerogardens come with seed pods and plastic caps.
These trap moisture and create a moist, greenhouse-like environment for the baby seedling.
Save the grow domes!
They can be re-used from planting to planting.
If you threw out the initial set, most of the third party brands sell replacement grow domes.
They’re very affordable – about $12 for a pack of 100 plastic caps, or roughly 12 cents each.
And it seems like. Aerogarden is cutting costs. Their latest model, the Harvest 2.0, doesn’t include grow domes.
So it’s a good idea to keep re-using any existing grow domes that you have.
I have an in-depth review of the Harvest 2.0 model if you’re thinking about purchasing one.
Nutrition
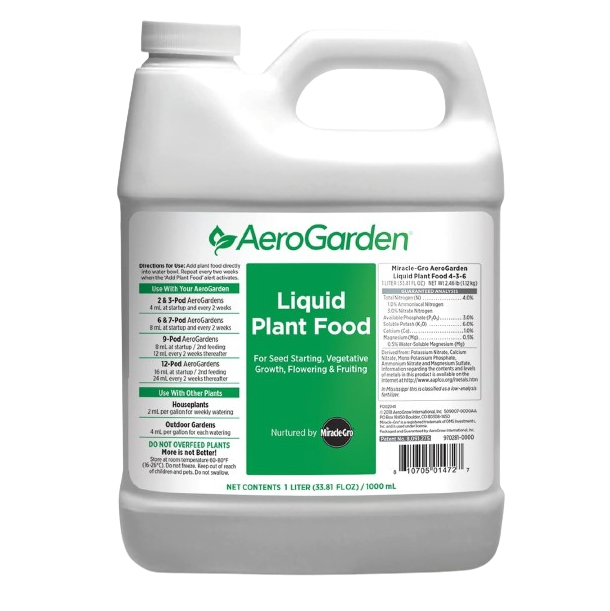
Aerogarden’s Grow Your Own Kit includes extra bottles of Aerogarden nutrients.
They work very well and I’ve used them to grow herbs, lettuces and fruiting plants.
I recommend Aerogarden’s 1 liter bottles of nutrients.
It’s still a small bottle (the picture is a little deceptive), but is a better value than the mini bottles.
It’s also very easy to use.
Just shake the bottle and pour a couple capfuls to the grow bowl (the number of cups depends on the size of the unit).
No need to mix anything!
The knock-off Aerogardens like iDoo, AHopegarden, Letpot etc include nutrients as well, but use a more shelf stable form that comes in two separate parts: nutrients A + B.
While these work just fine, they add just a little extra step to turn them into liquid form and then add individually.
I prefer the Aerogarden nutrients even though they’re slightly more expensive.
But, lately I’ve been testing out hydroponic nutrients from various other brands, like:
These are all a bit cheaper than Aerogarden’s nutrients.
They also separate some of the important plant food components, like nitrogen, phosphorus and potassium (NPK), so you can give your plants a more specific level of nutrients.
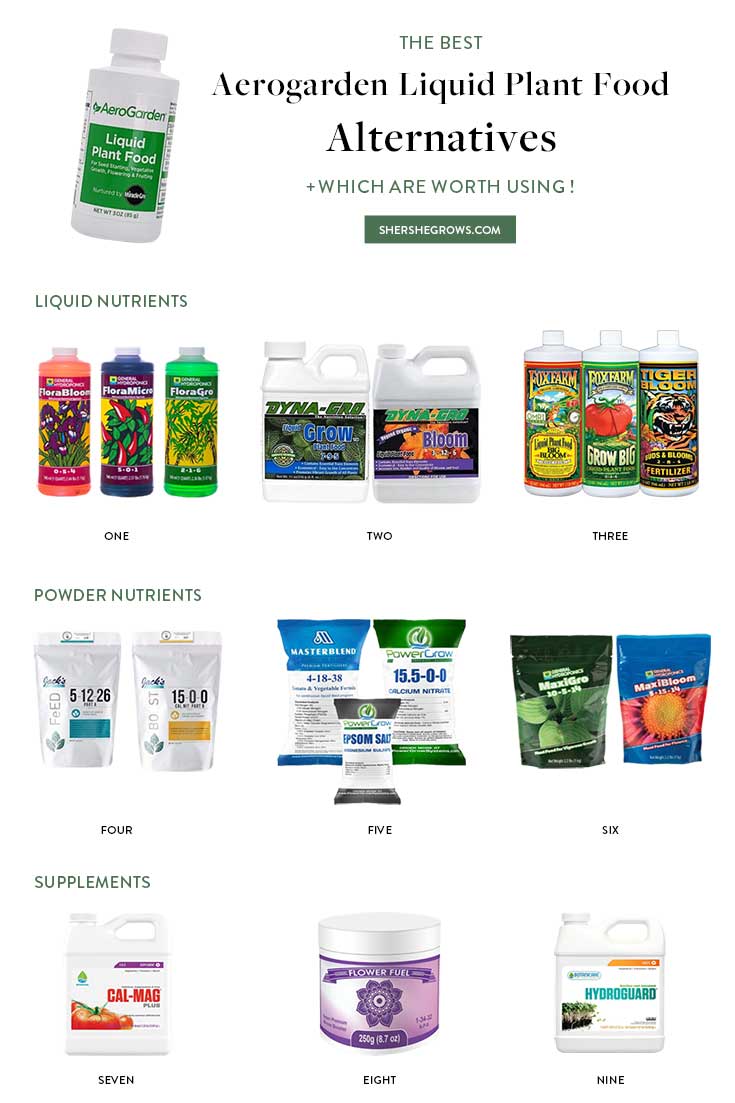
They’re not only a better value, they can help to optimize nutrition requirements for each type of plant you’re growing.
I have a in-depth guide on Aerogarden nutrients here.
It goes more in-depth into why nutrition is such an important component in hydroponic gardening.
I also wrote an in-depth comparison of all the hydroponic nutrient alternatives.
If you’re trying to optimize your veggies, it’s good to focus on tweaking the nutrients!
In general, nutrients in powder form will be the most cost effective.
By eliminating the liquid, they’re lighter to ship and can last a lot longer.
The downside is they come in large bags and require you to mix up the nutrients yourself.
If you have several gardens going, I recommend buying powder nutrients like maxi grow and masterblend.
Aerogarden Pods vs Third Party Brands
Below is a price comparison using Aerogarden’s pods vs knock off brands.
Personally, I use a mix of the OG Aerogarden and third party brands! Using your own seeds and growing new plants indoors ends up being pretty budget friendly!
Read more: Does Aerogarden Save You Money?
Aerogarden Pods
| Item | Quantity | Price | Avg Price per Pod |
| Plastic Baskets | 50 | $18 | $0.36 |
| Grow Sponges | 50 | $20 | $0.40 |
| Labels | 50 | $18 | $0.36 |
| Grow Dome | 50 | $18 | $0.36 |
| Total | $1.48 |
Each Aerogarden replacement pod is ~$1.48.
Seeds, nutrients and electricity are extra, but overall not very expensive.
Read more: How Much Does Aerogarden Add to My Electric Bill
DIY Replacement Pods
| Item | Quantity | Price | Avg Price Per Pod |
| Plastic Baskets | 50 | $13 | $0.26 |
| Grow Sponges | 100 | $16 | $0.16 |
| Labels | 120 | $7 | $0.07 |
| Grow Dome | 100 | $10 | $0.10 |
| Total | $0.59 |
Using third-party brands or DIY options can mean each new plant can be as cheap as ~59 cents!
I mix and match Aerogarden and alternative brands, based on what price and quality.
(I used the msrp price above for the table calculations, so stacking a discount code would make the Aerogarden pod pricing even cheaper)
Hope this post helped give you an idea of how you can grow plants indoors on a budget.
Follow me on
Youtube | Tiktok | Instagram | Substack | ShopMy
![]()

HI, This may be a silly question, but do you put soil over the seeds in a peat sponge. I have had my seeds in a fyi sponge for over 2 weeks, no soil, nothing is happening. The seeds look like a milky tone but have not sprouted anything. Not sure if they are bad or if they need actual soil.
Thanks!
Author
Hi April, no do not put any soil. Hm it could be old seeds or just a slow germination rate. Also depends on what type of seed, some take longer to sprout.
Thanks for your answer!
Sometimes synthetic sponges don’t work because they may not retain enough moisture. On the other hand, if the peat sponges stay too wet the seeds may not germinate because of fungal overgrowth secondary to the overhead light. If using peat sponges best to wet the sponges, add seeds BUT do not fill the reservoir, keep sponges moist until the seeds germinate and are above the covers, then fill with water just enough to wick the bottom of the sponges, and start the pump. Don’t add nutrients until the dome covers are removed, then start at 1/4 strength so as to not shock the plants. Just my two cents from being retired with too much time on my hands :-)
Thanks the helpful info! One quick note, I’ve read some disturbing things about Baker’s Creek seeds, and wanted to let others know in case that helps them decide where to buy seeds from.
For example: https://www.reddit.com/r/gardening/comments/1aslcwq/boycott_bakers_creek/
I think I have the first aerogarden unit that came out years ago. Your article has inspired me to get it out of storage and try some to grow some new veggies and flowers. I wanted to ask if you have done a review of which of the units is best for which type of plants, as I haven’t had much luck with tomatoes in my unit. Also wondering if you have a list of recommended plants. This article gave me a lot of great information. Thanks!
Could you do a post like this for starting your own seeds specific for the Lettuce Grow? I haven’t found a ton of resources specific to the sizing on the Lettuce Grow and would be curious about your experience!
Author
Sure!
Author
Just wrote a guide! https://shershegrows.com/how-to-use-your-own-seeds-with-lettuce-grow/
Aerogarden has gone out of business. I’d like to create my own pods as you recommend. How many seeds do I use per pod? Do I just push them into the sponge?
Author
Yes, just drop the seeds into the sponge. 1 per pod is fine
Their website is still up and running. They are still selling systems.
Author
Hi AJ – their website is up but they’re not actually selling any items anymore as they’ve shut down. There are a few gardens you can still buy on Amazon, but they haven’t restocked, it’s just what’s left of their inventory.
Aerogarden just announced they’ll be restarting operations in spring 2025 though, I wrote about it here: https://shershegrows.com/aerogardens-back-2025-relaunch/
Will be interesting to see if they come out with new products!
Sher, this is such a great article, thank you! I have a few questions:
I like to transplant my lettuces and herbs into containers. Would you suggest removing the plant and peat from the grow baskets before transplanting to pot or just salvage the grow baskets after the plant has died?
In regards to the different options for sponges you discuss, what is the healthiest? I always got the Aerogarden sponges because I trusted that Canadian peat was healthy.
In regards to fertilizer, is the bottle supplied by Aerogarden the best and do you think it is best for the plants once they have been transplanted into pots?
I love cilantro but struggle to grow it. I know about breaking the seed pods up but just wondered if you had any other suggestions?
Are there any brands of seeds you prefer?
Thanks so much!
Author
Hi Monique – Lots of great questions!
I have a guide on transplanting tomatoes outdoors here.
Regarding sponges, I’m not sure what you mean by healthiest, can you clarify?
For fertilizer, I have a guide on all the different hydro nutrient brands I’ve tried here.
They all have pros and cons, so there’s no one ‘best’ option. If you’re transplanting to pots with soil, you should switch to fertilizer meant for soil.
I’ll write up a cilantro guide! It can be a little trickier to grow..
Hello!
I wanted to ask how many seeds for clay pebbles and which pound of clay pebbles do you recommend for aerogarden?
Thanks!
What grow sponge do you use for your lettuce grow? Sometimes you transfer your plants from the countertop system to your lettuce grow? Does the sponge fit from aerogarden/letpot to lettuce grow system? or do you need to replant again? Thank you, totally new to this and I’m super interested in having my own systems at home.
Author
Hi Jen! I wrote a guide to growing your own Lettuce Grow seedlings here that covers your questions!
Hi Sher, How deep you put seed(s) in the grow sponge, my sponge has like a platform inside (less than 1cm from the top) and my seed just sit on the platform, should i push it down?
Hi Sher,
Left a comment but it didn’t get uploaded, so I have to ask again coz this is important ;)
How much deep your seed goes in the sponge pod, the sponge pod I brought from Amazon has a shallow platform (less than 1cm from the top) and my seed’s just sitting on that platform.. should I push it down?
Thank you!
Author
Hi Gemma! as long as the sponge is wet, they should be fine :)