Kratky is the easiest hydroponic method to DIY. Here’s an easy step by step guide to creating a kratky system inside a mason jar with affordable materials.
Kratky Mason Jars
I’ve been growing herbs, lettuces and veggies indoors using my Aerogardens for a while now, but the fancy hydroponic models can get pricey!
I was itching to grow more things so I created an easy and inexpensive hydroponics DIY system using mason jars. Hydroponic mason jars are a great way to grow plants indoors since you just need a few items.
It’s low maintenance, inexpensive and easy to do!
Here’s a detailed guide to growing plants indoors using the Kratky method.
What Is the Kratky Method
There are many different models of hydroponics, but the Kratky method is one of the simplest.
With Kratky, you grow plants in water without an air filter.
The method was created by Bernard A. Kratky at the University of Hawaii and so most people today refer to it after its founder. He actually calls it ‘a non-circulating hydroponic method’ though!
If you’re interested, you can read more of his research papers here.
Keep reading, or pin this article to save it for later ⇟
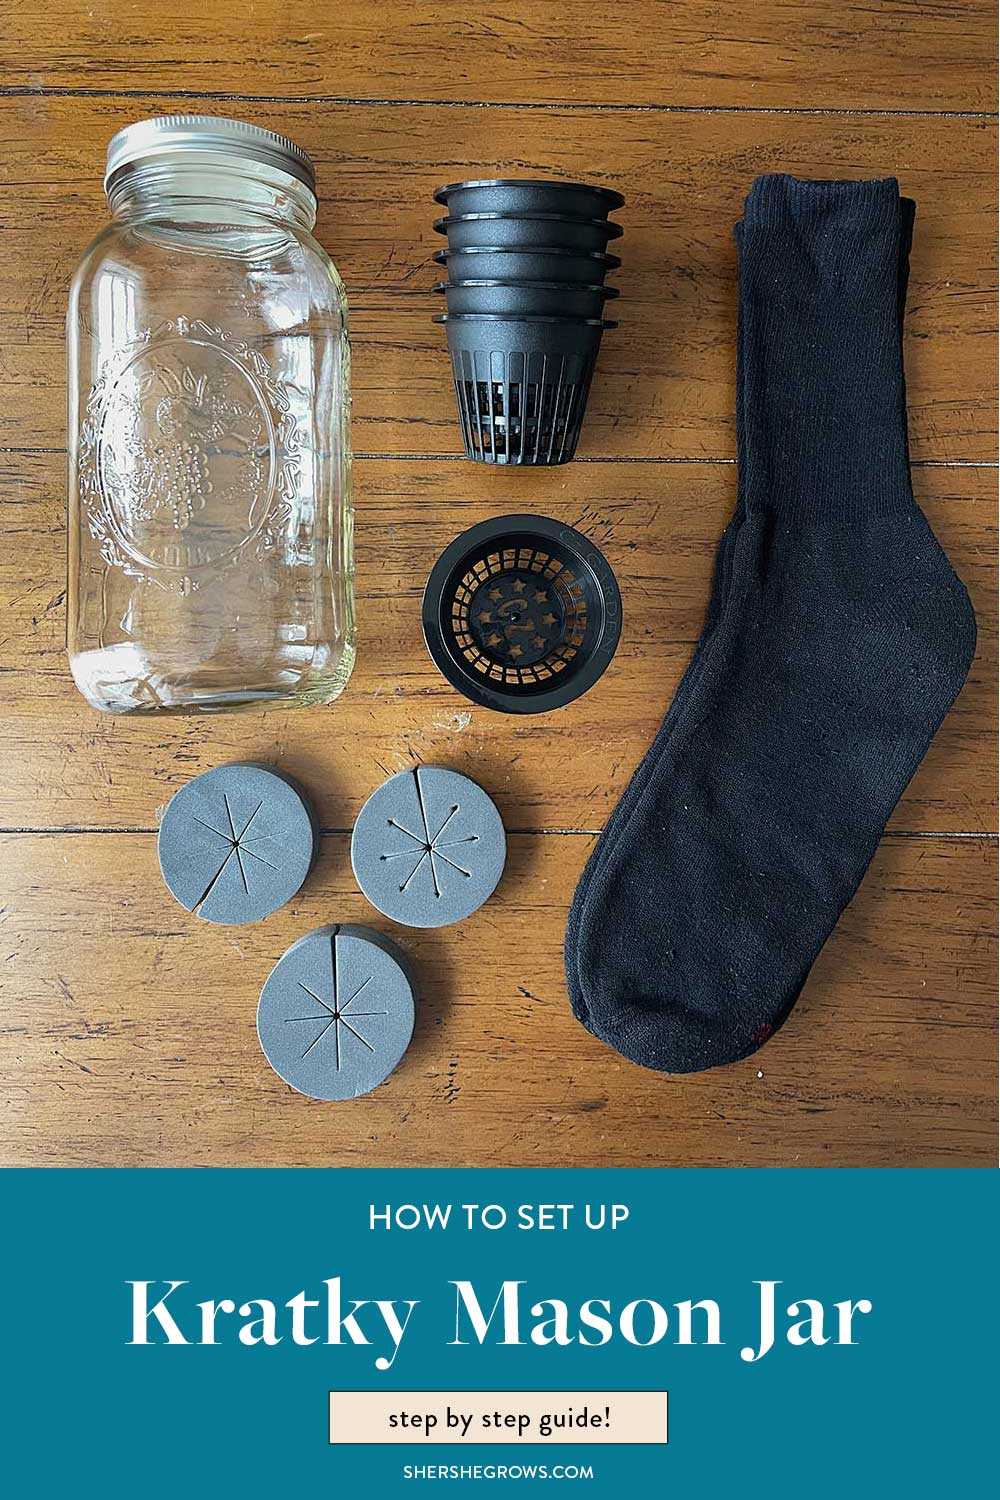
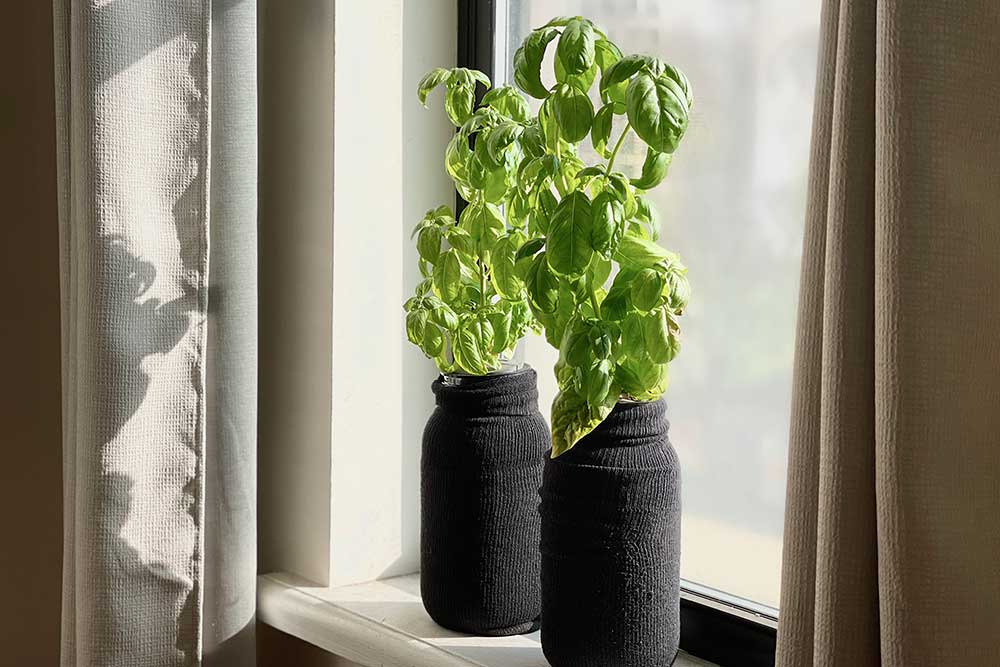
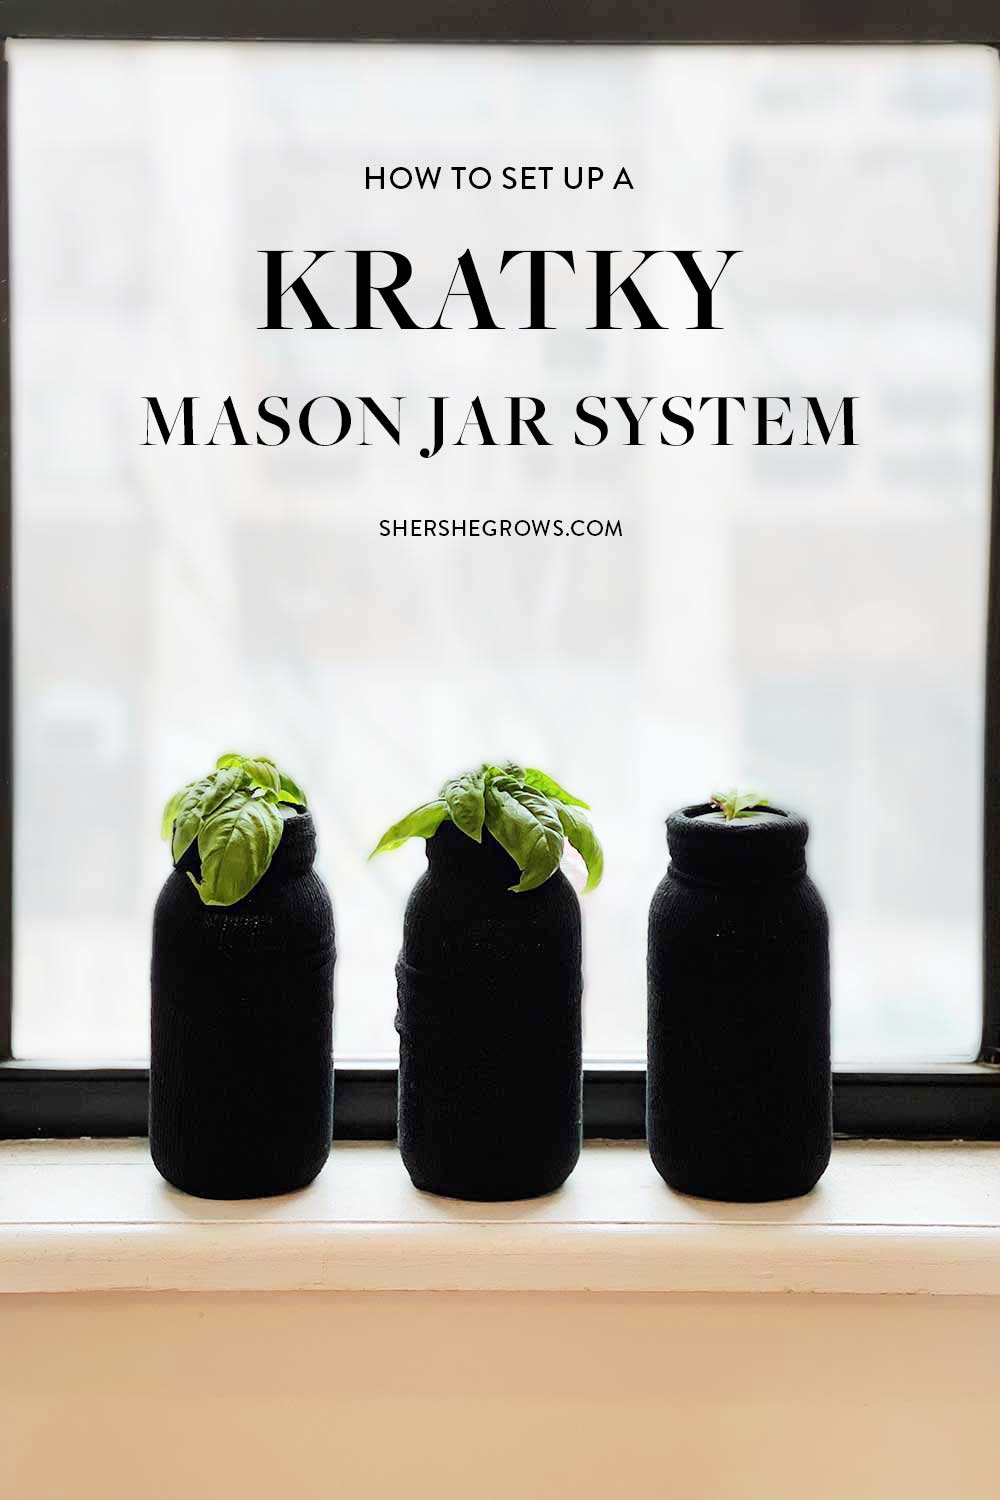
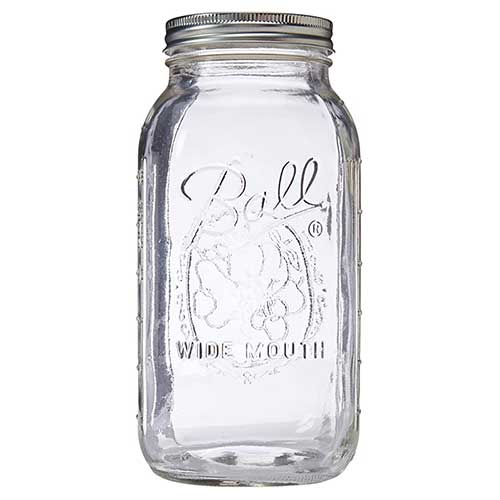
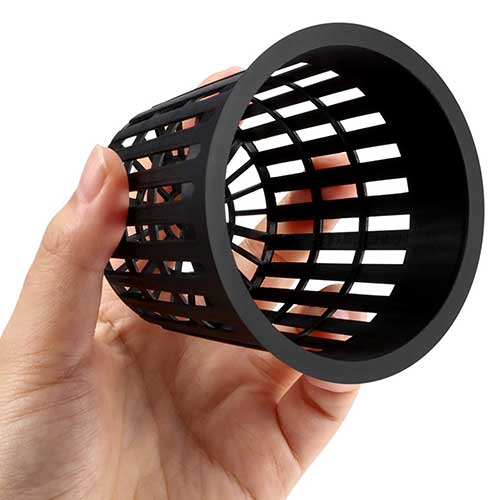
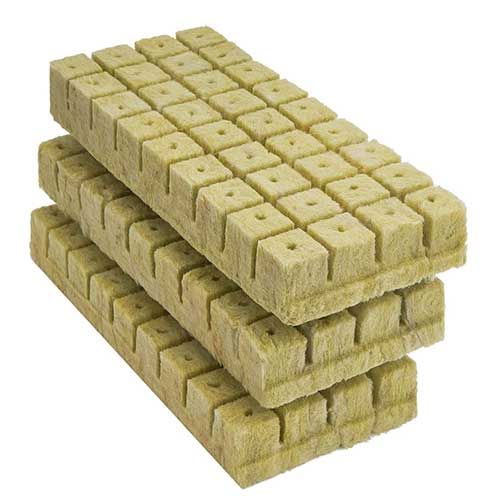
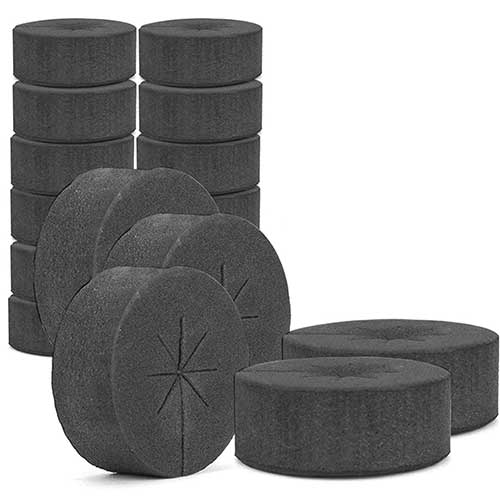
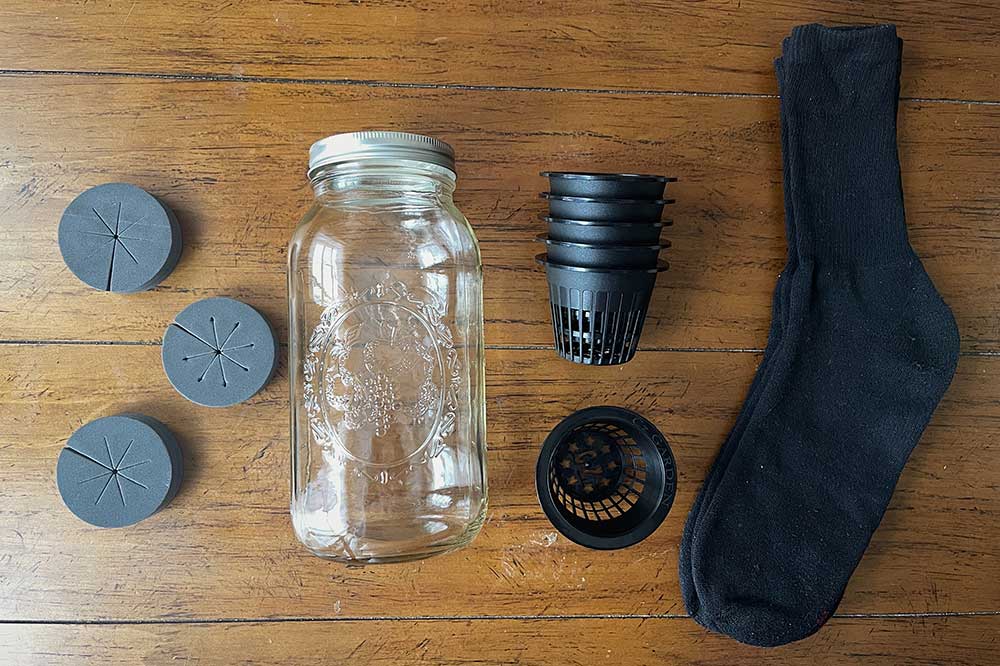
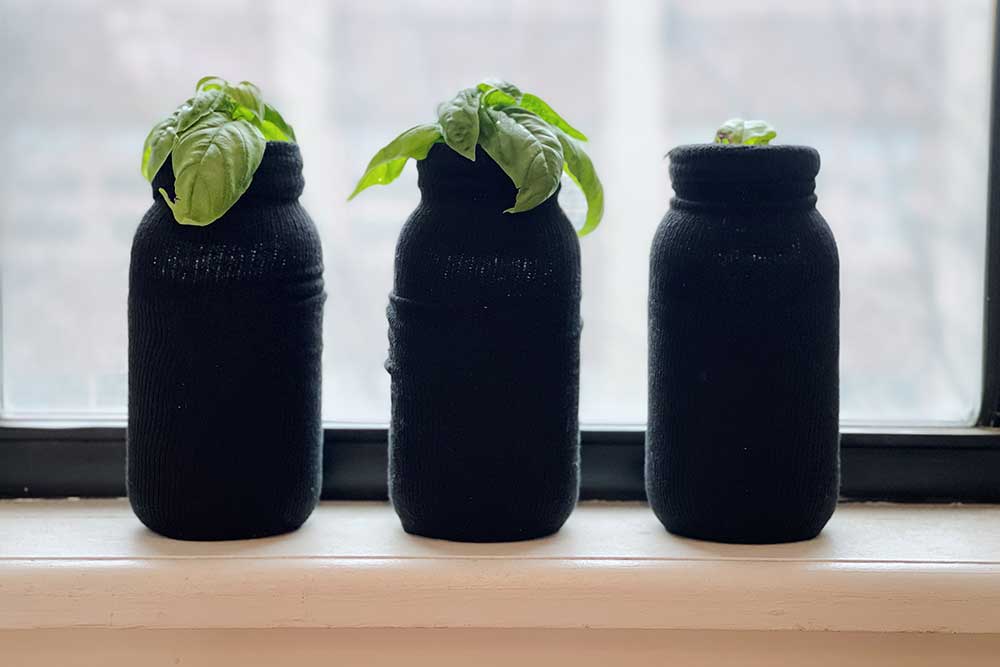
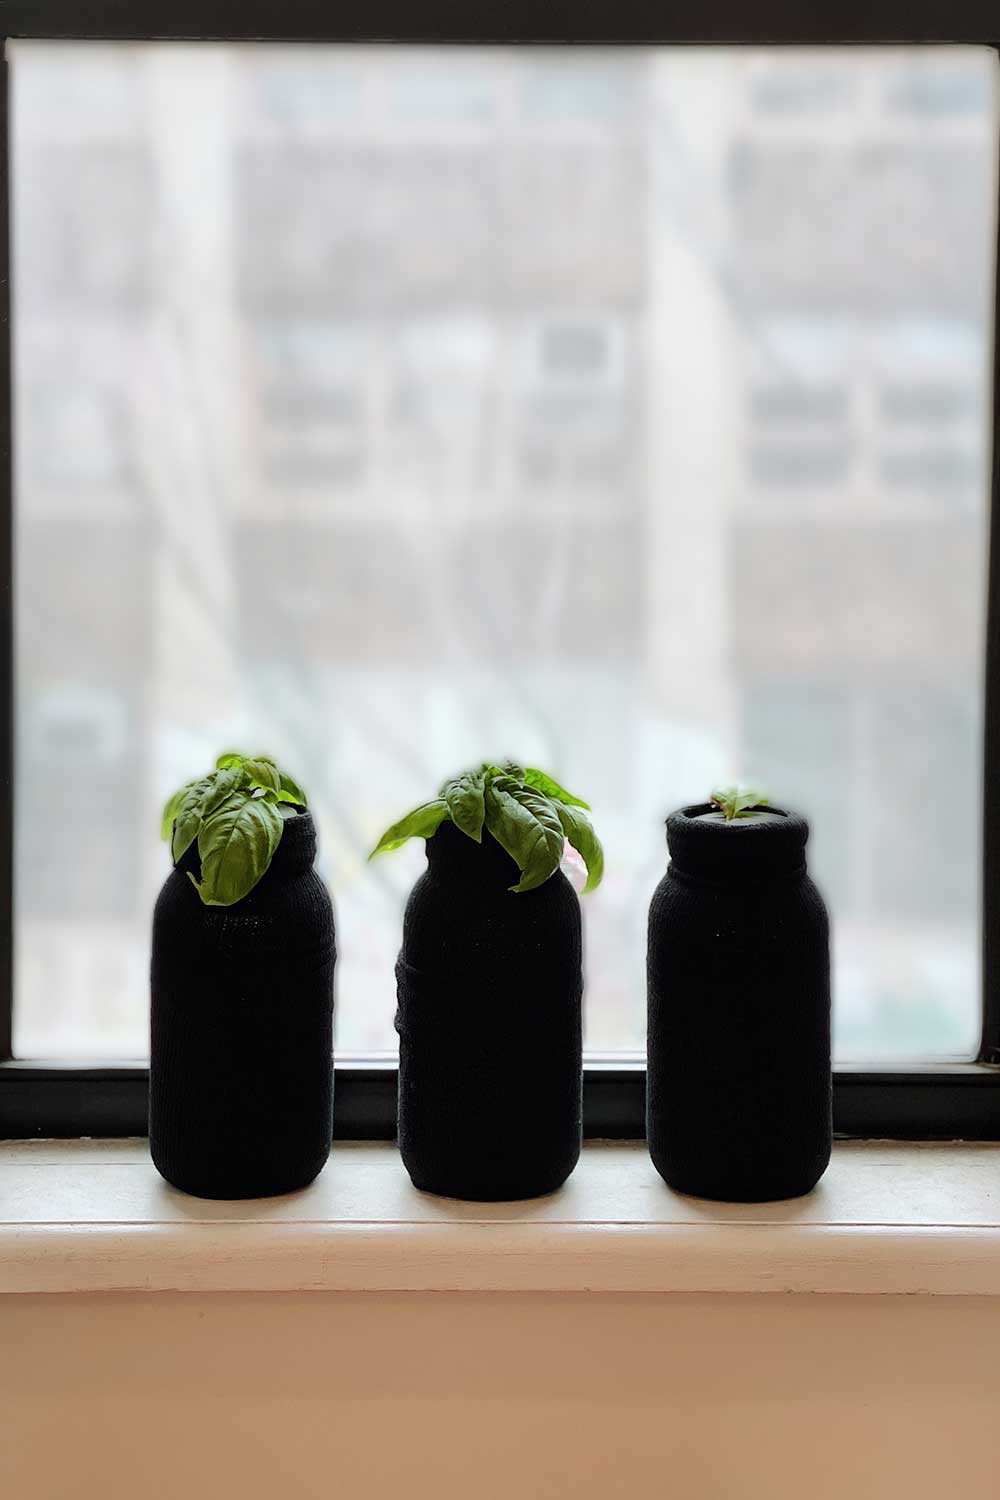
With Kratky, water and nutrients are added at the start, but then the process is pretty much hands off. I like to think of Kratky as a ‘set it and forget it’ method! You can set up a Kratky hydroponics system in virtually any type of container from small to large, and it’s generally considered a cheap and easy DIY. Lots of people recycle plastic containers, water coolers or everyday household items that they have lying around. I’ll be showing you how to create a mason jar kratky system – which I think is still cost effective but looks a little more put together. Here’s what you’ll need: Optional: Mason jars come in all shapes and sizes. I recommend these wide mouth extra large jars. You can use any size mason jar, but keep in mind that your plants will be limited to the capacity of your vessel, so the larger the mason jar the better. I like the 64 oz (half gallon) jars. I also recommend the wide mouth option instead of the regular mouth. The broader opening makes these jars easier to use and keep clean, and perfectly fits the net cup without a lid. Net cups are small plastic cups that will hold the plants. These also come in various sizes, but I specifically recommend these 3″ heavy duty ones which you can buy on Amazon. They’re affordable, the right size and sturdy. I like these net cups in particular because they’re heavy duty so they can be re-used multiple times and withstand a hot cleaning through the dishwasher. They also perfectly fit the wide mouth mason jars. Inside the net cup, you’ll place your grow medium to hold the plants. There are tons of different options on the market, including rockwool, coco coir and hydroton clay pebbles. If you want to start from seed, rockwool is one of the best affordable options. If you’re starting with baby seedlings (or propogating), you can skip the grow medium altogether. To block out light and prevent algae from growing inside our mason jars, we want to cover as much space on the lid as possible, leaving just the plant visible. Most people recommend placing clay pebbles on top of the grow medium, since it also helps with preventing water evaporation. I personally use these neoprene collars. They fit snugly into the net cup and create a nearly complete seal on the top. I personally also think they look much nicer than the rock wool + clay pebble combo! Other alternatives that you can try include aluminum foil or cutting up a neoprene pool noodle. Net collars come in all different diameters, heights and brands, but I bought these. They’re the affordable option that snugly fit the net cups I purchased. With hydroponics, plants need just water and nutrients to grow. You’ll fill up your vessel with a water and nutrient solution at the beginning, and let the plant roots take what it needs. As the plant grows, it’ll drink up the water and nutrients and over time the solution level will slowly drop inside the jar. Meanwhile, the plant will start to develop air roots. Whether you need to top up the solution and add more water depends on what you’re growing and how large a container you’re using. My personal preference is to have as low maintenance a system as possible, so I mainly grow lettuces, Asian greens and herbs in my Kratky mason jars. These are all low maintenance plants that don’t require heavy feeding, so they’re very conducive to the DIY mason jar set up. Lettuces and Asian greens don’t have a very long plant life. They typically last 2 to 4 months before they start to bolt and die. So, as long as I use a large enough mason jar and add enough water and nutrients at set up, I don’t need to top up. If you’re growing larger plants or fruiting plants (cherry tomatoes, hot peppers, etc), you’ll need to check on the water levels more frequently and add more nutrients. You’ll also likely want to do a full water and nutrient replacement every couple weeks or so. If you’re just starting out, I recommend keeping it simple with lettuces. For nutrients, I’m using leftover Aerogarden nutrients that I already had on hand. If you need to purchase hydroponic nutrients, Maxigro, Masterblend and the Flora Series are all popular options. Hydroponics is a bit like a science lab experiment. Every type of plant thrives in a different pH level. Lettuces tend to like more acidic solutions (pH levels 5.0-6.5), while tomatoes prefer slightly less (pH levels 6.0 to 6.8). To accurately monitor your water nutrient solution, you’ll need a pH meter. If you’re growing larger plants where you need to top up the water and nutrients, you’ll definitely want a pH meter. Over time, nutrients left in the container can skew your solution’s pH. If you’re just starting out, you can set up your kratky mason jar and just see how it goes! If your plants start to wilt or the leaves show signs of stress, then you’ll want to buy a pH meter and pinpoint exactly what’s going wrong. There are lots of pH meters, but most of the inexpensive ones don’t give accurate readings or will break after a short period. Instead of buying 2 or 3 cheap pH meters, buy this one. It’s a little pricey, but is one of the best manufacturers and will last you a long time. For plants to thrive in a kratky mason jar system, they’ll need about 6 to 8 hours of sunlight every day. If you have a sunny room or south facing windowsill, you can place them there. But if you don’t have strong, consistent daylight you’ll need grow lights. Any of these LED lights are affordable and make a great light source. If you’re planning to grow lots of veggies in a kratky mason jar set up, you may want to buy a sturdy shelving system. That way, you can place a whole bunch of hydroponic mason jars together under one grow light and easily keep everything organized. Get a storage rack with adjustable shelves and castor wheels so that you can easily move the cart wherever you wish. For example, from room to room to chase the daylight. Or, from the window of one room to your kitchen sink for easy cleaning. Since I have several Aerogardens and hydroponic systems, I place my mason jars next to them to share the light source. I also place some on a south facing windowsill. Since the mason jars are clear, we’ll need to cover up the surface of the cup to block out any light and prevent green algae from growing inside the jar. There’s lots of different solutions, including: You can also buy amber colored mason jars to help cut down on light leakage. Some people spray paint their mason jars black, but I like to be able to re-use mine so I prefer to keep them clear. I also don’t really have the outdoor space to spray paint, ha. So my solution is to use black socks! I once bought men’s black socks thinking I could wear them but they’re way too big for me and were just lying around the house taking up drawer space. So for me, they were the perfect cost-free solution. The nice thing about using socks is that it’s not a permanent cover. You can just pull down the sock to check on your mason jar’s water levels whenever you need. And, once my kratky mason jar is done, clean up is easy. I just pull the socks off, the mason jars can go in the dishwasher and the socks in the laundry. Everything can be reused over and over. Also this way, my mason jars are left in their original state so I can still use them for canning, fermenting or just to drink out of. I recommend buying higher quality, non GMO, heirloom seeds. Botanical Interests is a great option with a huge variety of seeds. To start your seeds, you can either use something like the Aerogarden (my method) or sprout seeds on damp paper towels inside a plastic bag. Once your seedlings have grown, transplant them into the mason jars. Shop seeds: Botanical Interests You should have: Optional Now it’s time to put it all together! basil in kratky mason jars: at set up and ~2 months later If you’d prefer to watch a video tutorial, I made one on Youtube! Click below to watch: I also have a Tiktok video showing you how I transplant my Aerogarden plants to kratky mason jars! This video walks you through the process with my mature shishito pepper plants, but can be done with virtually any veggie. For transplanting Aerogarden plants, you’ll want to use these handy discs instead of the clone collars. These discs are sized for the exact mason jars I previously mentioned, and have a cut out hole specifically designed to hold the Aerogarden pods.
Equipment
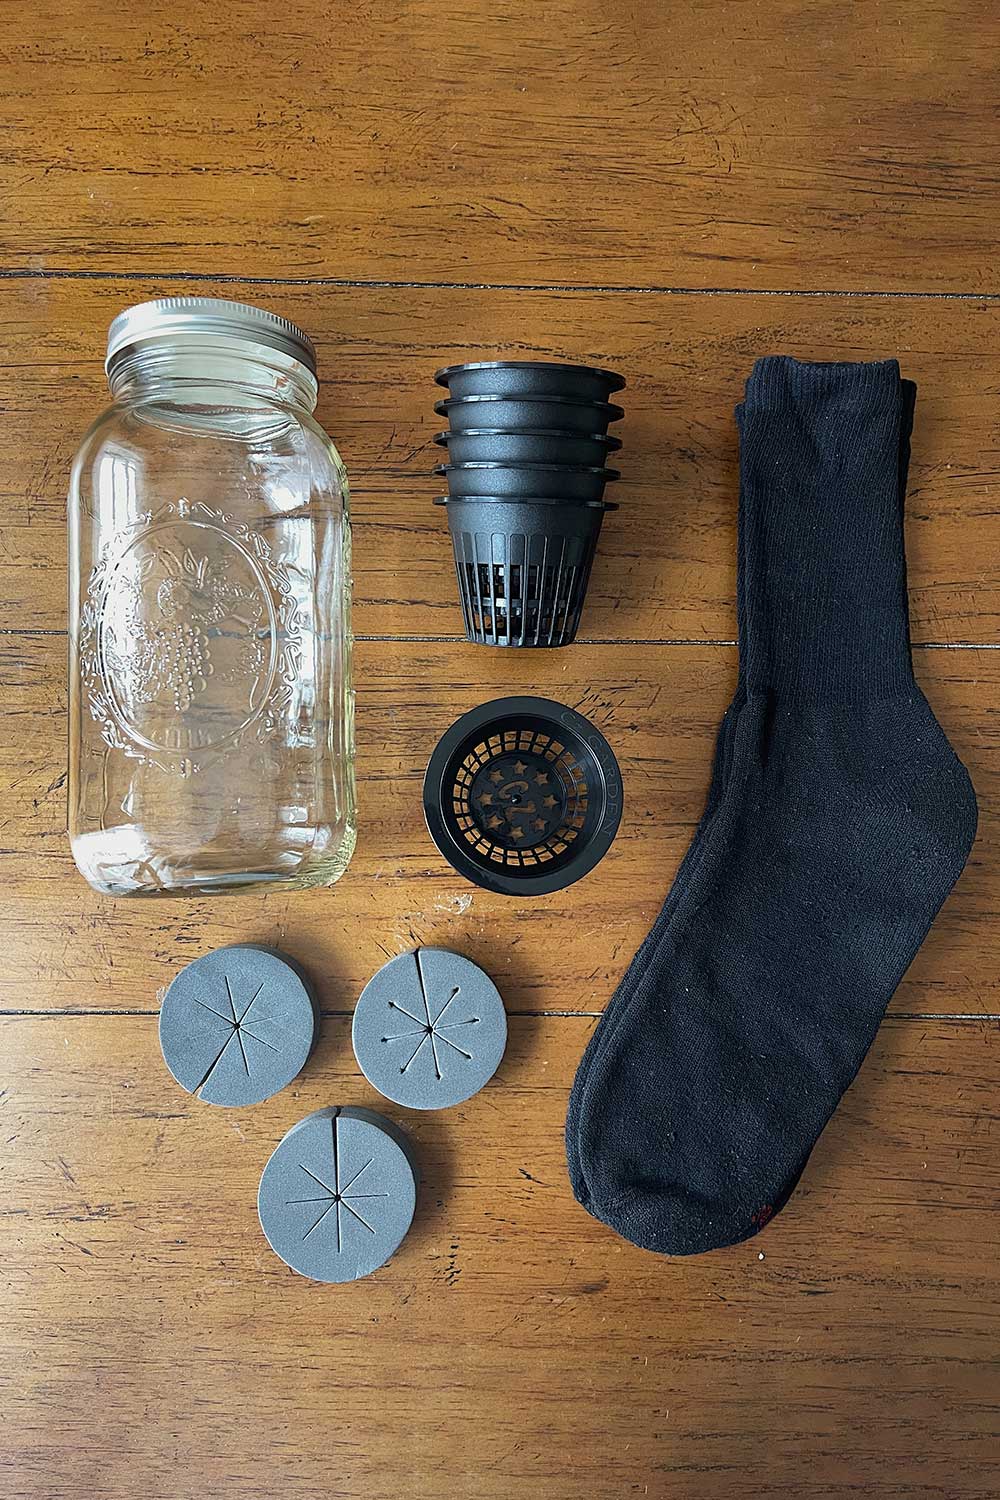
Mason Jars
Net Cups
Grow Medium
Clone Collars
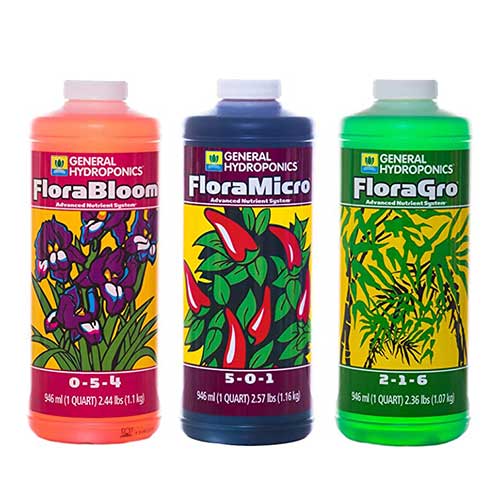
Nutrients
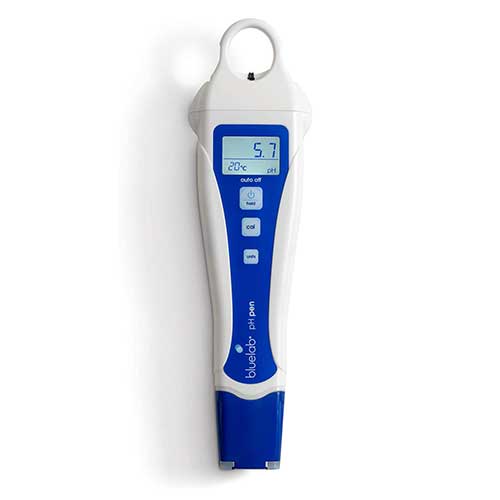
pH Meter
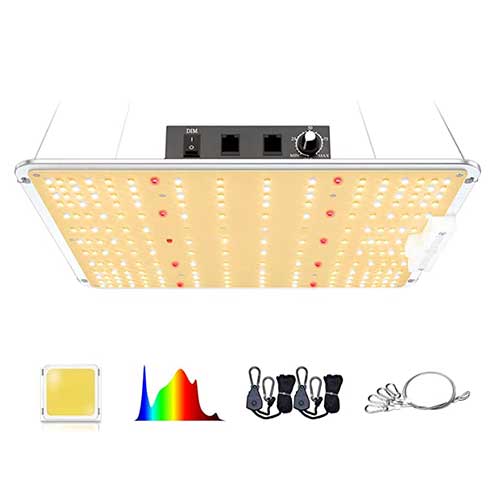
Grow Lights
Covering a Kratky Mason Jar
Sprouting Seeds
How to Assemble a Kratky Mason Jar


How to Make an Indoor Herb Garden Using Kratky Mason Jars
Replying to @Tema & otis???? lil shishitos graduating from the aerogarden! ???????????????????????? transplanted to kratky mason jars #aerogardenersoftiktok #aerogarden #aerogardenbounty #indoorgardeningtips #indoorgarden #kratkymethod #kratkyhydroponics #shishitopeppers
Follow me on
Youtube | Tiktok | Instagram | Substack | ShopMy
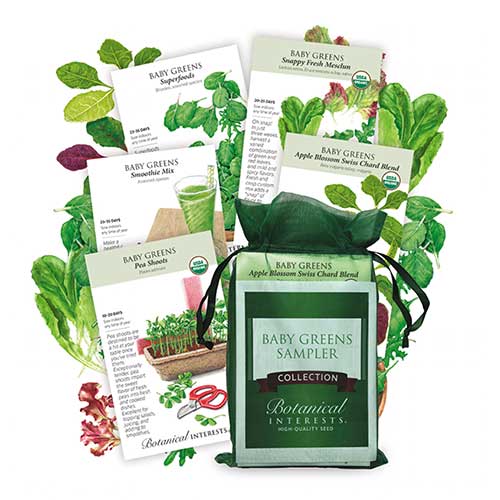
![]()

I’m an avid aerogarden lover! I am setting up my lettuces right now for kratky just like you showed in your video! Thank you so much for sharing this and showing us how to do it!
What do you think about measuring the amount of nutrients (the EC). Do you consider that important beyond just measuring the pH?