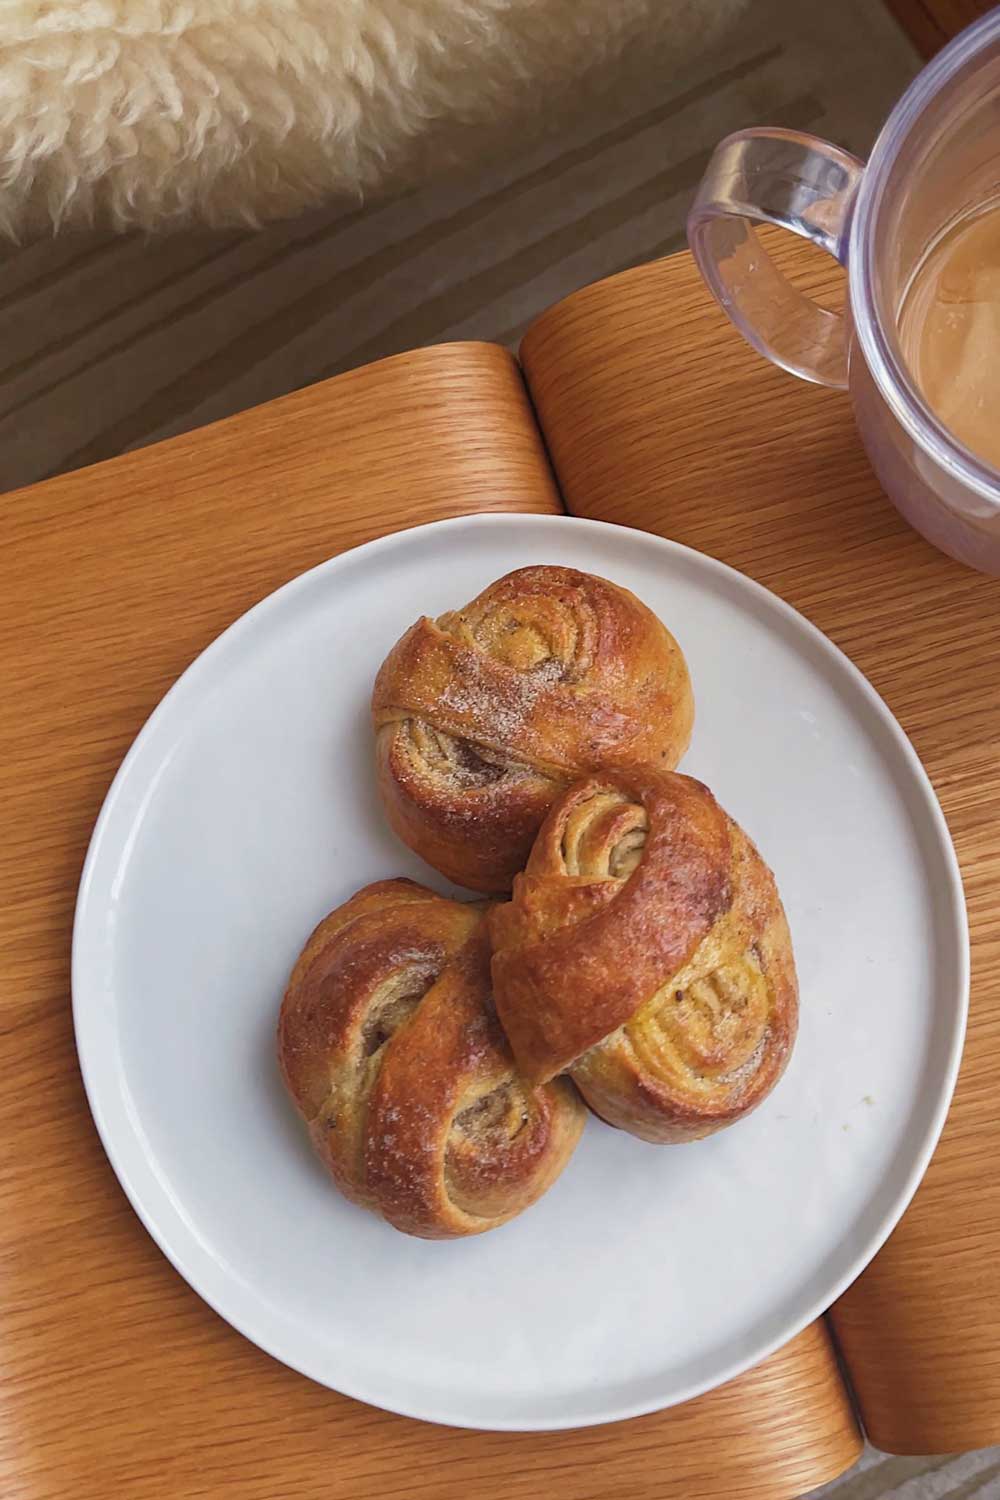
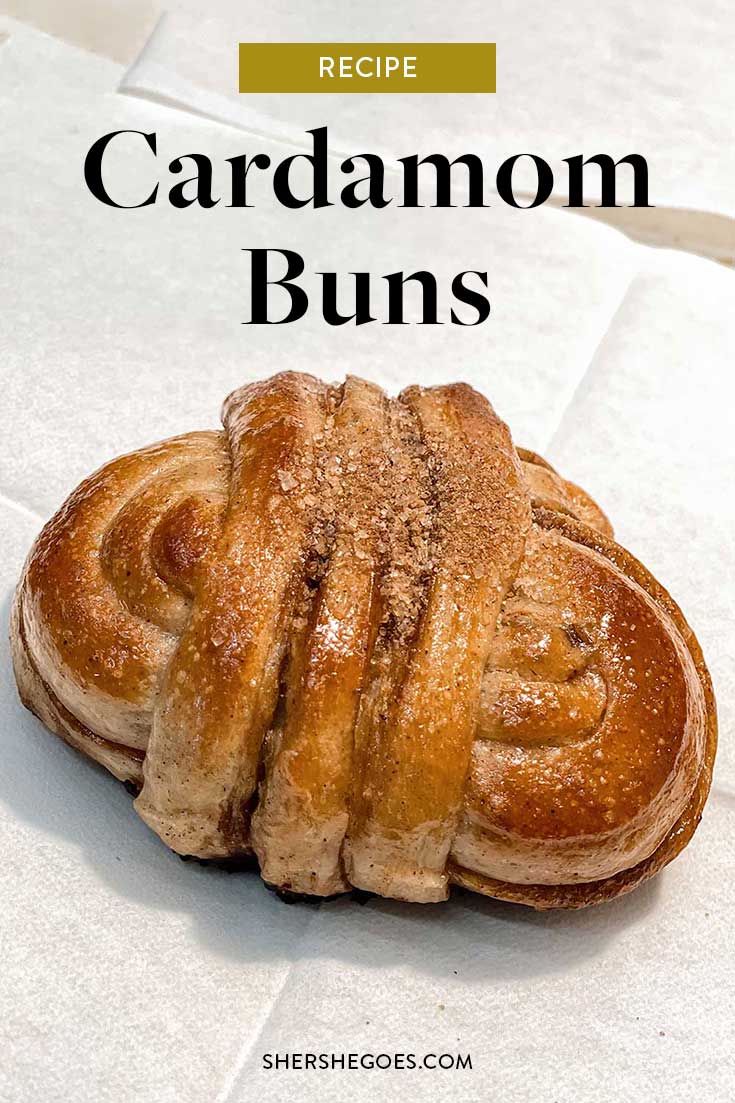
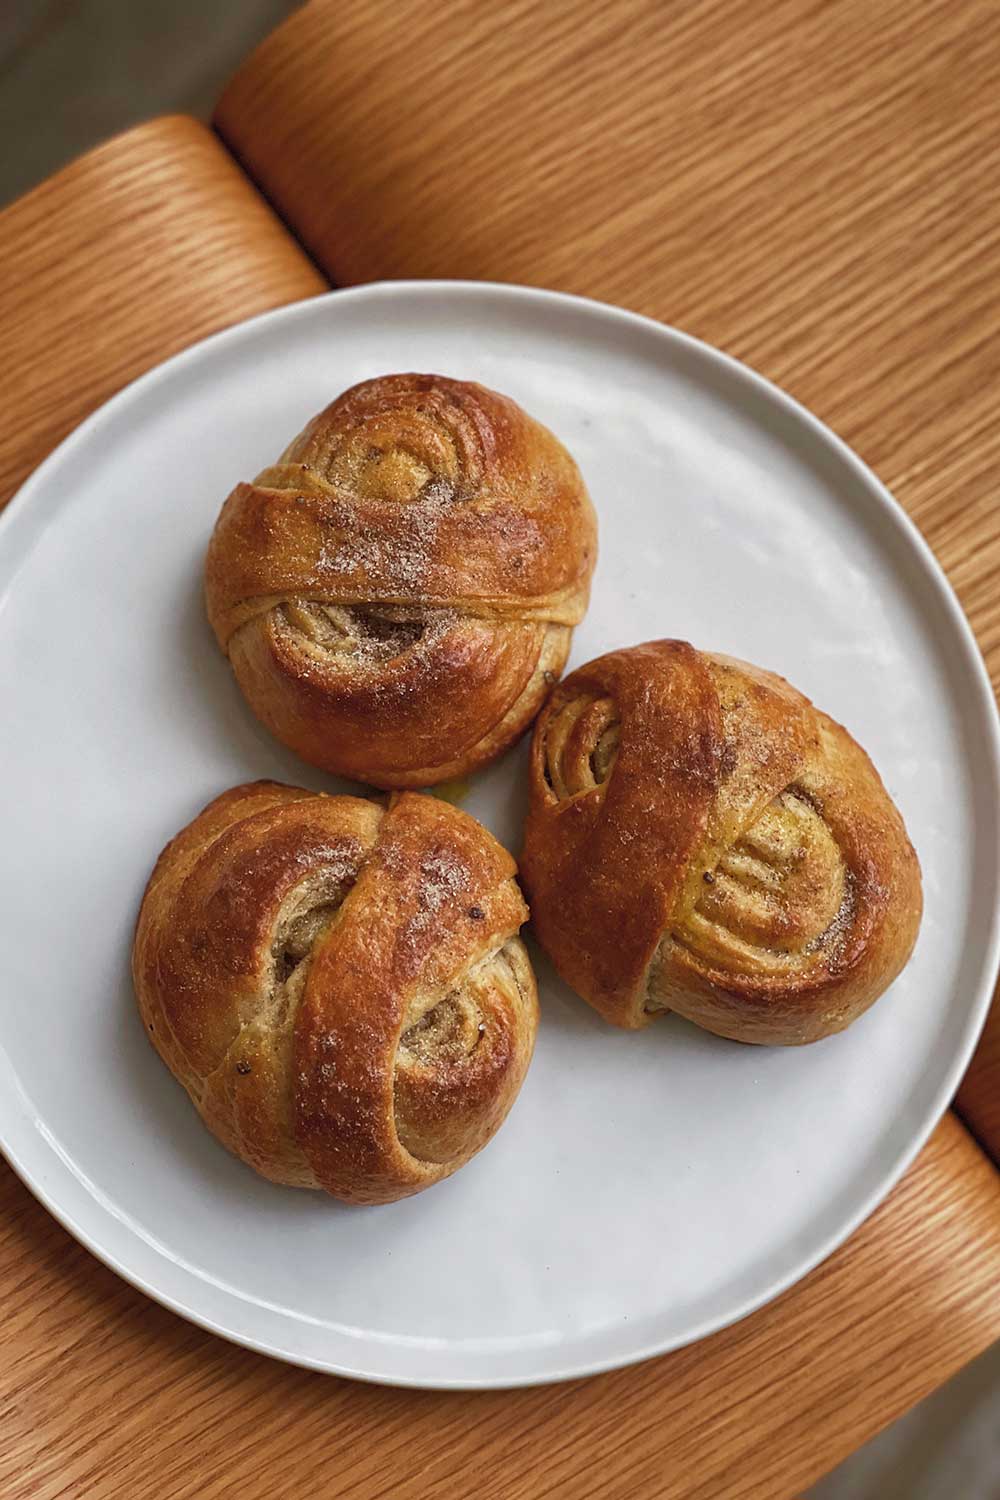
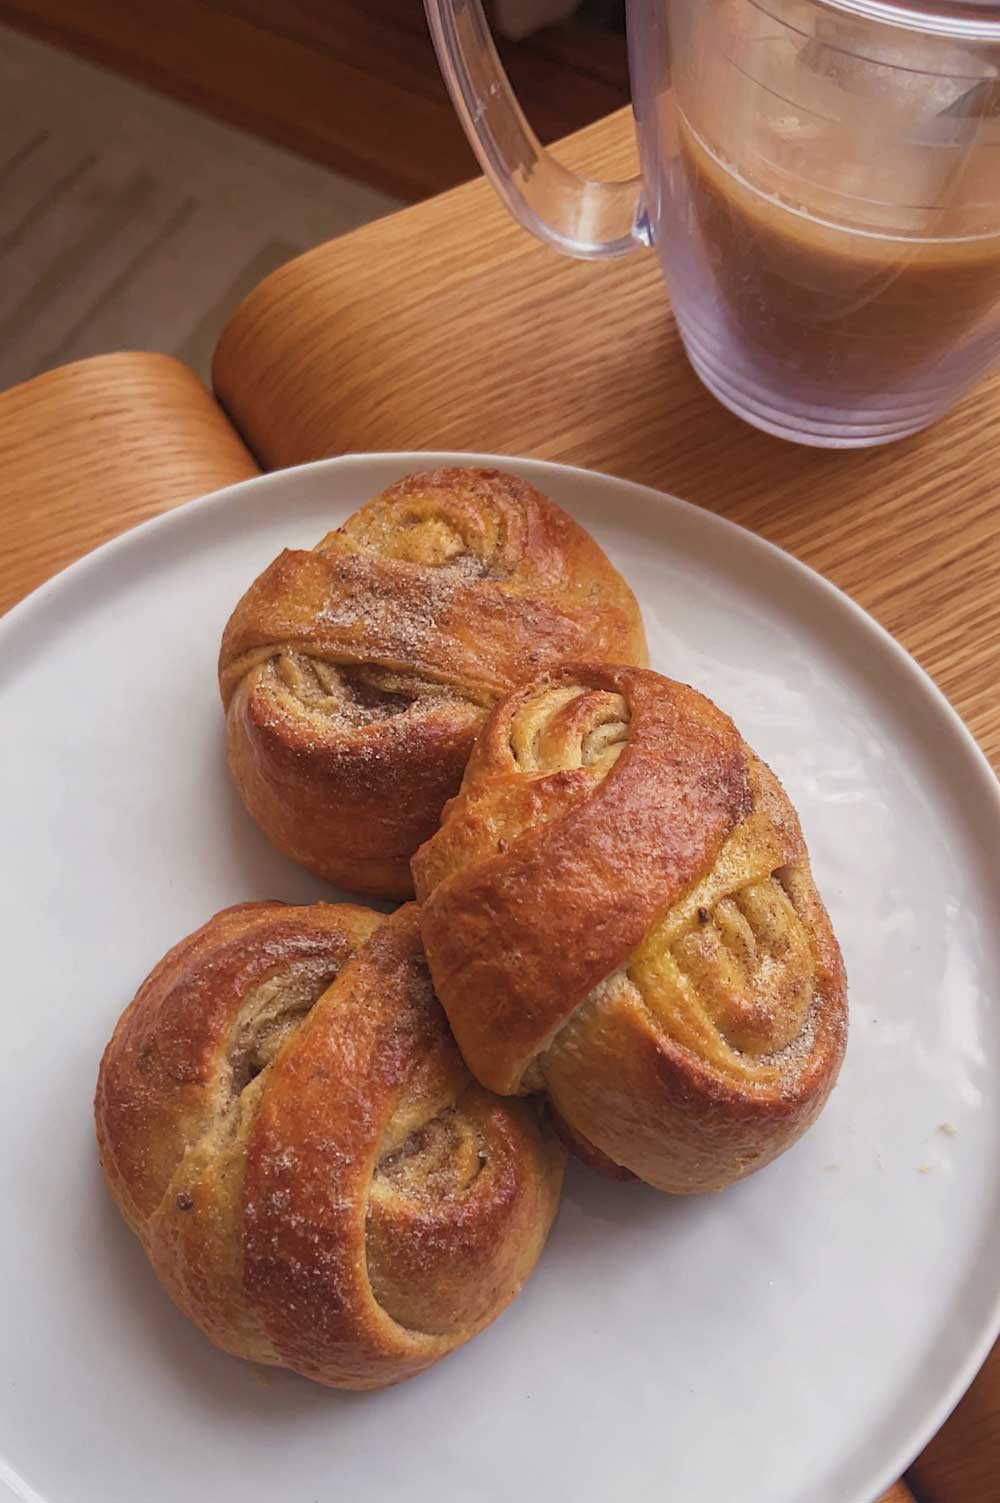
Swedish cardamom buns are the best pastry in the world. They’re a pillowy soft, pull apart bread packed with cardamom, sugar and butter. Not too sweet, they’re so fluffy and buttery you can eat half a tray in one go!
The first time I went to Scandinavia, I tried cardamom buns, cinnamon buns and snail buns. They blew my mind!
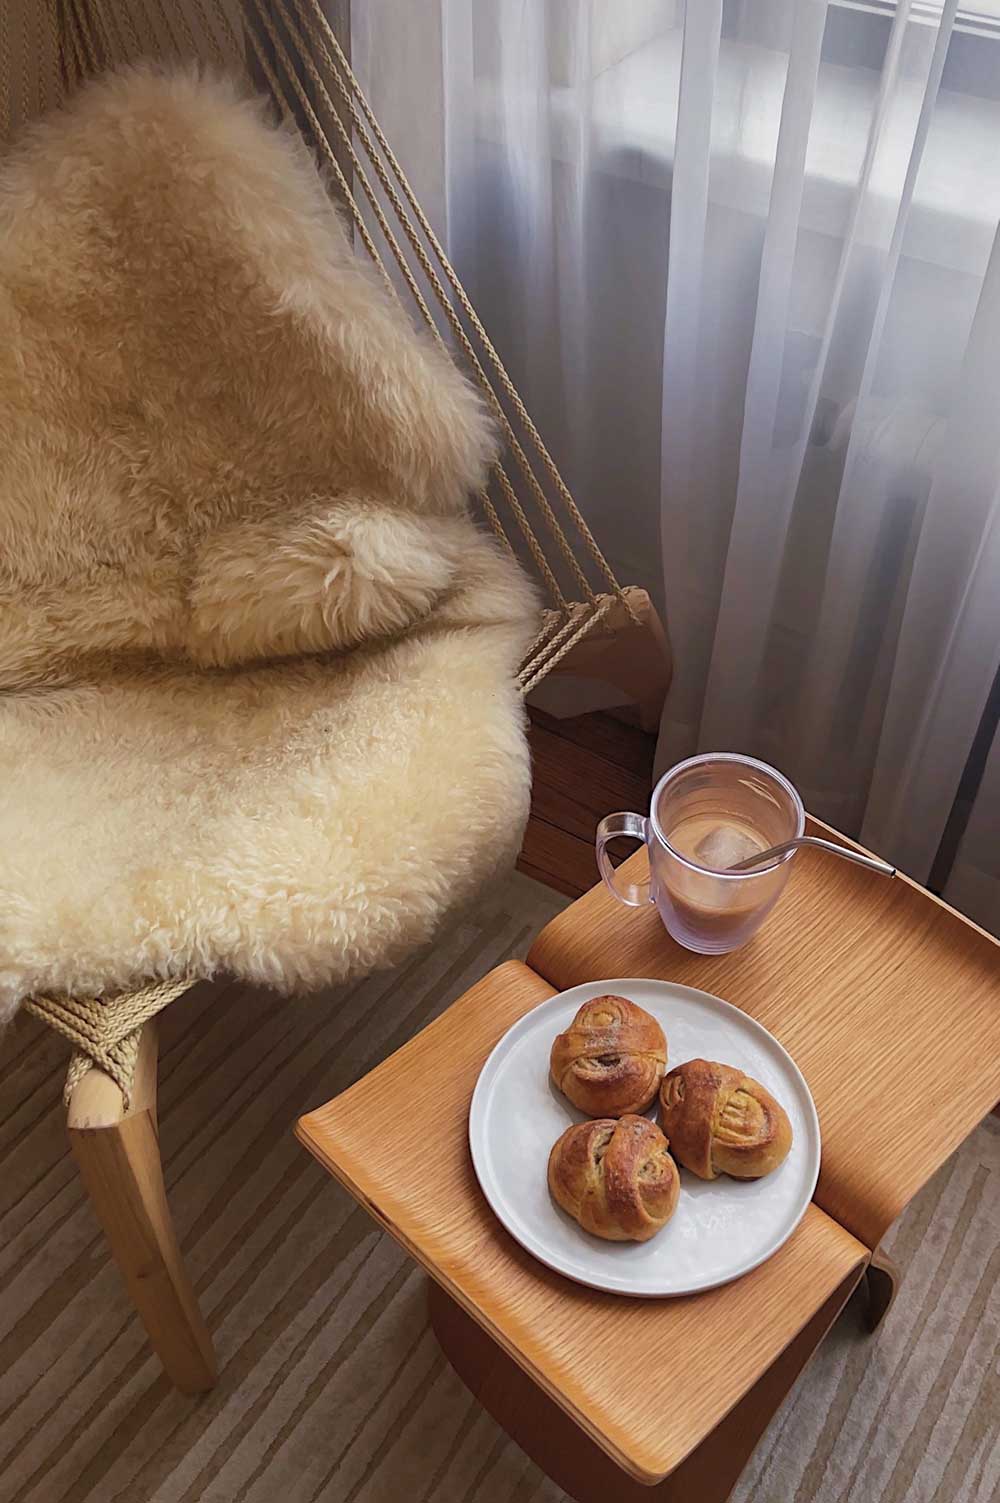
Sweden has an afternoon coffee break tradition called fika. It’s similar to the British ritual of afternoon tea, but with a good espresso and delicious yeasty pastries, so it’s more up my alley!
Cardamom buns are a basic staple in Sweden, and I also found them all over Norway and Denmark – even in strip mall 7-11s! And they’re universally delicious!
At first I was hesitant to try one, because my friend said they were similar to cinnamon rolls. And growing up in the US, I was used to Cinnabun – a chain of sticky sweet cinnamon buns that have you feeling like one bite will turn you diabetic.
But Swedish buns are totally different!
They’re not overly sweet, and they have this unique earthy flavor thanks to the cardamom.
Cardamom isn’t really a popular spice in the US like it is in Sweden, but one taste and you might be hooked! I now use cardamom in my lattes, baking, to make chai tea.. I’m obsessed.
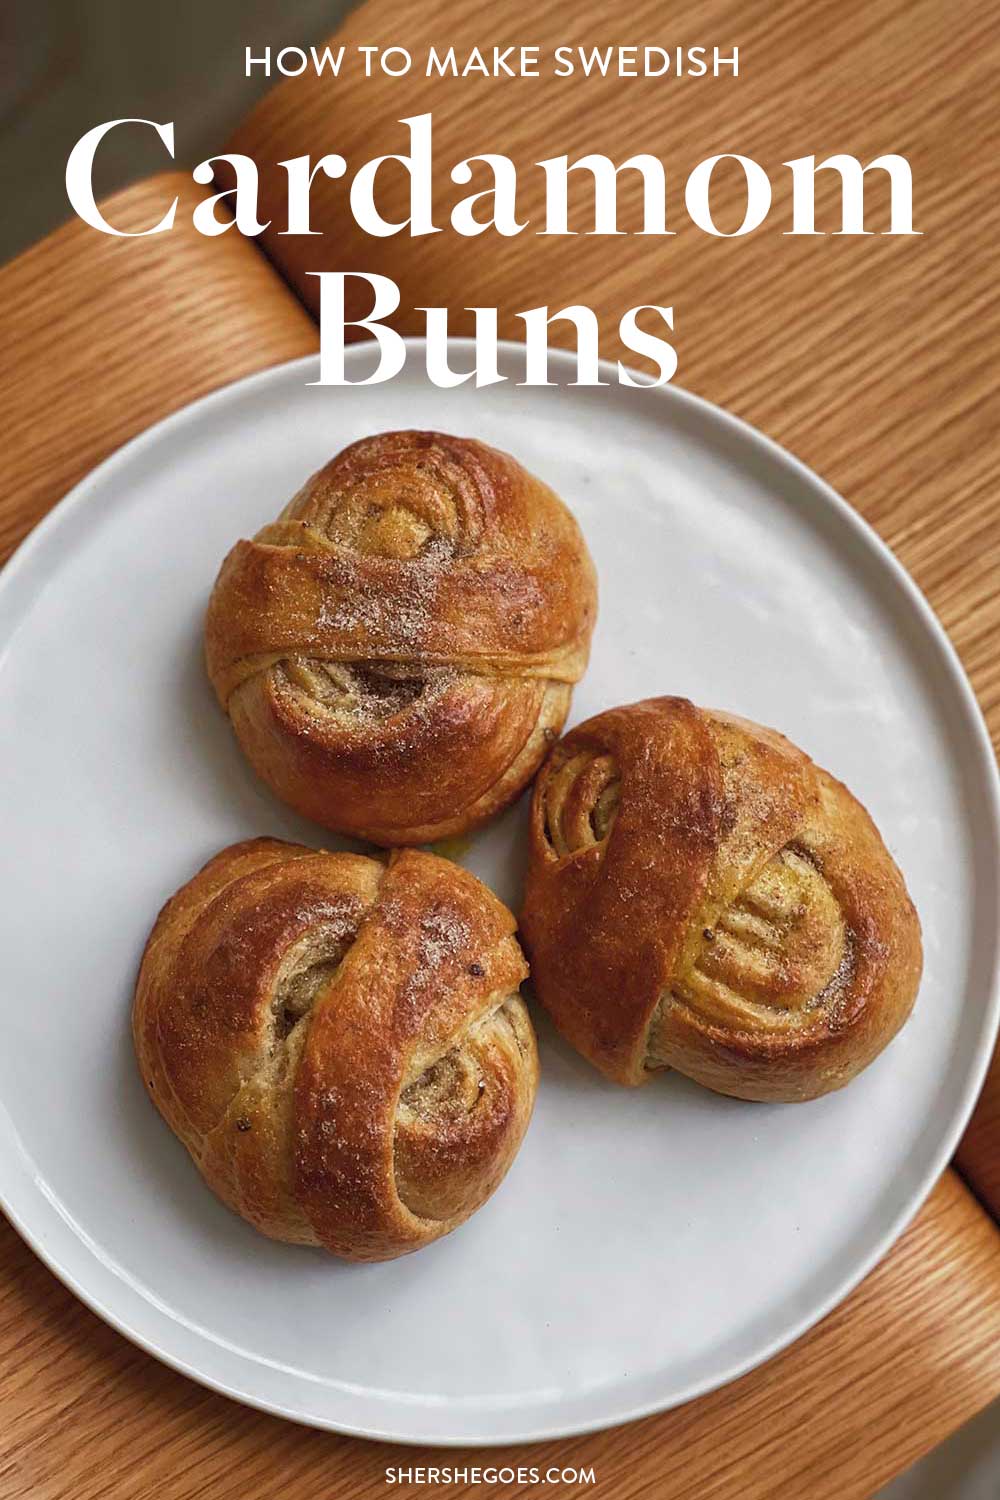
Here’s how to make Swedish cardamom buns.
Keep reading, or pin this article to save it for later ⇟
cardamom, carda yum ???? #kardemumma #kardemummabullar #cardamombuns #ankarsrum #nycbaking 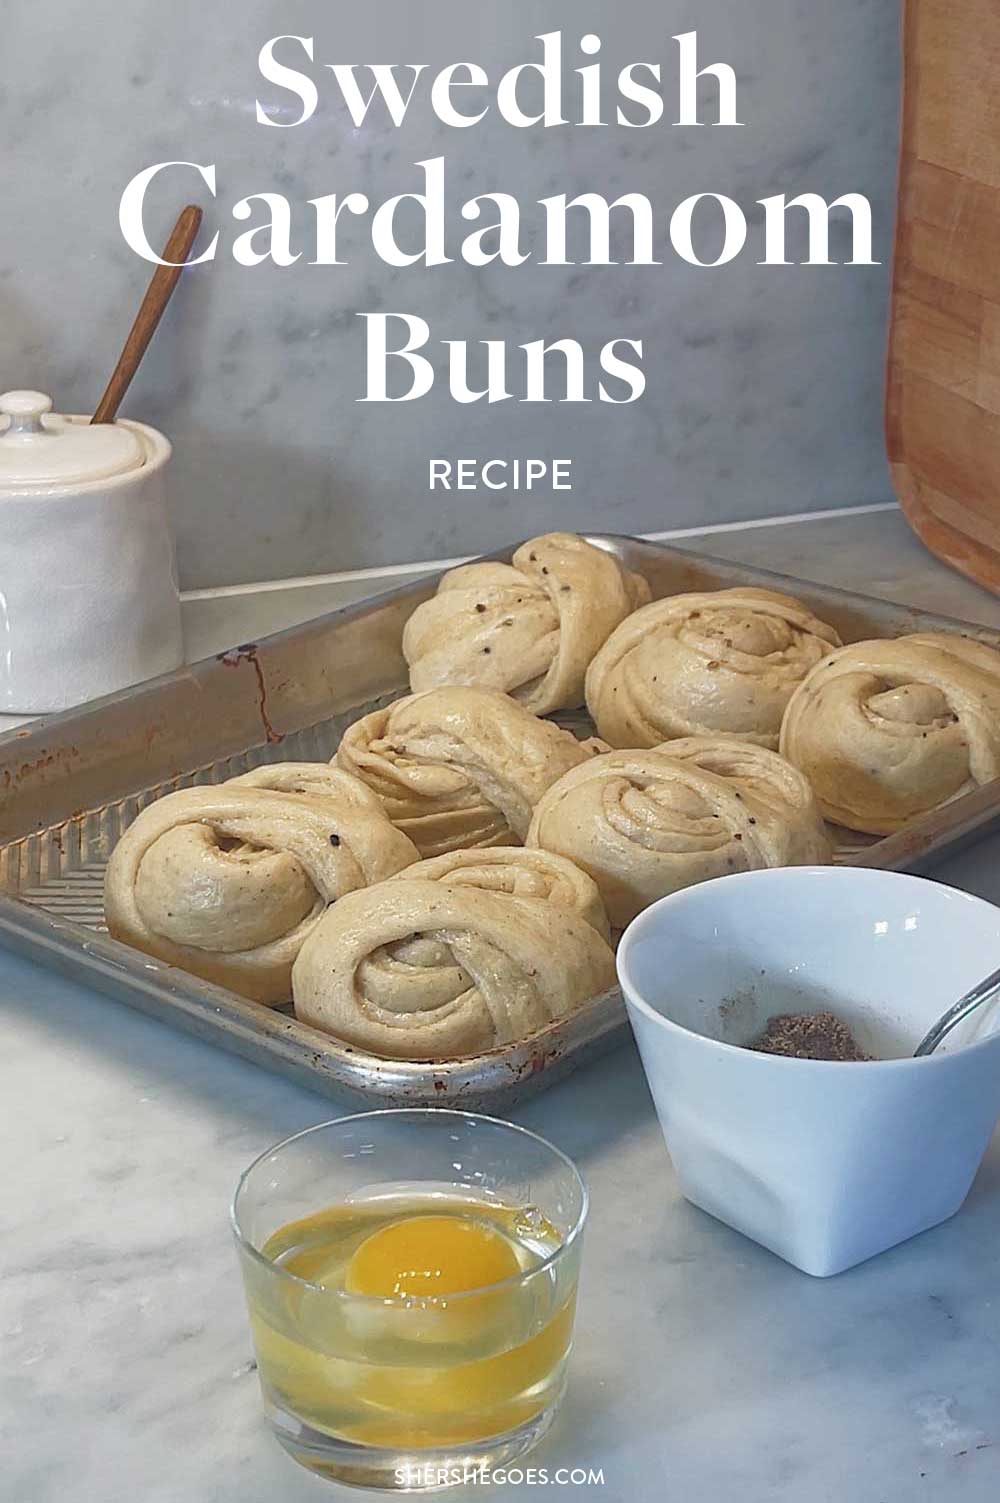
Swedish Cardamom Buns Recipe Video
Cardamom is the star of this pastry, so try to use good quality whole cardamom pods and grind them fresh with a mortar and pestle.
I also recommend a rolling pin, which helps with shaping the buns.
But, if you don’t have any of these ‘special’ ingredients or tools, don’t worry.
The buns will still be delicious!
I’ve made this recipe several times and in the beginning I didn’t have any special tools or ingredients. I used ground cardamom spice that had probably been sitting in my cupboard for 4 years and an empty wine bottle to roll the dough.
The buns are so good that I’ve gradually added equipment with each time I’ve made them.
What Is Cardamom?
Cardamom is a spice native to India.
It’s part of the ginger and turmeric family and comes in both green and black pods. Typically, green cardamom is used for these cardamom buns.
What does cardamom taste like?
It’s a hard flavor to describe, but I’d call it an earthy and savory flavor with a bit of floral aromatic. It’s quite distinctive!
In the US, cardamom doesn’t get a lot of love. In fact, the only time I remember using it is as part of a ‘fall spice’ blend when making pumpkin pie.
But cardamom is so delicious, and used quite often in Indian cooking as well as Swedish baking. Some of my favorite cardamom recipes are Indian chai, cardamom lattes, Mughali chicken and of course, these cardamom buns!
Once you try cardamom, I think you’ll start adding it to all your fall winter cooking.
Tips and Tricks for Baking Cardamom Buns
Where to Buy Cardamom
Since cardamom isn’t commonly used in America, it can be a little tricky to find good quality cardamom.
You can find ground cardamom spice at most grocery stores and whole cardamom pods at Indian or Arab markets. Patel Brothers carries them if you live in NY / NJ, or you can purchase cardamom pods on Amazon here.
I really recommend buying whole cardamom pods and grinding the spice yourself. It makes a huge difference in flavor!
I find this with most recipes where one ingredient is the star of the show – similar to matcha cheesecake.
I’ve made this recipe several times, tweaking and perfecting it, and whole cardamom pods add a lot more flavor to the end result.
But if all you have is ground cardamom, that works too!
The buns will still taste delicious – just add a bit more. Ground spices tend to lose their potency and flavor quite quickly so you can make up for it by doubling (or tripling) the quantity.
How to Use Whole Cardamom Pods
Place green cardamom pods in a mortar. Roughly 30 whole pods will produce 1 finely ground tablespoon.
Use a pestle to smash open the pods and expose tiny little black seeds. Discard the husks.
Then continue smashing the black seeds until they form a finely ground spice texture.
Another option is to buy decorticated cardamom seeds, where the little black seeds have already been removed from their husks, to skip some work.
Tips for Making Perfect Cardamom Buns
I find baking quite difficult – it always takes me a couple tries to get a baking recipe right. So I’ve made this recipe many, many times to get it right and tweaked measurements and steps along the way.
Here are all the tips and tricks I’ve learned!
Some of them might seem too obvious to you if you’re an experienced baker, but they were things I had to figure out with a lot of trial + error so hopefully they’re useful!
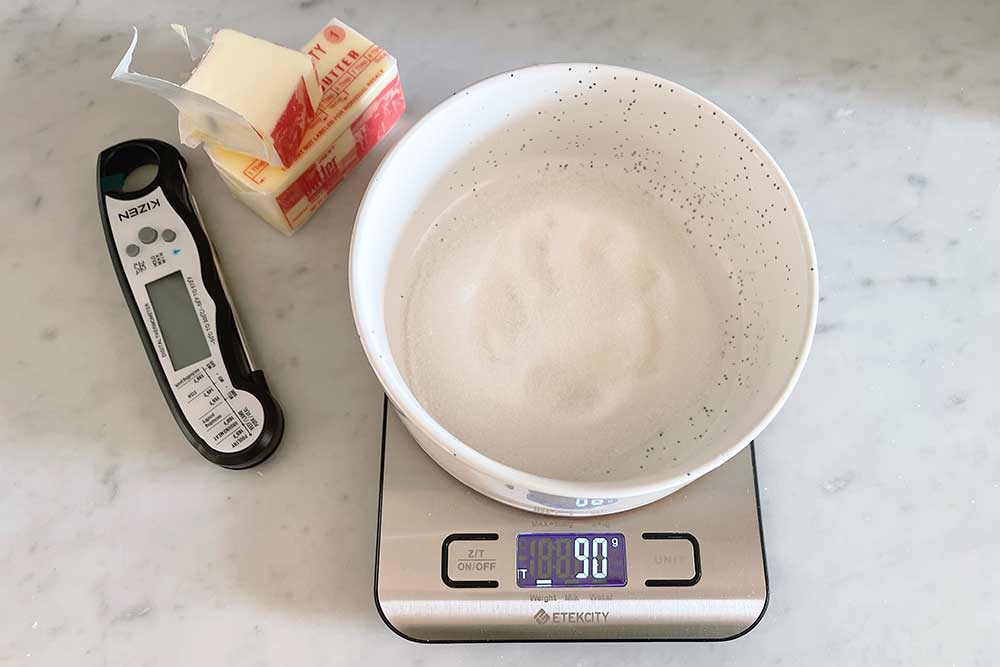
You Need a Kitchen Scale
Baking is an exact science. One thing you absolutely want is a kitchen scale.
I recommend pre-measuring all your ingredients and laying them out before you get started. It’s much easier this way!
I have a small inexpensive scale that I picked up from Amazon.
This way, you won’t mess up the proportions for any of the ingredients. Before I had a scale, I used measuring cups, which can be notoriously inaccurate for measuring out flour.
Nowadays, if I see a baking recipe only in cups I don’t really trust it. You always want a baking recipe that lists ingredients in grams, ounces, etc.
Working with Yeast
This is a yeasted bread recipe.
In Europe, they often use fresh yeast (which I’m told is easier to work with). But in the US, I’ve only ever been able to find dry yeast at grocery stores.
Note: 14 grams of dry yeast is equivalent to 50 grams of fresh yeast.
Most recipes assume you already know how to work with yeast, but I did not know and it took me some experimenting to figure out how to activate dry yeast.
Dry yeast needs to be activated in warm liquid, and it’s a good idea to feed it some form of sugar to really get it going.
I like to do this ‘blooming’ step first, to make sure my yeast is proofed, before I go ahead with the rest of the recipe. That way I don’t do all the work only to find out that my bread won’t rise.
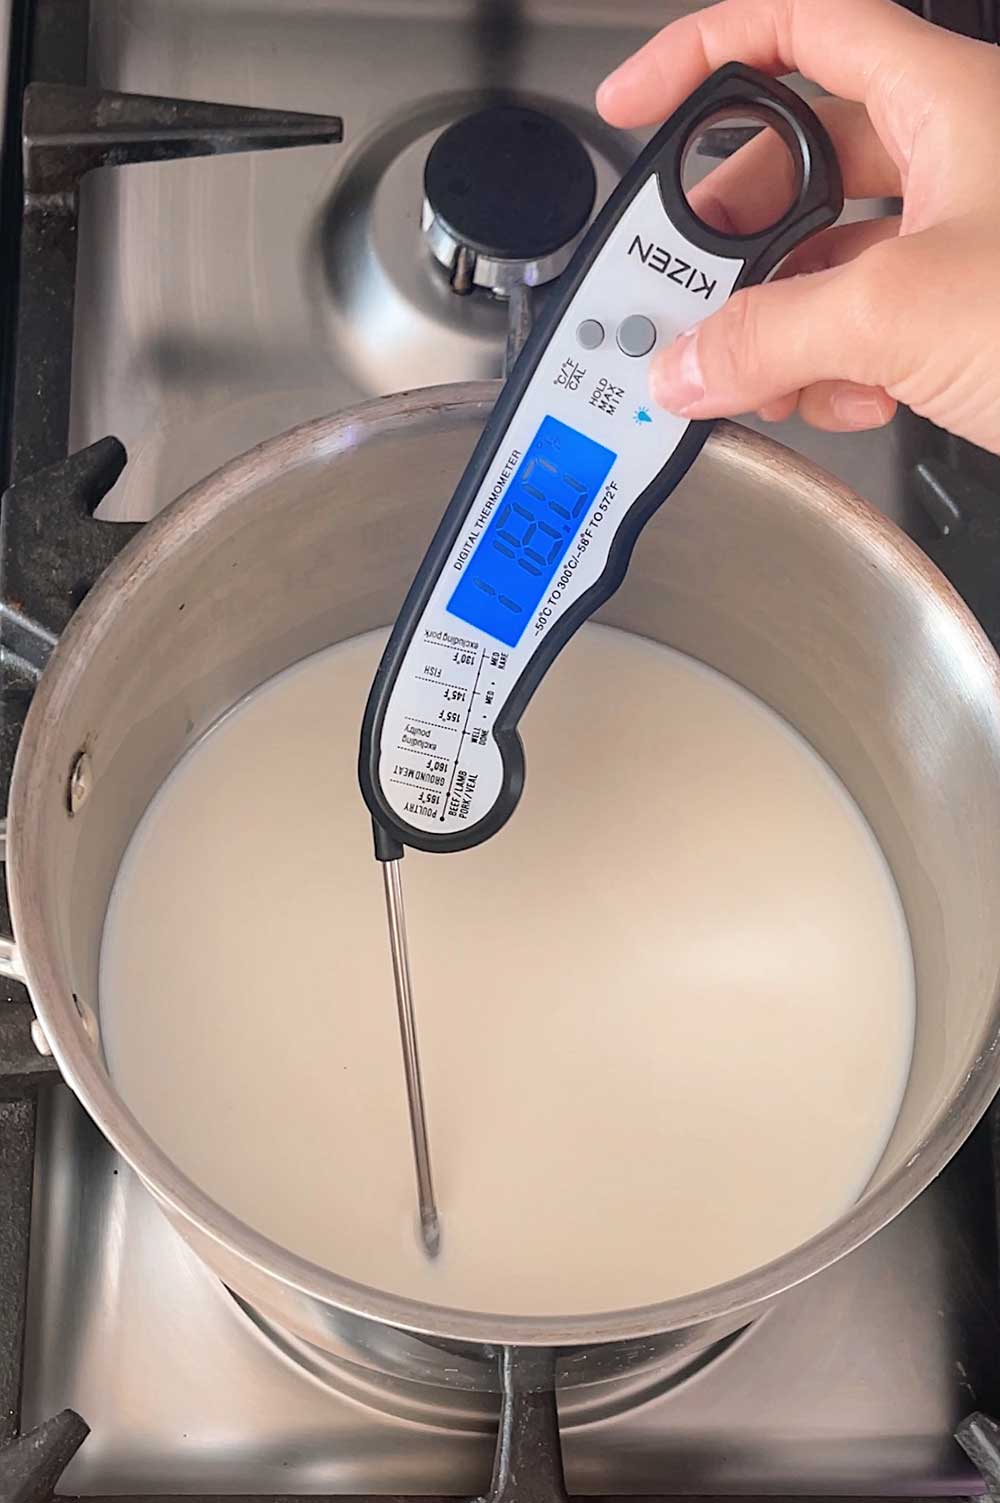
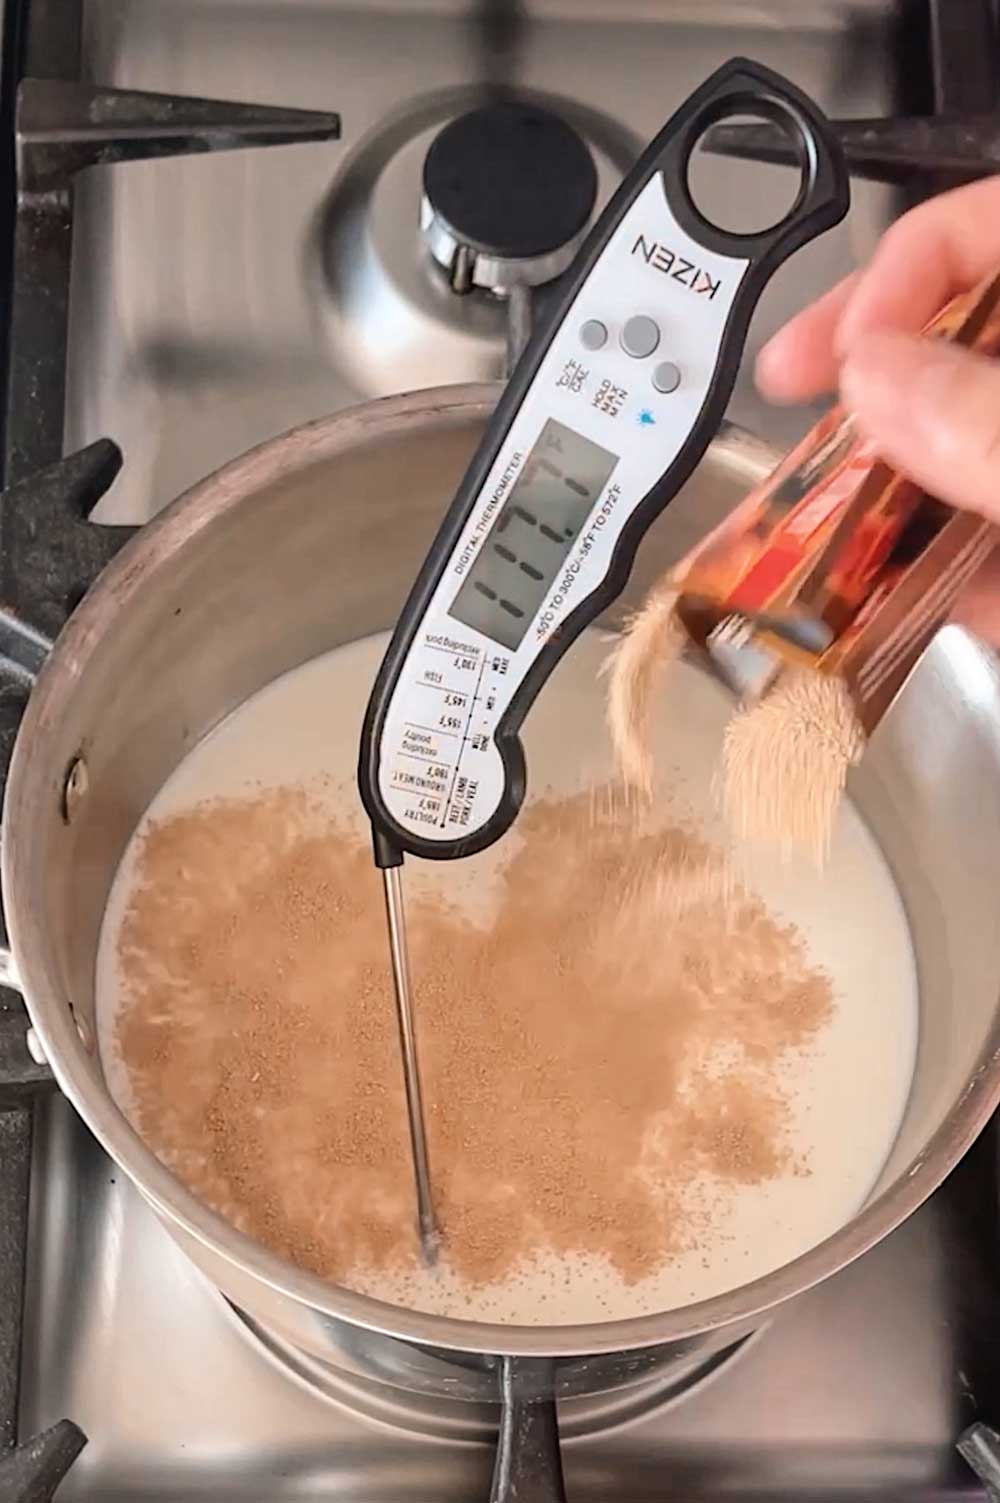
So, start off by warming up your milk, to between 105 to 120 degrees Fahrenheit.
I bought a kitchen thermometer and it’s made the biggest difference.
Before I used a thermometer, I’d either get the liquid too cold or too hot. Too cold, and the yeast won’t activate. Too hot, and the yeast will die.
Both instances will leave with you a dense, hard bread that you don’t want to eat.
Once your liquid is warmed, pour in the dry yeast and stir to remove any clumps.
Wait up to 10 minutes to be sure the yeast has bloomed. You’ll know the yeast is active when you smell that earthy, beer smell and see tiny little bubbles in the liquid.
Use Full Fat Ingredients
These cardamom buns taste light and fluffy, but the recipe calls for quite a large amount of milk, butter and sugar.
I find that using full fat whole milk, the richest butter you can buy (I like Kerry Gold) and not skimping on the sugar quantity gives the best tasting results.
And while it might not be good for your waistline, the bread will taste really airy and have a plushy, pull apart texture!
Note: if you’re lactose intolerant, you can substitute a non dairy milk in a one-for-one quantity for whole dairy milk. Make sure to watch the baking time, as non dairy milks have less fat content and may bake more quickly.
Kneading Dough
Some people are really good at making bread.
I am not one of them.
I’ve watched lots of videos and tutorials from experienced bakers where they’ll say things like “you can tell once the dough is ready” and “work the dough until enough gluten is formed”.
I never really understood what that meant!
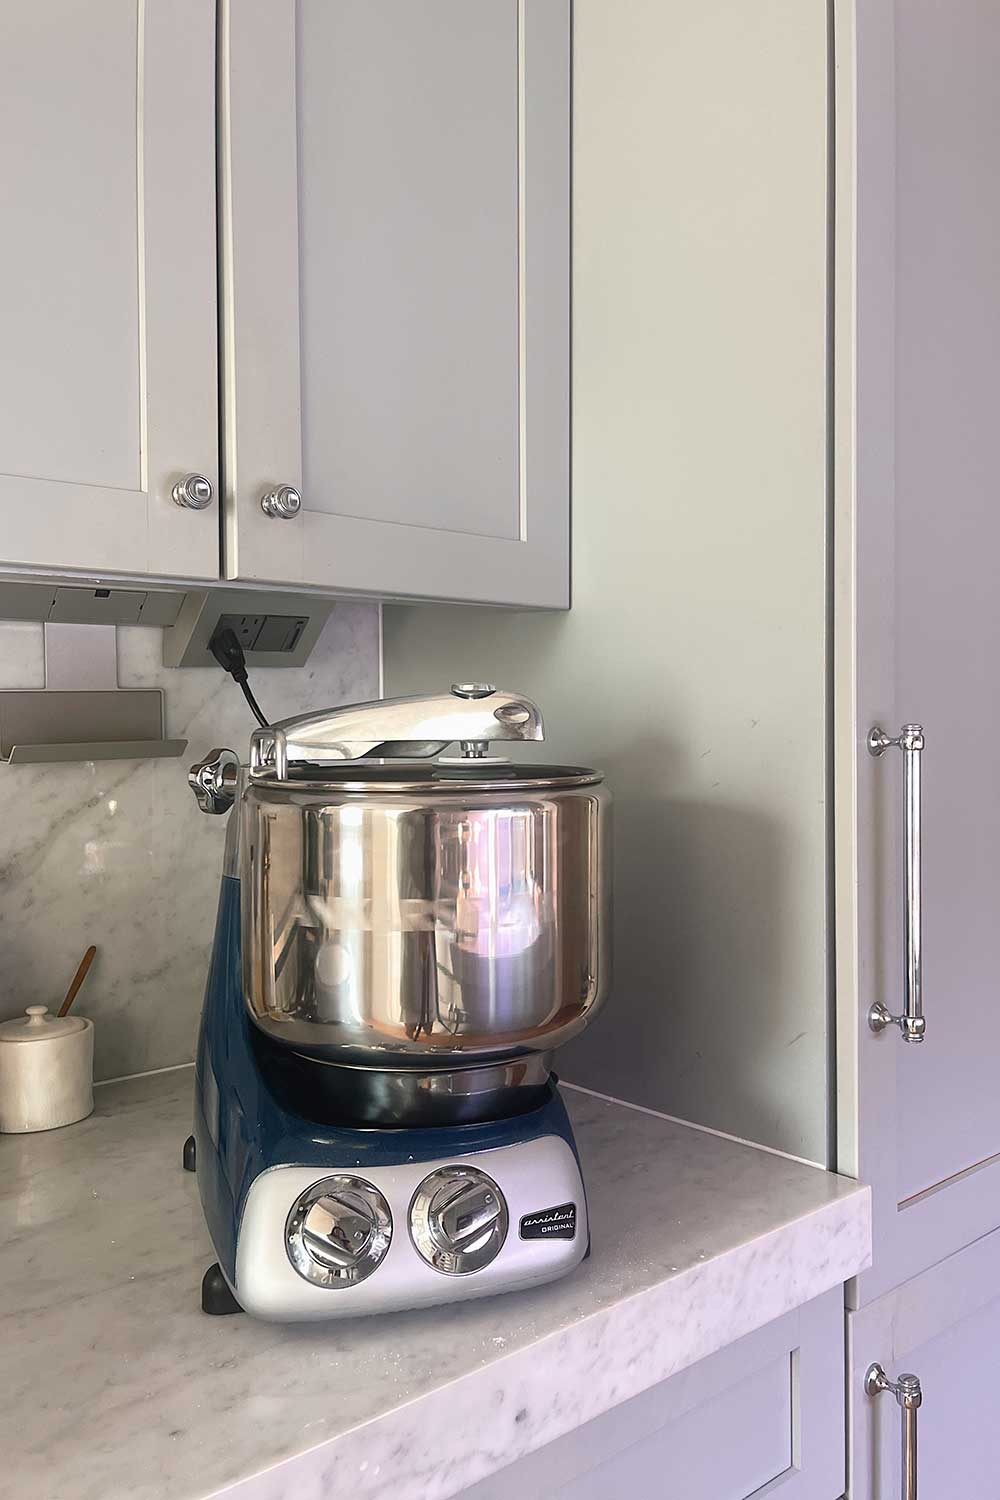
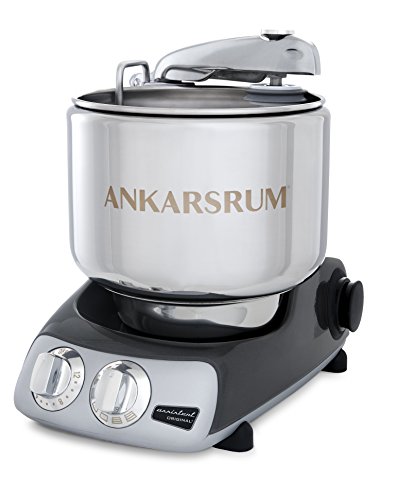
For this dough, I use this electric stand mixer and I let it work the dough for a solid 10 minutes.
I love my mixer, because it’s quite powerful and has a great dough hook that will knead without pulling.
I’ve heard some people complain their kitchenaid mixers aren’t strong enough to knead dough for long periods of time. I’ve luckily never had that issue – the Ankarsrum is really powerful.
One of the knobs has a built-in timer function, so I set it for 10 minutes and just let it go.
You can also make cardamom buns by hand, without a mixer at all, but I find the tool really helpful as a beginner because it does all the hard work for you.
The amount of time you’ll need to knead (ha) will depend on the temperature in your kitchen and how strong your mixer is. It can take anywhere from 8 minutes to 45 minutes!
What you’re looking for is to develop enough gluten in the dough.
The dough should have a lot of stretch and elasticity to it, so that when you try to pull it apart between your fingers, it will stretch and thin rather than break. It’s also referred to as a ‘windowpane’ test.
Finally, the dough for these cardamom buns should be slightly sticky to the touch, but not cling to your fingers or the walls of the mixer bowl.
With my mixer, I can tell the dough is ready when it forms a soft, moist dough ball that doesn’t cling to the sides of the mixing bowl.

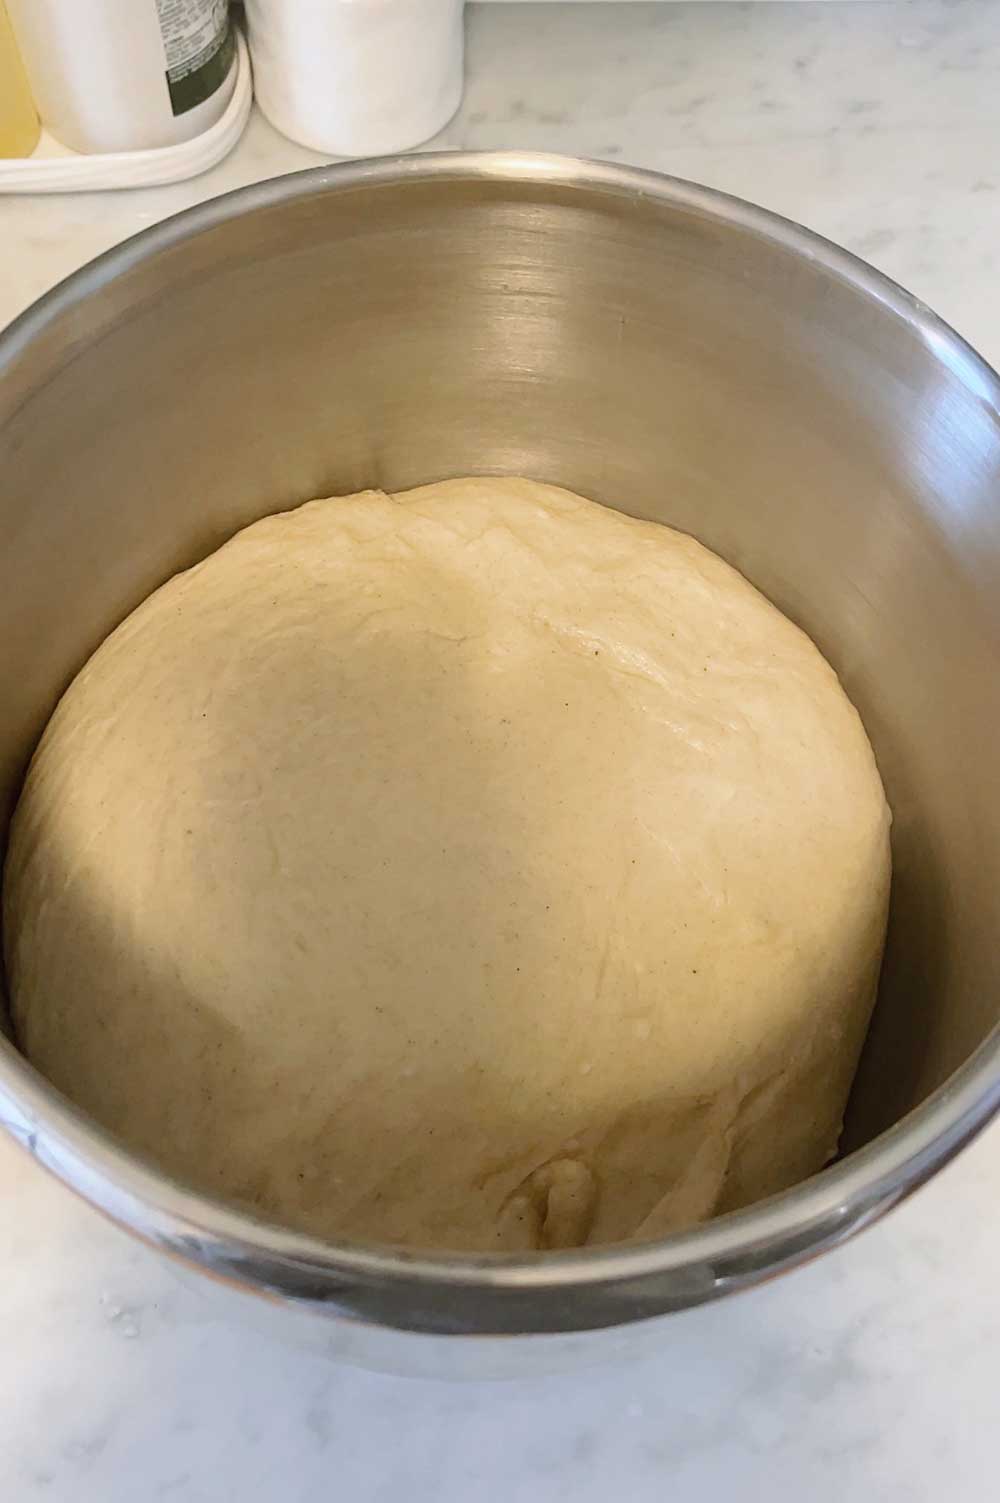
first rise: before (left) + after (right)
Proofing the Dough
This cardamom recipe has two stages of rising.
The first proofing occurs after you’ve formed the dough. The second (and final proof) is after you’ve shaped the dough into individual buns.
The rising process is important because it allows the yeast time to do its work. As yeast ferments, it produces gases that leaven the dough and cause it to increase in size.
The gas and expansion are what create a light, soft plushy texture in the final buns.
So, the key to creating delicious cardamom buns is to ensure the dough has adequately risen both times!
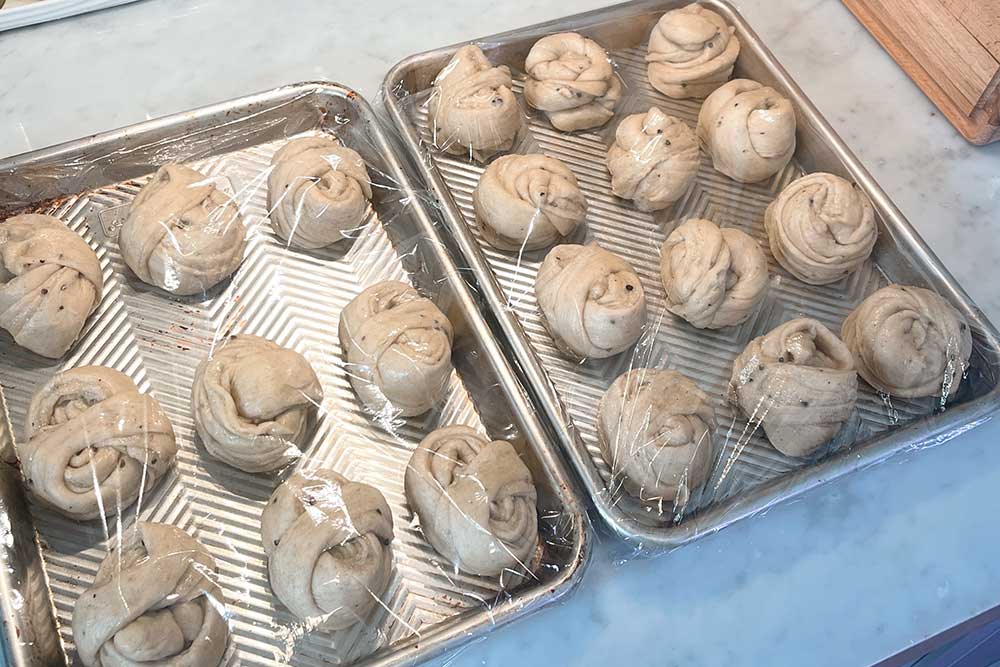
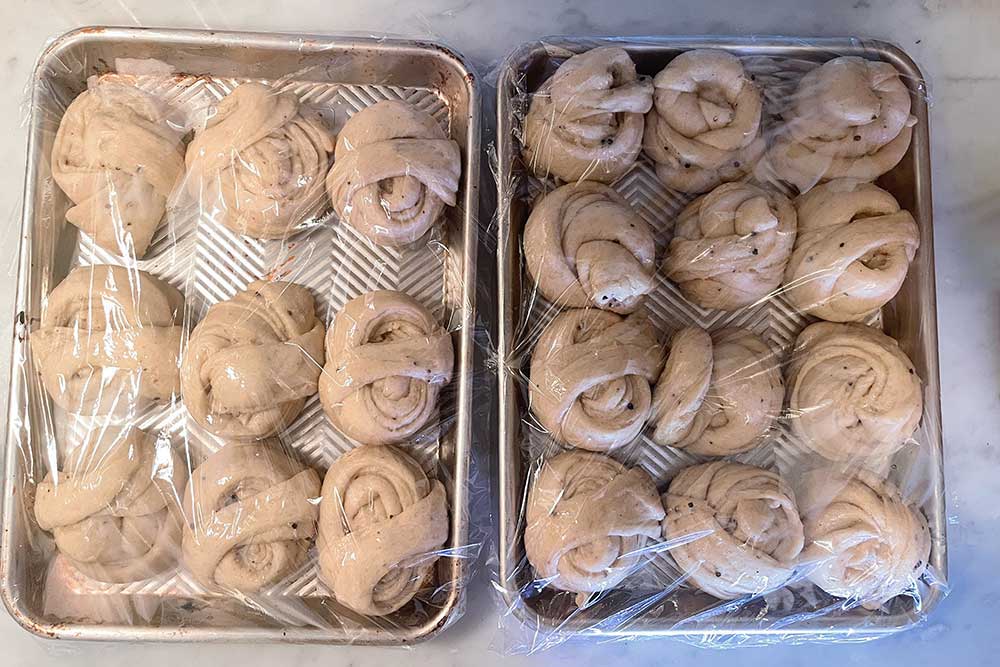
second rise: before (left) and after (right)
For rising and proofing, go by how the dough looks, versus the time that the recipe calls for.
The exact amount of time your dough needs to rise will vary depending on your kitchen room temperature. Yeast will rise faster in warm environments than cold.
I find that 30 minutes is enough for my kitchen (my apartment runs very warm in winter). You may need 60 to 90 minutes if your kitchen is kept colder.
During the rising process, you’ll want to cover your dough to prevent it from drying out.
My mixer comes with a metal bowl and lid, so I use that for the first rise. For the second rise, you can use either a kitchen towel or plastic wrap. I typically use a clean kitchen towel, but if you live in a dry environment you may prefer plastic wrap because it helps lock in more moisture.
If you do use plastic wrap, just lightly cover your buns. Don’t press down too tightly or the plastic wrap can inhibit the buns from rising properly.
How do you shape Swedish cardamom buns?
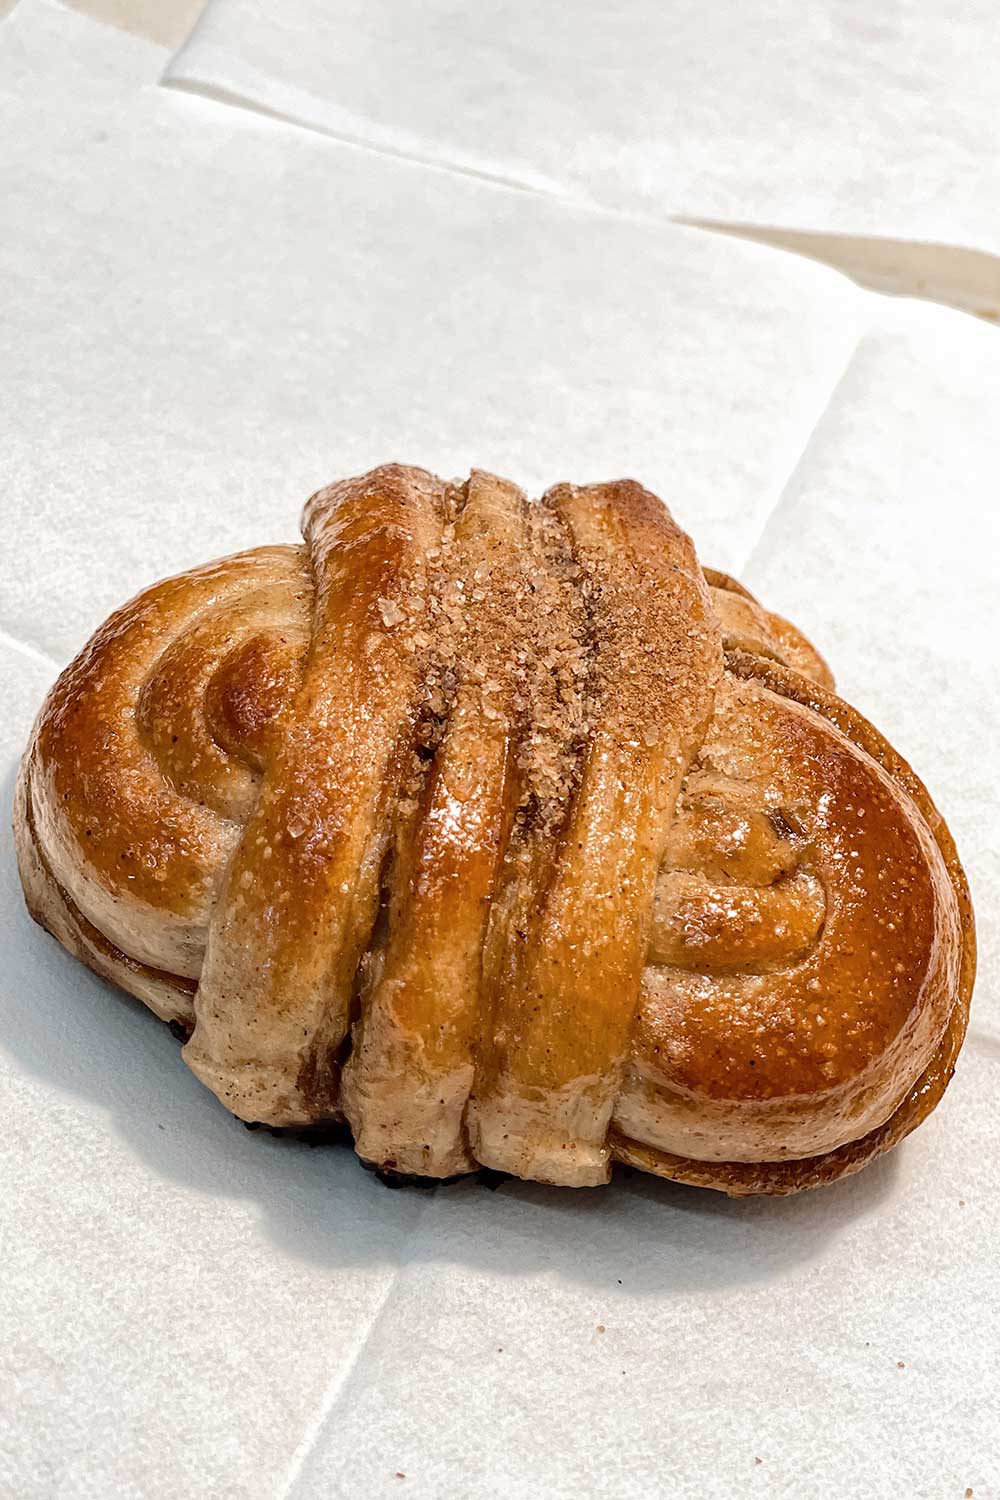
cardamom buns from NYC bakery La Cabra – much prettier than mine, ha!
There are so many ways to shape Swedish cardamom buns.
You can lightly twist the dough and then roll it together to form a spiral shape.
Or, make a more traditional shape by wrapping the strip around your index and middle finger like a bandage, about 2 to 3 times. Loop the remaining strand through the center of the bun, tucking it into the base for a round knot shape.
Shaping is the tricky part.
Don’t worry though – even if they look messy, the flavors will ensure these buns still taste delicious!
Tips for Shaping Cardamom Buns
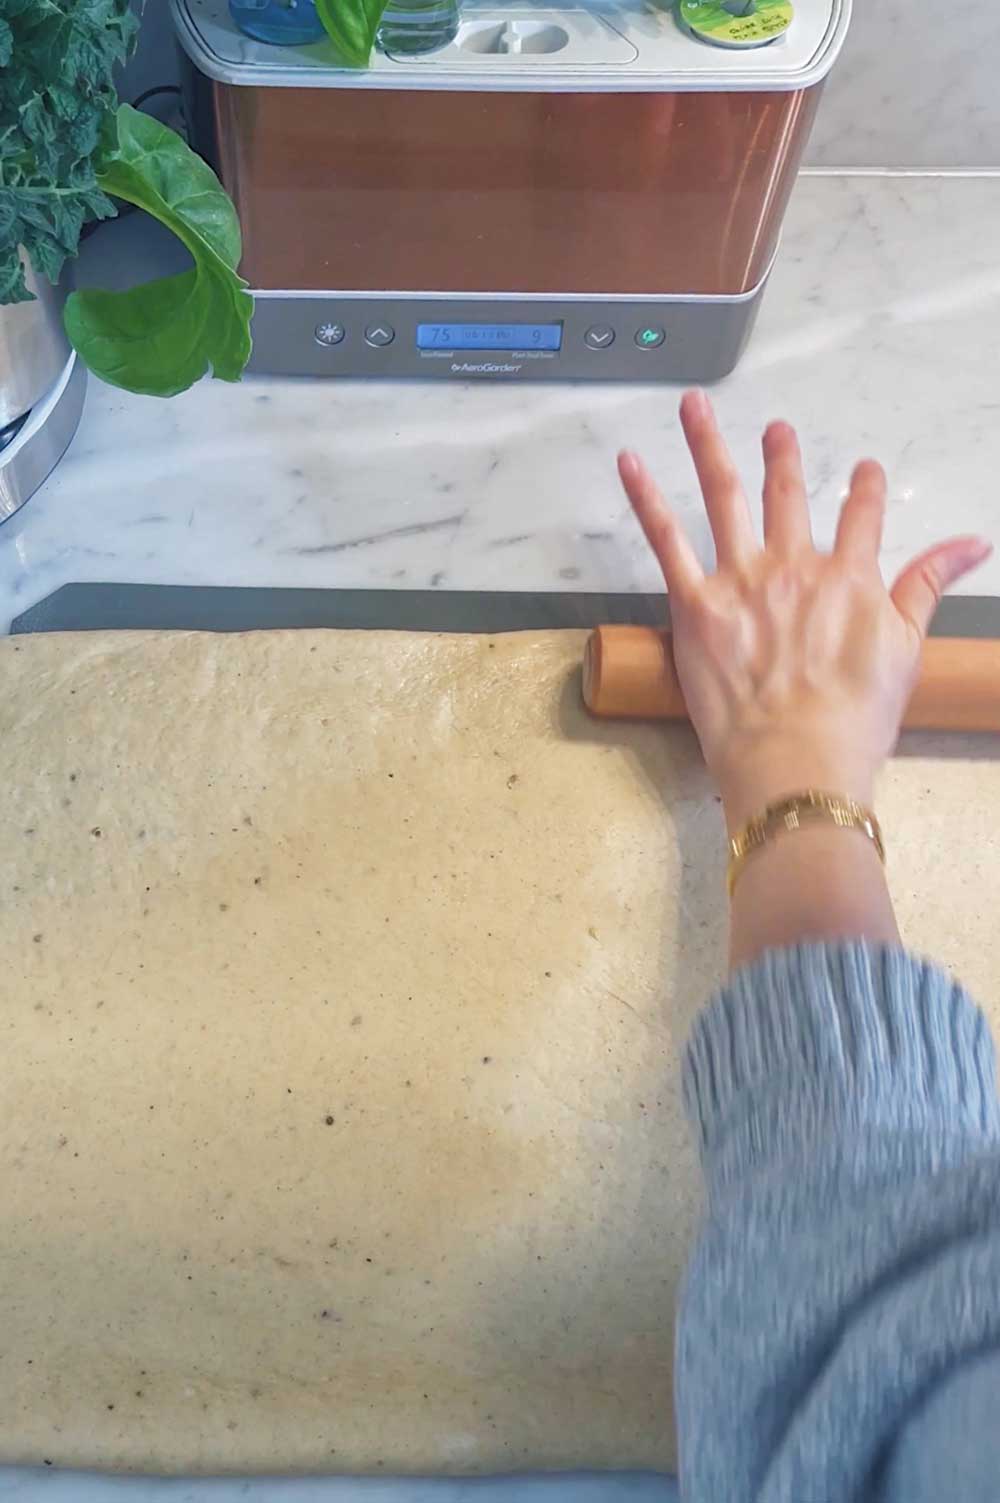
Use a rolling pin
I don’t bake very often, so I don’t really have baking specific tools.
The first couple times I made these cardamom buns, I used whatever cylindrical object I had on hand to roll out the dough – various wine bottles, cups, sparkling water bottles, etc.
I always found it really hard to get an even thickness and to create the same bun shapes that I saw in other recipe videos.
I thought I just needed more practice creating the cardamom bun shapes… until my friend told me to get a proper rolling pin.
And I realized rolling pins make such a difference!
This simple 13″ bamboo one is the rolling pin I have. It’s inexpensive and makes the shaping process so much easier.
Spread only a thin layer of filling
If you put too much, it will ooze out of the buns. Too much butter in the oven can lead to burning.
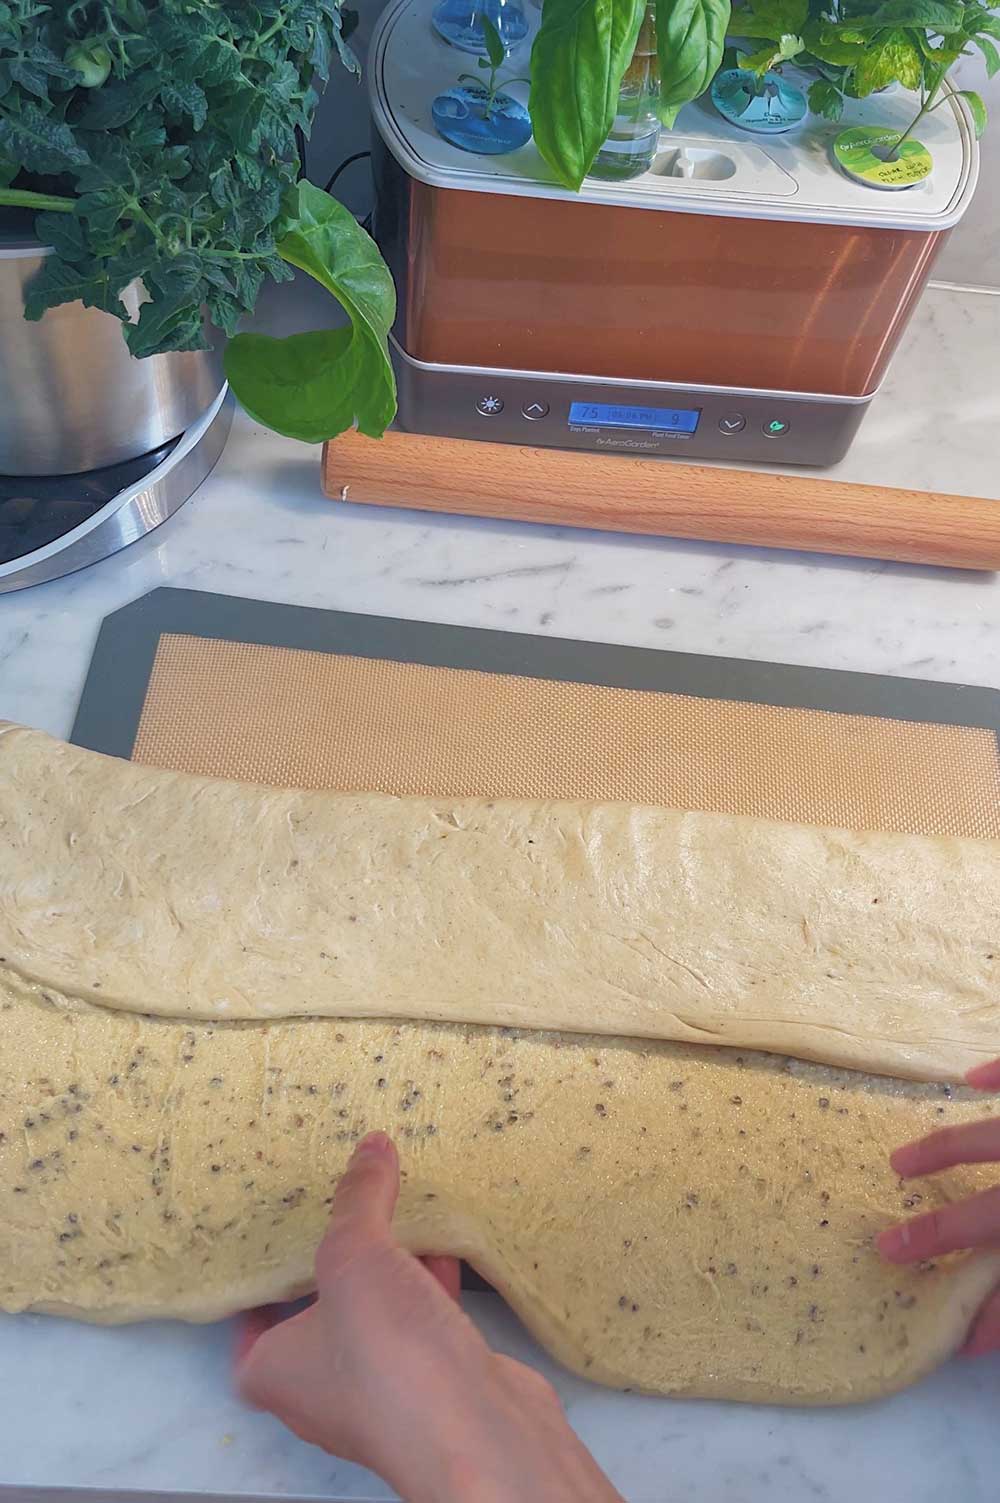
Fold the dough into thirds like a letter
When I just fold the dough once, in half, the filling will often seep out.
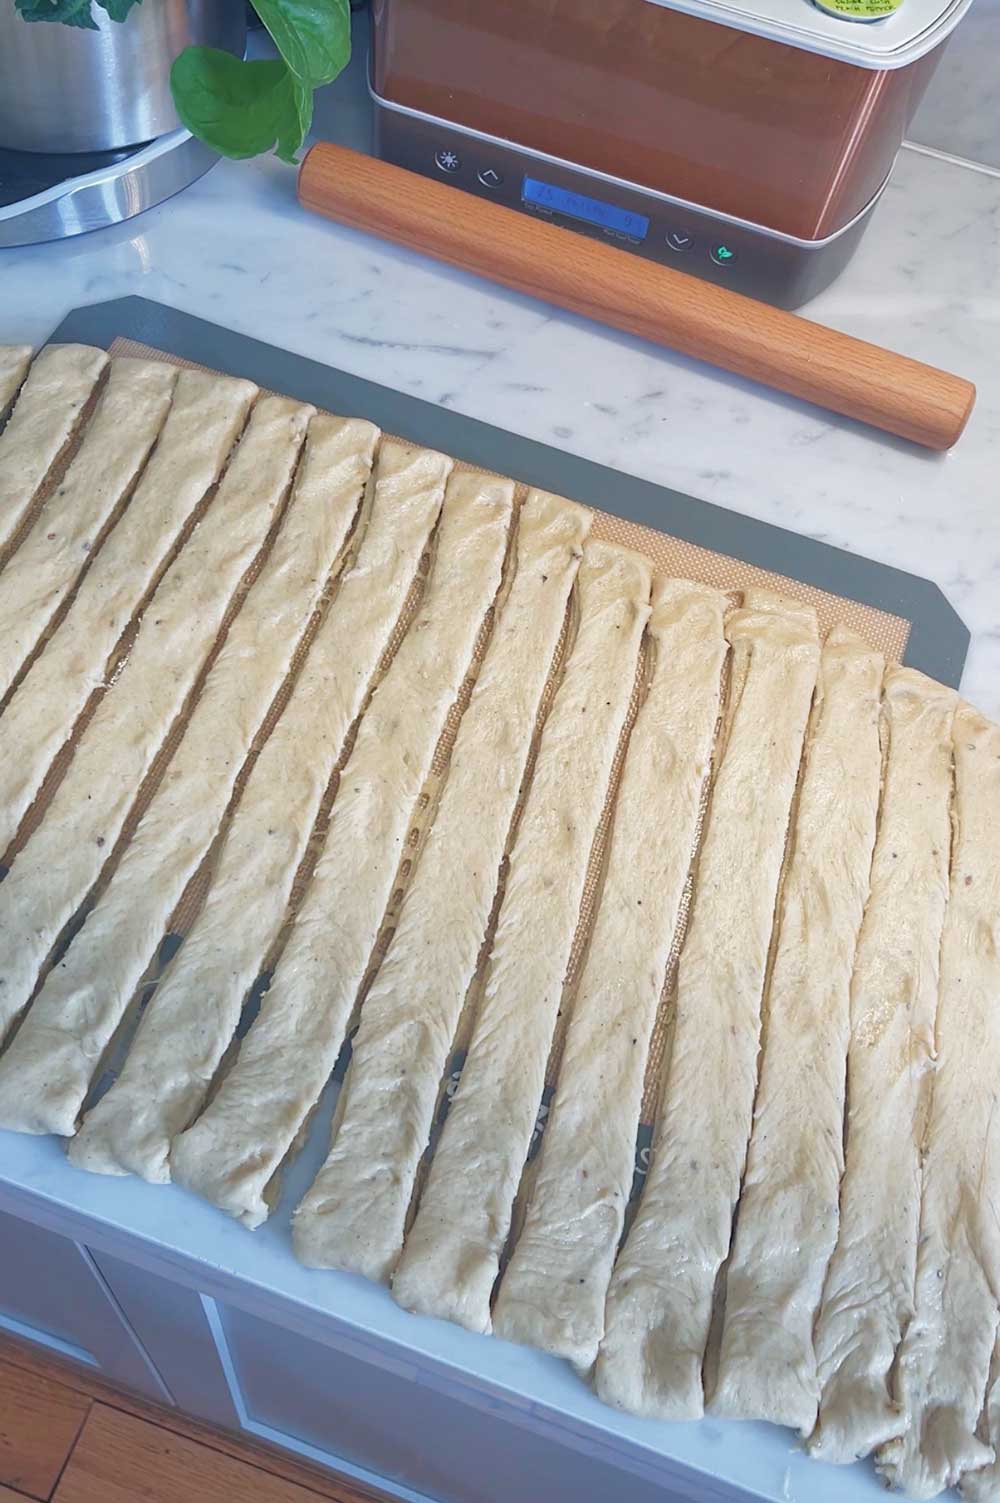
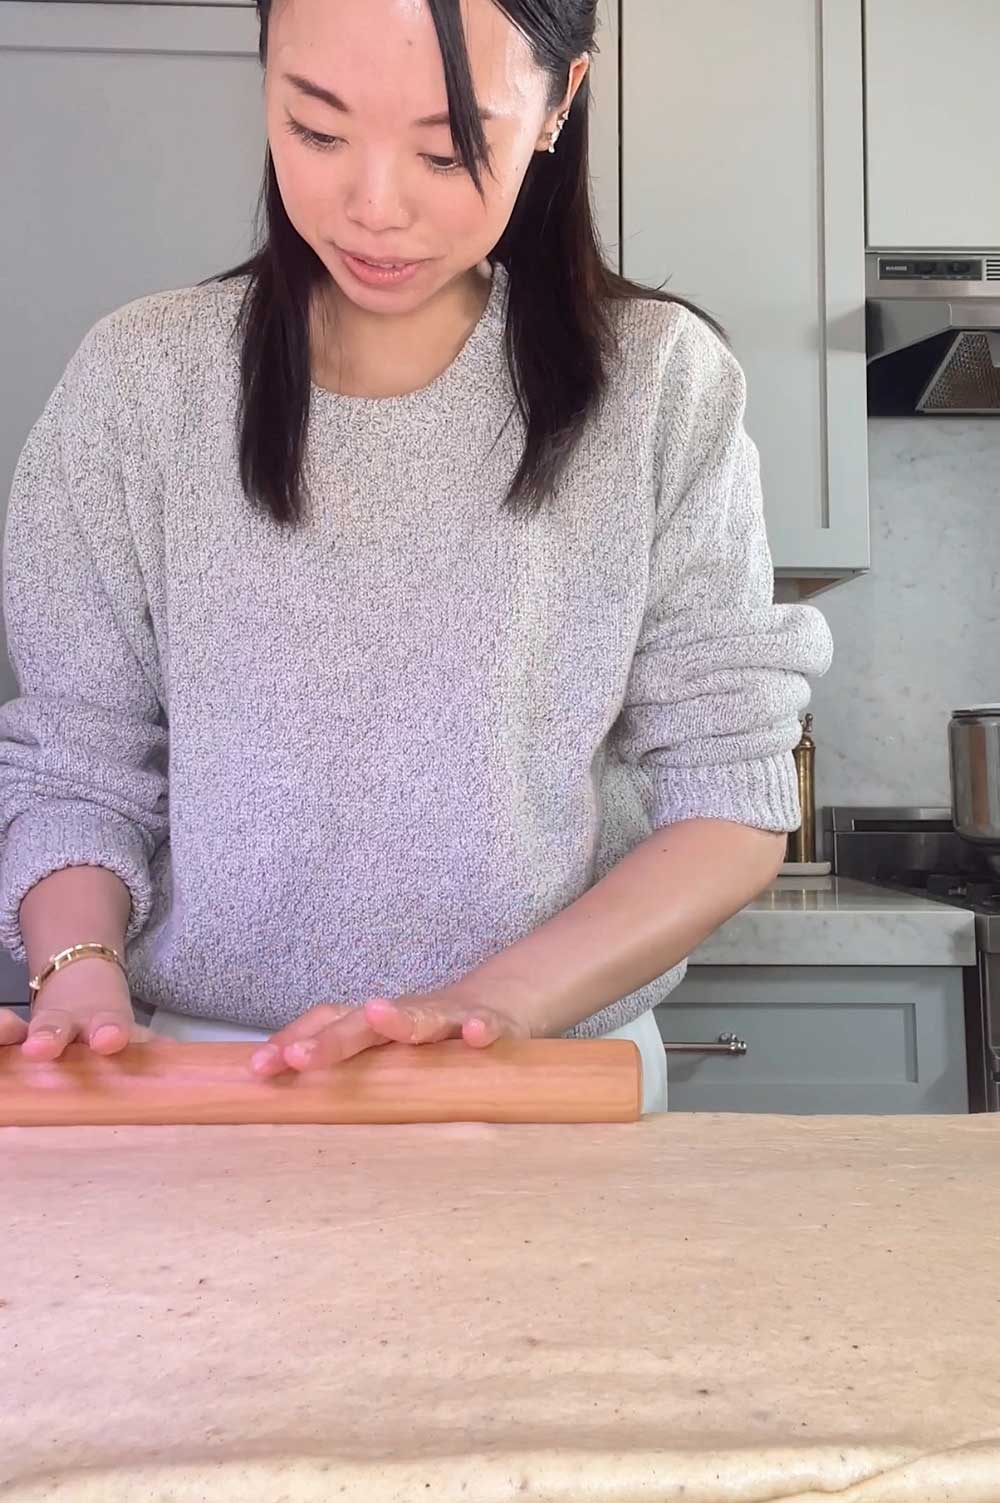
Roll the dough into a bigger rectangle than you think you need
After you’ve added the filling, roll out the dough again to squeeze the layers of dough and filling together.
Create a rectangle shape where the vertical height of the rectangle is longer than the horizontal width.
This will give you longer vertical strips, which is then easier to shape into rolls, snails and crescents.
Chill the dough if your kitchen runs warm
If you’re having trouble with the filling oozing out everywhere, try chilling your dough. You can stick it in the fridge for ~15 minutes to let the dough firm up a bit.
This will also enable you to cut the dough into cleaner strips.
Also, use a pizza cutter or dough cutter to cut your strips.
I don’t have either unfortunately, so I use an old dull, serrated knife. My strip edges are always a little uneven and jagged!
Finish with a Glaze
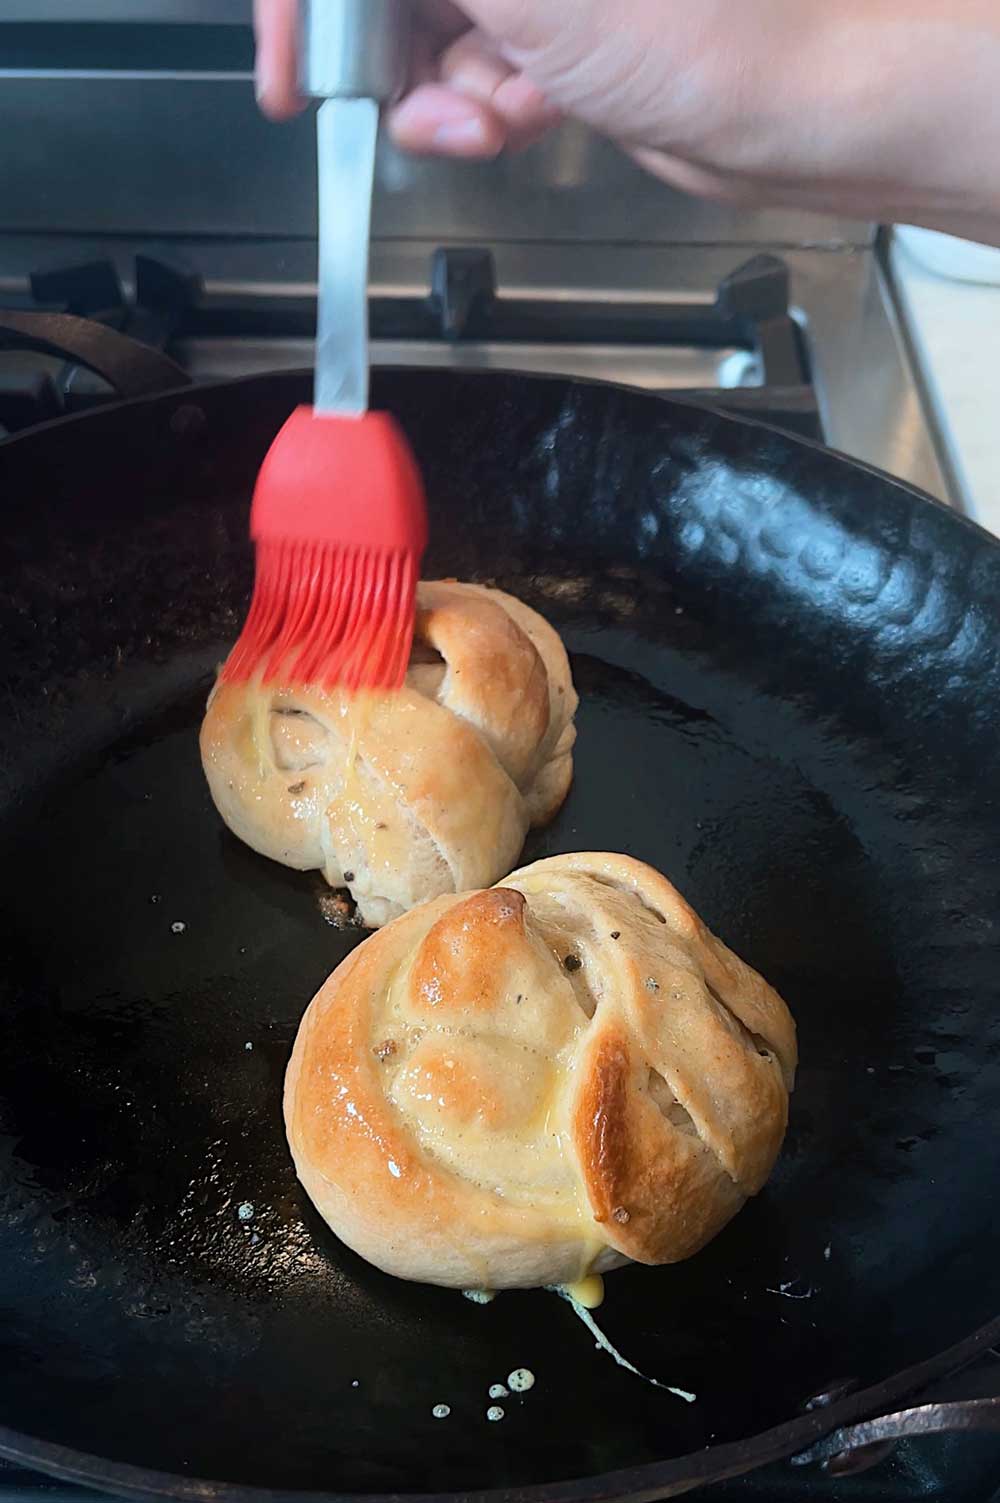
The first couple times I made cardamom buns, I brushed on egg wash before baking and left it at that.
They look and taste great that way, but I noticed in Scandinavia that they do a slightly different technique – a glaze!
While the buns are baking in the oven, you can make a simple syrup on the stove. I like to add more cardamom seeds to it, but you can also use vanilla extract.
Brush the buns right out of the oven with this glaze (do it right away, before they’ve cooled) to give your cardamom buns a shiny crust, before sprinkling on your sugar topping.
I like that the glaze doesn’t make the buns sticky (the way American cinnamon buns are). Instead, it adds lots of shine, a slight crisp and even more flavor!
Pearl Sugar
This one isn’t necessary, but it gives your buns a pretty finishing touch!
In Sweden they often sprinkle pearl sugar on their buns. It’s a form of granulated sugar that doesn’t melt in the oven.
I looked all over NYC to try to find this, but haven’t found any grocery stores that stock it. So I buy mine online here.
Can You Freeze Cardamom Buns?
Yes!
I always freeze my dough because there’s just no way I can eat more than 3 buns in one sitting, ha.
After shaping the buns and letting them rise for the final proofing, you can freeze each individual roll. I lay them out on a baking tray so that they’re not touching, then pop the buns in the freezer for about 15 minutes until they individually cool.
Then I take them out and wrap them in parchment paper or foil to individually freeze them.
Frozen cardamom buns will last about 2-3 weeks in the freezer. These are so good you’ll likely eat them all before the week is up, honestly!
Just note, the yeast will slowly die in the fridge, so try to finish them quickly.
How to Reheat Cardamom Buns
If you baked an entire batch and have leftover buns, you can also reheat them to eat the next day.
I swear by my Balmuda toaster oven for reheating bread.
It’s a steam toaster that can perfectly reheat pastries, pizza and bread so that they still taste as good as freshly baked!
You add a tiny cup of water and choose from their pre-set settings (I use the ‘pastry’ setting) and then your cardamom buns will come out airy and fluffy.
The toaster is pricey, but it’s made such a difference in the taste!
Otherwise, you can lightly wet a paper towel and lay it over the bun then reheat in a microwave for ~15 to 30 seconds.
Making Different Flavor Cardamom Buns
You can also make your own twist on these buns by changing up the filling and toppings!
Some people like to have just cardamom filling, some like cinnamon, and others prefer a cardamom-cinnamon mixture.
You can try a coffee glaze, pistachio nut topping or something fruity, like an orange bun glaze.
For a simpler recipe, use Nutella for the filling instead of making your own!

Swedish Cardamom Buns (Kardemummabullar)
Swedish cardmamom buns are a cross between cinnamon buns and pull apart bread. They're fluffy, soft and buttery with a unique earthy cardamom flavor.
Ingredients
Dough
- 500g milk
- 14g dry yeast (50g fresh yeast)
- 780g flour
- 150g butter, softened
- 90g caster sugar
- 1 teaspoon salt
- 1 tablespoon cardamom
Filling
- 75g butter, softened
- 90g sugar
- 2 tablespoons cardamom
Topping
- 1 egg
- Pearl sugar
- Cardamom
Instructions
- In a small saucepan on low heat, bring the milk to 105 to 115 degrees. Remove from heat and pour in the yeast. Give it a quick whisk to dissolve any clumps.
- In a stand mixer, make the dough by combining your yeasted milk with flour, butter, sugar, cardamom and salt. Mix on low until just combined, about 1 to 2 minutes
- Knead the dough on medium speed for ~10 minutes. It should look smooth, shiny and firm. The dough will pull apart from the sides of the bowl and be sticky to the touch but not stick to your fingers.
- Cover the bowl and let rise for ~30 minutes, or until double in size.
- In the meantime, make the filling by combining butter, sugar and cardamom in a small bowl. It should resemble a smooth paste, like marzipan.
- Once the dough has risen, pour it onto a lightly floured work surface and roll it out with a rolling pin until you achieve a rectangle about 1 cm thick. Use an offset spatula to spread a thin, even layer of filling across the entire sheet of dough.
- Fold the top third of the dough down over the middle. Then fold the bottom third up to cover the dough, like you would fold a letter.
- Go over the dough with a rolling pin to flatten and stretch the dough and filling layers all together. Make sure to seal the edges so no filling oozes out. Try to roll the dough so it is longer vertically than horizontally.
- Use a pizza cutter or serrated knife to cut the dough into 24 even pieces. Twist the dough into a knot and tuck the end under the bun.
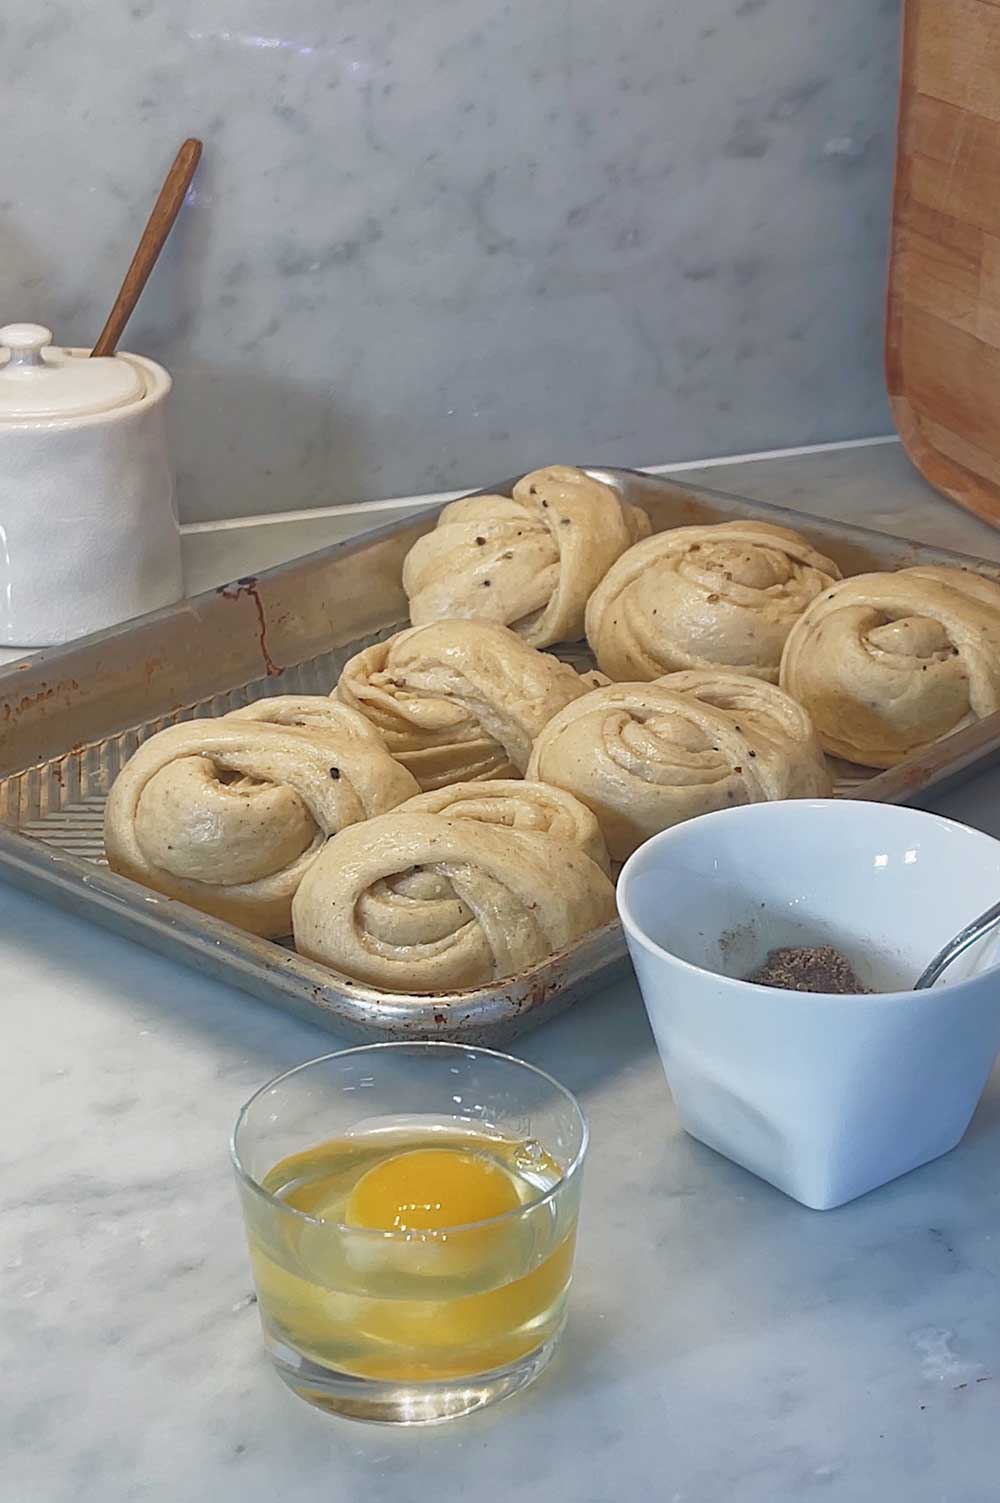
- Place the buns on a baking tray and cover with plastic wrap or a kitchen towel to proof for a second time. Leave them for ~30 minutes or until they've doubled in size.
- Heat oven to 480 degrees Farenheit (250 degrees Celsius).
- Make an egg wash by beating an egg. Make a sugar topping with equal parts pearl sugar and ground cardamom.
- Bake the buns for 6 to 8 minutes until golden brown. Remove from the oven and immediately brush with the egg wash while still warm, then sprinkle your pearl sugar on top and let cool.
Recommended Products
As an Amazon Associate and member of other affiliate programs, I earn from qualifying purchases.


Follow me on
Youtube | Tiktok | Instagram | Substack | ShopMy
![]()
