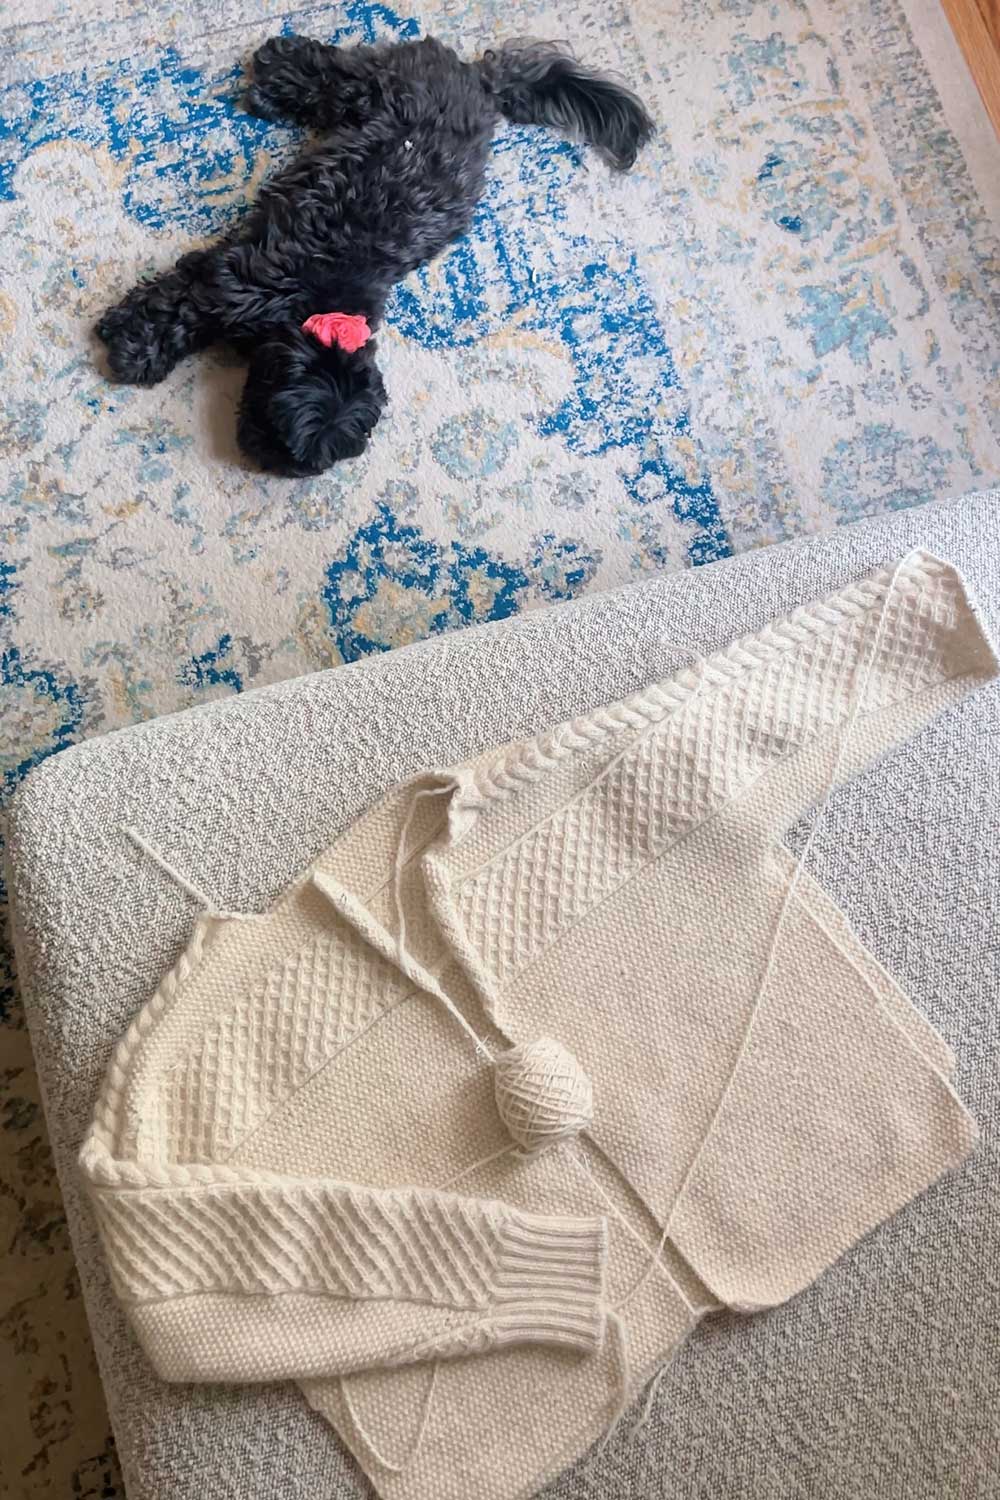
Haraboji Sweater by Aegyo Knits
For my third knitting project, I wanted to try my hand at a cabled sweater.
Nothing seemed quite what I was looking for until I came across a girl’s version of the Haraboji Cardigan.
It looked cozy, plush.. and crucially – the cables were distinctive but also somewhat minimal.
While I love all the intricate aran sweaters and complex cable patterns, I think more minimal cable designs look just a touch more wearable for everyday life.
I immediately bought the pattern!
Since the Haraboji cardigan pattern is written for just 3 sizes, I made some heavy modifications to fit my measurements.
Essentially, I made a much smaller cardigan, changing the overall bust circumference from 120cm to 100cm.
I also dramatically reducing the sleeves for a less oversized cuff.
I’ve gotten some questions on how to do this, so I’ll detail all the modifications, tips and a general pattern review in today’s post!
Whether you want to modify the sweater to be much smaller or bigger, the thought process is generally the same so hopefully this will be helpful!

knitting the haraboji cardigan was really fun – so many details that keep the entire knitting process fun
Aegyo Knits
The Haraboji cardigan is one of several patterns in the Haraboji sweater series by Aegyo Knit.
The Danish knitwear brand was created by Karoline Skovgaard Bentsen, who blends her Scandinavian minimalism into playful, oversized silhouettes.
Her husband is Korean, so many of her patterns draw inspiration from South Korea. Aegyo means cute or charming, while Haraboji means grandfather.
On a side note – South Korea has a fantastic knitting culture!
I always make it a point to stop into one of their yarn stores and knitting cafes when I visit Seoul. I’ve written about some of my favorites in this post and lots of Korea travel guides here.
Haraboji Cardigan Pattern Review
Pattern Overview
| Pattern | Haraboji Cardigan by Aegyo Knits |
| Construction | Side-to-Side, Cabled Cardigan |
| Yarn | Bare Woodland |
| Needles | US 4 / 3.5mm circular needles |
| Date Started | x |
| Date Finished | x |
| Time Spent | ~x days |
Yarn Used
The pattern sample used Rauma Fivel, a worsted-to-Aran weight yarn made from 100% Norwegian wool.
Fivel is a 2-ply, woolen spun wool, and said to produce soft, airy garments.
It also creates crisp stitch definition, ideal for cabled projects.
I saw a version that someone knit using Rauma Mitu, a similar yarn from the same brand. Mitu is a 3-ply, 50% wool, 50% alpaca yarn.
Due to the alpaca content, it creates a warmer, more drapey and overall softer garment. I loved their version and thought it was perfect for the Haraboji cardigan.
The only problem?
Mitu is a bit hard to get a hold of here in NYC.
I searched around and found Knit Picks Woodland.
Once I started looking into it, I realized I liked Woodland even better for the Haraboji project!
It’s the same worsted-to-Aran weight that the pattern calls for, but composed of 80% merino wool and 20% baby alpaca.
I have sensitive skin and find Norwegian wool a bit rustic, so the fact that Woodland is super soft merino and baby alpaca is a better fit.
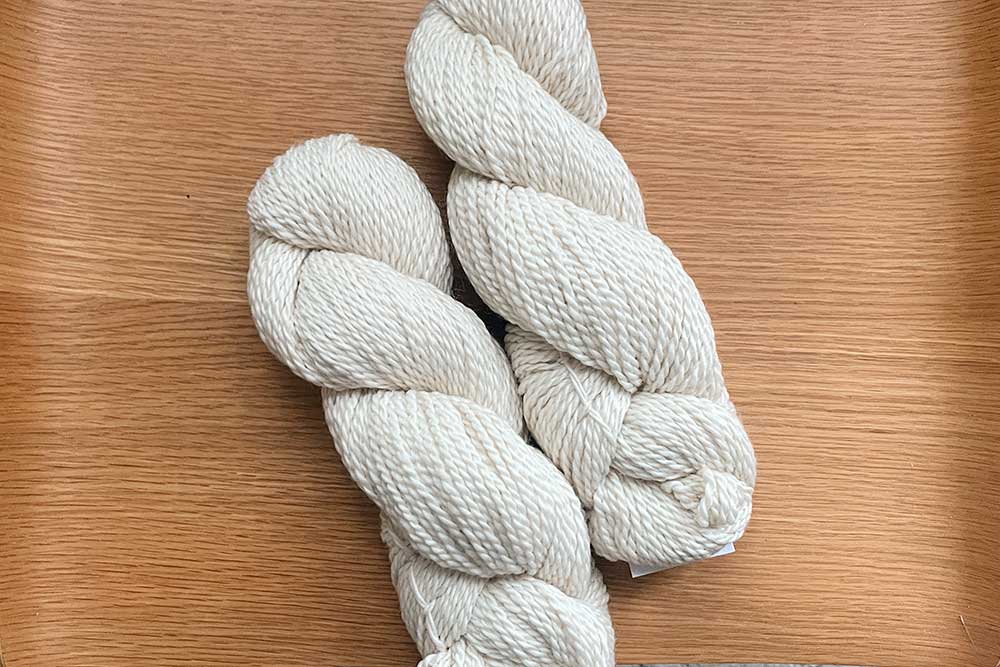
a close up of bare woodland, with its distinctive crimp
And Woodland is an 80/20 wool/alpaca mix.
Alpaca is a ‘low memory’ yarn that tends to stretch significantly over time.
Since the cardigan is already quite oversized, I was worried too much alpaca would make the garment sag and stretch out of shape.
Knit Picks describes the yarn as gentle on the skin, with excellent drape and insulation while maintaining stitch definition and structure.
I noticed most people on Ravelry using Woodland used it for some type of cabled sweater.
So overall, I was really excited to have found Woodland!
Woodland is available in both a regular and a tweed version, and both lines come in ~14 different colors.
I went with Bare, the undyed natural cream color.
It’s incredibly soft – maybe one of the plushiest, plumpest strands of yarn I’ve used.
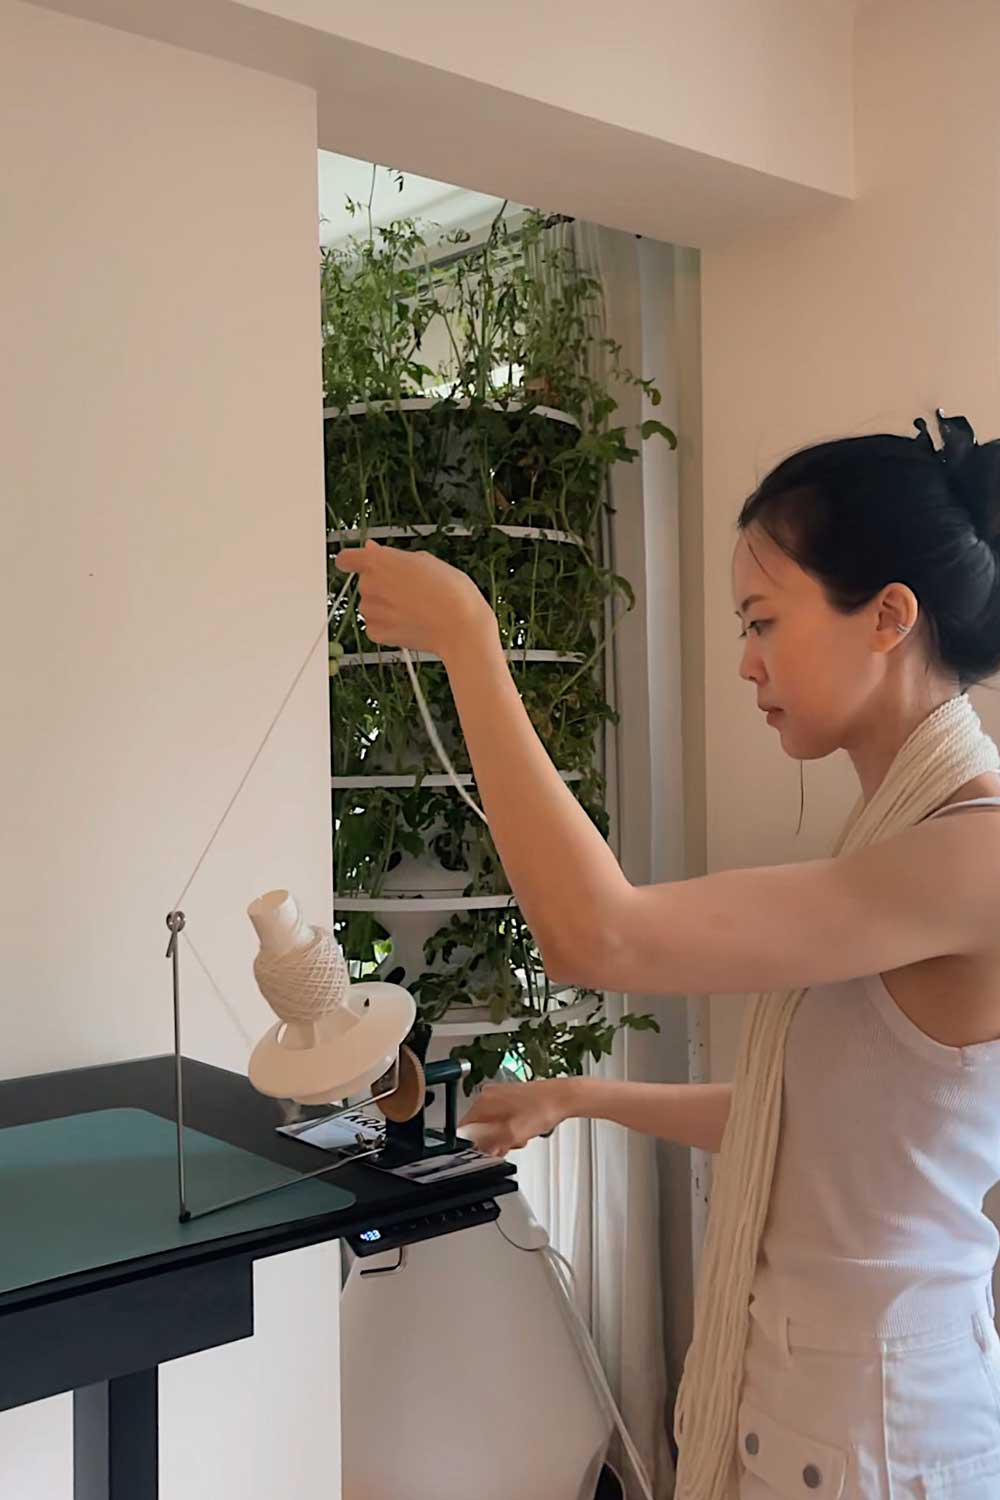
It also has this interesting crimp in the hank. I ended up getting this yarn winder and this swift to cake it up (you can’t knit straight from a hank).
Once Woodland is caked up though, the crimp kind of disappears.
I’m not quite sure what this means, perhaps something to do with it being loosely twisted?
If anyone spins or is more knowledgeable at yarn fibers, let me know in the comments!
Read more: Stanwood Yarn Winder Review: Is It Worth Buying?
Needles
The pattern calls for US 7 / 4.5mm needles.
I sized down and used smaller US 4 / 3.5mm needles to create a tighter gauge and dense fabric.
I wanted a smaller size than size 1 of the pattern (120cm) bust and to create a slightly thicker, more ‘jacket’ like feel.
I used my Chiaogoo interchangeables and Chiaogoo shorties. They’re my favorite needles and both sets are still going strong.
I didn’t use a cable needle.
I don’t think you need to go out and buy one – you can just use another needle or pretty easily cable without a needle!
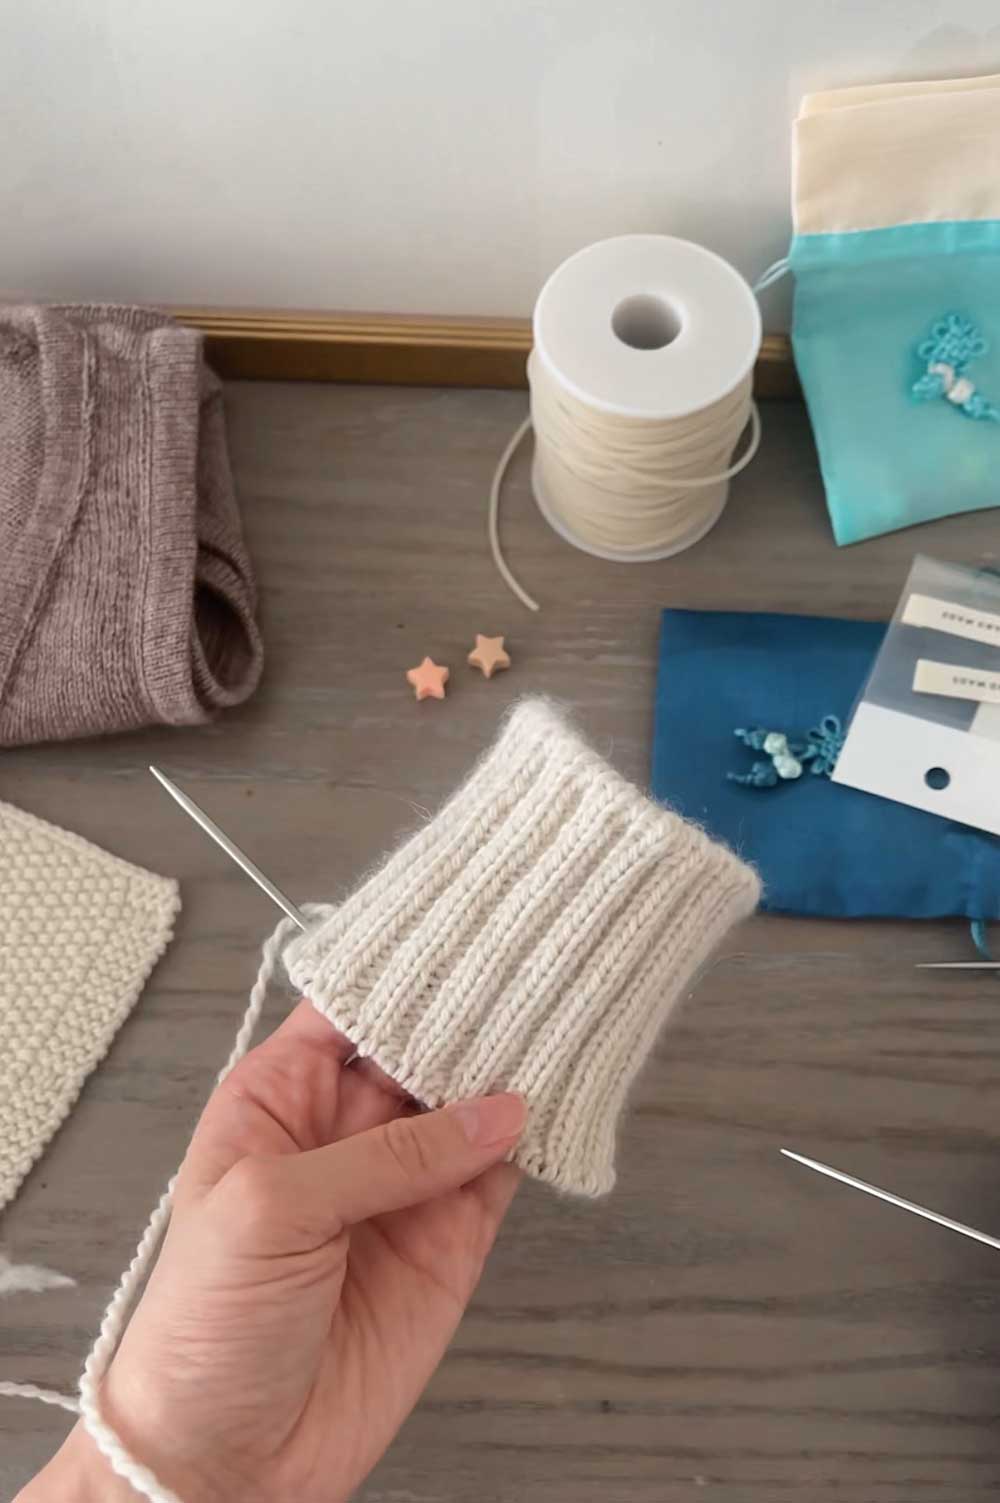
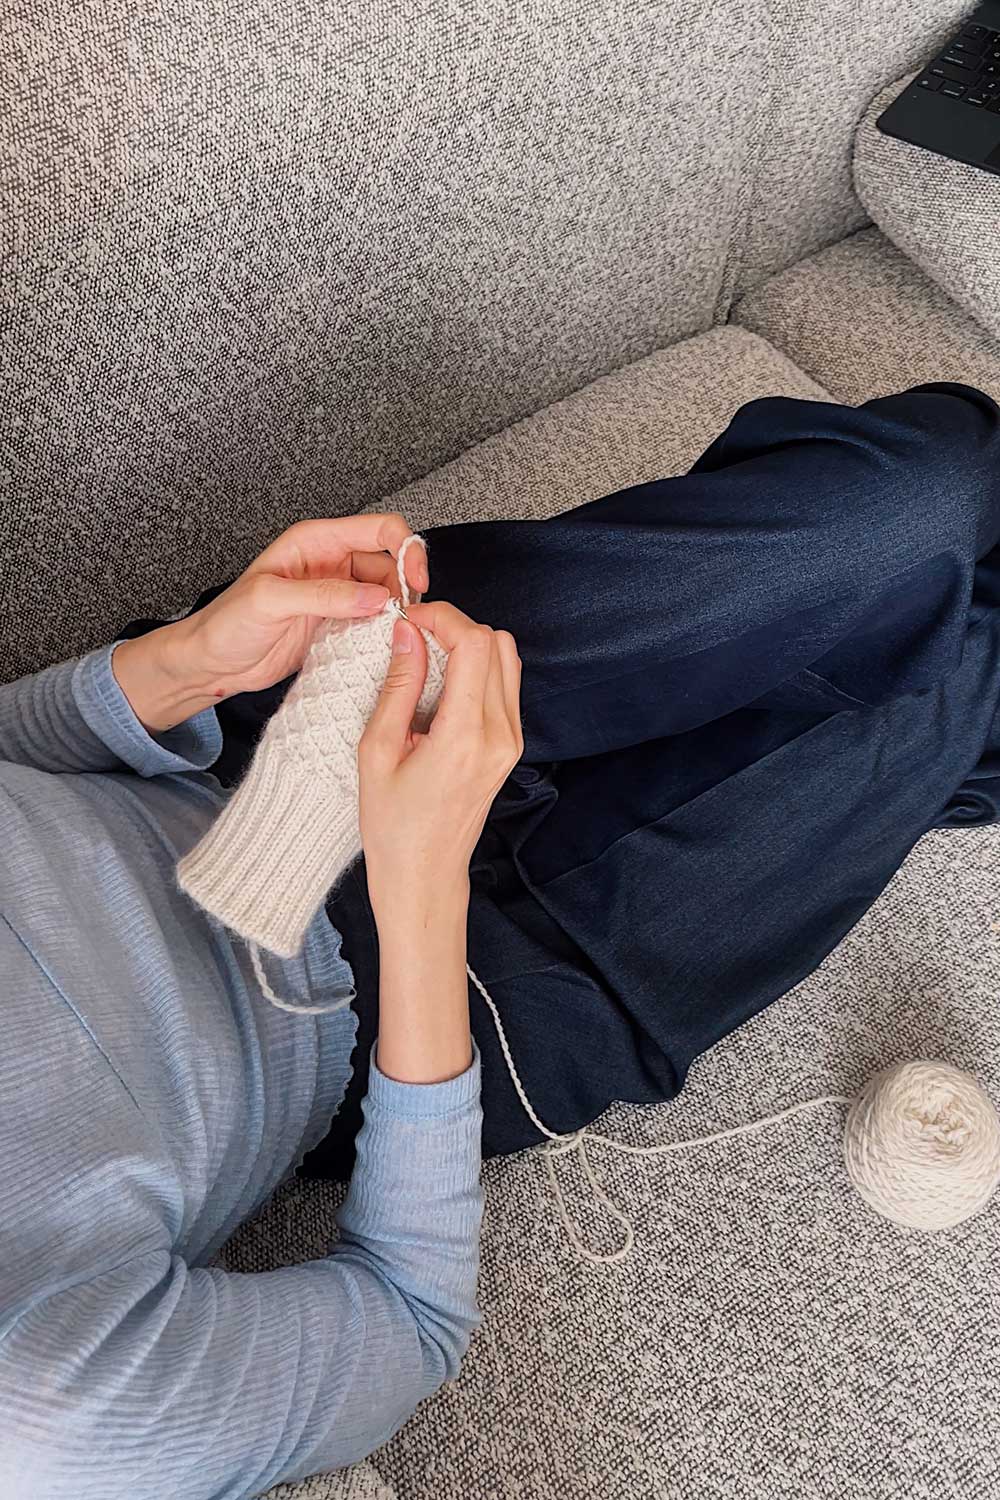
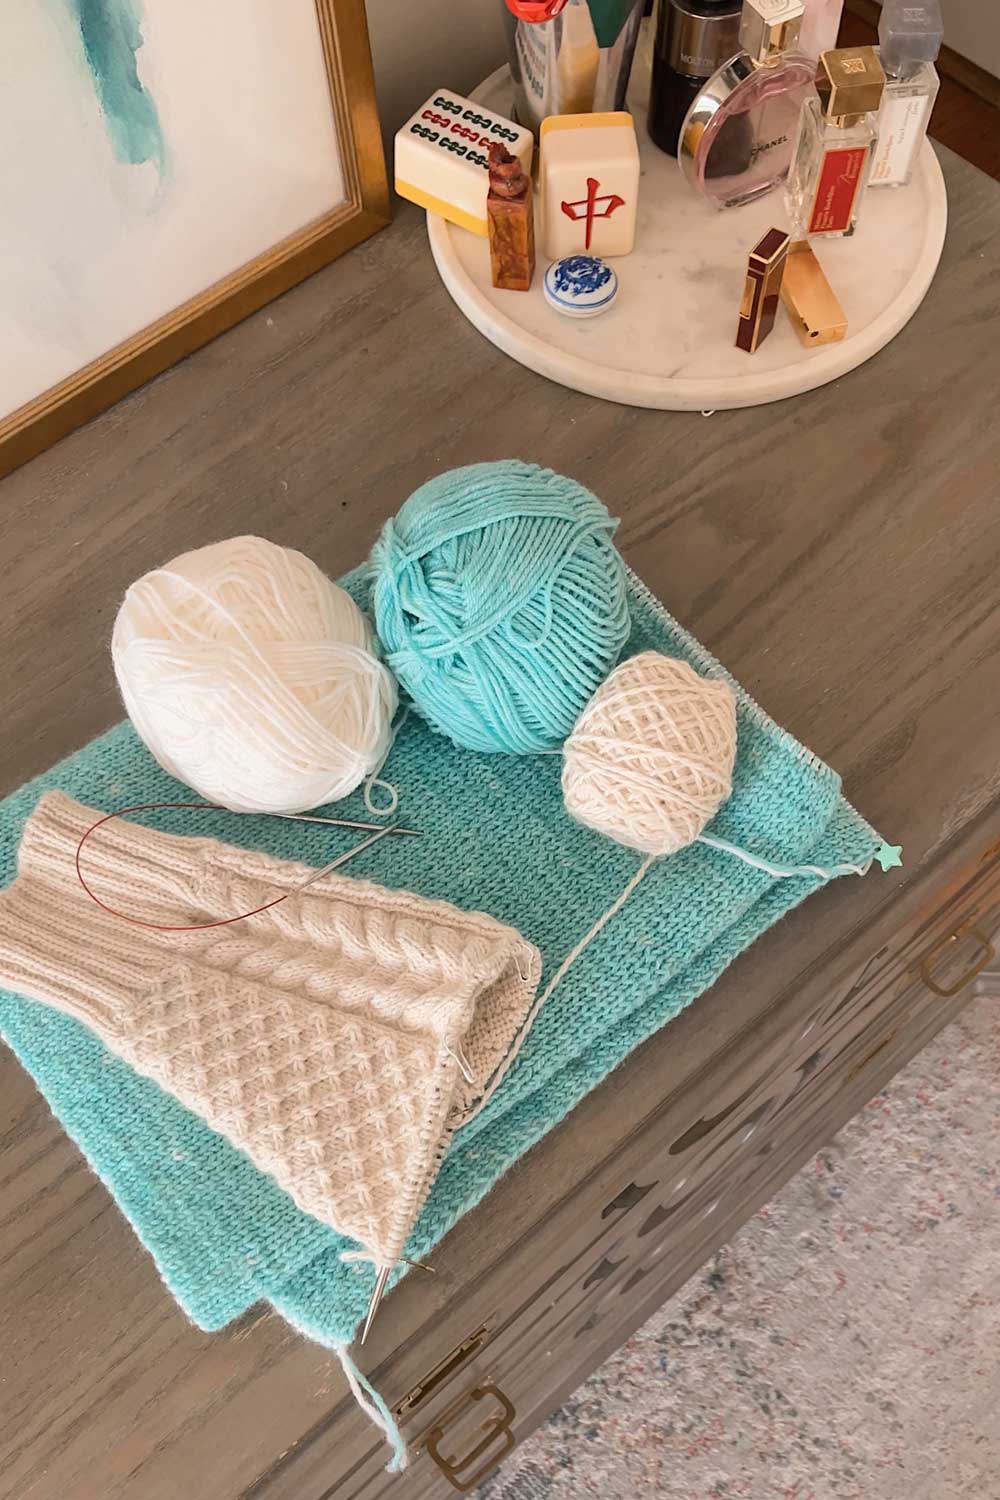
starting the haraboji cardigan
Pattern Difficulty
The Haraboji cardigan is rated as more complex and advanced knitting pattern.
I went back and forth before choosing it, as I wasn’t sure if it’d be the right pattern for a first cable project.
What makes the Haraboji a bit tricky isn’t the cables themselves but the construction.
Read all my pattern reviews here-.
Sweater Construction
Unlike most sweaters, which are either knit bottom-up or top-down, the Haraboji is a really unique construction that it’s knit side-to-side.
You knit it horizontally, starting from the right cuff, up to the shoulder, split for the front and back, then finish by creating the left sleeve.
It’s truly a one of a kind design!
I will say, now that I’m done… I don’t recommend this pattern for beginners, ha.
It’s definitely doable, but there are a couple things that make it tricky.
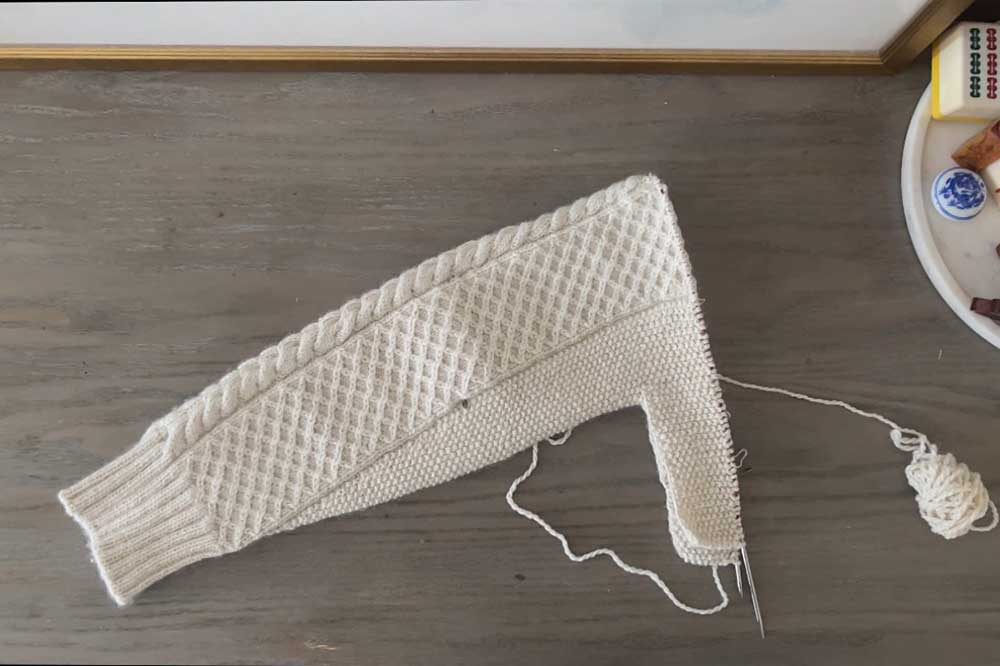
I was really curious about the side-to-side construction. Not sure I’d do it again, but fun to learn!
Knitting the Haraboji Sweater
Small Cables
The cable pattern is two small grid-like cables surrounding a bigger, fatter cable.
As a knitter new to knitting cables, I didn’t realize that smaller cables are actually more intricate to knit than larger cables.
The large central cable is actually quite easy. Nothing to memorize.
Meanwhile, the small cable patterns are charted and mirrored.
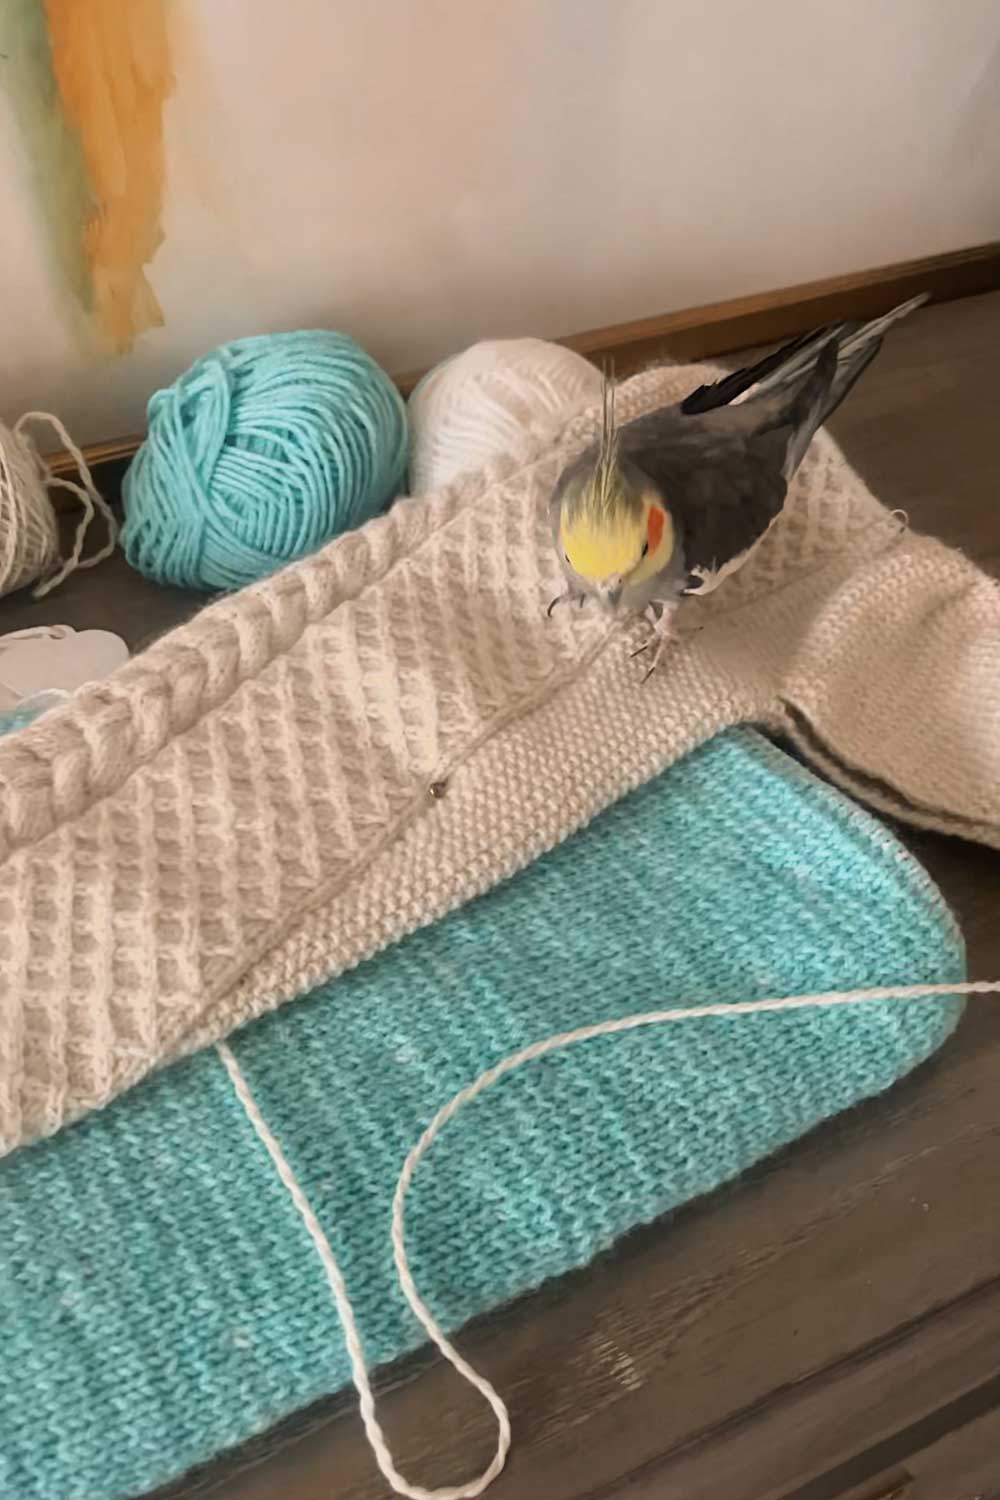
It took me a little bit of time to memorize the chart. In the beginning, I kept forgetting to mirror them.
Also, because of the Haraboji cardigan’s construction, you are often knitting the small cable grids on the wrong side.
Basically, you kind of knit blind and you also have to purl the cables.
You repeatedly turn the work around to make sure you’re making the cable grids correctly.
In the beginning, that was tedious!
Maybe about 50% of the way through, I finally got the hang it though – finally!!
So, not to discourage in any way, but just wanted to mention. I really think anyone can knit anything they want to.
But there are definitely easier cabled sweater patterns out there :)
And lastly, what made the Haraboji cardigan a bit difficult to knit were the modifications (more on those below).
Now obviously, making modifications was my choice and nothing to do with the pattern.
But given the pattern’s limited sizing, I just wanted to point it out, as I think a lot of people might potentially want to modify the size.
The side-to-side construction makes modifications a bit trickier to think through and execute compared to a more standard top-down or bottom-up sweater.
Ok, now on to the sizing modifications I made!
Modifications
The design of the Haraboji cardigan is intentionally oversized.
Aegyo Knit’s designs are all relaxed and minimalist. It’s beautiful in that very Scandi-style way.
I didn’t look too closely at the size options before I bought (oops) but as I read through people’s projects on Ravlery, I noticed a common theme.
Many people mentioned that the smallest size (1) was quite dramatically large, with big open-cuff sleeves and a loose, relaxed body.
I have a smaller frame and know that I typically like my sweaters to be 100cm around the chest for my ideal level of ‘oversized’.
In order to reduce the pattern circumference by 20cm, I made a number of changes.
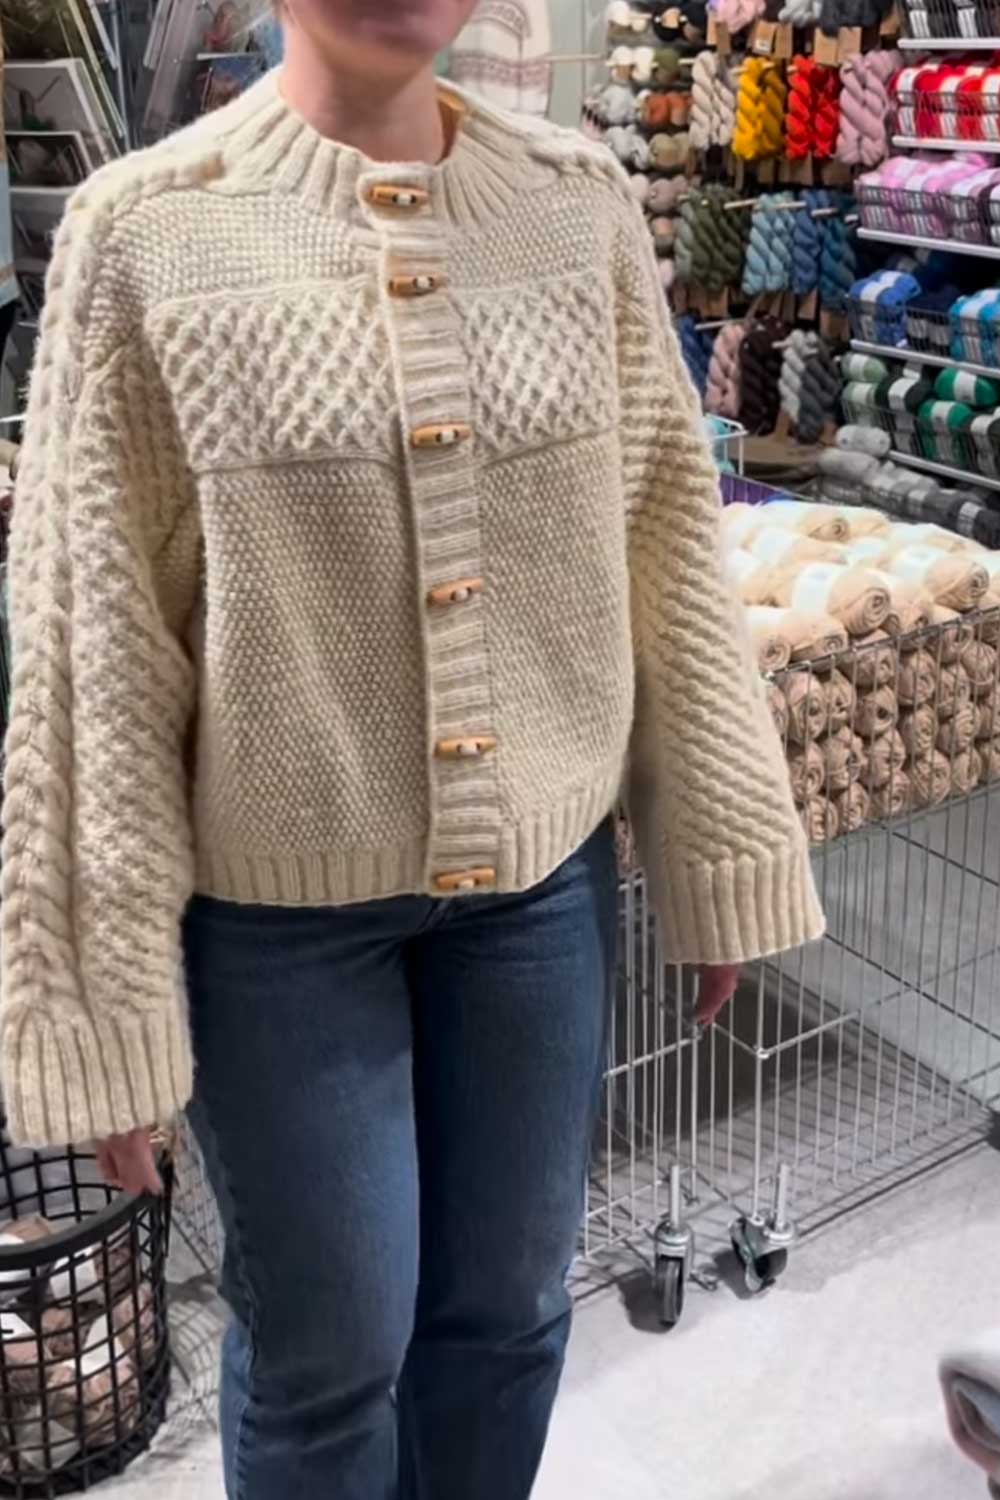
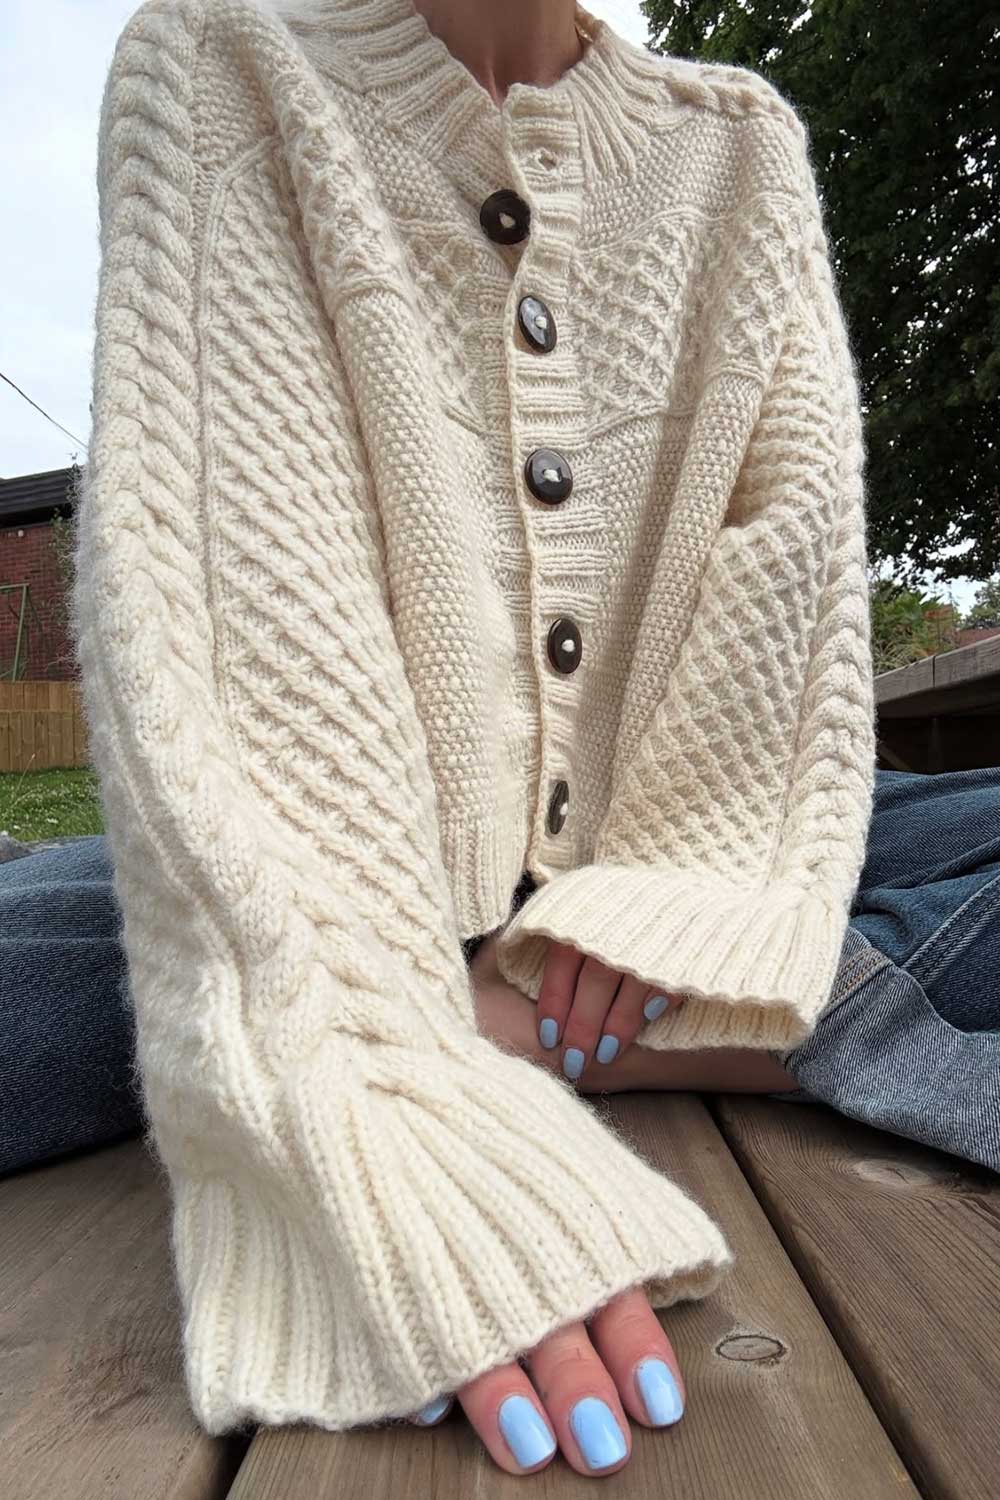
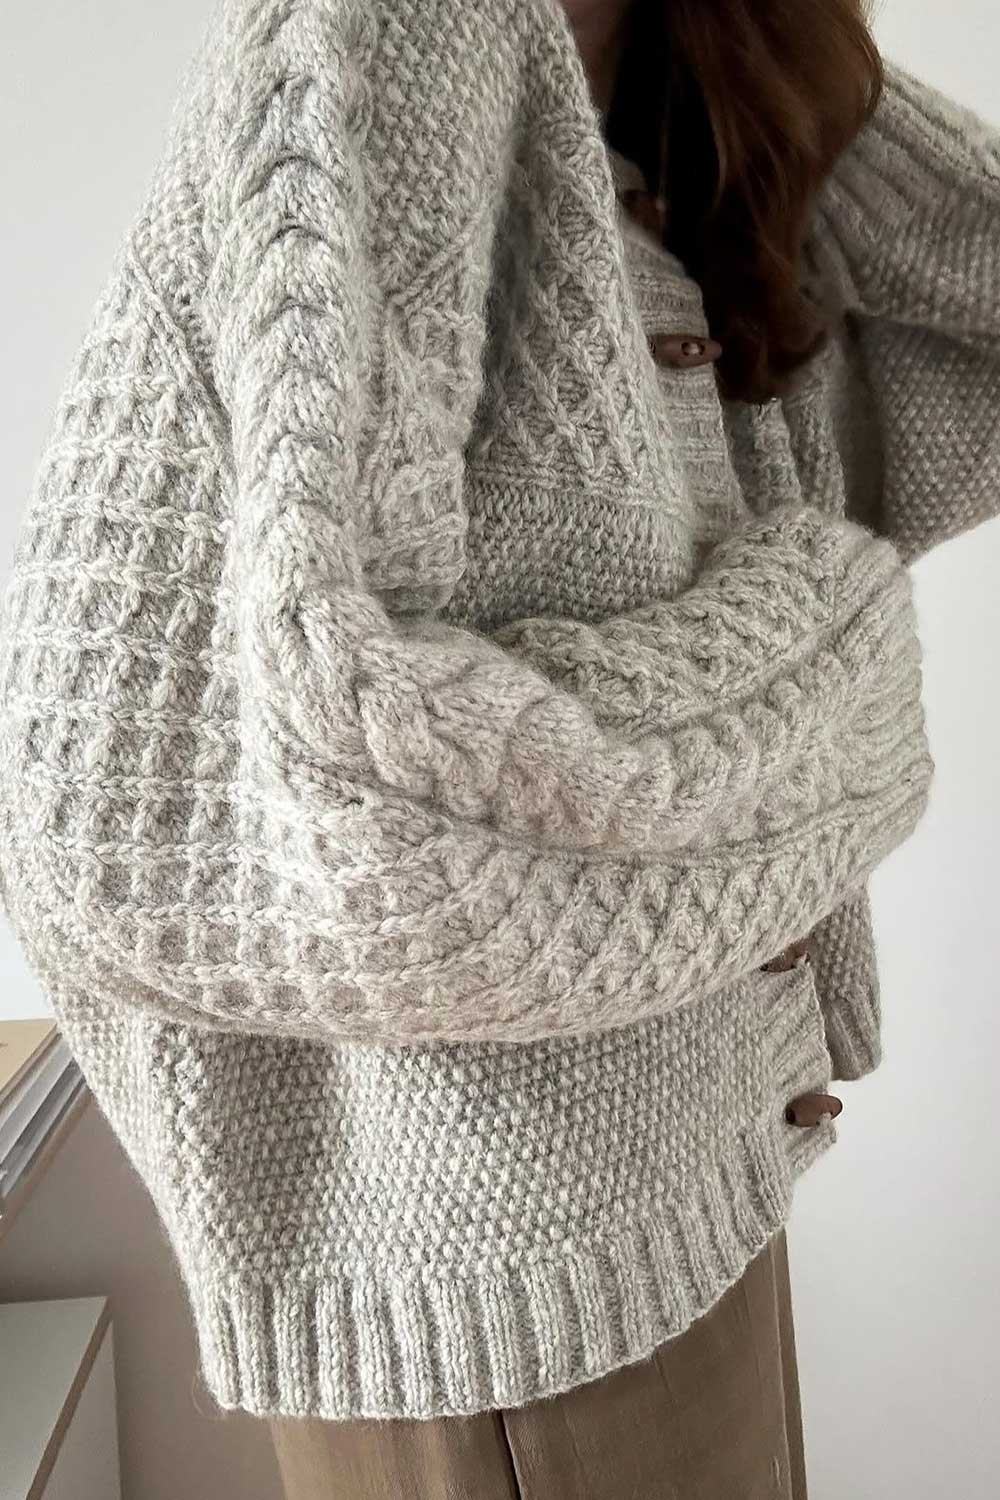
the Haraboji is designed to be oversized and quite relaxed
Tips for Modifying the Haraboji Cardigan
Knit at a Smaller Gauge
I sized down a full needle size, from 4.5mm to 3.5mm needles (US 7 to 4).
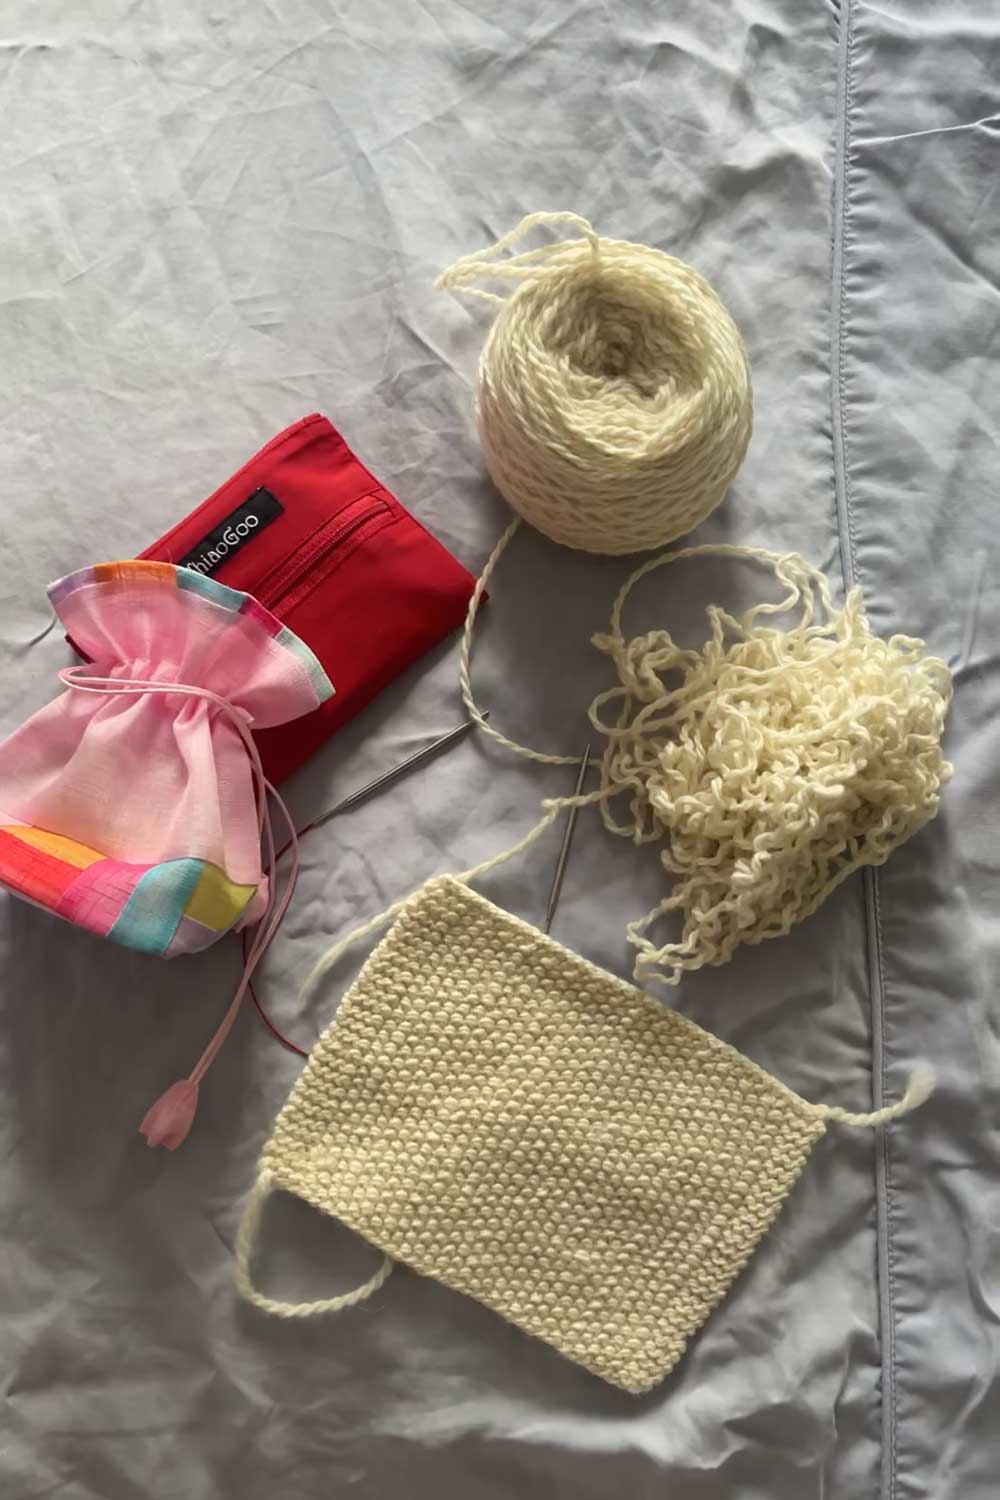
This had the benefit of creating a denser, more ‘jacket-like’ fabric and would also counteract any stretching of the alpaca content in my yarn.
I made a swatch and got 21.5 sts x 42 rows compared to the pattern gauge of 18 sts x 32 rows.
Going down a full needle size made for a much tighter gauge (18/21.5 = 0.837), meaning all things kept equal, my garment would end up about 16% smaller.
Applying that to the pattern measurements, that would mean:
- Size 1 (120cm bust): 120 x .837 = 100 cm
- Size 2 (130cm bust): 130 x .837 = 109 cm
- Size 3 (140cm bust): 140 x .837 = 118 cm
So the needle reduction basically would create the garment chest width I wanted (woohoo!)
…while also being beneficial for the yarn I chose!
Win win!
Modifying the Sleeves
The pattern designs oversized sleeves, with very relaxed cuffs.
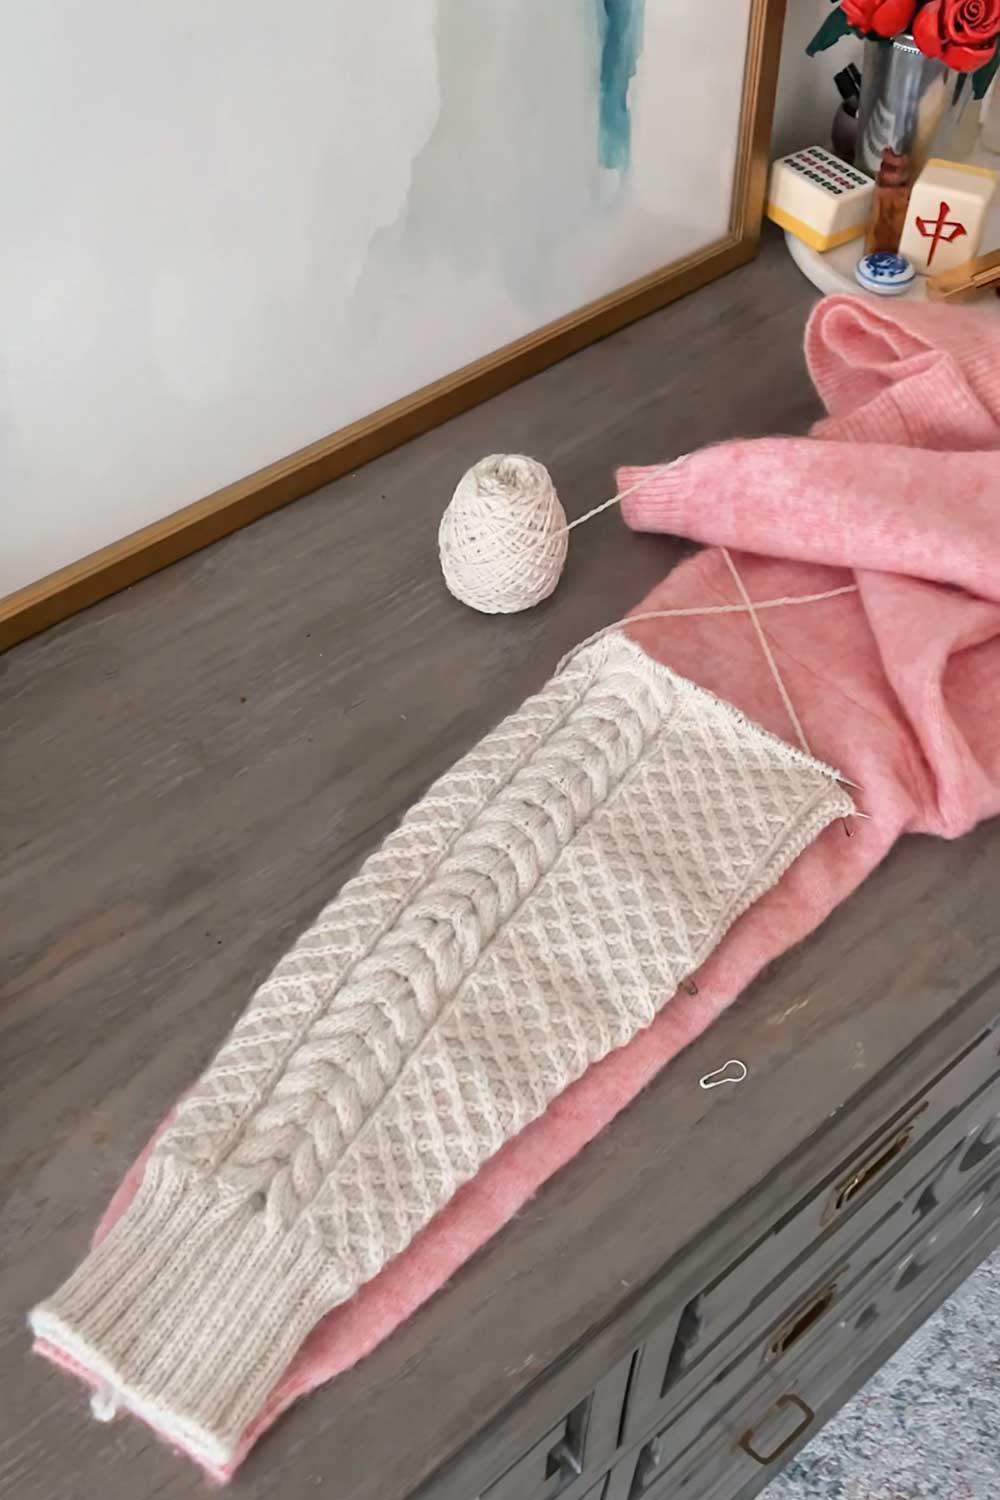
I don’t like my sleeves dragging or accidentally dipping into food, so I made my cuffs tighter.
For size 1, the pattern says to cast on 92 stitches. I modified this to 76 sts.
After that, when dividing stitches for cabling, I went from 76 sts to 80 sts and omitted the opening seed stitches to create a smaller cuff.
The pattern also does not specify a cast on method.
I used the Italian tubular bind off, and filmed an Instagram overview/ tutorial here.
I did an extra round of increases (12 in total) for the sleeve length to adjust for my tighter gauge.
This allowed me to get sleeves that were long enough.
Adjusting Fit
A change in gauge affects not only the width of the finished garment but also the length.
So sizing down my needles would shrink the chest measurement by ~16% and make the garment ~16% shorter in length.
So this would impact the bust (great) but also the sleeve, length, body length and armhole depth.
The armhole depth especially matters for fit, especially in a jacket-like cardigan worn as a layering piece.
Adjusting Length
Since the Haraboji cardigan is knit side-to-side, you determine the length of the cardigan at the point in time that you are casting on stitches for the body.
The number of stitches you cast on will determine the garment length.
I made the mistake of following the pattern cast-on count and realized I was creating a crop top, not a cardigan.
So I had to frog the body and start over from the sleeve shoulder.
For size 1, the pattern called for casting on 14 stitches on each front and back.
Instead, I cast on 28 stitches on each front and back.
The amount you’ll want to cast on depends on your torso length.
Note: it’s just the seed stitch texture of the cardigan, not including additional 1-3″ in length that the cardigan will gain from the bottom hem ribbing.
I have a short torso, so in hindsight I wish I had cast on a little less..
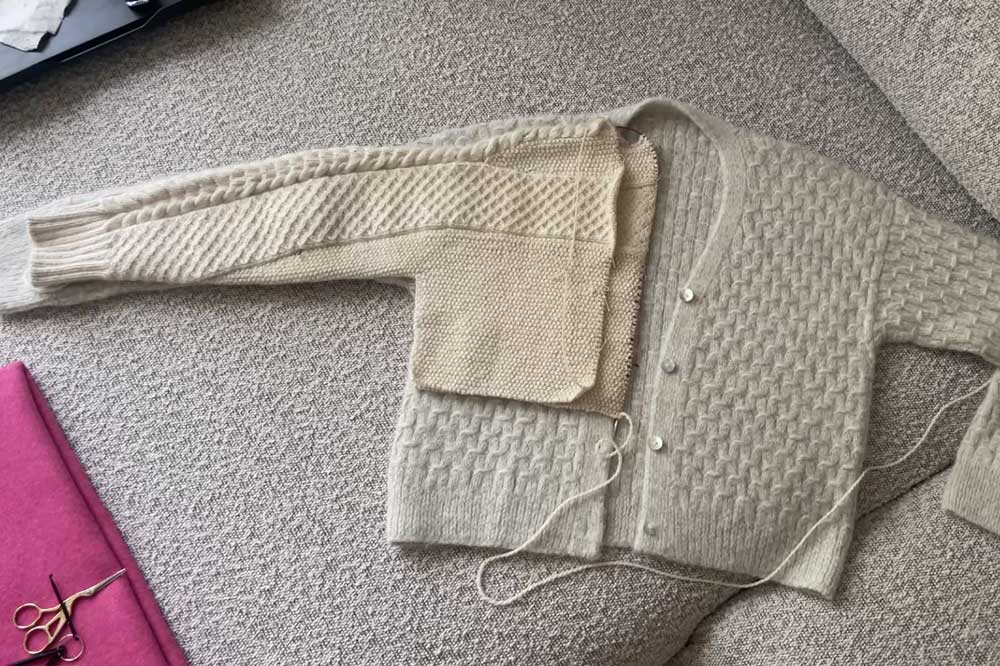
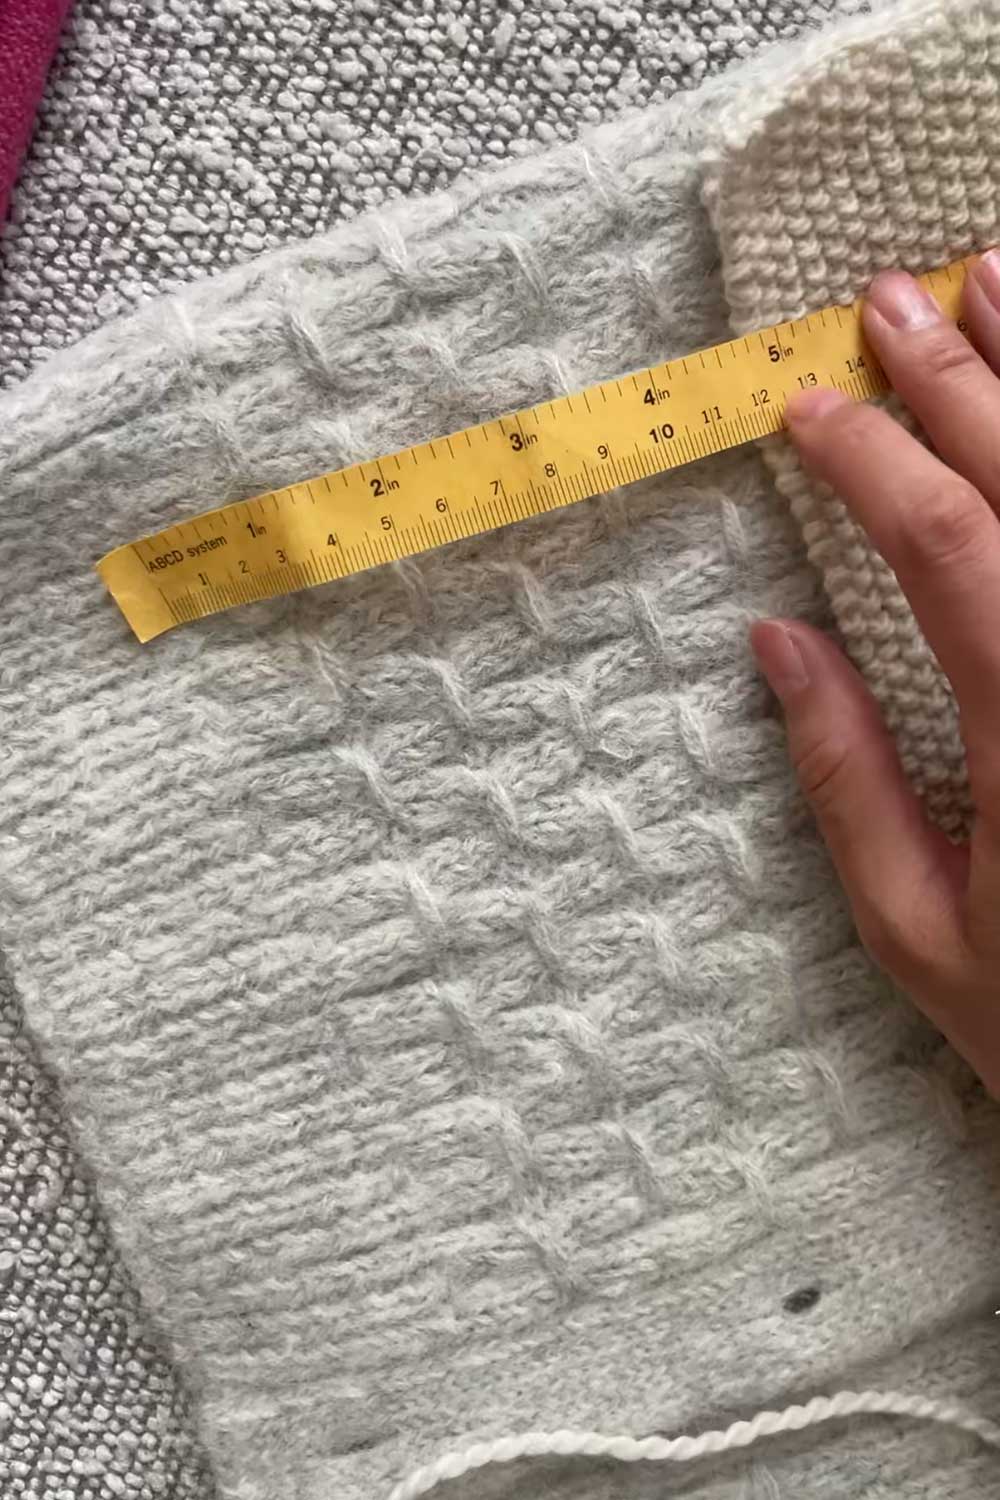
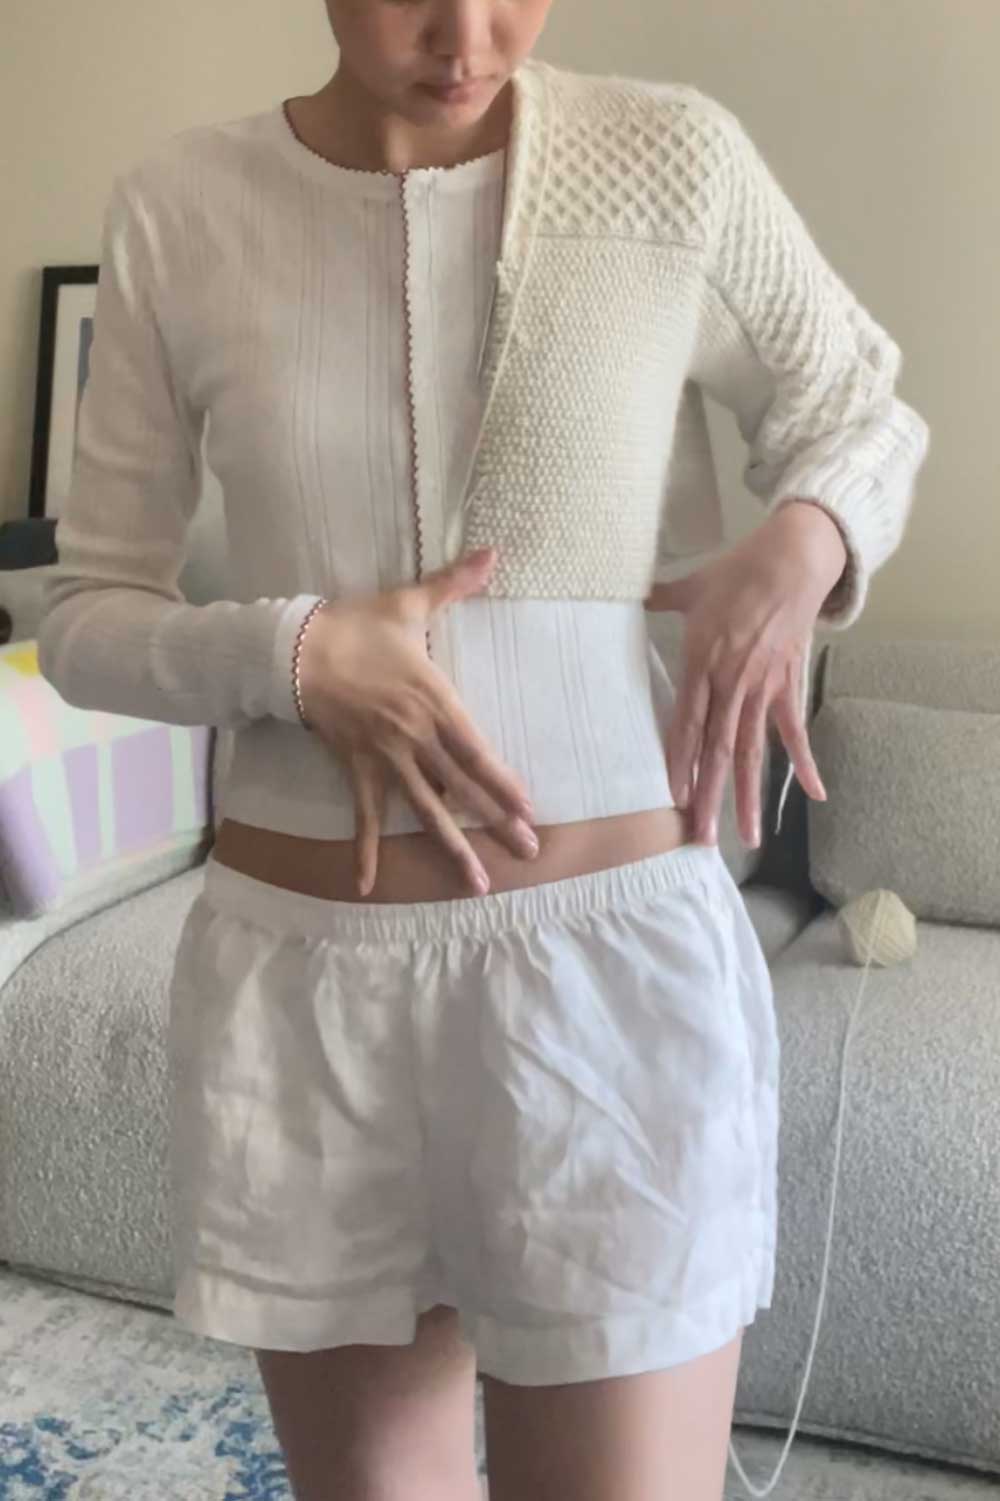
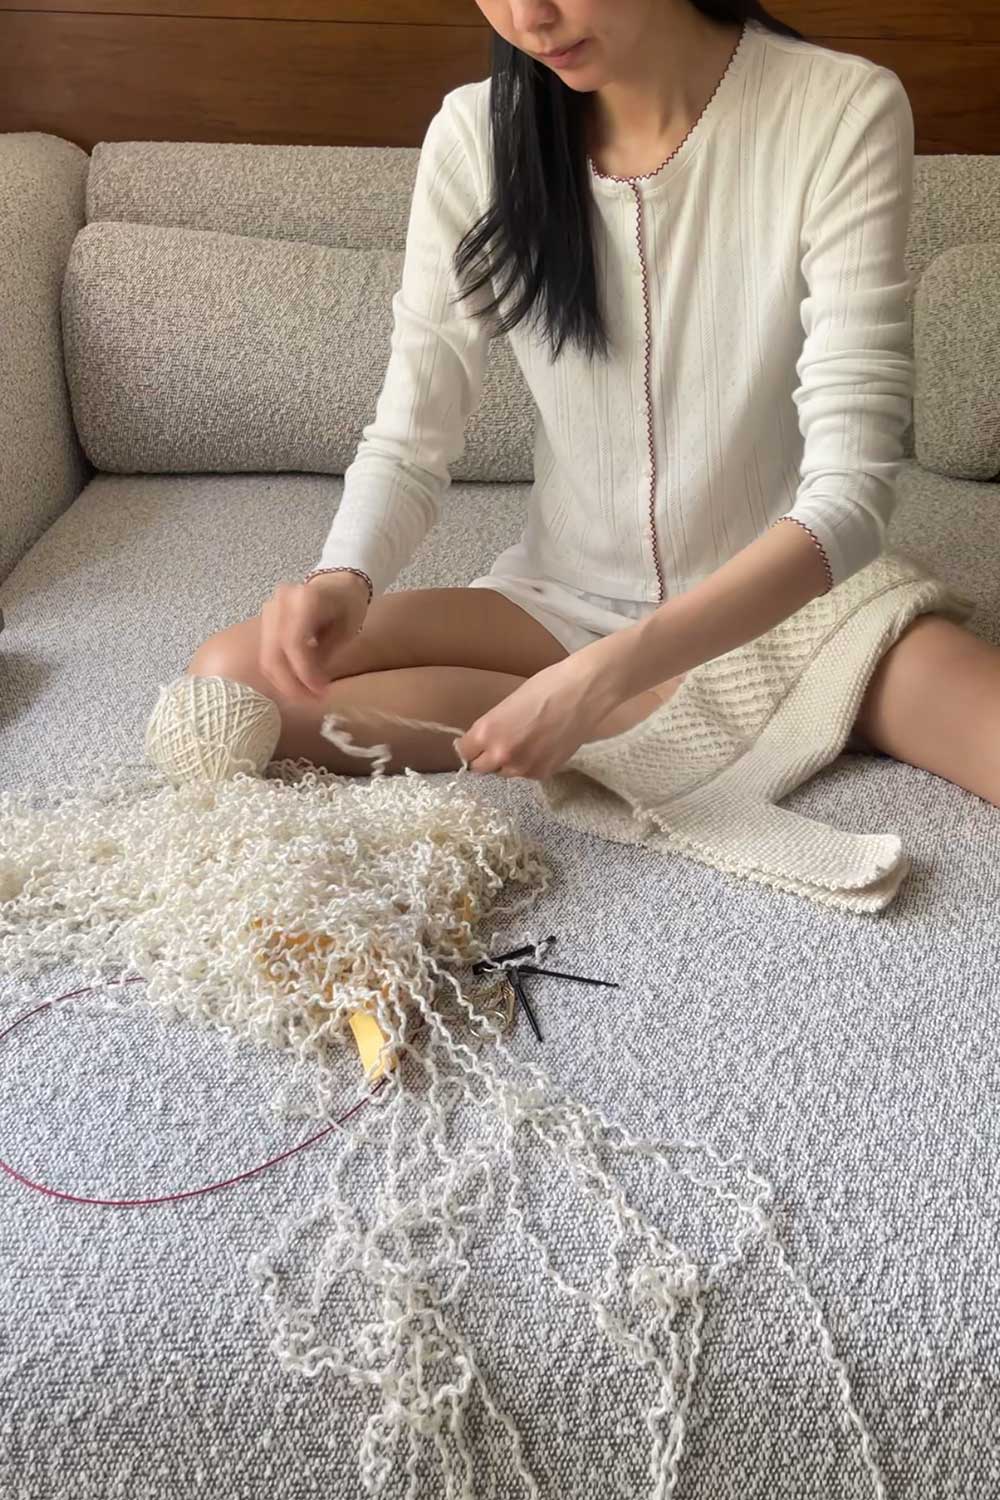
after nearly finishing the right half of the cardigan, I started to realize it looked odd. I measured it against my previous hand knit cardigan, the Jenny Jacket… and realized something about the body length was definitely off. So I measured the length I was ‘missing’, tried it on to double check and calculated how many stitches I should have cast on for the body. Then I frogged alll the way back to the shoulder cap and re-knit the right side.
Effect on Cables
Something I didn’t realize until I finished the project was how using a different gauge would also impact the look of the cables.
I didn’t need to change anything structurally – the cables are written as stitch counts and therefore not gauge dependent to create the shape.
But a 16% tighter gauge made the overall cable pattern slightly smaller in scale.
On the sleeves, I don’t notice a difference.
But on the chest and back, there’s a horizontal cable design where the grid cable travels sideways across the front and back.
These are slightly smaller on my finished cardigan vs the pattern.
So I do wish I had thought to figure out a way to potentially make the cable grid ‘thicker’.
Oh well..
But letting you know in case you are also extremely Type A and think this may bother you!
Final Thoughts
Overall, I really loved making the Haraboji cardigan and I really loved knitting with Bare Woodland.
It was so much fun to knit and I’m so impressed by the unique side-to-side construction!
| Difficulty | 4/5 |
| Pattern Writing | 3/5 |
| Yarn | Woodland in Bare – 5/5 |
| Fit | 4/5 |
Cable Design
I will say, the project was definitely a bit of a mind exercise in the beginning.
Learning how to cable for the first time, cabling on the wrong side, knitting off gauge, making so many modifications… none of that was beginner friendly.
Pattern Sizing
So if the pattern sizing is good for you as written, I think it’s an excellent sweater to knit.
If you need to make size adjustments like I did.. I think the side-to-side construction makes this quite tricky.
Knitting anything for the first time always feels like going in blind, and it’s hard to anticipate how modifications will impact the overall garment when knitting side to side.
Pattern Clarity
Oh! One last comment on the pattern writing.
This isn’t the kind of pattern when you can let your mind snooze on autopilot.
I’ve heard Scandinavian patterns are often quite light on instruction and expect the knitter to know how to do things.
The Haraboji Cardigan definitely follows that style.
There were some small translation mistakes (like not translating r for knit in Norwegian to k in English)
And the pattern gets quite light and succinct at the end.
She simply tells you to ‘make the left side as you did the right’, lol.
So you’ll want to take lots of notes as you go and mark all the points where you do your shaping (sleeves, shoulder, body, neckline).
That will make it much easier when you start the left side. You can check your notes and reverse the increases to decreases.
Seriously, take lotsss of notes if you want a symmetrical right and left side cardigan!
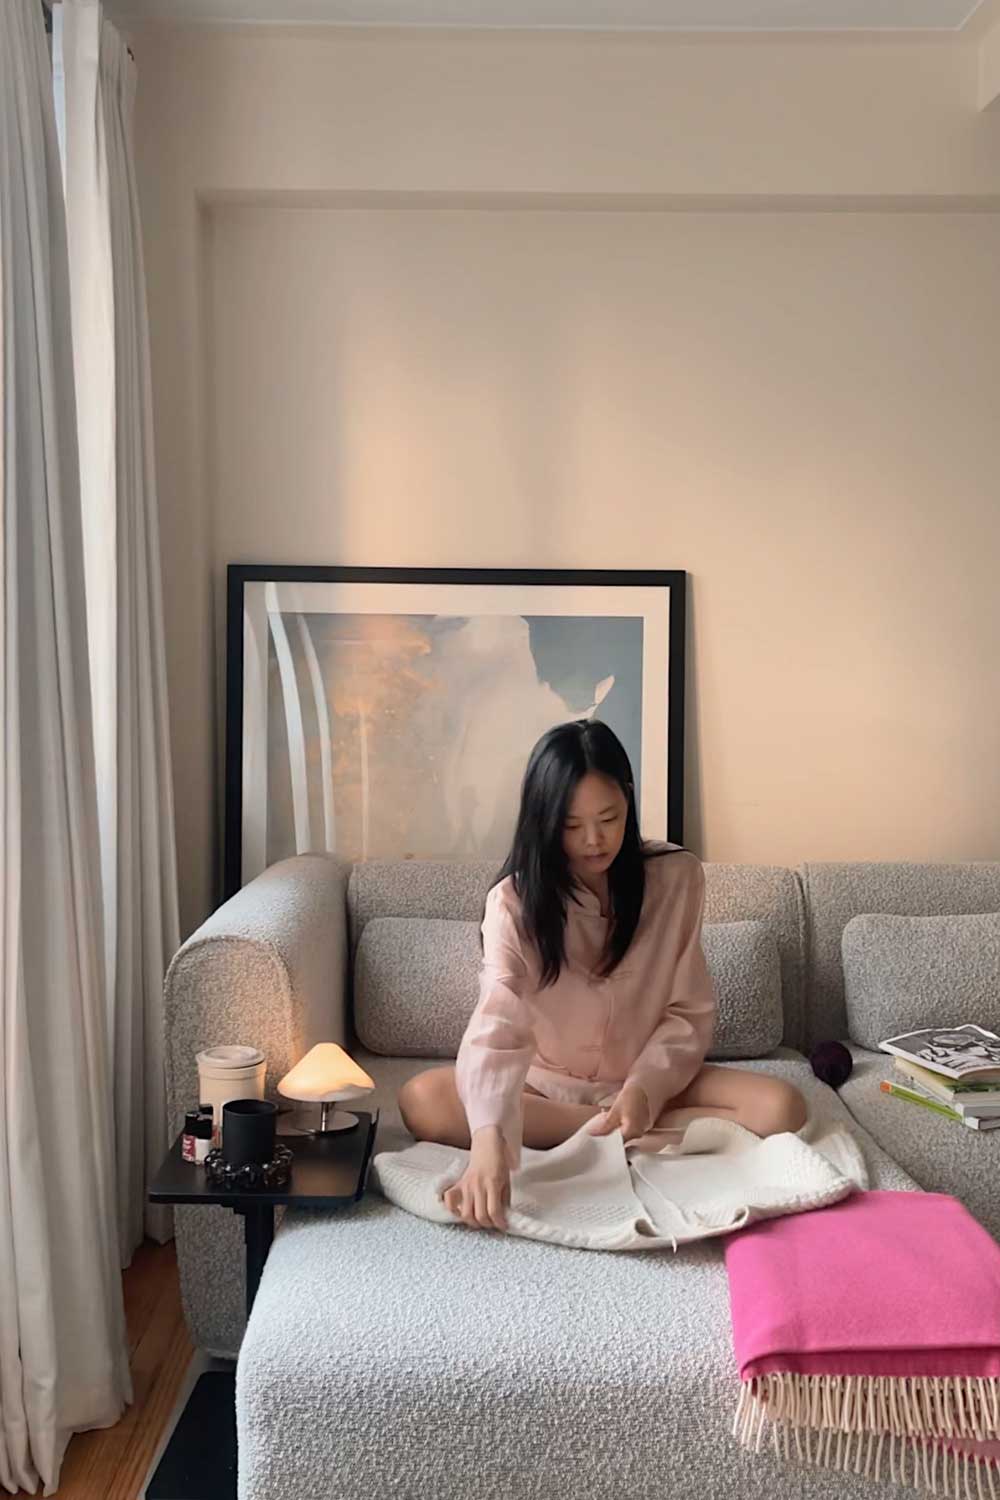
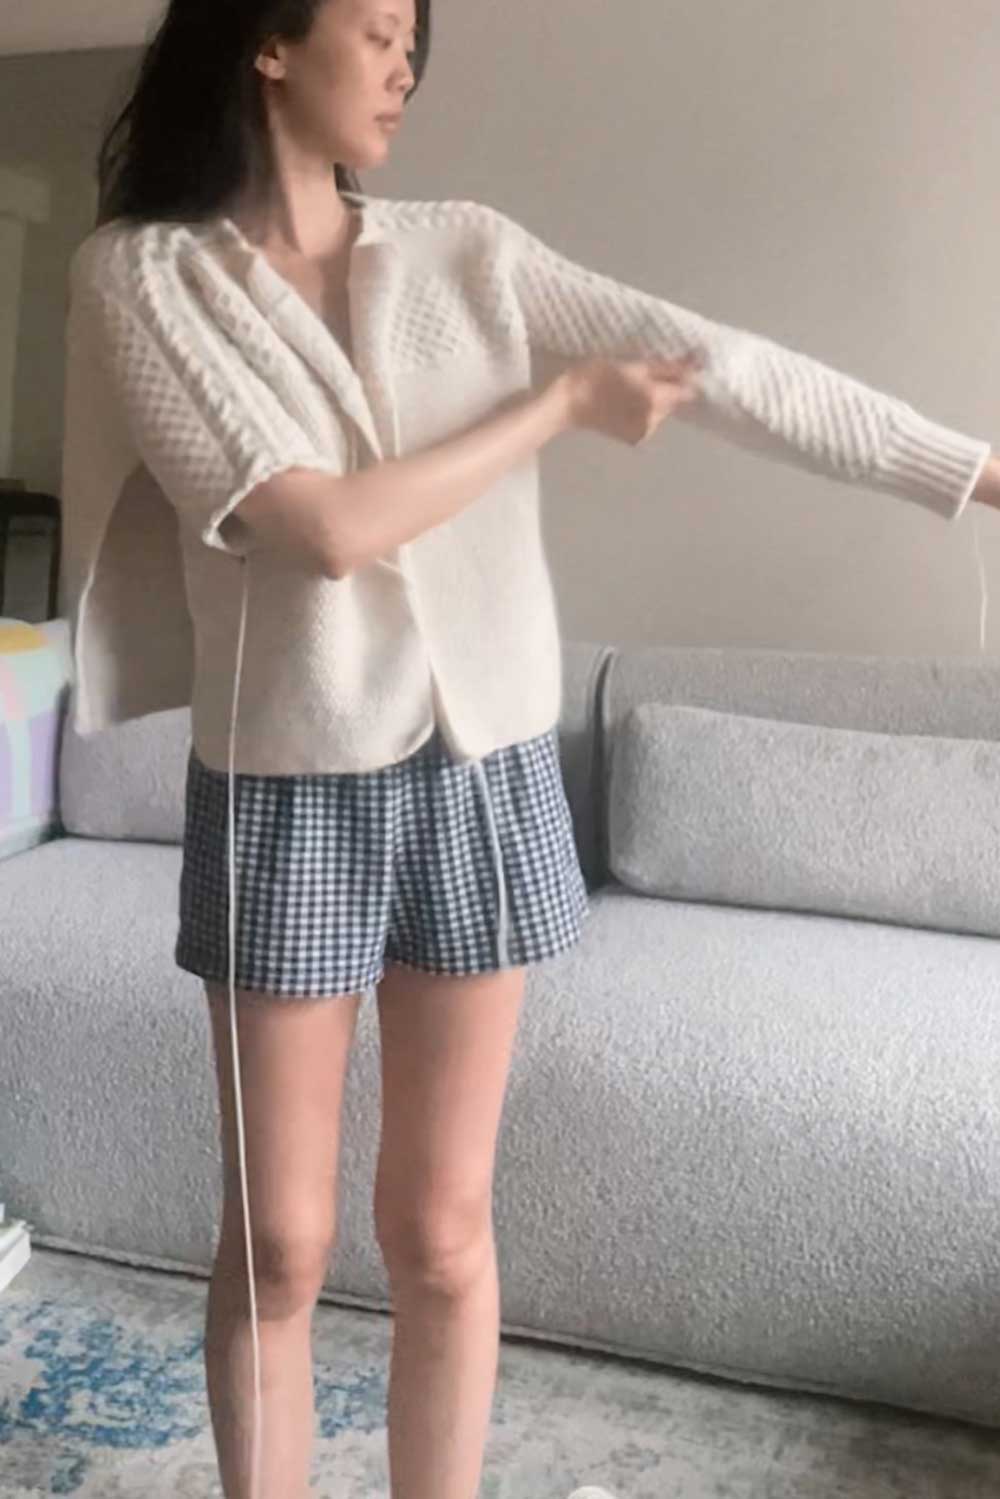
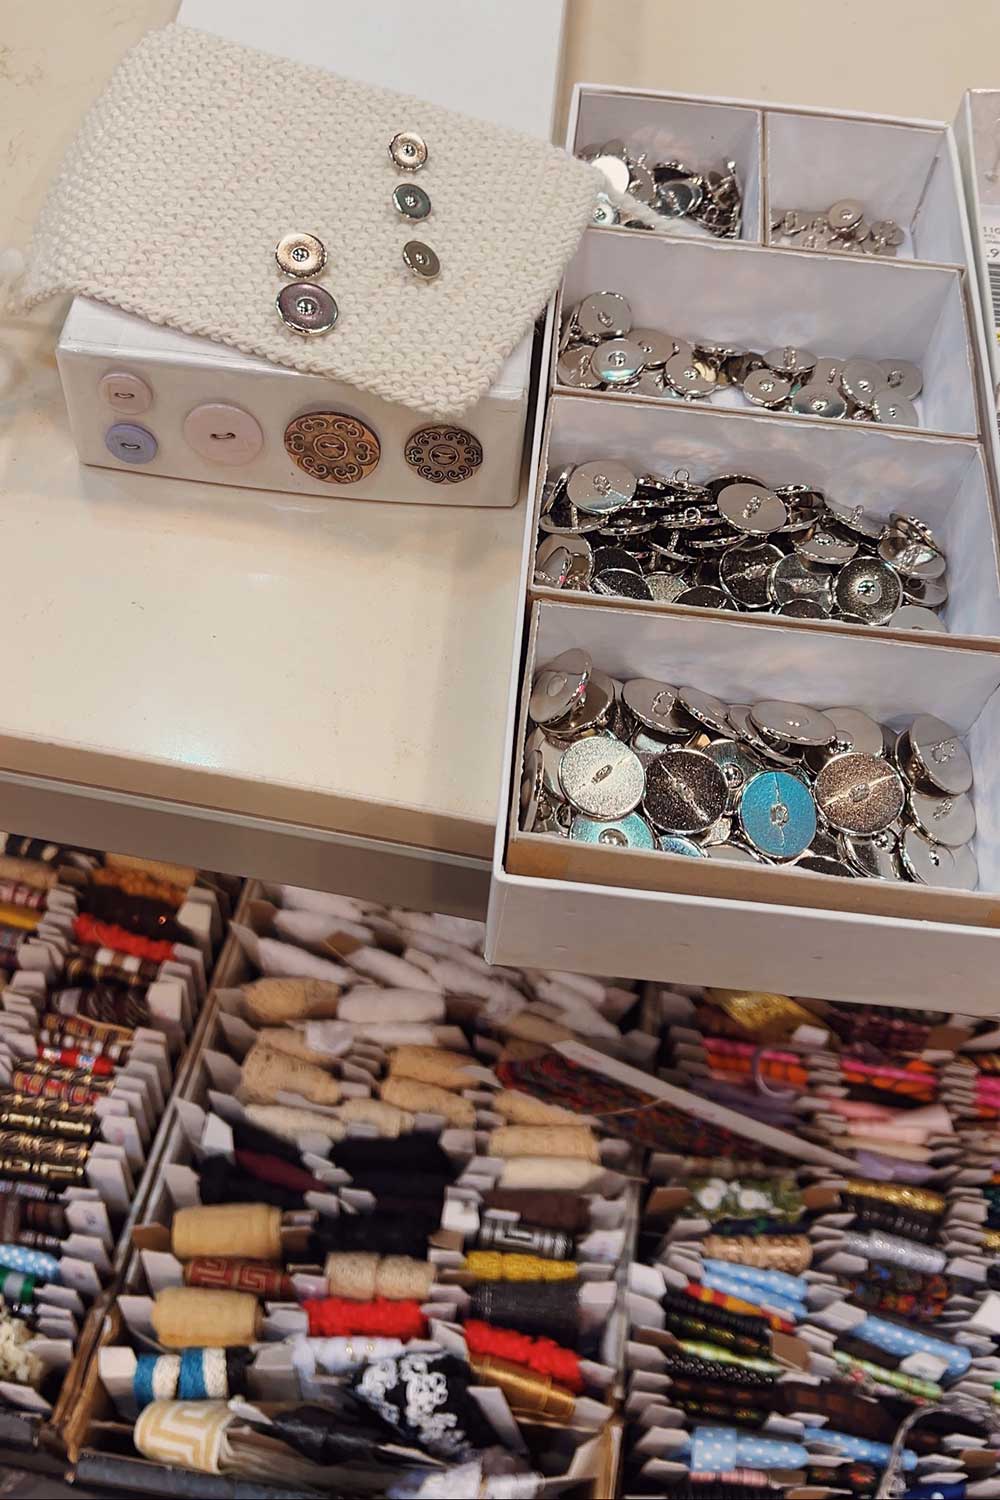
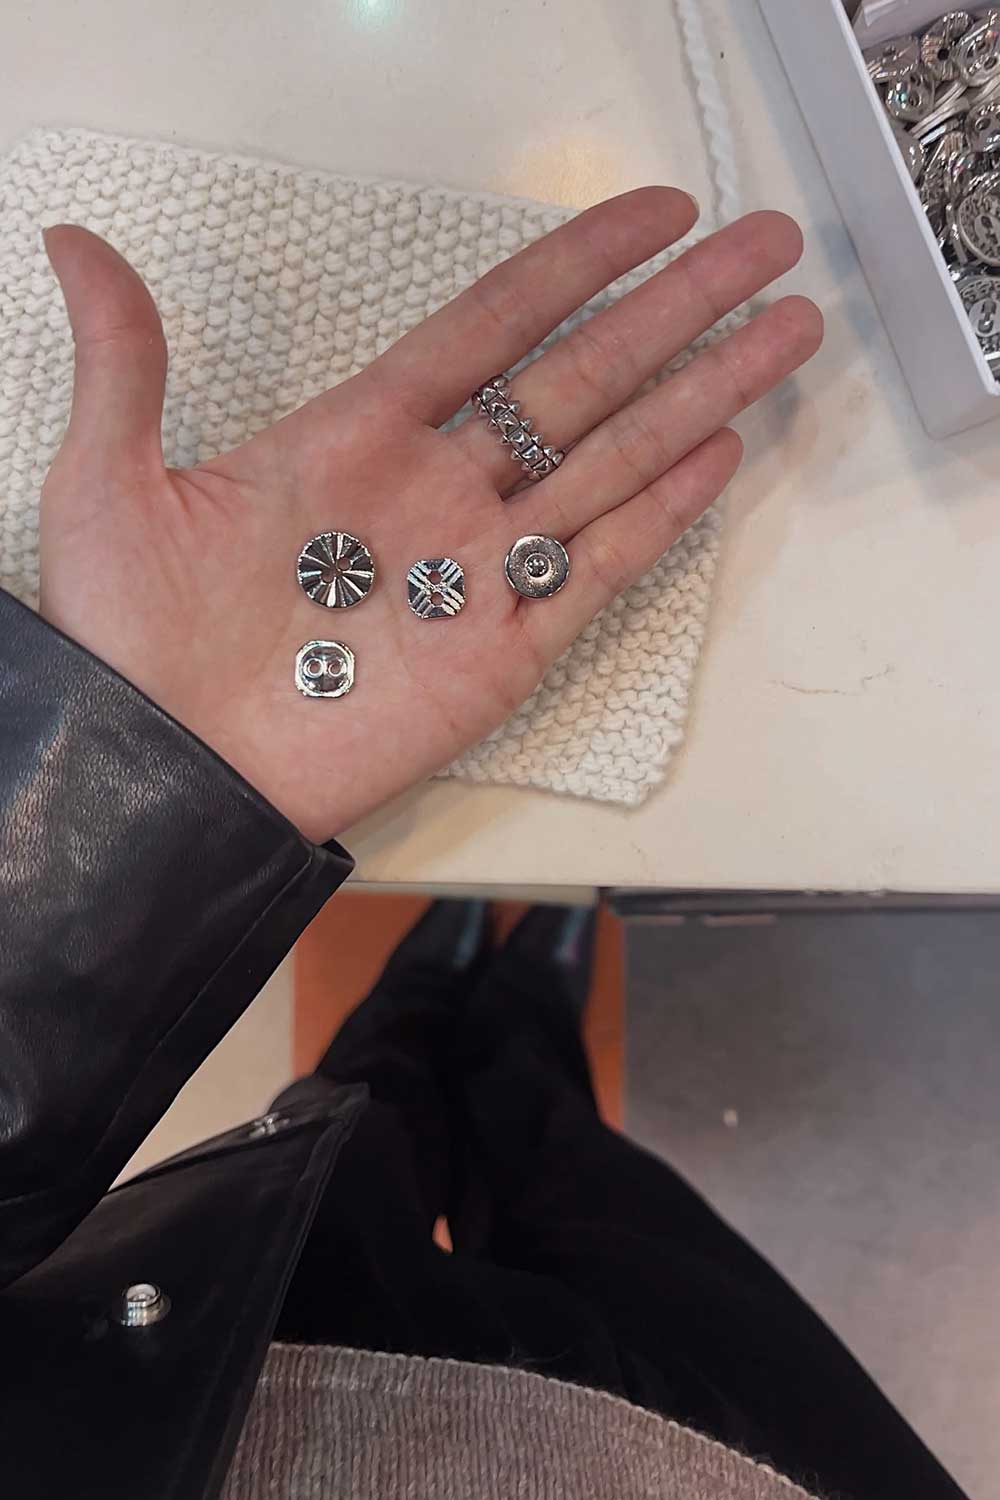
the Haraboji cardigan front and backs are knit separately, so after they’re done you mattress stitch them together. I’d never done this before but after watching some YouTube tutorials found it very doable! you’ll also want to get buttons to finish up the button band and front plackets. I like to bring my gauge swatch to compare against buttons as I visit various craft stores in the city!
There’s also no stitch count given for the pick up for the button band.
This means you might have to redo the collar, ribbing and button band a few times to avoid puckering / flaring.
Especially important to trial and error if you knit the Haraboji at a different gauge like I did.
I re-did my collar as it ended up being ever-so-slightly flared and I knew it would bother me down the line.
While it would be nice for paid patterns to be abundantly, explicitly clear and really hold your hand through it all…
I kind of view it as a learning experience!
I definitely have a lot more confidence to knit off-gauge now and make shaping adjustments.
And from redoing the pick-up portions many, many times across both this Haraboji pattern and Camisole No 9, I better understand the rational behind pick up ratios on different sections of a garment.
Follow me on
Youtube | Tiktok | Instagram | Ravelry | ShopMy


