An authentic Thai red curry recipe that tastes just like your favorite Thai restaurant.

Thai Red Curry
Thai Red Curry Video Recipe
Tips for Making Authentic Thai Red Curry
I love Thai food and it took me a while to figure out how to make a great red curry that tastes just like my favorite Thai restaurants.
So I put together all the tips I gathered into today’s recipe!
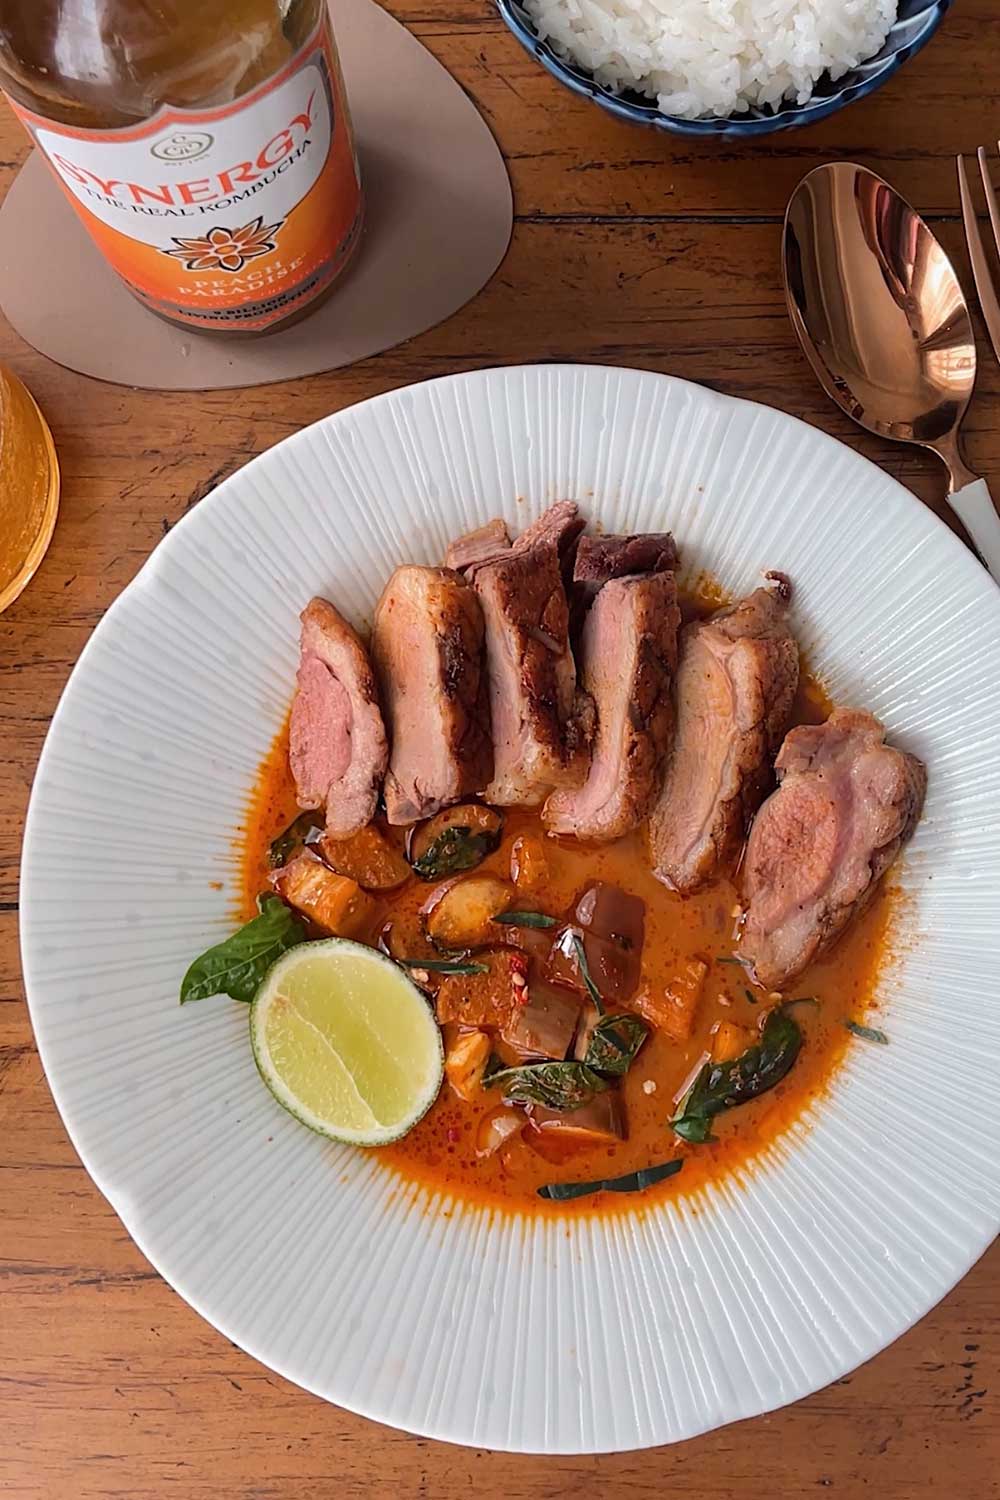
To jazz it up, I added seared duck breast.
The richness soaks up all the spicy Thai flavors and really makes the dish pop, although you can substitute with any protein you like!
Here’s how to make an authentic Thai red curry.
thai red curry with duck and eggplant
Where to Find Thai Ingredients
I could never make an authentic tasting Thai curry until I started using the right ingredients.
Specifically, these 3 are vital for making a great tasting red curry that tastes just like the real dish in Thailand:
- a good red curry paste
- a rich, full fat coconut milk without too many fillers or gums
- makrut lime leaves
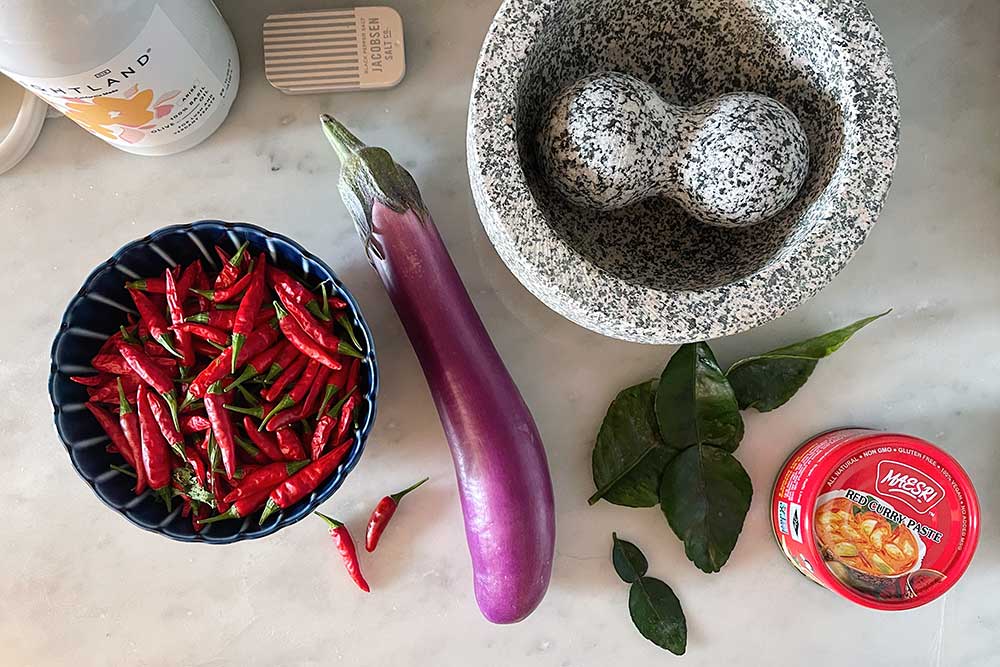
essentials for an authentic Thai red curry
If you’re in New York City, I’ve found all of these (and more) at Bangkok Center Grocery in Chinatown. It’s affordable, everything’s fresh and the staff are happy to help.
Or, slightly more north near Murray Hill, you can find all of these at Indian specialty store Kalustyan.
The small grocery has all sorts of unique spices, dried peppers and snacks, although I find ingredients to be a bit more expensive than elsewhere.
If you’re not local, I find that Amazon carries everything these days. Below are my ingredient and brand recommendations in more detail.
Thai Red Curry Paste
While you can make your own Thai curry paste, I find it easiest just to buy it.
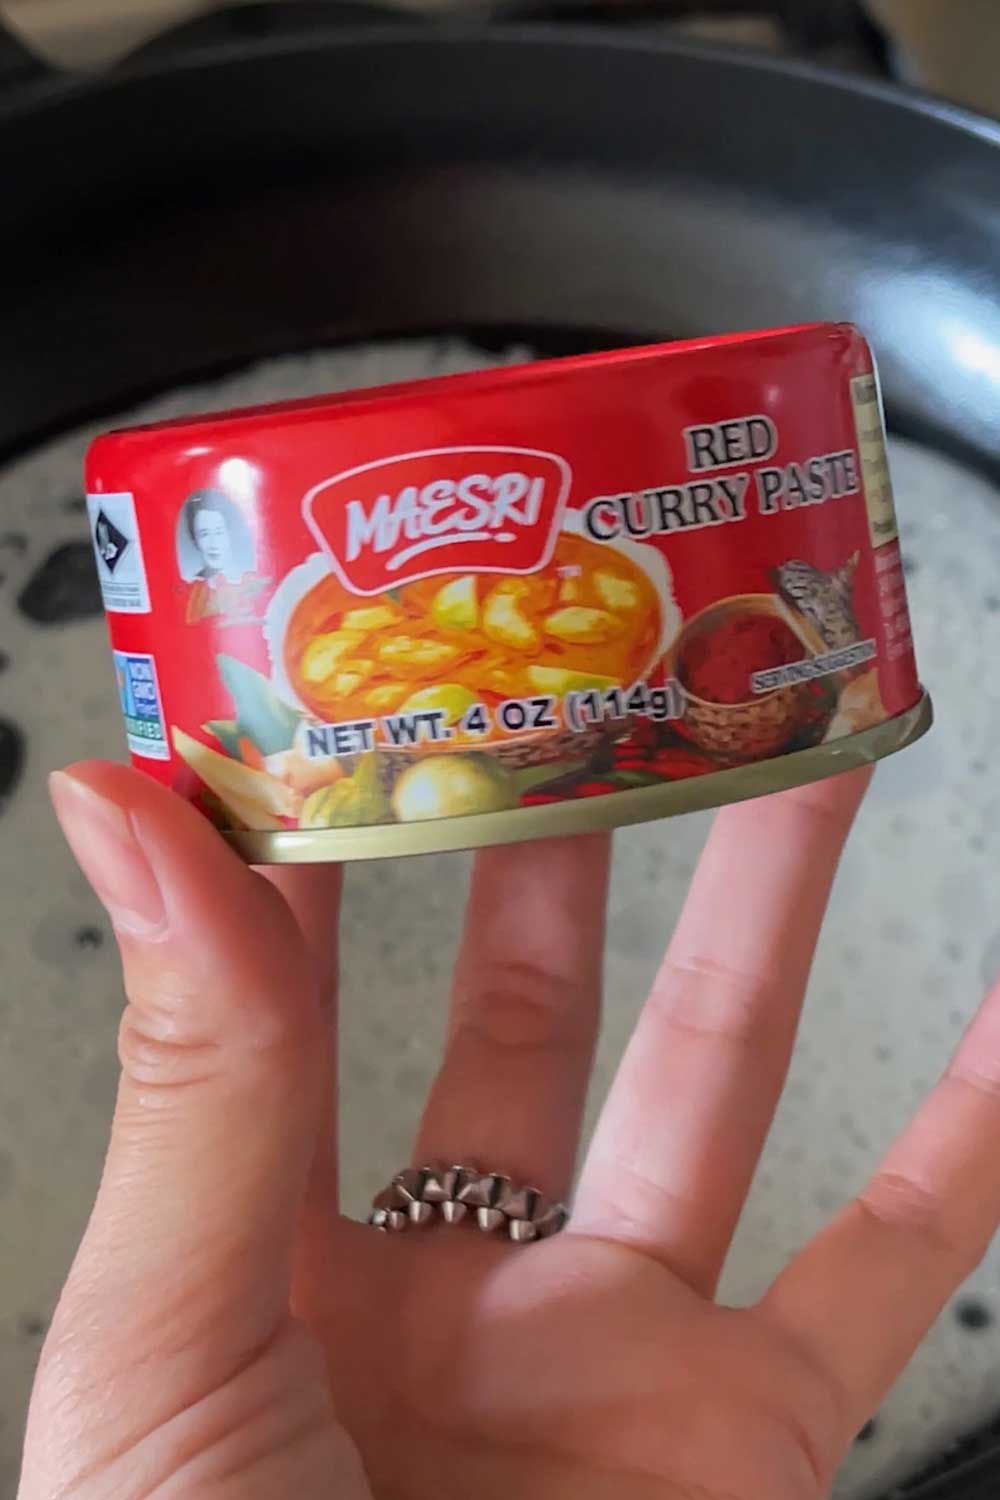
The best brands of Thai red curry that I’ve found are Maesri or Mae Ploy.
Maesri comes in small tins, with a rich red paste that has lots of flavor.
Mae Ploy is another good option. It comes in tub form, but tastes a bit saltier to me.
Definitely don’t buy the red Thai curry paste at American grocery stores – it’ll be extremely watered down.
I typically use 1 can of Maesri (~ 4 tablespoons) for this recipe, but if you’re worried about it being too spicy, you can start with 2 tablespoons and slowly add more.
Thai Coconut Milk
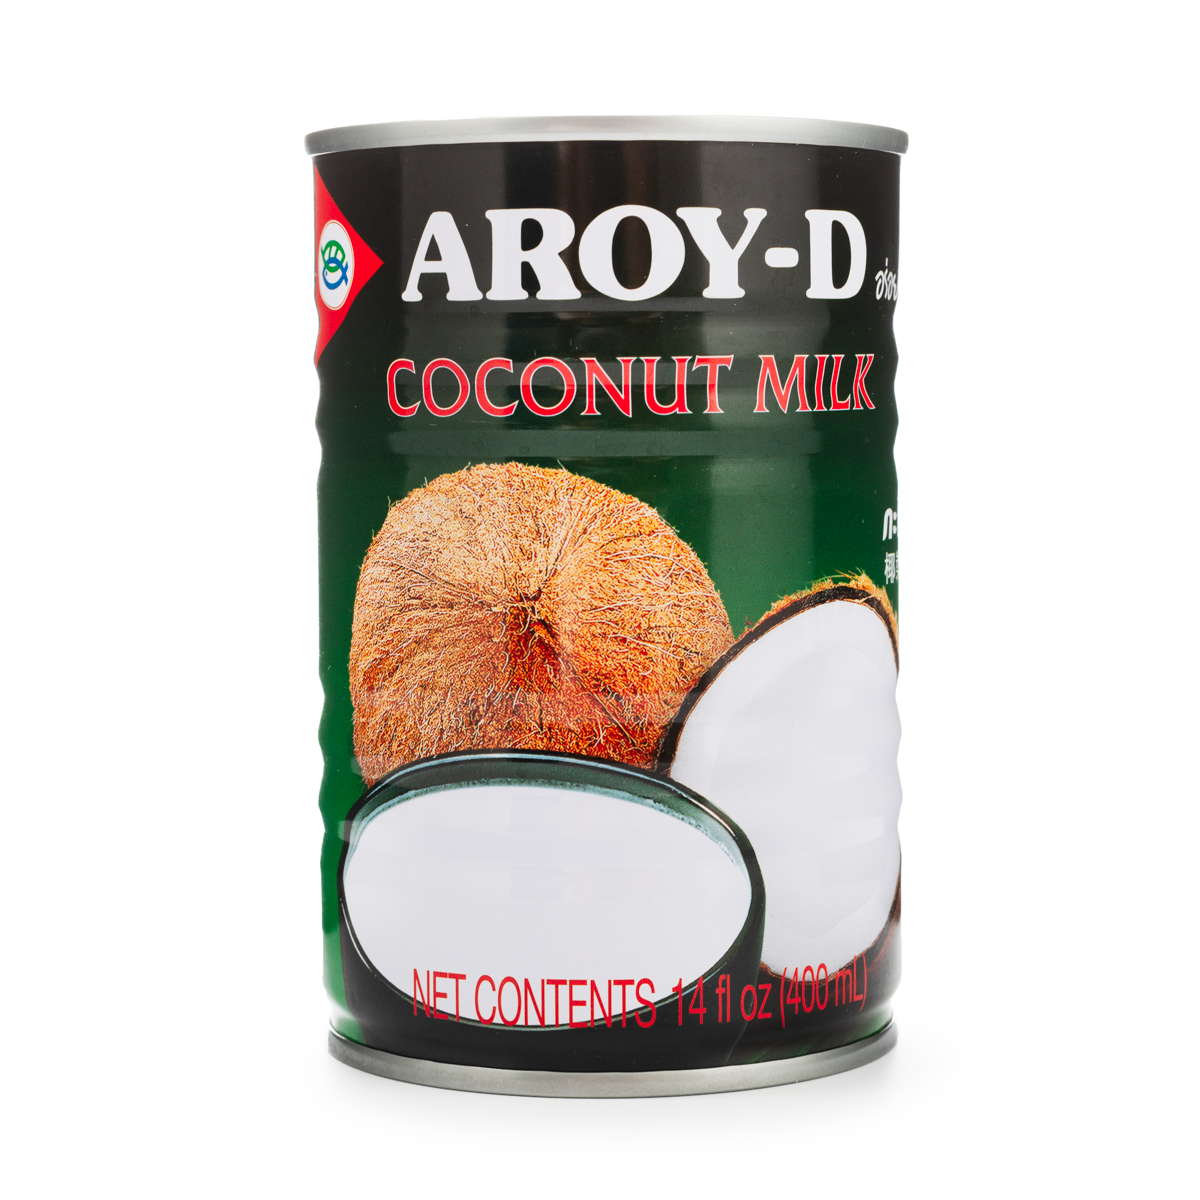
If you can, I recommend using a Thai coconut milk for the best flavor.
I like Aroy-D or Chao Koh, but have also used the Trader Joe’s canned coconut milk in a pinch.
Coconut milks are often processed with additives and binders that can affect the cooking process for Thai red curry.
If comparing brands, pick the option that has the highest fat content.
You want the coconut milk to split, with the oil separating from the solids.
Sometimes this curdling process won’t occur if you’re using a different brand of coconut milk, because of the gums and fillers that were added during the packaging process.
Note: don’t use coconut cream or low fat coconut milk.
Makrut Lime Leaves
I find that with Thai dishes, the aromatics are key.
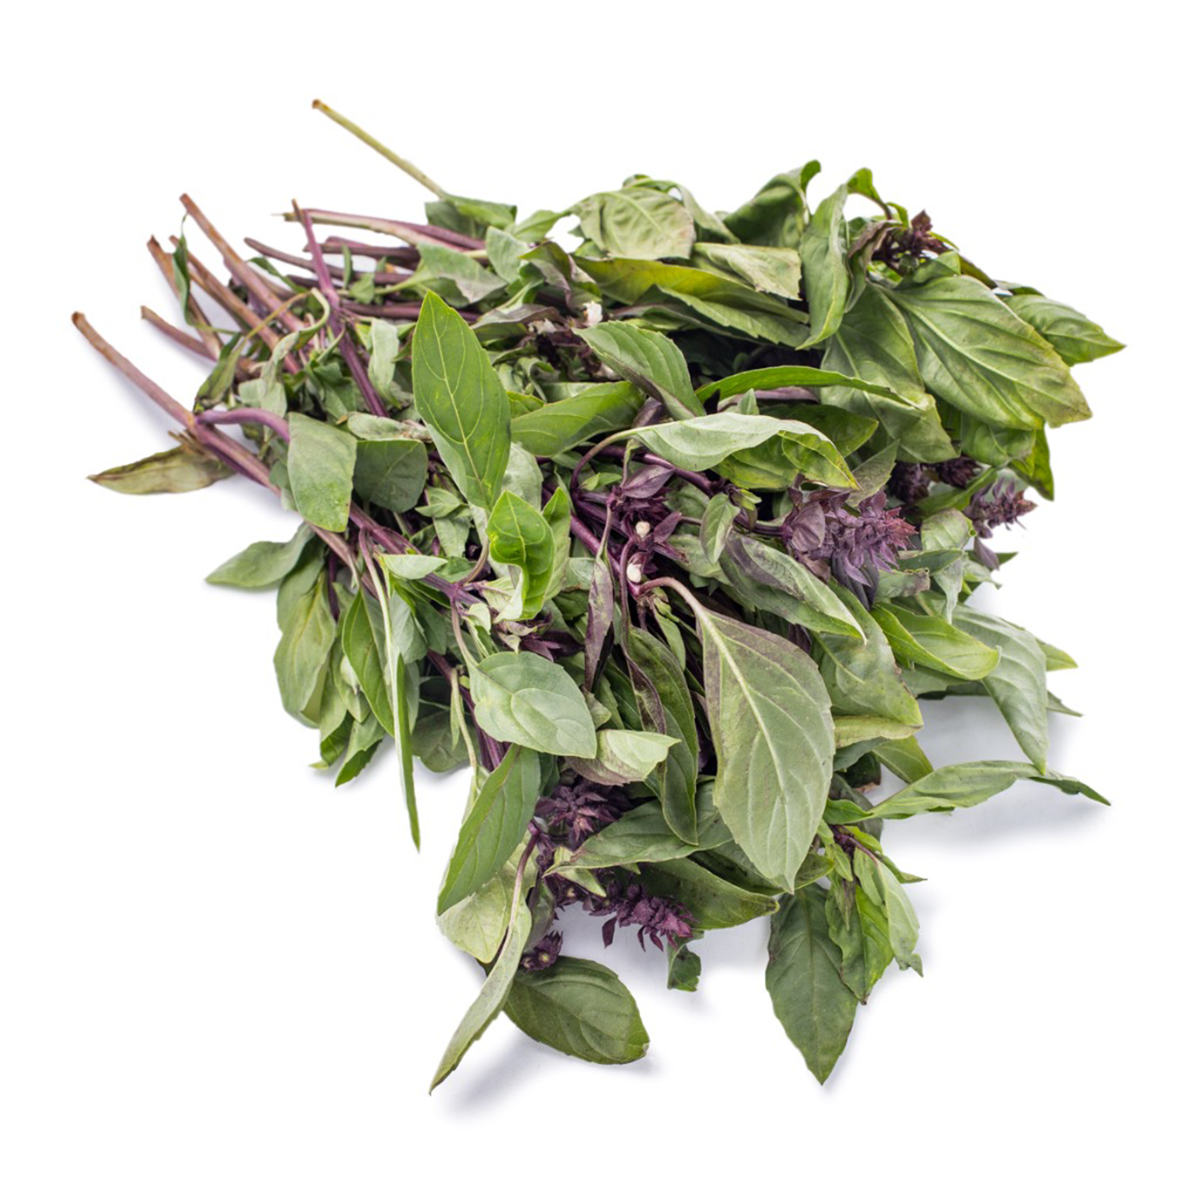
For Thai basil fried rice, heaps of Thai basil leaves give it that classic perfumed, zesty flavor.
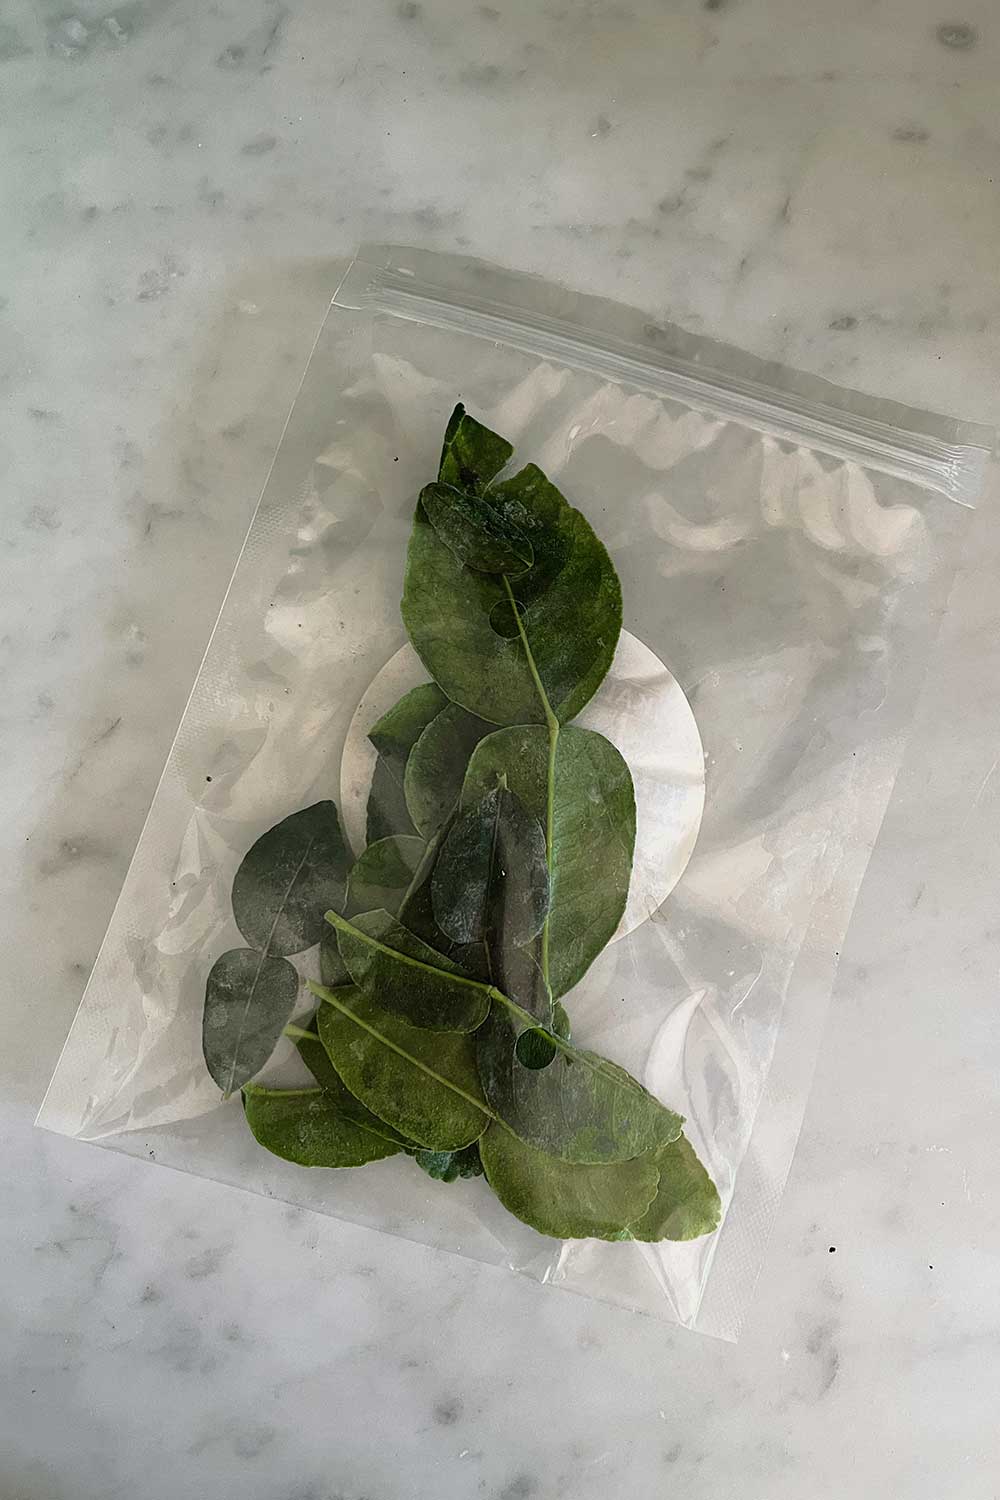
For Thai red curry, makrut lime leaves are the star and a must-have ingredient.
It can be difficult to find, but will typically be in the frozen section of an Asian grocery store, if they carry it. They might also label it as kaffir lime leaves.
You can also purchase vacuum sealed packs of fresh makrut lime leaves off Amazon.
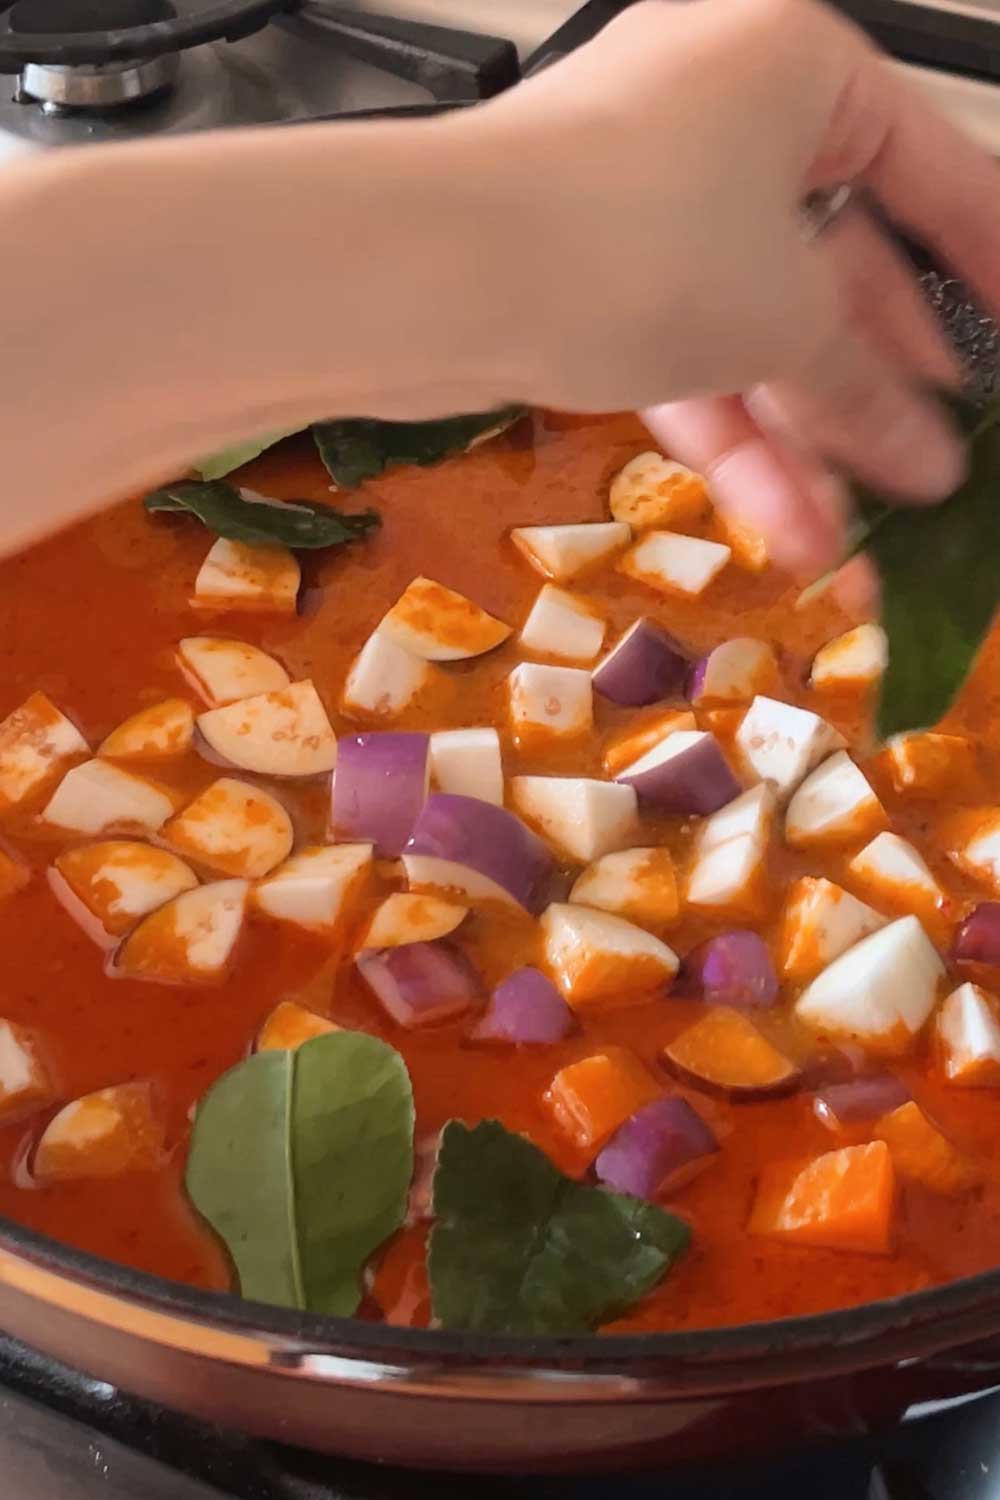
For this dish, tear a couple of makrut lime leaves and let it simmer for a couple minutes to impart a really aromatic, citrus-y brightness to the red curry.
I also like to tightly roll a leaf and finely slice it into thin ribbons, for garnishing the dish at the end.
Adding these lime leaves is the key to restaurant-quality Thai red curry!
Unused makrut lime leaves can be stored in the freezer for later use. They freeze well, and also are used in green and panang curries.
Optional: lemongrass pairs nicely with makrut limes. They’re typically both available in the frozen section of Asian grocery stores.
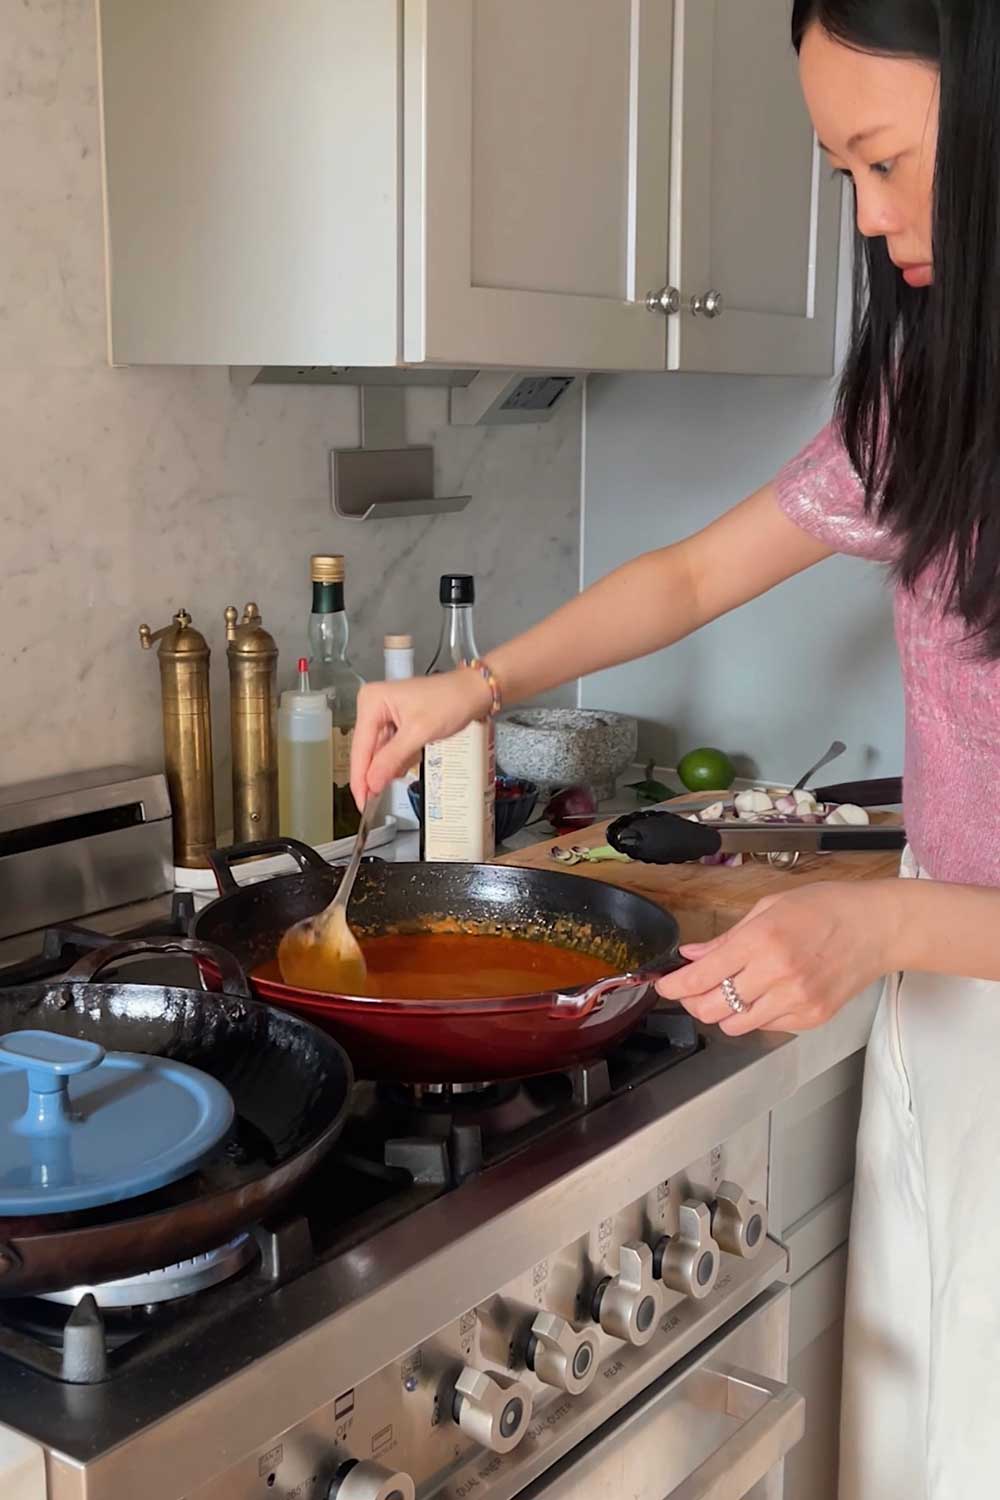
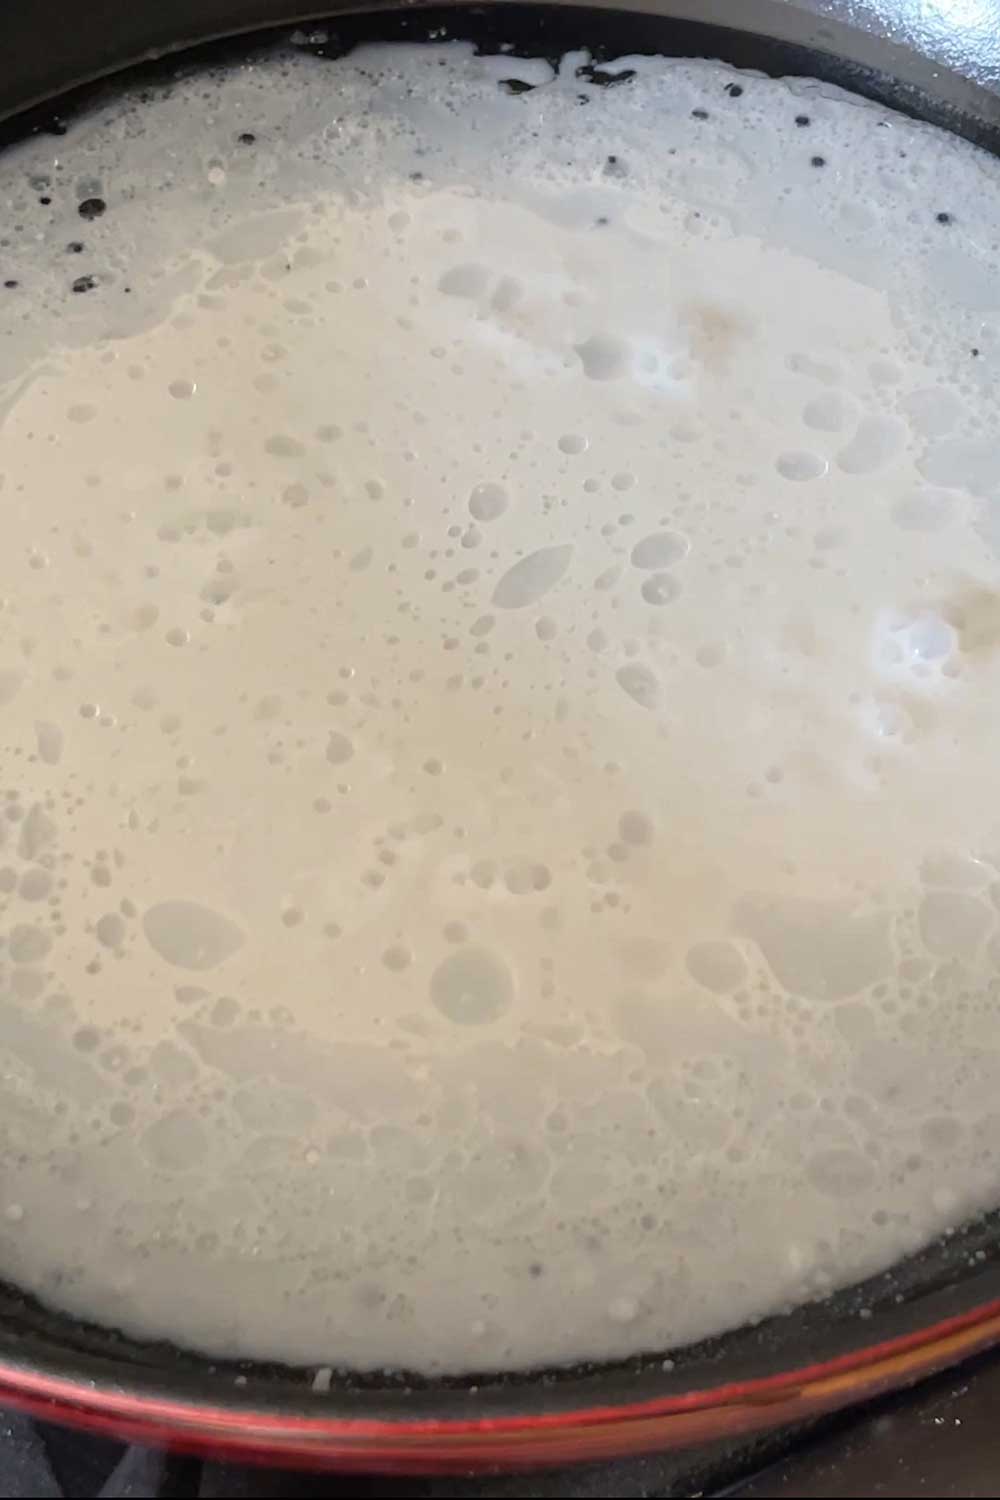
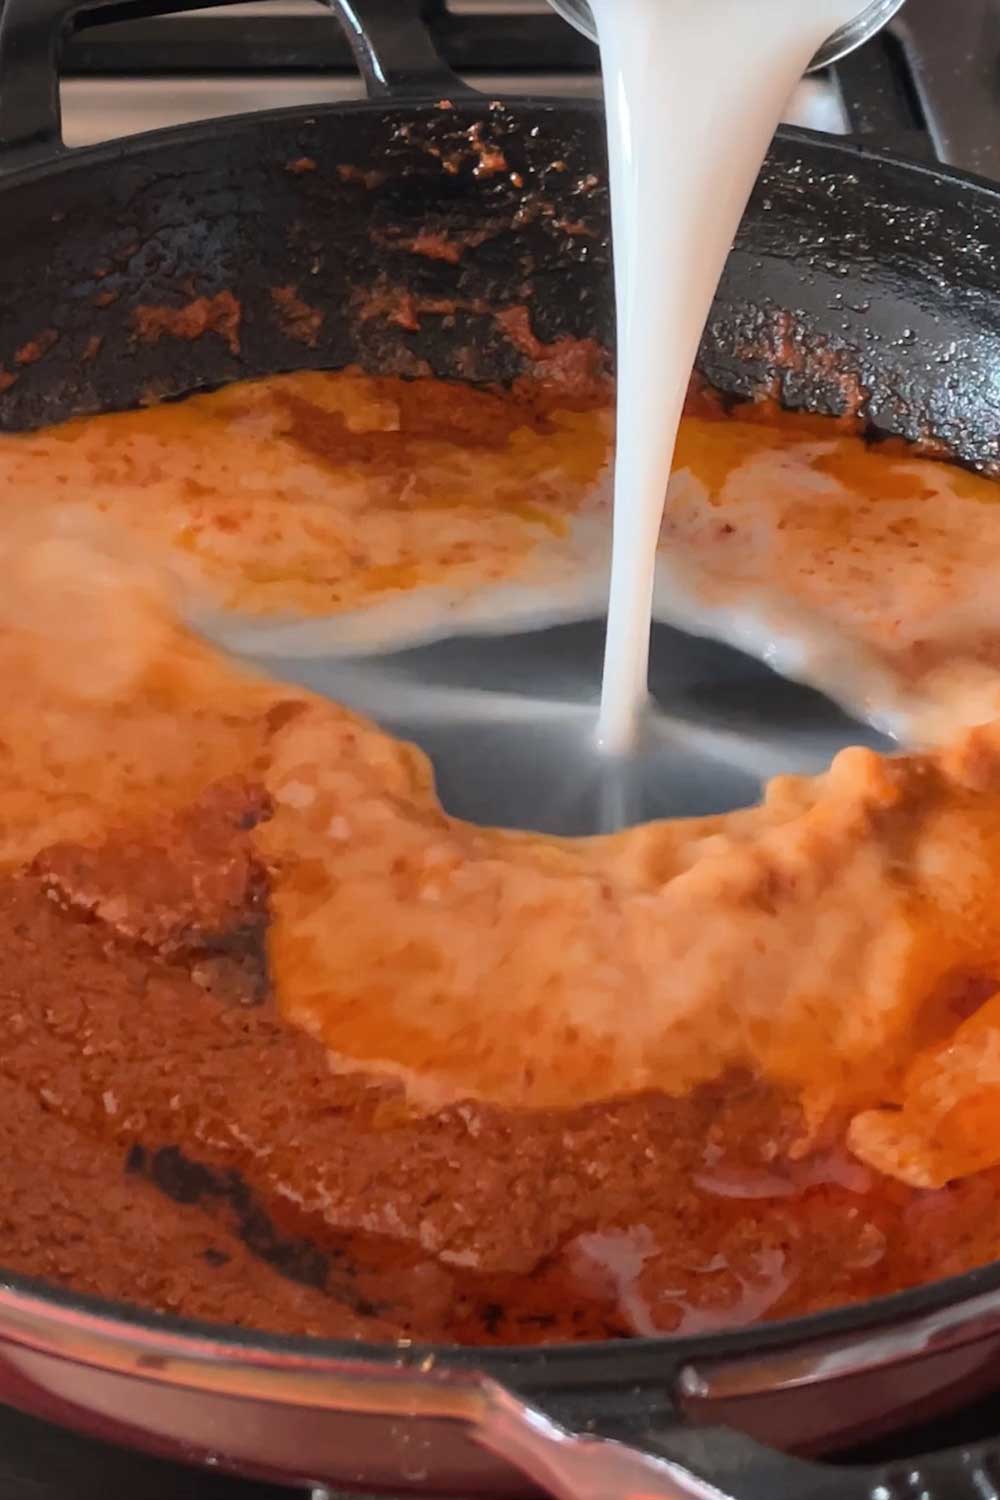
Reduce the Coconut Milk
Start by pouring half of your can of coconut milk into a pot and bring it to a rolling boil.
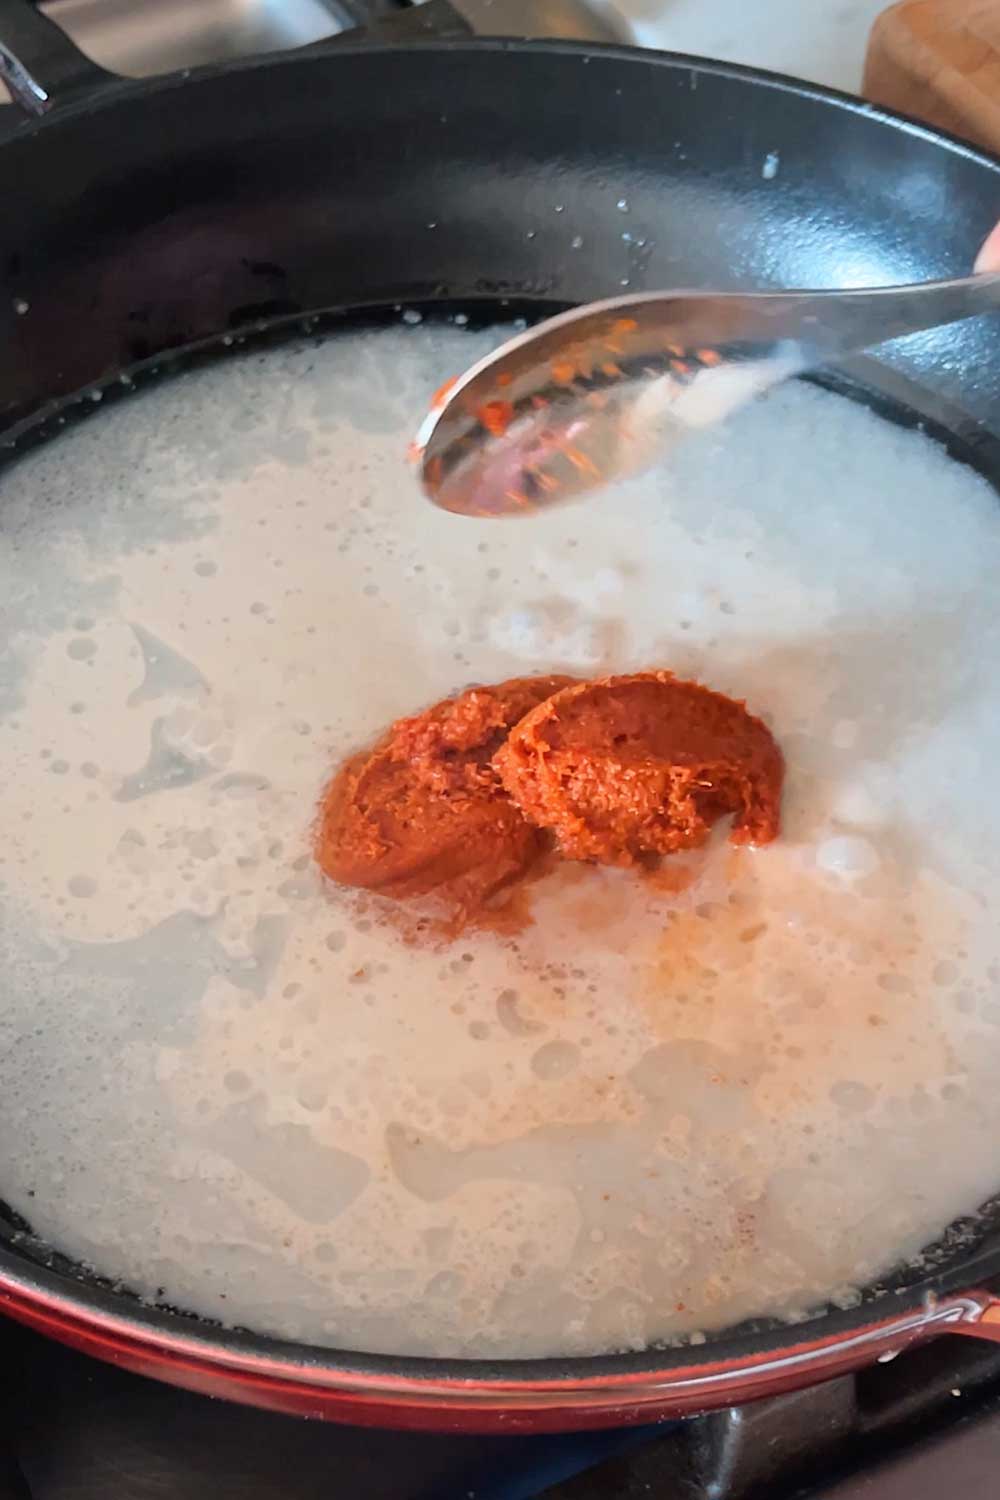
Let it thicken, then add in your red curry paste and stir to combine, smoothing out any lumps.
Allow the curry paste and coconut milk mixture to reduce on the stove for a while, until it thickens and the oil from the coconut milk starts to separate.
The red paste will start to look almost curdled, as if the mixture has split. That’s a good sign!
While American or European cooking often tells you that a split mixture is a sign of trouble, this is what you want to see in your red curry before proceeding to the next step.
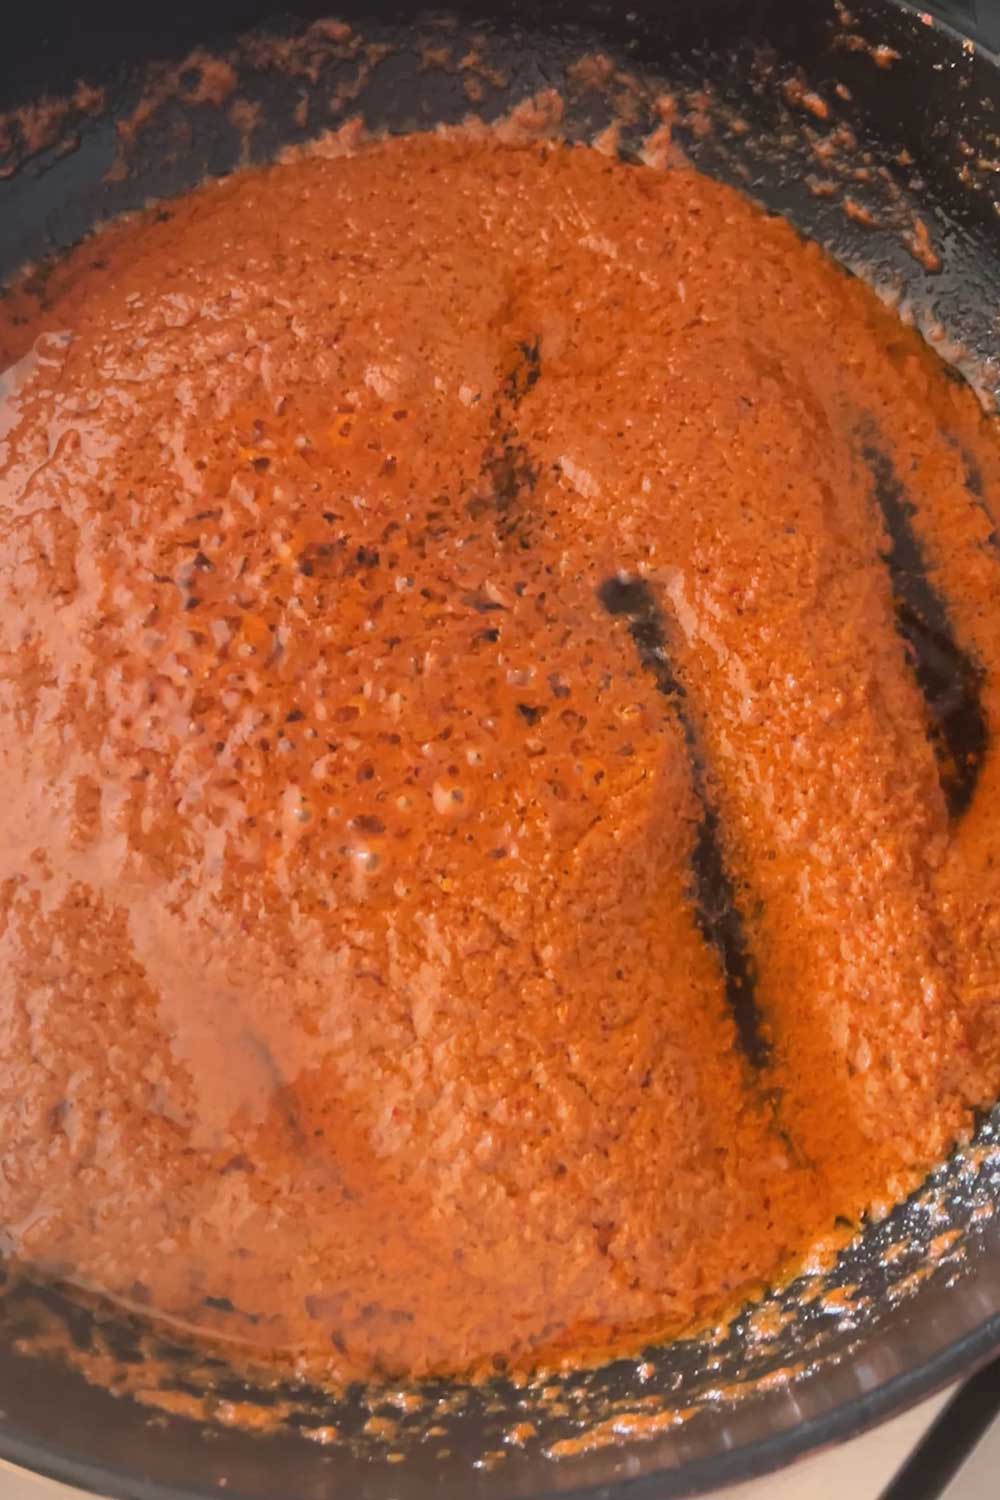
the key to a flavorful Thai red curry is to reduce the coconut milk + paste mixture long enough for the oil to seep out and separate
Thai Basil Leaves
Red curry is always finished off with a heap of Thai basil leaves in Thailand.
Sometimes Thai basil can be hard to find outside of Asian grocery stores, so Italian basil makes a decent substitute.
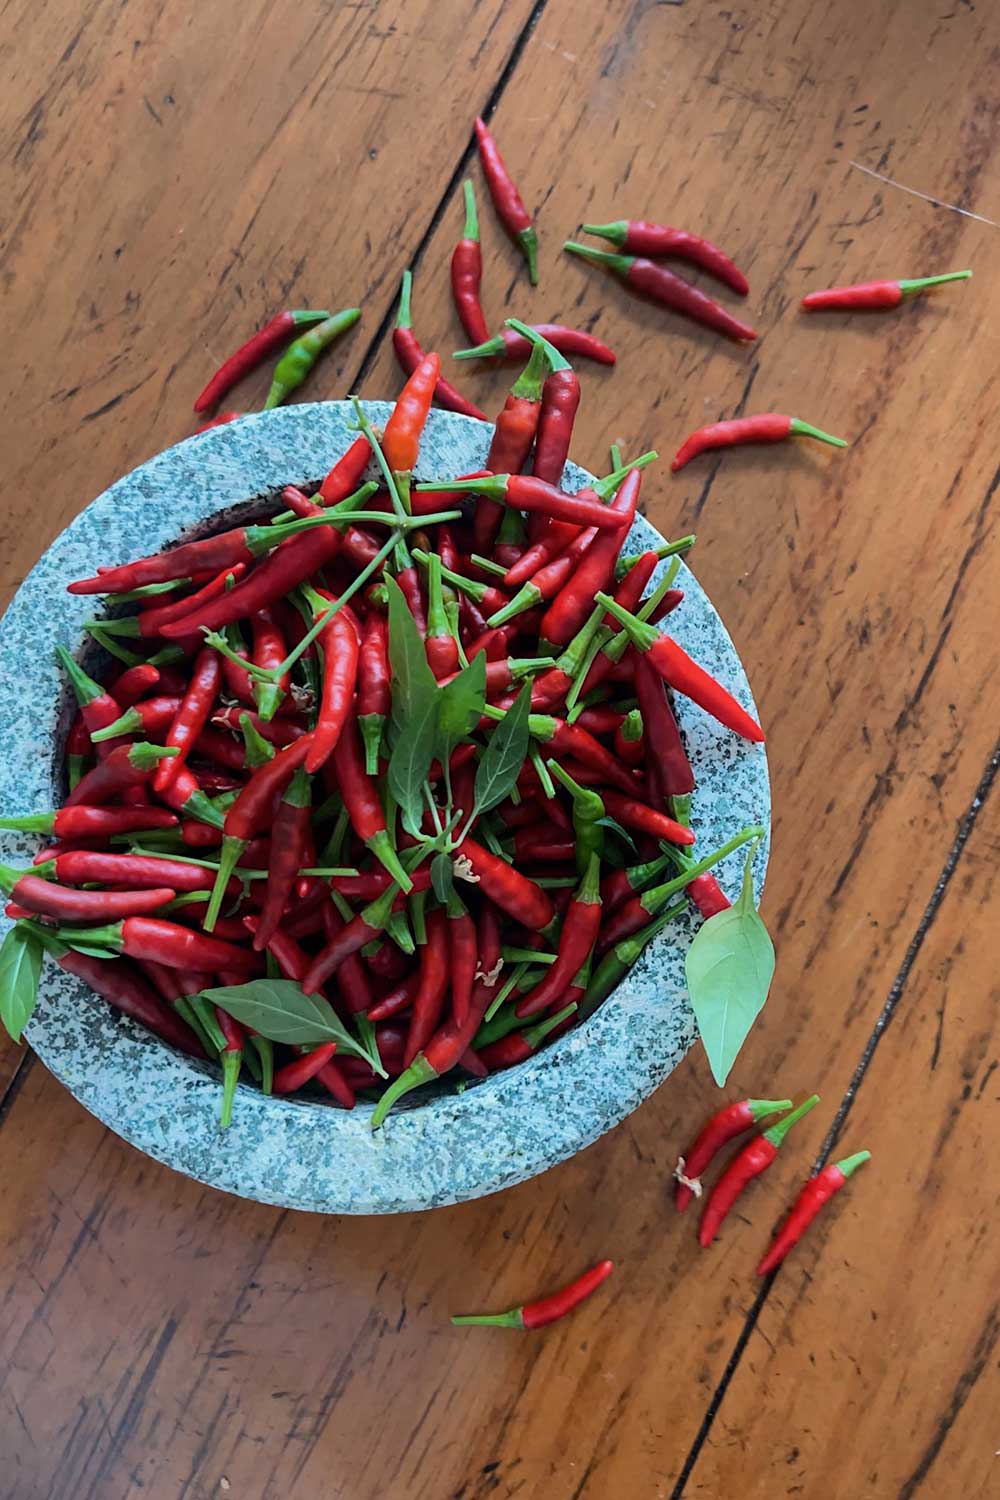
I like to grow my own Thai basil and Thai chilies in my indoor gardens.
They’re very easy to grow (they’re practically like weeds), and it’s nice having fresh ingredients on hand whenever I want some Thai food.
Read more: My Complete Indoor Garden Setup
I’ve also turned the dried Thai peppers into super hot chili powder and spicy chili oil.
You can find Thai basil seeds here, and a small countertop garden works great for growing the herb.
You can find fiery hot Thai chili seeds here, and I’d recommend a medium or large garden to grow the pepper plants, which can grow to about 2-3 feet tall.
Read more: How to Grow Thai chilies


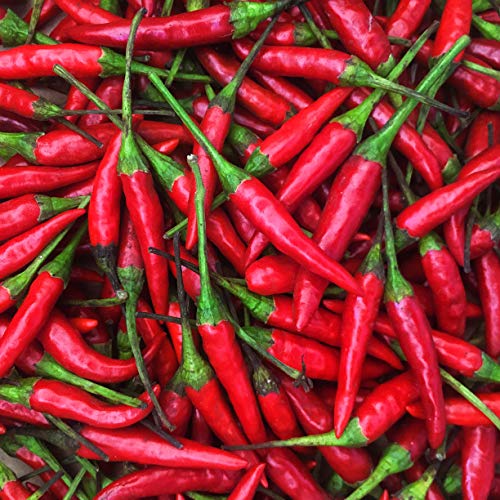
Thai Chilies
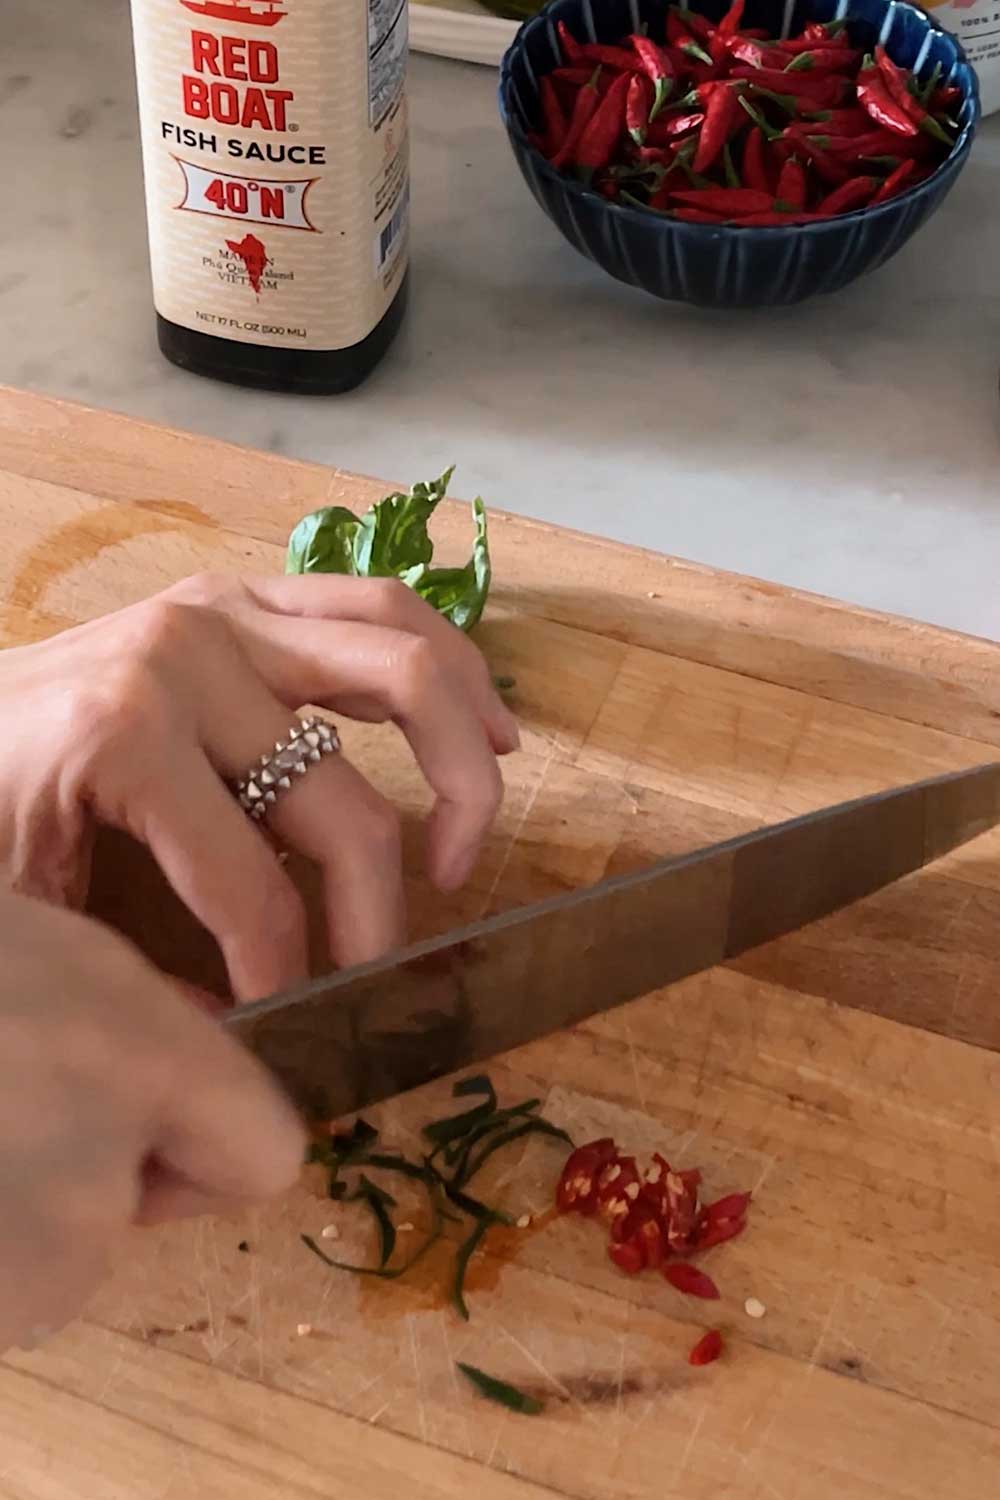
If you have strong taste buds, you can top the red curry with a couple slices of Thai dragon chilies.
They’re burning hot, so only if you like spicy food!
Otherwise, you can garnish the Thai red curry with some sliced red bell peppers.
They’ll give the finished dish some nice color without any heat.
Vegetables for Thai Curry
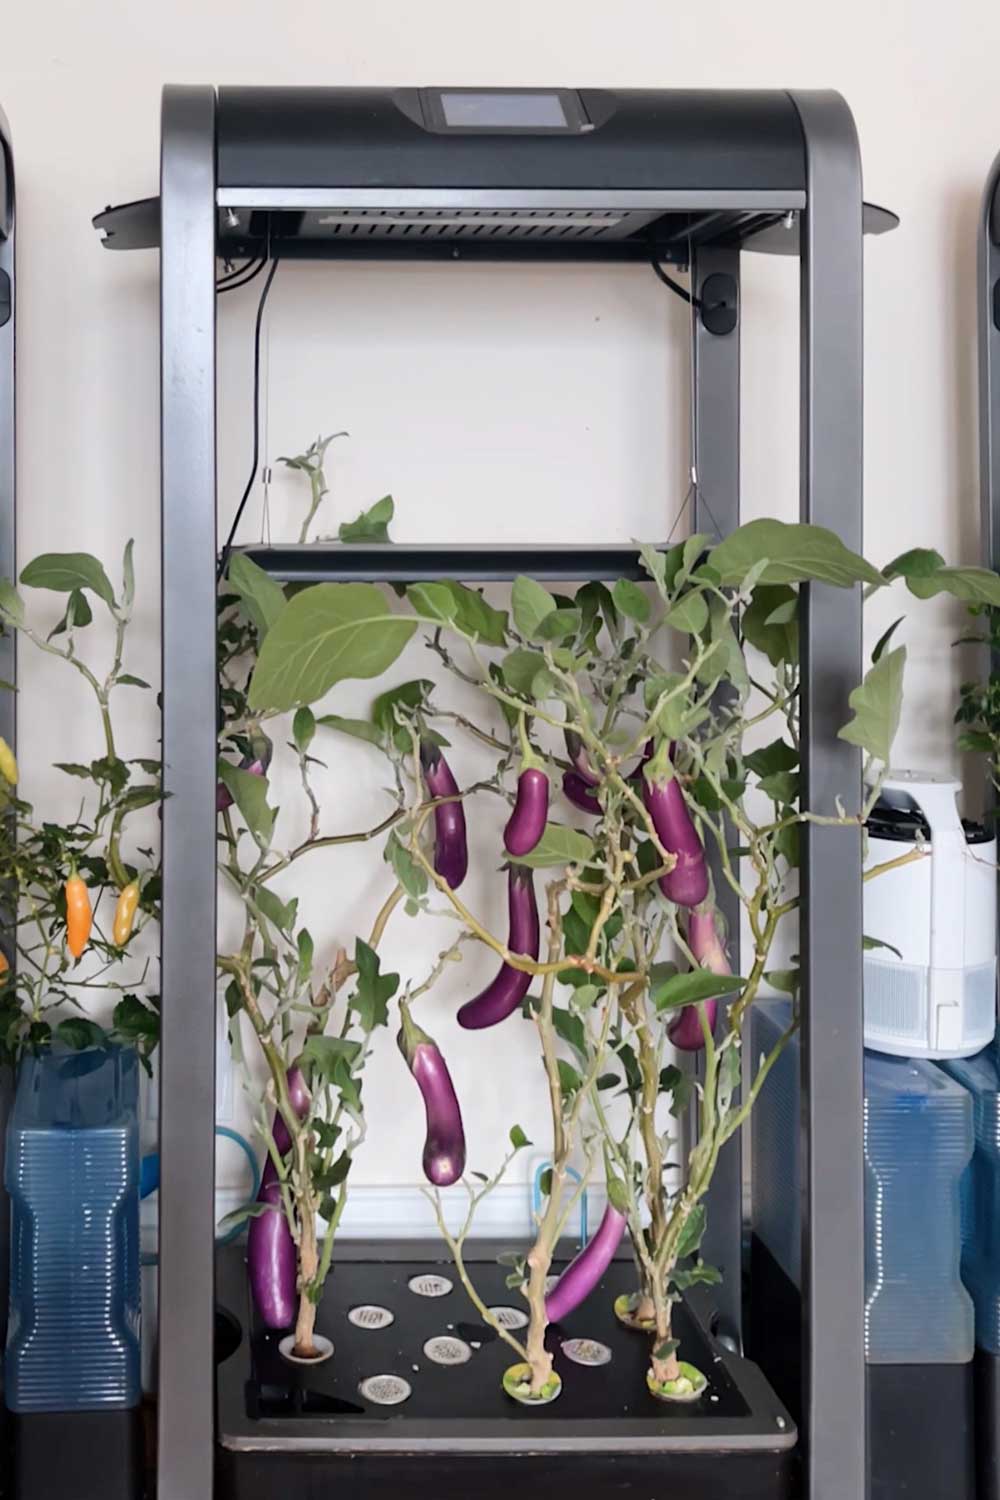
Thai eggplant and bamboo shoots are common vegetables found in traditional Thai red curry.
I used a couple Asian eggplants from my indoor gardens.
But you can add whatever vegetables you like!
I find that Thai red curry is a nice ‘fridge clean out’ kind of meal where you can toss whatever leftover produce you have.
For vegetables, try green beans, peas, corn or carrots.
How to Cook Duck
I recently found duck breast at my local Whole Foods and was inspired to make a Thai red curry with duck, like the Thai restaurants often have on the menu here in NYC.
Cooking duck is pretty simple – it’s a lot like cooking steak!
First, score the skin side of the duck breast with diagonal knife marks, to make a grid like pattern. This helps the fat to render out of the skin.
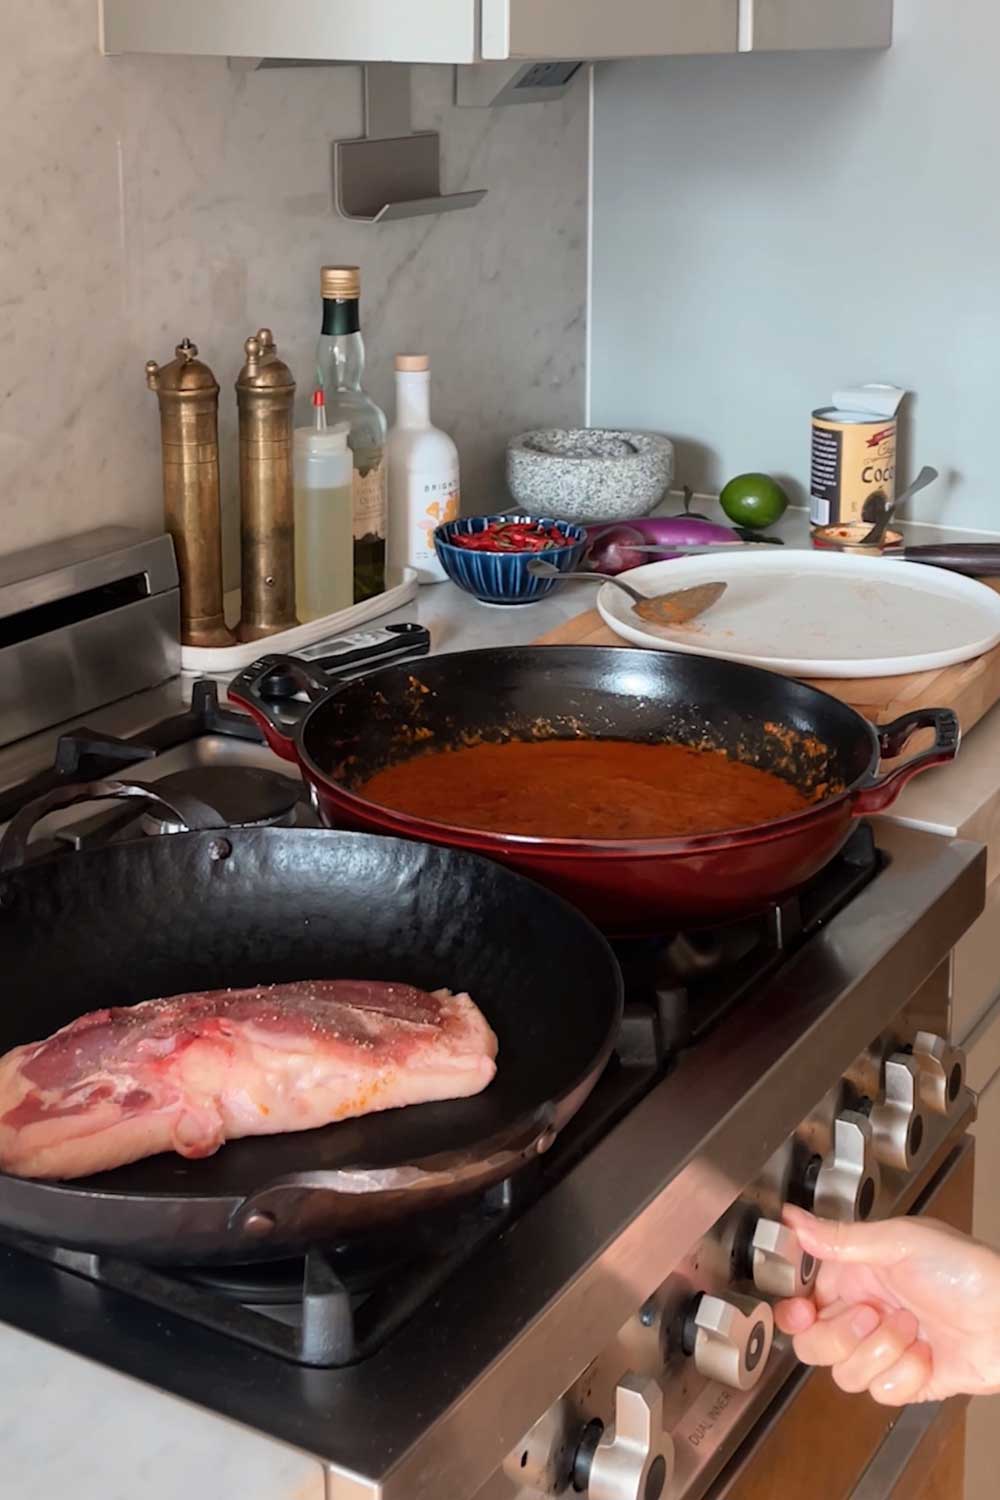
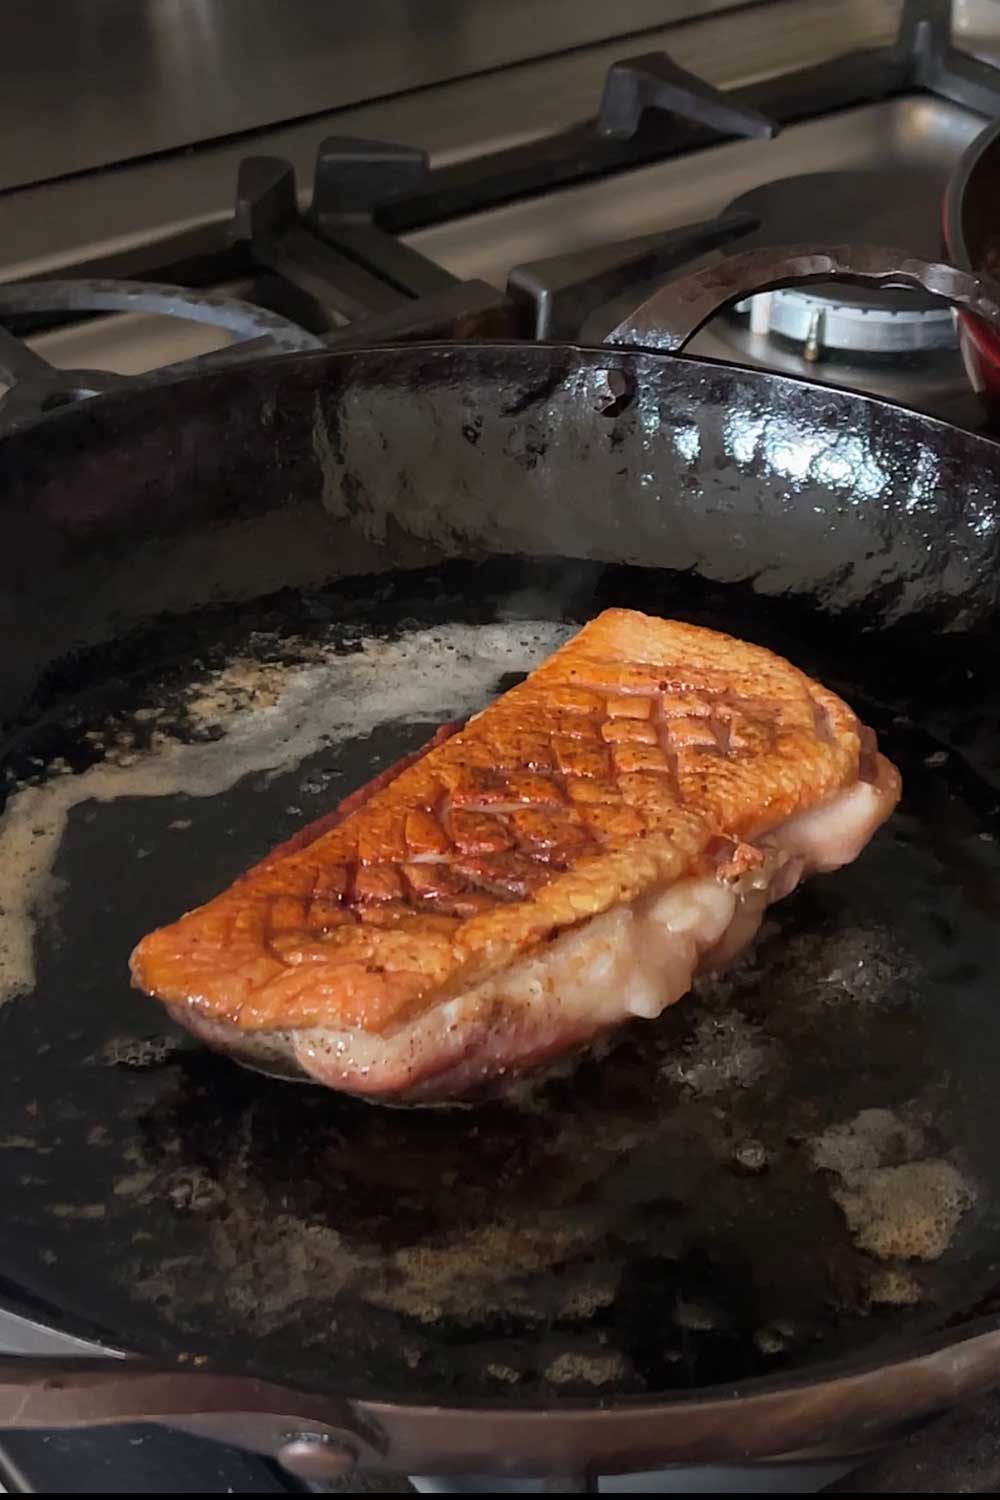
Then place the duck in an unheated (but oven proof) pan. Turn the heat to medium low, and slowly render out the duck fat.
The key is to cook it low and slow, and after a couple minutes, you’ll start to see oil pouring out into the pan.
I also like to use a grill press, to ensure that the duck skin makes full contact with the pan and doesn’t curl up.
About 5 minutes in, you should see a layer of duck oil in the pan.
Keep cooking it and around 10 minutes in, the duck skin should be gold brown and crispy.
Flip it once, briefly sear the skin side to seal in the juices, then transfer the pan to the oven, with the duck skin side up.
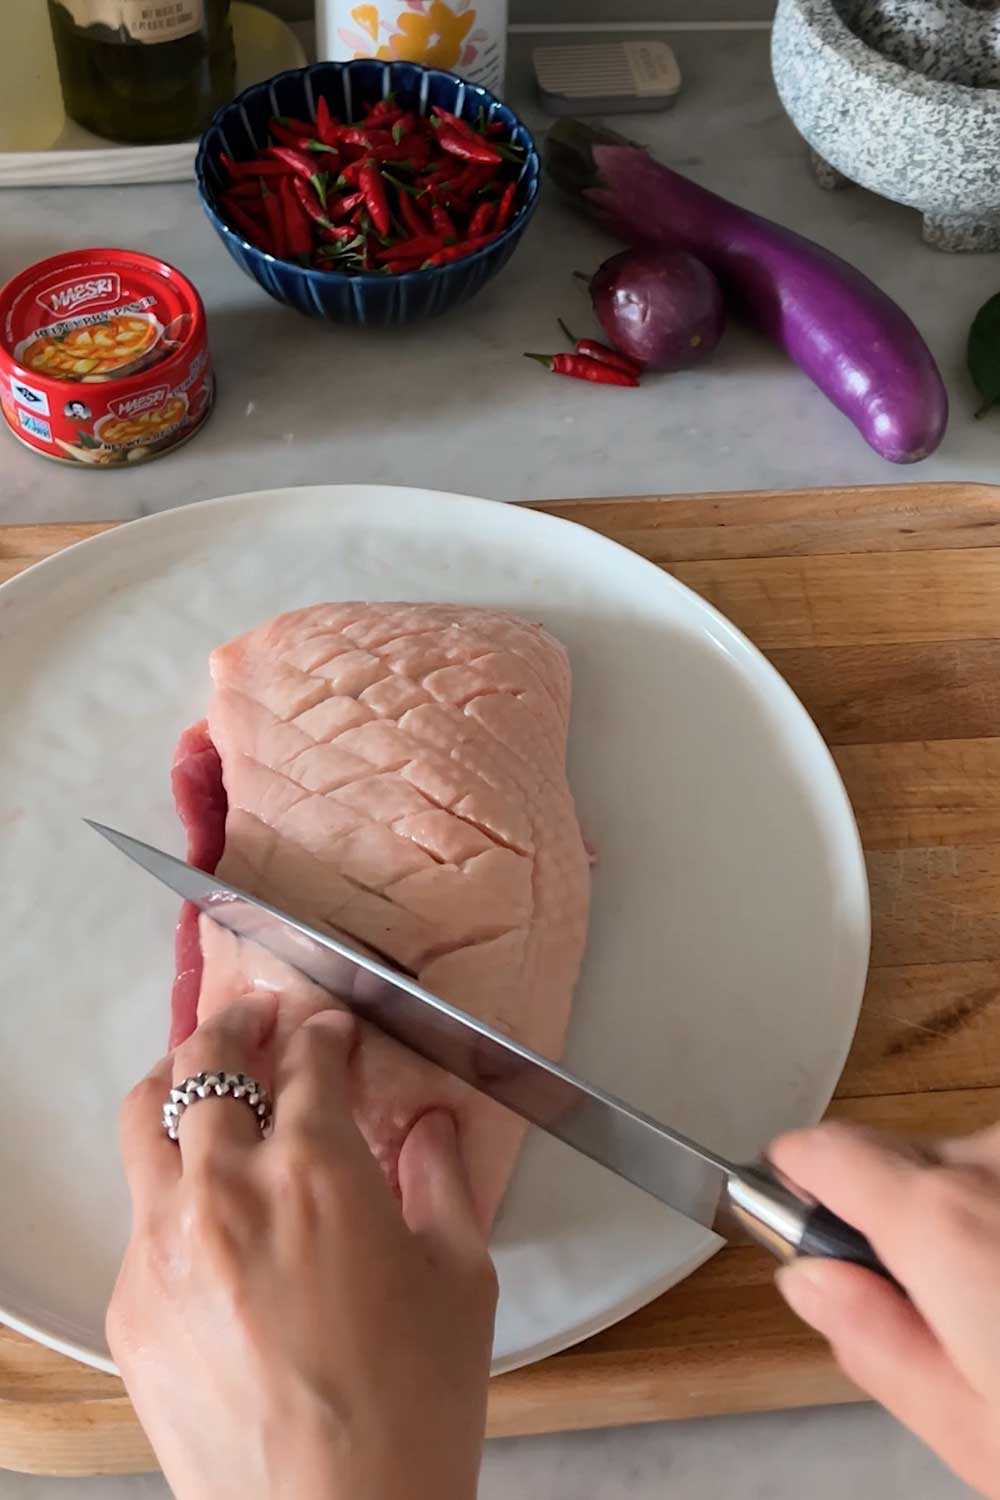
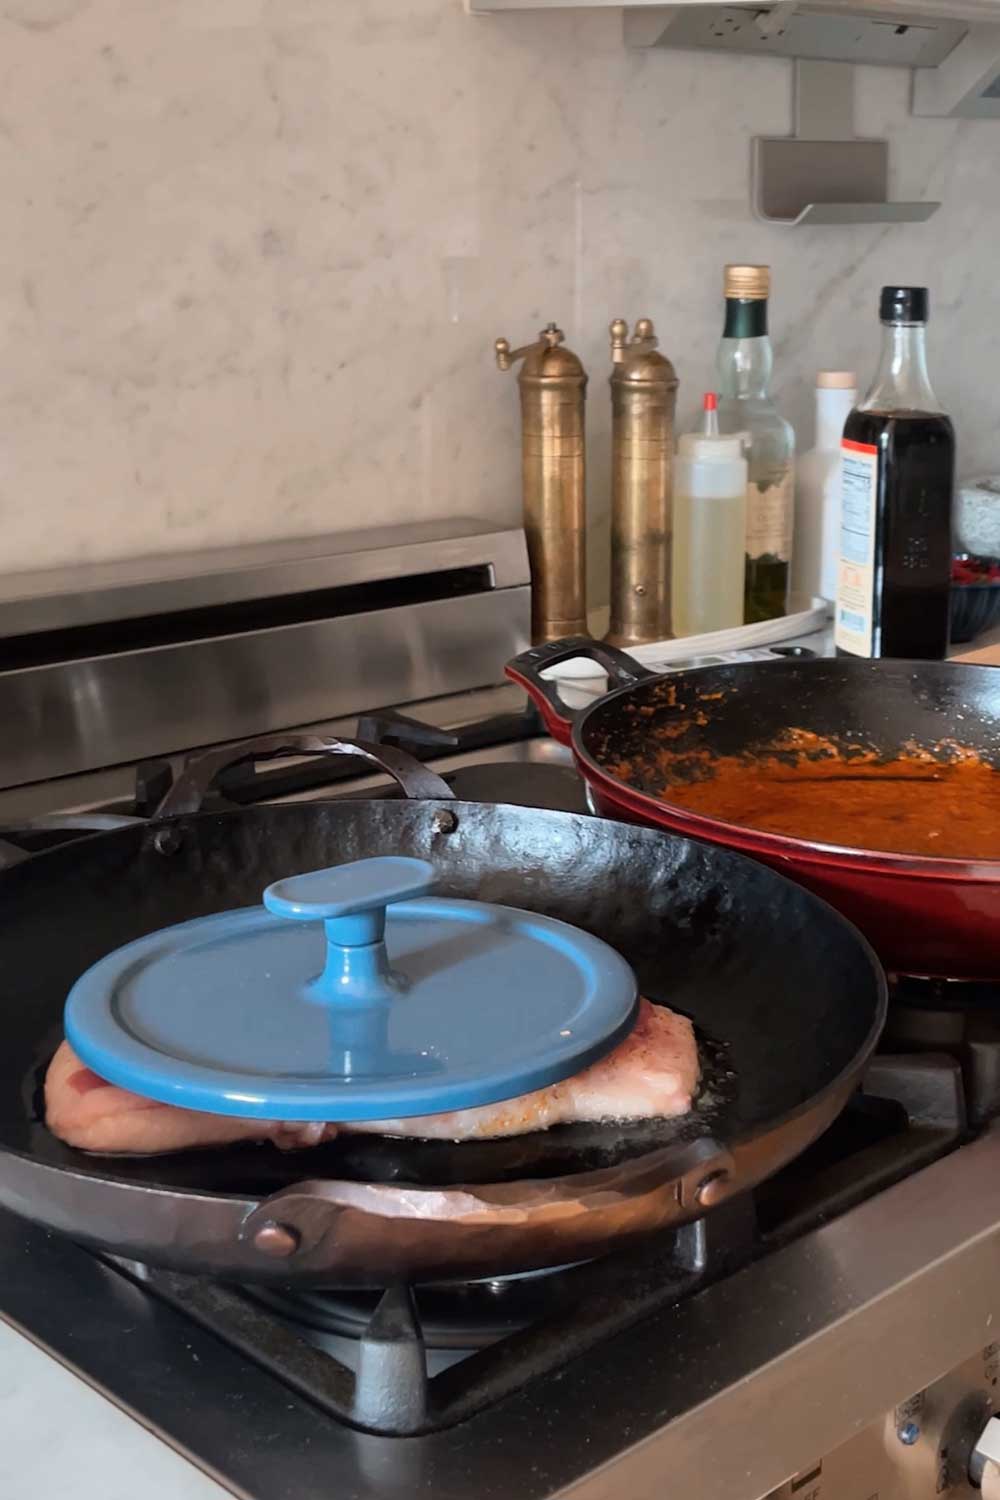
score the duck skin, place it in a cold pan and render the fat on the stovetop, with a weighted grill press to ensure the entire skin gets golden brown and crispy
Allow the duck breast to finish cooking in a 350 F oven, to your preference:
Duck temperatures:
- Medium rare (deep pink, like steak): 130 °F
- Medium (light blush of pink): 140 °F
- Well done (no pink, like chicken breast): 155 °F
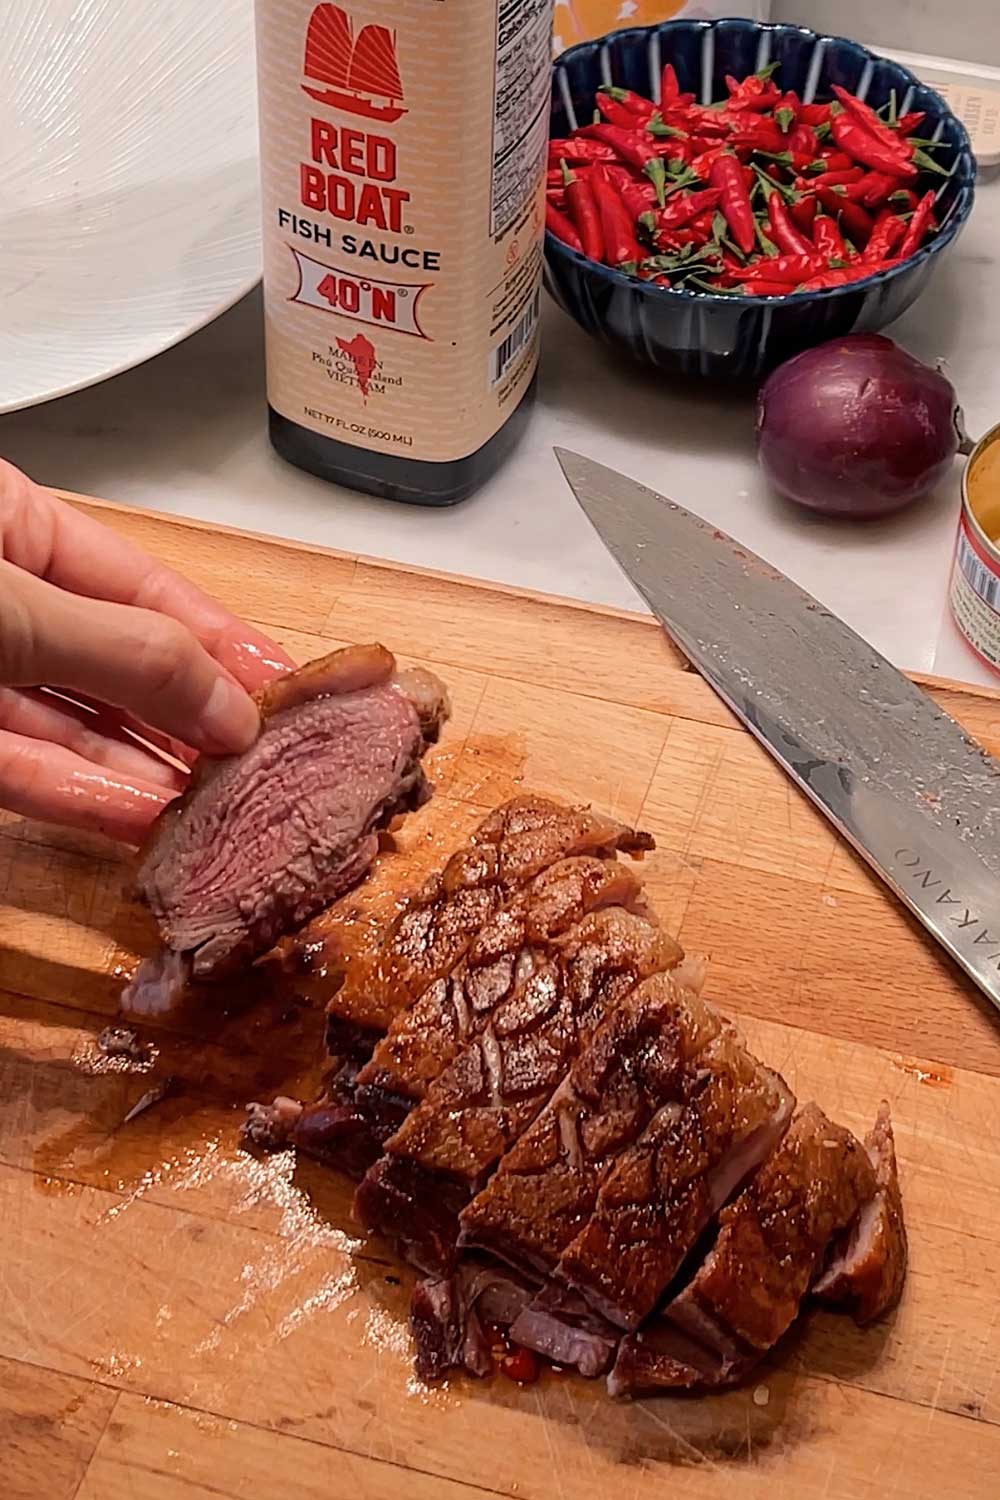
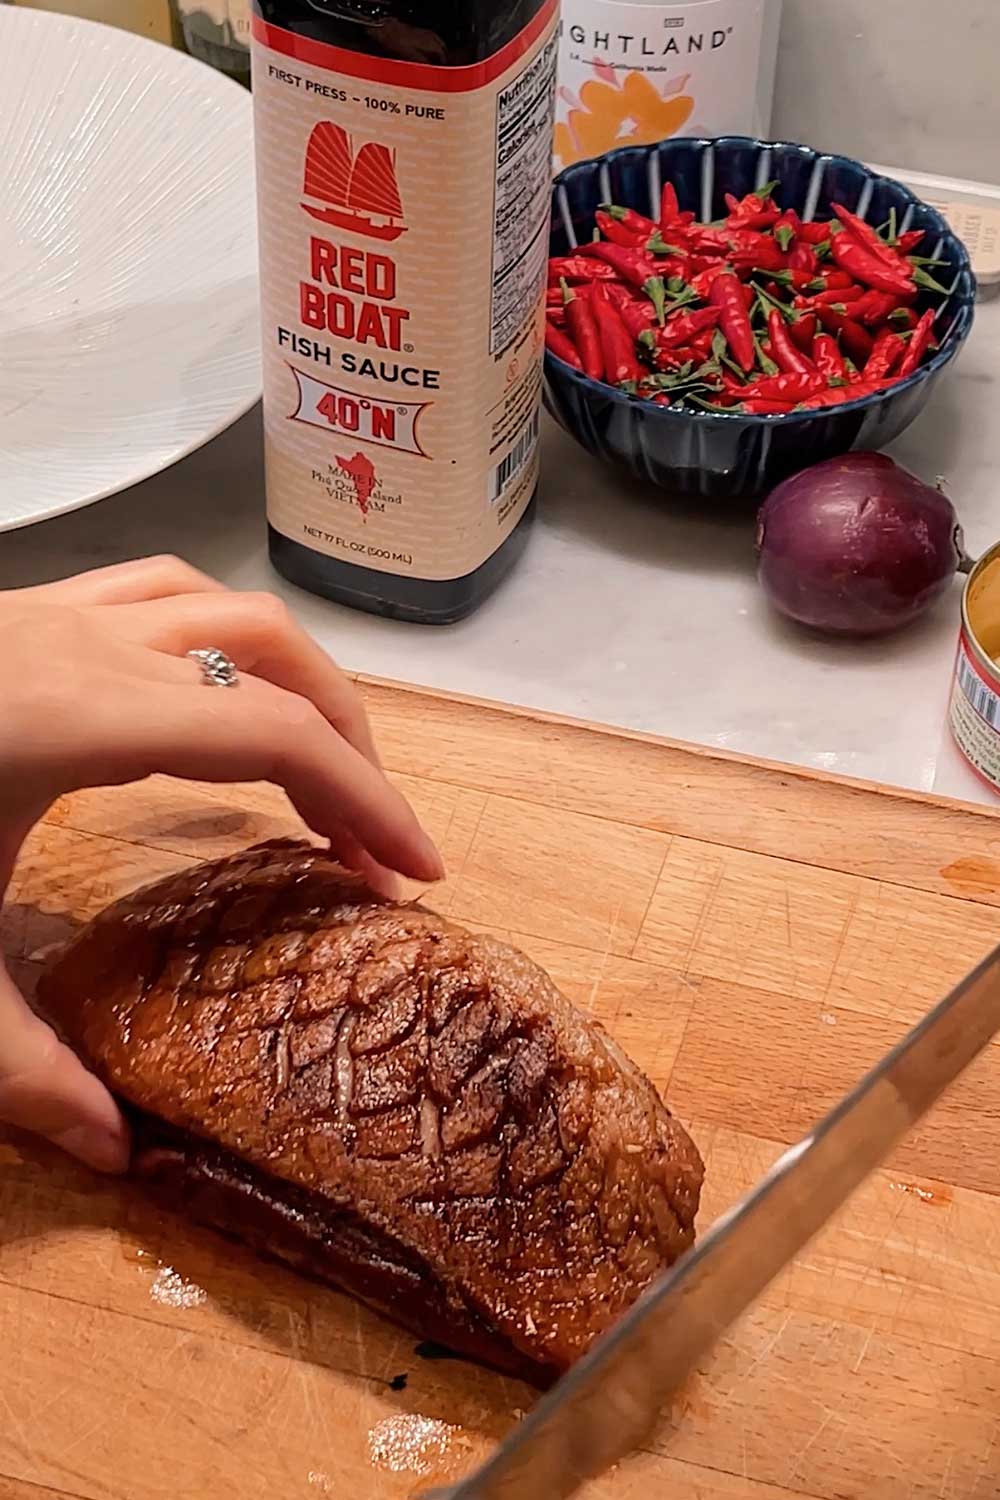
Remove the duck once it reaches your desired state.
Let it rest, uncovered, for at least 5 minutes to seal in the juices.
While duck can be cooked to well done and tasty (like Peking duck style, at Chinese restaurants), I prefer to cook it medium rare.
The duck breast will continue cooking outside of the oven and in the red curry, so under is a little better than over.
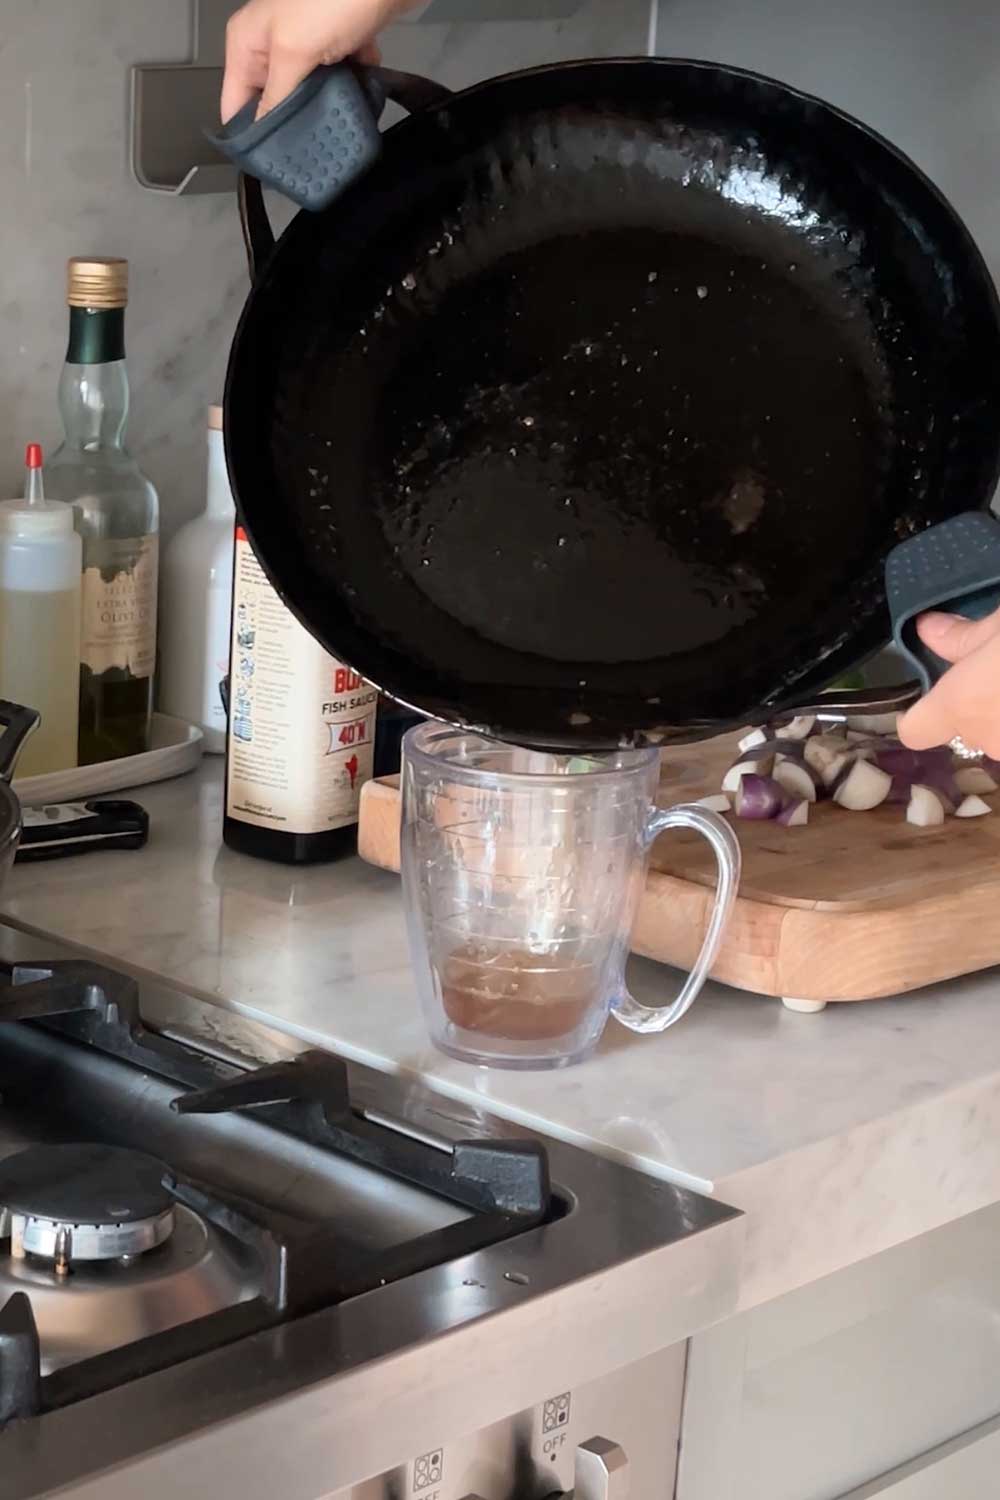
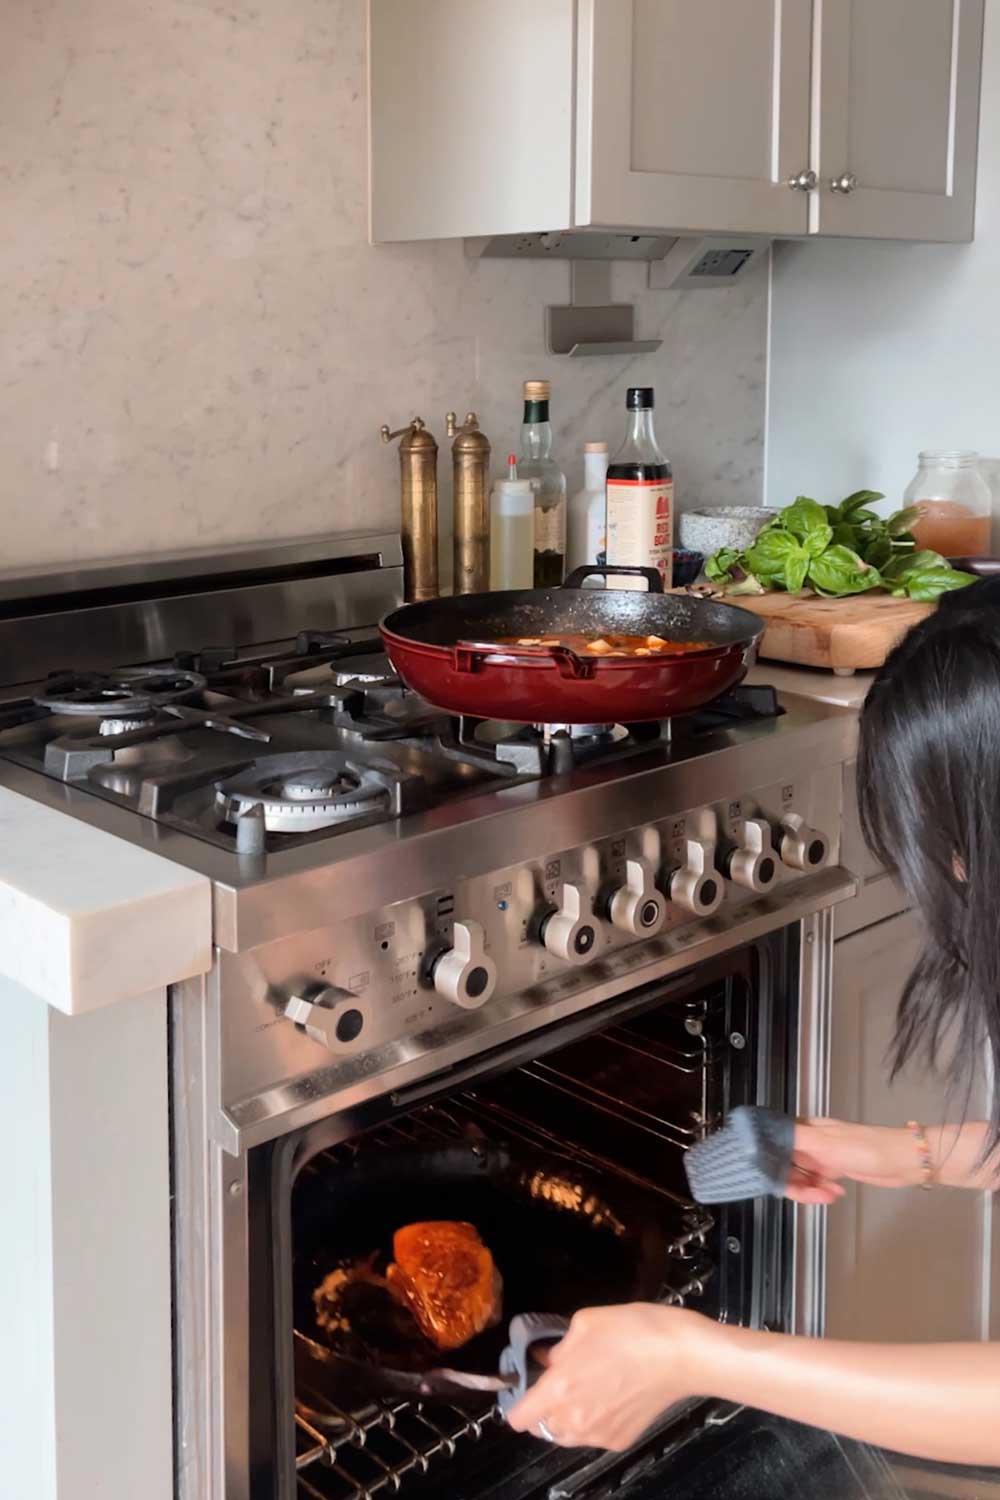
drain all the duck oil (there’s a lot!), then finish the duck breast in the oven until the internal temperature reaches your desired state of doneness.
Timing
I like to start by making the red curry. Let the coconut milk and red curry paste render down and separate, then add the stock, fish sauce and sugar so that the red curry base is done.
Then I start the duck on the pan. When the duck has finished cooking on the stove top and is transferred to the oven, I add my vegetables to the curry.
That way, the duck and red curry will finish at about the same time.
Plate together and serve with rice!
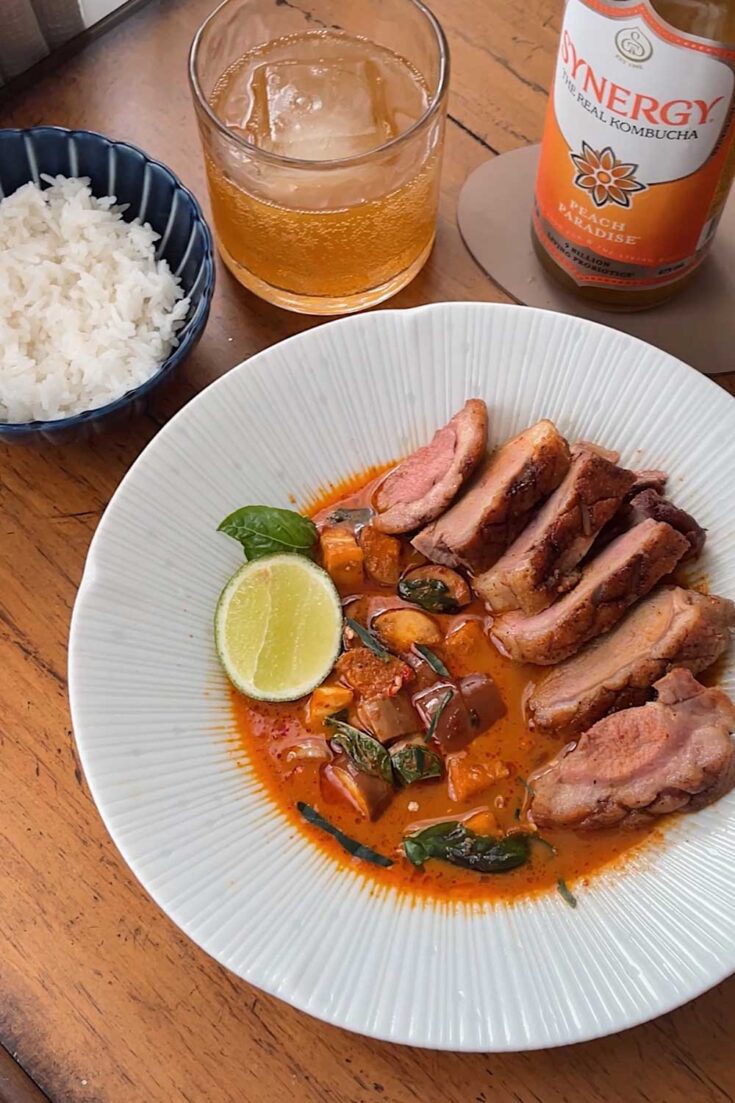
Thai Red Curry with Duck
A red Thai curry that tastes just like your favorite Thai restaurant! I added seared duck breast for a decadent twist.
Ingredients
Duck
- 1 duck breast
- salt
- pepper
Thai Red Curry
- 1 can (14 oz) coconut milk
- 4 tbsp Thai red curry paste
- 1 cup chicken stock
- 1 tbsp fish sauce
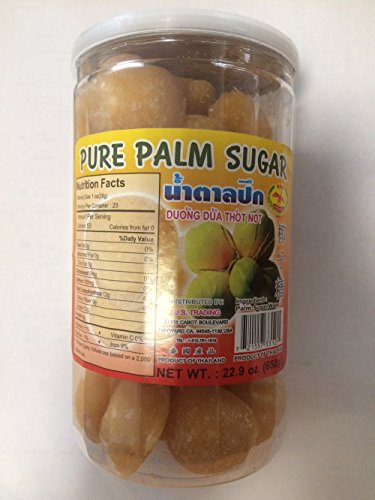
- 2 tbsp palm sugar
- 1 eggplant, cubed
- 3 keffir lime leaves
- 1 bunch Thai basil
Garnish
Instructions
Duck
- Pre-heat the oven to 350 °F.
- Pat the duck dry and season with salt and pepper on both sides.
- In a cold, oven-proof pan, place the duck skin side down and turn the heat on to medium low. Begin to render out the fat and crisp up the skin. Use a grill press (or heavy pan) to ensure that the entire skin side of the duck is making contact with the pan.
- Meanwhile, start the red curry (instructions below).
- After 2-3 minutes, fat will begin to melt out of the duck. About 5-7 minutes in, the duck will be sitting in a layer of oil. Keep cooking the duck on medium low until the skin turns golden brown, about 10-12 minutes.
- Once the fat has fully rendered out and the skin is crispy, flip the duck and sear the flesh side for 1 minute to seal in the juices. Strain the duck fat from the pan and set aside (delicious on potatoes!). Transfer the pan to the oven to finish cooking the duck.
- For medium rare, roast duck until the internal temperature is 130 °F (about 4 minutes). For medium, cook to 140 °F (about 6 minutes), for fully done cook to 155 °F (about 8 minutes).
- Let the duck rest uncovered for at least 5 minutes while you finish the curry.
Thai red curry
- In a pan, bring 1/2 cup of coconut milk to a boil.
- Add curry paste and stir, breaking up any clumps. I use 1 can of Maesri red curry paste (~4 tablespoons) but if you're unsure of your spice tolerance, start with 2 tablespoons and add more later.
- Continue cooking the paste and coconut mixture on medium heat, until the paste has thickened and reduced. You want to see the paste split, with the coconut oil starting to separate out from the paste.
- Add the remaining coconut milk, chicken stock, fish sauce, brown sugar and torn kaffir lime leaves. Simmer the curry for about 10 minutes on low heat.
- Taste the curry, adjusting any condiments to your taste. Add your vegetables and simmer until cooked through.
- Turn off the heat, toss in the Thai basil leaves and stir. Slice the duck and place it in the curry to warm up.
- Serve the Thai curry in a bowl, garnished with Thai chilies, makrut lime leaf and a wedge of lime. Pair with rice and enjoy!
Notes
There are many different Thai red curry pastes. I prefer Maesri for the most authentic taste (not too spicy or salty, with concentrated flavor).
Use a good quality full fat coconut milk (not coconut cream). I recommend Arroy-D.
For the best flavor, be sure to follow steps 1-3 and reduce the cook oil and curry paste mixture until it thickens and splits. You should see a separation between the coconut oil and red paste (it will look almost curdled). After adding the remaining coconut milk, you should two distinct colors: the deep red of the curry marbled with a light yellow oil layer.
If you don't have palm sugar, brown sugar works fine. For a Thai basil substitute, you can use Genovese basil.
But there's really no substitute for makrut lime leaves! I would highly recommend not skipping these for that authentic Thai red curry taste! Look in the freezer section of your local Asian grocery store, or buy on Amazon here. You can freeze extras and use for future curries.
Recommended Products
As an Amazon Associate and member of other affiliate programs, I earn from qualifying purchases.


Nutrition Information:
Yield:
2Serving Size:
1Amount Per Serving: Calories: 640Total Fat: 45gSaturated Fat: 38gTrans Fat: 0gUnsaturated Fat: 4gCholesterol: 4mgSodium: 1610mgCarbohydrates: 61gFiber: 9gSugar: 26gProtein: 12g
Let me know if you try it!
Follow me on
Youtube | Tiktok | Instagram | Substack
