This is part 2 of my series on cone yarns. If you missed it, be sure to first read part 1 here, which covers the pros and cons of using cone yarn and some introductory brands if you’re just getting into using cones.
Winding Cone Yarn
There’s a bit of pre-work to set up cone yarn before knitting with it.
While it is a little tedious, in my opinion it’s well worth the price of entry (aka higher quality fibers at better prices).
Some cone yarn shops will do the winding for you, for an extra fee.
Personally, I just do it myself!
It took a bit of setup and buying a couple tools, but has saved me money in the long run.
Plus, it’s an easy thing to do while watching tv!
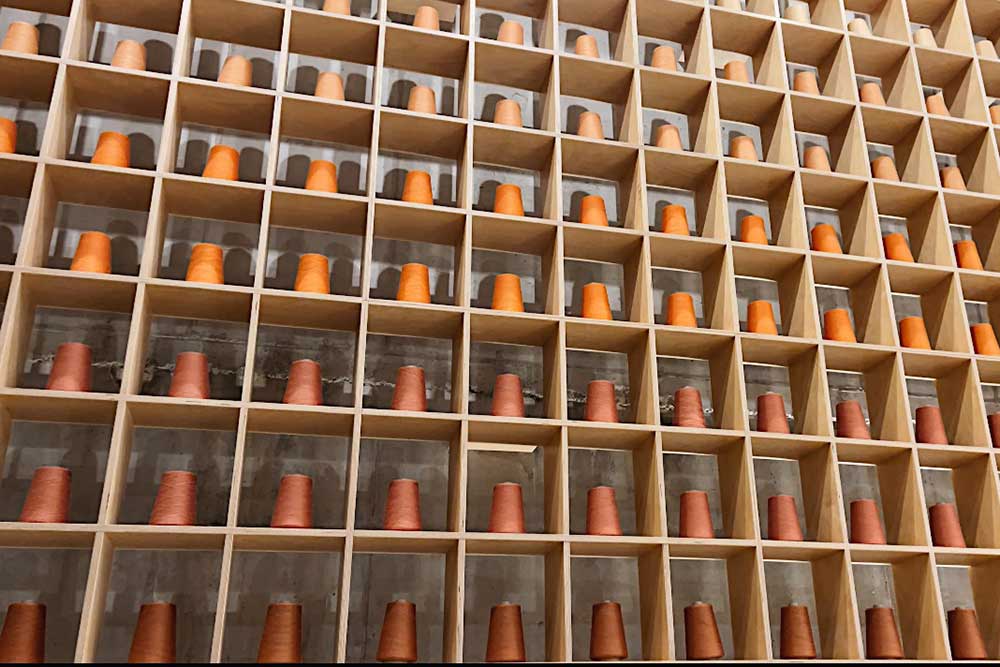
some examples of cone yarns in beautiful fabrics I wouldn’t be able to get ahold of in regular ball-form!
follow me on Instagram @madeby_sher for more knitting content
Ball Winder
A ball winder turns your cone into a center-pull cake that sits neatly on your lap or in a project bag. I use this Stanwood winder.
It’s a little pricey, but I compared it to an inexpensive knock-off and the Stanwood was much sturdier and smoother so I kept the Stanwood.
It’s also equipped to handle larger quantities of yarn than the cheaper plastic winders.
I’ve also heard good things about this more affordable Knit Picks version.
Read more: Is the Stanwood Ball Winder Worth It? (Review + Comparison)
Yarn Swift
A swift holds the yarn as it unwinds from the cone (or from a skein), keeping tension consistent and preventing tangles.
With a cone, you have two options:
Place the cone on a cone holder or a smooth surface and let it spin freely as the ball winder pulls yarn off the top.
I didn’t want to buy and store another accessory, so for now I just set the cone on the floor or in a bowl.
It’s OK but I’ve had to deal with a lot of tangles.
At some point, I’d like to upgrade to an umbrella swift. I think it’ll save a lot of time and headache.
Winding Tips
Keep consistent tension: I like to hold the strand as it gets pulled into the winder
Aim for cakes in a working-project size:
Create ~100–200g cakes rather than winding one enormous cake. Large, heavy cakes can collapse under their own weight or create uneven tension as the cake shrinks.
Label your wound cakes
Slip a piece of paper in the center with yarn name, fiber, and meterage so you never forget!
Gauge and Tension with Cone Yarn
Cone yarn gauge and tension can be different from skein yarn, in a couple ways:
- Mill Finish
- Sizing
As I mentioned, most industrial cone yarns come with a mill finish.
It’s a non-toxic light coating of oils, starches, or other substances applied during spinning or winding to help the yarn run through machinery without breaking.
This finish can make the yarn feel slightly stiff, slick, or different in the hand compared to what you’ll get after washing.
So your pre-wash and post-wash gauge will differ a lot more than you’re used to with skein yarn.
Wool and cashmere especially will bloom significantly after wet finishing, causing your fabric to soften, open up, and relax.
The Golden Rule: Wet Finish Your Swatch
Super important!
Wash, block, and dry your swatch before measuring gauge. Not just with cone yarn, (always honestly) but especially with cone yarn.
Measure gauge on a swatch that has been treated exactly as the finished object will be treated.
If you’re making a machine-washable garment that will live in your dryer, swatch accordingly.
If you’re making a hand-wash-only shawl that will be blocked flat, do that to your swatch.
A 10% change in gauge after wet finishing is pretty typical with fine wool cone yarns – meaningful enough across the size of a sweater.
Singles vs. Plied Yarns
Cone yarns include a lot of singles (single-ply yarns) and high-ply fine yarns like 2-ply and 3-ply at small diameters.
These can behave quite differently under tension than the smooth, round 4-ply skeins many knitters are used to.
Singles in particular have a tendency to bias on the needle, where the unbalanced twist makes the fabric lean slightly to one side.
Wet finishing often corrects this, but it’s worth knowing about.
If you’re using a singles cone yarn, swatching in the round (rather than flat) gives you a more accurate picture of how a circular garment will behave.
Washing and Wet Finishing Cone Yarn
Wet finishing to remove the spinning oil not only gets the yarn clean.
It also helps to activate the fiber and allow the yarn to bloom into its natural state.
Should You Pre-wash?
Some knitters like pre-wash their cone yarn before knitting to remove the mill finish and get a baseline on how it’ll behave.
Personally, I don’t bother – that’s too much pre-work for me!
I just swatch, wet-finish the swatch, adjust my needle size or pattern if needed, and then knit the project knowing how it’ll transform after washing.
Pre-washing an entire 4,000-yard cone is a big undertaking. But some people really hate the feel of the spinning oil or the surprise of the transformation.
Do what you prefer!
How to Remove Spinning Oil from Cone Yarn
Wool and animal fibers
Do multiple soaks to fully remove the oil.
First, soak the swatch in warm water with dish soap. It’s normal for the water to turn grey as the oil slowly washes out.
Then, do a second wet soak in lukewarm water with a wool wash (I use Eucalan) or baby shampoo.
Don’t agitate the swatch, just gently squeeze out water and roll in a towel to remove excess moisture.
Linen and cotton cones
These often get better with washing. The fibers soften and the hand improves. Cotton can tolerate warmer water. Linen benefits from a longer soak.
Wool-nylon blends
These are common in sock-weight cones. Just follow the wool instructions; the nylon will take care of itself.
What to Expect
After wet finishing a wool or wool-blend cone yarn, you can expect a softer hand, a slightly bloomed or “filled out” appearance to the stitches, and improved drape.
Laceweight yarns especially transform dramatically!
What looked like thin, scratchy thread becomes a lush, airy fabric.
Halo yarns (mohair blends, for instance) will develop their characteristic fuzz more fully after washing. Budget for this in your gauge math.
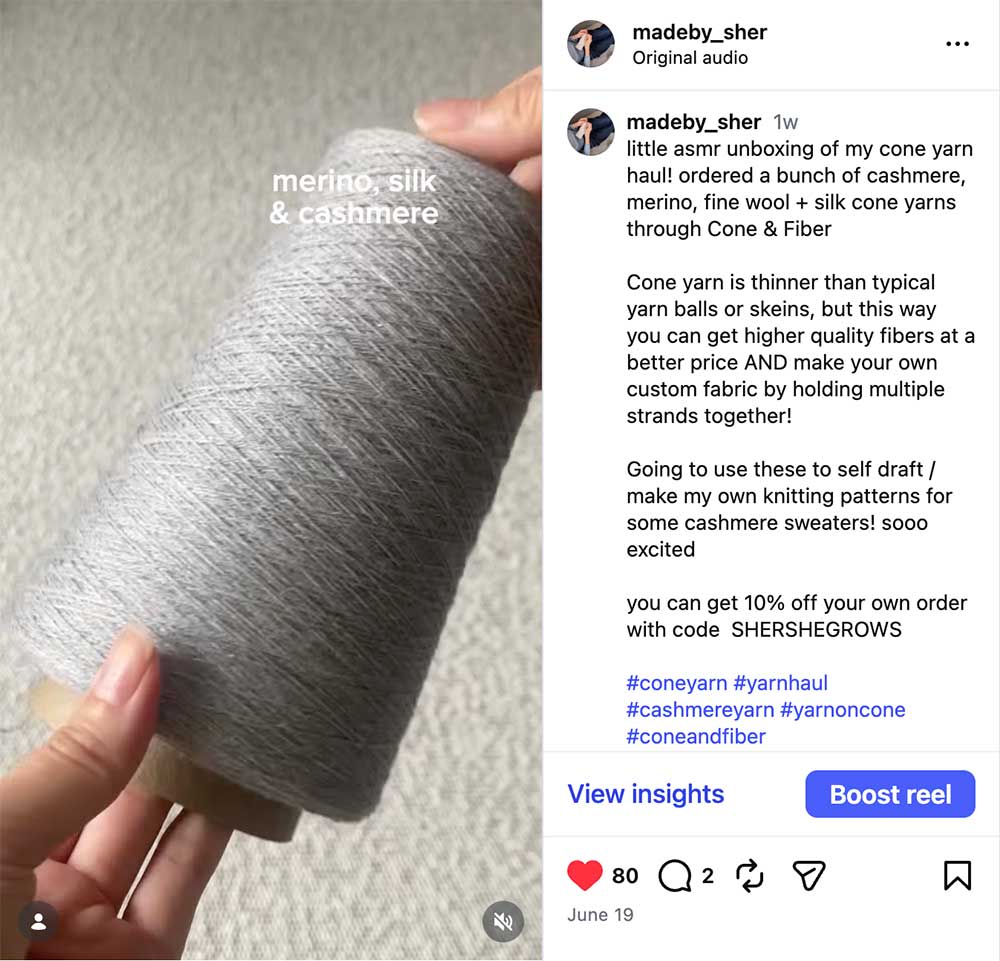
My Recent Cone Yarn Order
Follow me on
Youtube | Tiktok | Instagram | Ravelry | ShopMy
![]()
