Aerogarden Review
For the last year or so, I’ve been obsessed with the idea of growing my own food.
The only problem?
I have two black thumbs and zero outdoor space. So when I discovered AeroGrow last fall and their easy to use indoor garden kits, I was hooked.
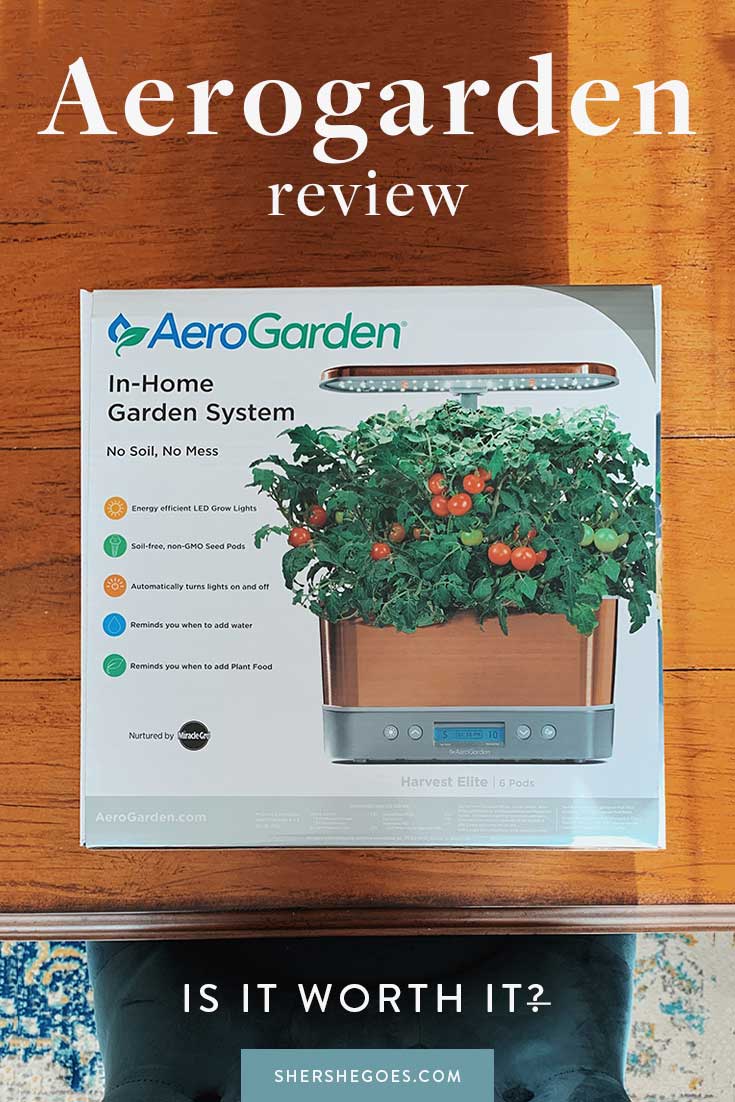
I picked up a compact and cute copper Harvest Elite unit and was impressed by how easy it was to set up.
Now, 170+ days later, all my plants are still alive and I’m finally ready to spill the details about this genius invention.
Here’s an in-depth review of the Aerogarden Harvest Elite and a look at my journey into indoor gardening.
If you’ve ever wanted to try growing your own herbs or vegetables, this is for you!
ADVERTISEMENT
Quickly jump to:
- How does the AeroGarden Work
- Which Model is Best?
- Where to Buy
- Setting It Up
- Herb Kit Review
- Is it Safe?
- 1 Month Progress
- In Depth Review
- Aerogarden Recipes
- Tips to Maximize Plant Growth
- How Long it Lasts
Note: since getting started is the hardest part, I’m focusing this post on the progress of my Aerogarden from set up to 30 days in.
If you can get the plants healthy and well by that point, it’s pretty seamless from there on!
Keep reading or pin this article to save it for later ⇟
What is an AeroGarden and How Does it Work?
AeroGarden makes indoor garden kits that can easily grow vegetables, herbs and flowers.
How?
Hydroponics!
Seeds are planted in water, instead of soil, so there’s no mess. That was a huge selling point for me – I did not want the mess of soil or bugs anywhere in my tiny apartment.
The AeroGarden units have high powered LED lights and a water funnel like system that means your plants are automatically given light and water so that they easily grow on their own, at a faster rate.
Essentially, it’s perfect for anyone who lives in a small space, has a time consuming job + commute, travels often, or just can’t get the hang of gardening.
Which is the Best AeroGarden?
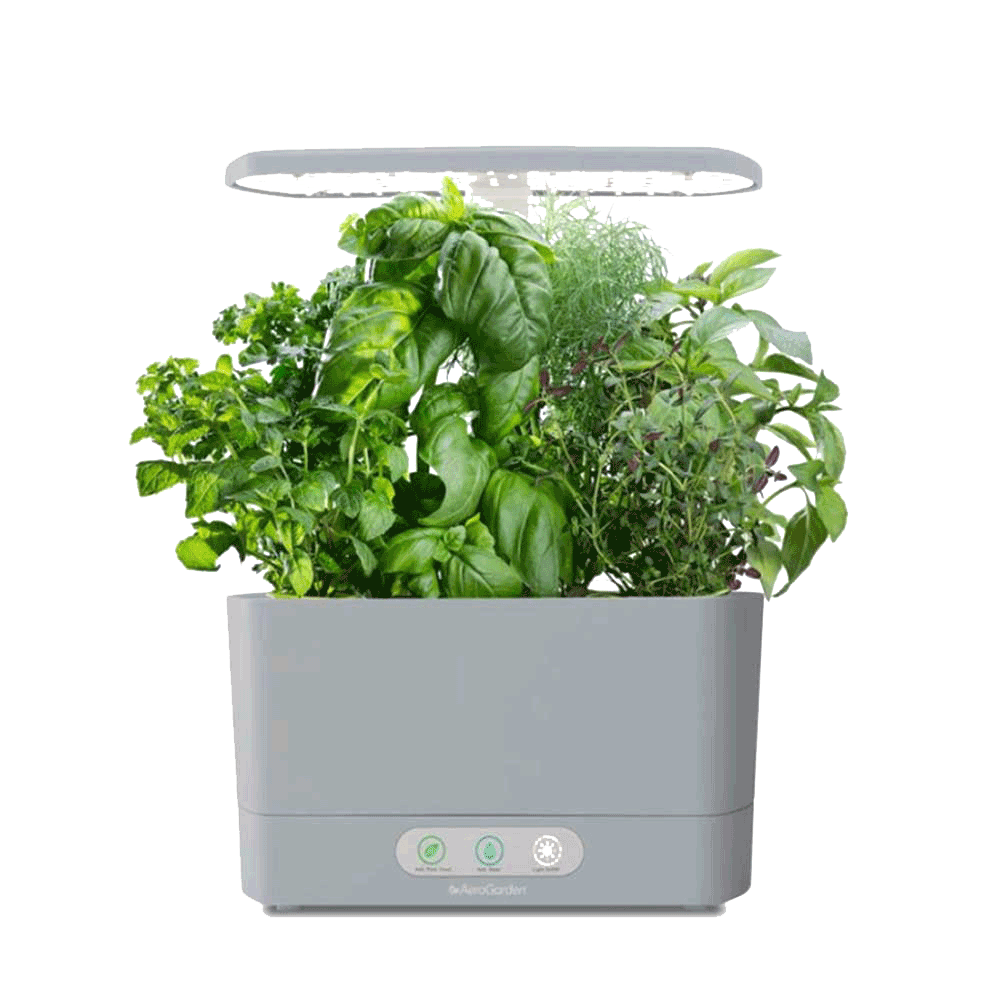
Aerogarden Harvest
The most popular beginner model is the Aerogarden Harvest.
It comes in a huge range of colors and shapes. I have the Harvest Elite. All the Harvest models can hold up to six plants, which is a great size for a beginner to manage!
I think it’s the best option for anyone to start with because the Harvest models come in a variety of shapes – round, oval, slim – so it can fit in nearly any type of home, in any size space.
And with its 6 pod capacity, the Harvest is like the Goldilocks of sizing – it’s bushy enough to feel like you’re cultivating a proper garden, with lots of different plants, but without excessive maintenance or overwhelming upkeep.
The Harvest is great for anyone looking to grow herbs, lettuce or flowers. It can grow cherry tomatoes, but doesn’t really have enough height for peppers.
Read more Aerogarden Harvest reviews.
See all colors here.
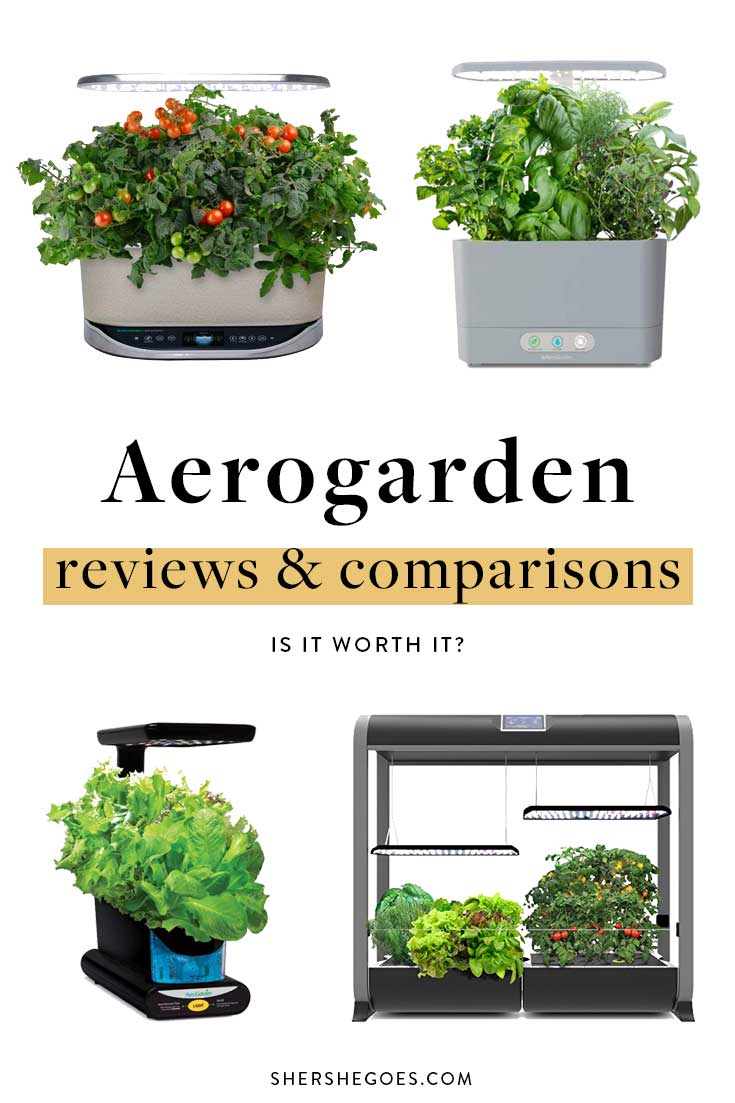
AeroGarden has a huge range of models to suit everyone. Here’s a look at them all:
| Model | Capacity | LED | Grow Height | Best For | Price | Buy |
| Farm | 24 pods | 60W | 36″ | Garden Lovers | $$$$ | Read Reviews |
| Bounty | 9 pods | 30-50W | 24″ | Homes | $$$ | Read Reviews |
| Harvest | 6 pods | 20W | 12″ | Apts & Condos | $$ | Read Reviews |
| Sprout | 3 pods | 10W | 10″ | Apts & Condos | $ | Read Reviews |
| Herbie | 2 pods | 8W | 10″ | Kids | $ | Read Reviews |
Not sure which to buy? Here’s some more info on each to help decide:
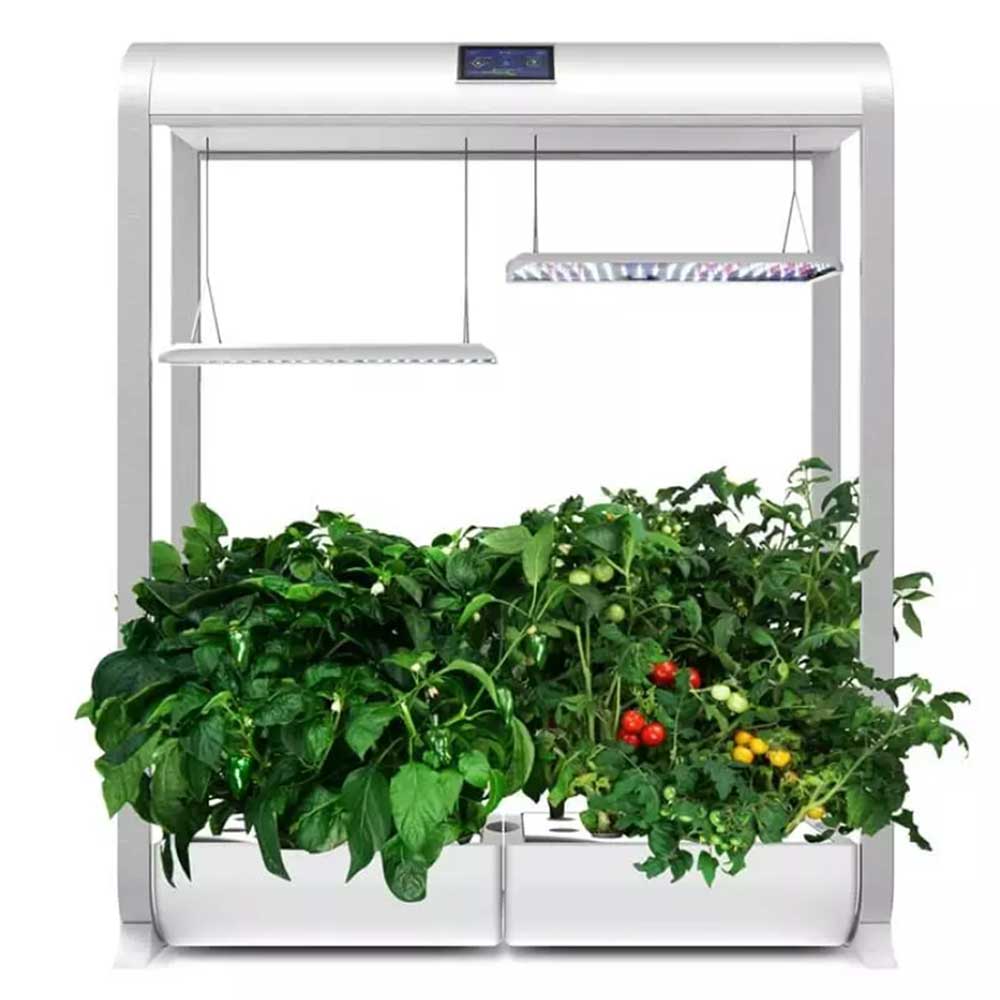
Aerogarden Farm
The Farm is for, in my opinion, real gardeners.
People who know how to keep plants alive consistently and have the experience and desire to really grow their own produce.
The Farm models are really big and are designed to sit on the floor. They’re available in two sizes, 12 pods and 24 pods, and can also be stacked vertically to create a double height unit.
Farm models need a larger amount of water on a consistent basis, or you can get separate water tanks to feed into the aerogardens (which is what I did).
With the Farm family, you get up to 24 pods (!) so you can grow a huge variety of herbs, plants and flowers. This is the perfect model for tomatoes and peppers, which traditionally need a lot more growing height and space.
I picked up a Farm 12 XL which has a 36″ grow height and grew some super hot Jigsaw peppers this year. I have a couple videos about the whole process on my Youtube channel if you’re curious!
Read more Aerogarden Farm reviews.
See all colors here.
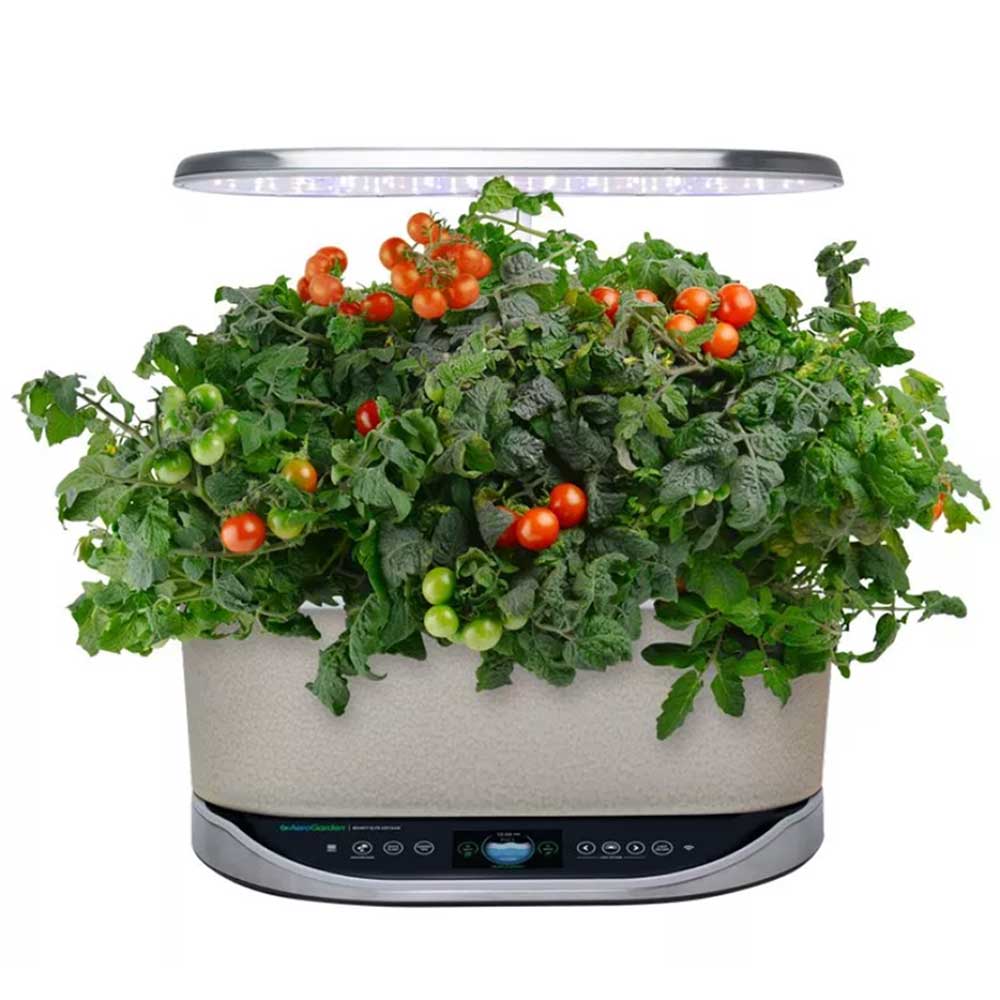
Aerogarden Bounty
The Bounty is the most souped-up version of the countertop models.
It can hold 9 plants and has a roomy water bowl and grow deck, so the plants have more room to grow up top and you can go longer between water fills.
If you were hoping to grow more space intensive plants, like tomatoes or peppers, you’ll want to get one of the the Bounty models.
These also come with a number of nice-to-have features, like WiFi and Alexa compatibility, a larger water fill opening for less mess and a touch screen control panel.
Get this if you have a nice roomy kitchen counter or spare room!
Read more Aerogarden Bounty reviews.
See all colors here.
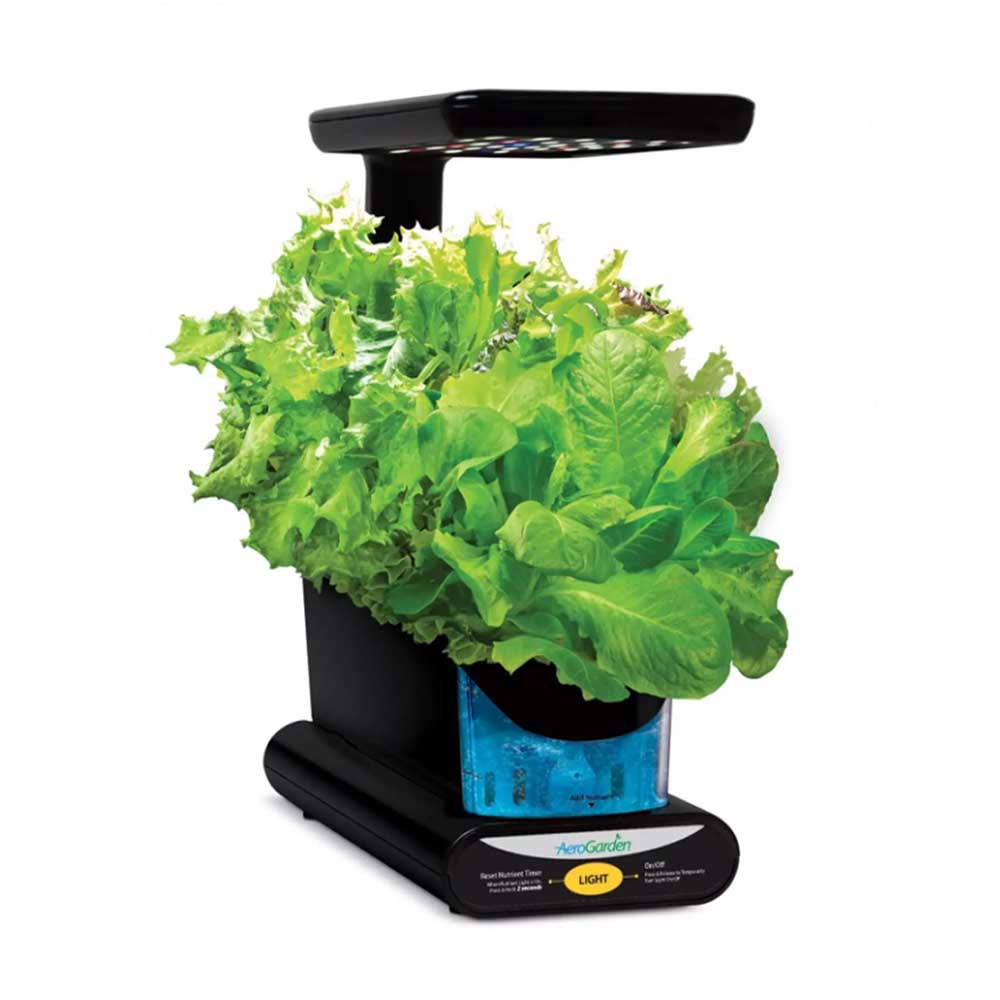
Aerogarden Sprout
The compact Sprout model holds just 3 pods in an ultra slim, compact design. It’s a great affordable option to try your hand at hydroponics.
The small Sprout is probably best for a single person in a very small space, or for someone who likes to cook every few days (herb kit) or just wants a small side salad (lettuce kit).
I do think it’s worth sizing up to the Harvest, since you get much more output with the 6 pod machine at roughly the same amount of work.
Read more Aerogarden Sprout reviews.
See all colors here.
Aerogarden Herbie
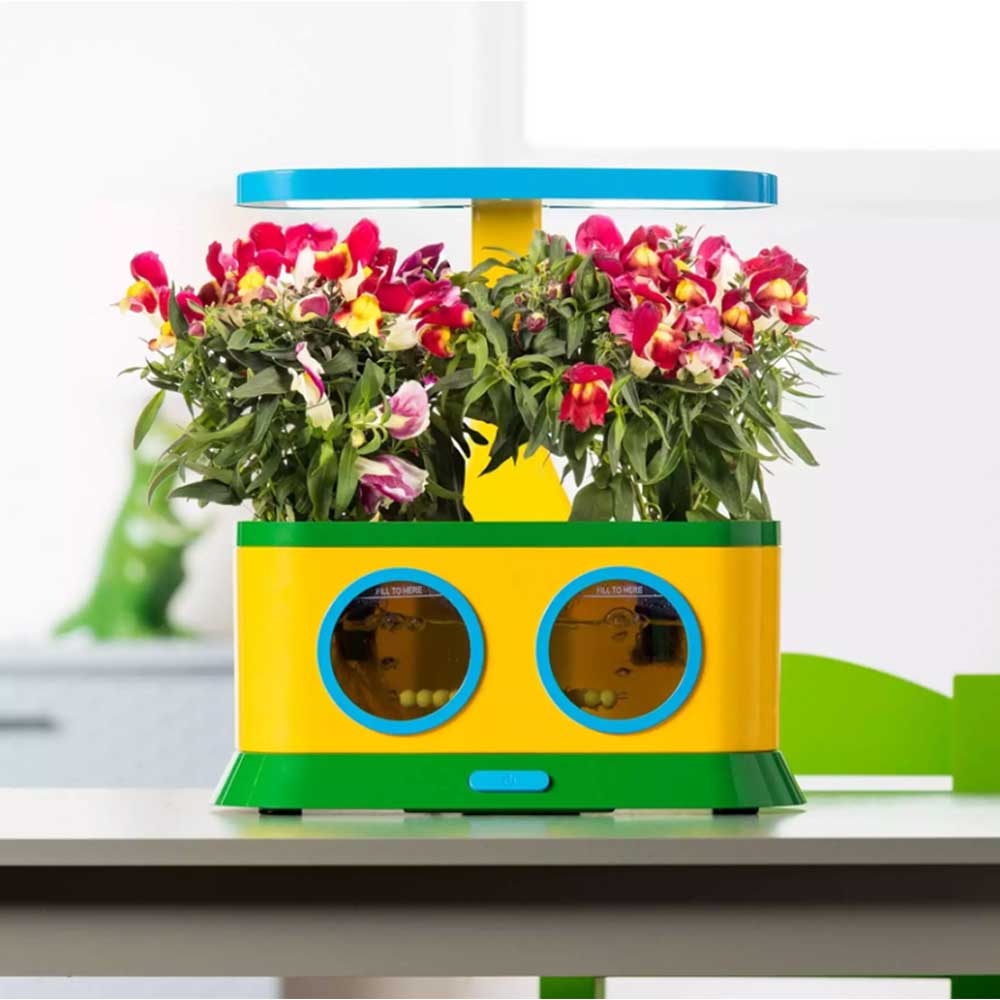
This adorable children’s version of the Aerogarden is specifically designed for kids aged six or older. It has enough room for 2 plants to grow and is so cute and colorful!
It includes a ‘Pizza’ kit of Basil and Oregano so kids can use the herbs to make and season their own personal pies. I think this would be such a nice gift for anyone with kids.
There’s also other kid friendly seed kits you can purchase like a ‘Mint Ice Cream Social’ or ‘Lettuce for Two’ Garden.
Read more Aerogarden Herbie reviews
See all seed kits here.
Where to Buy an AeroGarden
AeroGarden‘s website has their full product catalog.
If it’s your first time getting an Aerogarden, I recommend buying from them directly since they run sales frequently and have the full selection of models, herbs and plants.
For example, the pretty copper color that I have is always available on Aerogarden’s website, but I only see the basic black option on Amazon.
Now that I’m looking, they have this gorgeous new matte grey color that I’m drooling over… it would match everything else in my kitchen that is grey haha.
Also some of the more unique plant pods, like Tatsoi and Black Seeded Simpson Heirloom Lettuce, are only available direct.
But, you can find Aerogarden at a number of other places, like: Amazon, Crate & Barrel, Williams Sonoma, Walmart, Kohls and Bed Bath & Beyond.
How to Set Up the AeroGarden Harvest
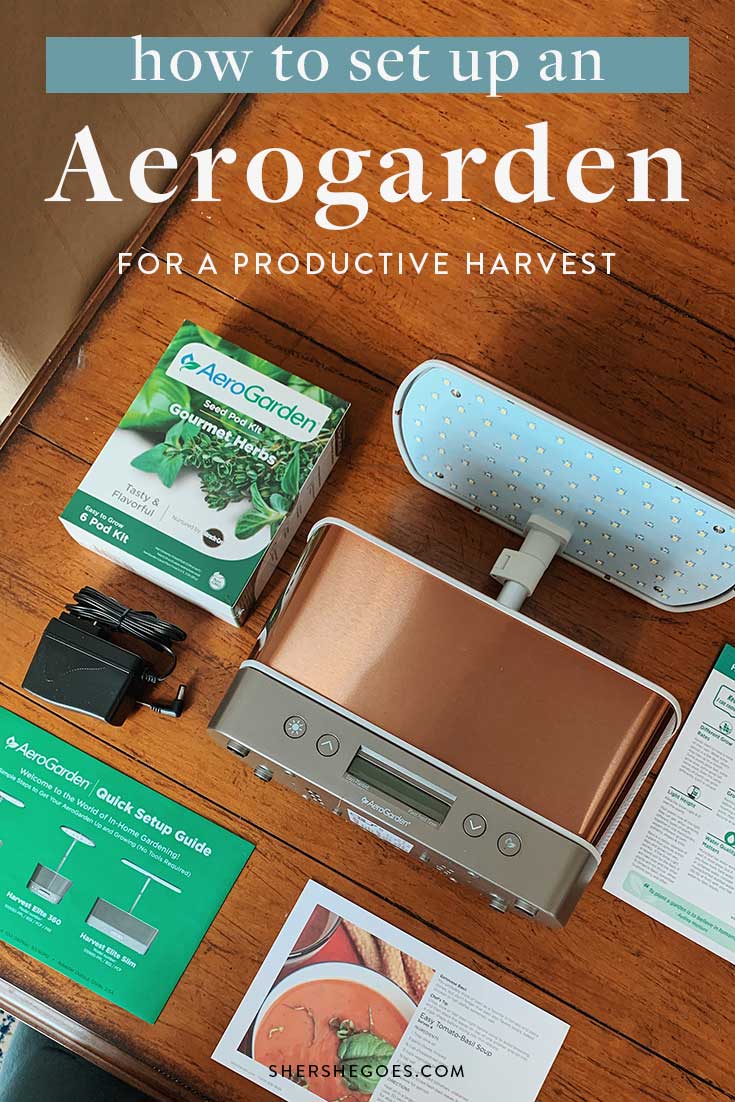
Setting up the AeroGarden Harvest Elite was incredibly easy.
The company includes a starter seed kit so all you have to decide is what you’d like to grow.
I went with the Gourmet Herb kit, which is one of the easiest to grow and seemed to have rave reviews.
To get the unit up and running, all I had to do was plug in the garden kit to a power source, add water and place the pods into the water chamber! I recorded a Youtube video of the unboxing and set up, below, if you’d like to see it all in action.
There’s a couple things to keep in mind when setting up the Aerogarden:
Size
You might wonder what the difference is between the different Aerogarden Harvest models.
They all hold 6 plant pods, but come in different shapes depending on your preference (or maybe your kitchen layout). I cover the differences with each model in my Amazon Livestream, but here’s quick summary:
Since my kitchen is a narrow galley style, I went with the rectangular Elite model that has two rods of 3 pods. If you have really limited counter space, there’s also the Slim model, which has one row of 6 pods.
The fancier models also have some fun added features – like a digital display screen, or the ability to turn on Vacation Mode.
If you have to travel out of town, you can let the hydroponic garden know and it will limit the plant’s water intake to stretch the time between watering.
Water Supply
In the beginning, the 6 pod Harvest didn’t use up much water at all.
Once the plants started to grow root systems, they started to drink up water fast. You want to make sure the garden always has enough water, ideally up to the “Fill to Here” marker inside the base.
Usually if it’s running low, the machine will kind of *garggle*. When I hear that, I usually know I have to refill it quickly! But don’t worry – when the water levels get extremely low, the Aerogarden’s green light will turn on to signal you and let you know to refill.
The Harvest only has 6 pods, so now that the herbs are full grown, I typically top up the water every 2 to 3 days.
For the larger units, like the Farm model, you’ll need to stay on top of the water supply. I’ve heard of people using gallon sized water jugs or siphons to make things easier!
Electrical Outlet
The Aerogarden needs easy access to both an electrical outlet and water supply. It’s not a huge issue for the compact Harvest models but if you plan to use the massive Farm models, that’s something to consider.
Now that my Aerogarden is at the six month mark, my plants are full grown and the grow lights are lifted to the max 12″.
Unfortunately this is a little too tall for the under cabinet space on my kitchen counter so they sit farther out on my counters and take up more real estate.
It’s a little annoying and if I could redesign my kitchen, I’d place the cabinets up higher ha.
AeroGarden Indoor Herb Kit
The AeroGarden Harvest comes with a seed kit to get you started. You can choose from Herbs, Salad or Flowers.
I opted for the herb kit, which included:
- Thai Basil
- Genovese Basil
- Thyme
- Mint
- Dill
- Curly Parsley
My AeroGarden Review + Experience
With all that being said, some herbs just seem to do better than others.
Basil
Because the two basil plants sprout first, and grow quickly, they can easily overtake the small AeroGarden if you don’t keep an eye on them and prune regularly.
As the plants have grown, I can harvest two cups full each of Thai and Genovese basil and the plant will grow back in just days.
Mint
Mint is also a tricky weed – it’ll grow in all directions and try to steal space from its neighbors.
While the plant itself has grown nice and bushy, I’m slightly disappointed by the flavor. The mint leaves are small and not very strong, compared to the giant mint leaves I find at my local grocery store.
Thyme
Thyme grows straight up and is relatively maintenance free. I’ve used a sprig in pot roasts, soups and whole chicken recipes and while the flavor on this one is mild, it’s doing alright.
Germination Guarantee
Two of my herbs didn’t sprout – curly parsley and dill.
Luckily, AeroGarden has great customer service and offers a germination guarantee. If any of your pods don’t germinate, you can reach out to them and they’ll ship you a replacement.
After those two herbs didn’t sprout, I received the replacements in about 2 weeks. At that point, the other herbs in the garden were a full fledged force and growing fast, tall and thick.
I was worried new shoots wouldn’t stand a chance so I’ve saved the replacement pods to plant at another time.
AeroGarden Progress Video
I recorded a little unboxing video of the Aerogarden Harvest Elite!
Here’s a look at how to set up the Aerogarden, plant growth at day 10, plant growth at day 30 and also some helpful tips for trimming the roots.
Recipes Using the Aerogarden Harvest Herbs
I’ve found the herb kit really useful, especially during quarantine when we’re cooking nearly every meal! Some of my go to recipes are Thai Basil Fried Rice, Pesto pasta and Mint Mojitos.


Tips to Maximize Herb Growth & Production
I’m a pretty forgetful person.
I had a hard time keeping potted plants alive because I’d inevitably skip a day or two of watering or leave home for a week to travel. The AeroGarden takes care of all of those issues – seriously!
It’s self watering, the lights turn on on their own and there’s even a ‘vacation mode’ setting you an activate if you’ll be out of town for awhile, so that the device conserves some water.
It’s about as hands off as it gets.
But still, there are a couple things you can do to make sure the Aerogarden runs as optimally as possible so you get maximum herb and veggie production!
Check On It Once a Day
You want to spend two minutes every day just making sure everything is OK. Usually I head to the kitchen first thing, make myself a coffee and while the Nespresso is grinding away, I check on my plant baby.
Make sure the device has enough water and see if you need to add plant food.
Also check that the plants haven’t grown so far as to touch the lights at the top – the leaves will burn from the heat!
Turn and Move the Pods
As the plants grow, the leaves closest to the center of the garden will have the best access to the grow lights. You can help the plants grow evenly by turning the pods so that the other leaves have a chance to be in the interior.
You can also move the pods around. I originally planted the two basil pods in the back row, but since these sprouted first and shot up quickly, the other plants were crowded out.
So I moved both Basil plants to the left half of the Harvest so they could compete with each other to keep the growth in check.
And I moved the Thyme and Mint to the other half of the Aerogarden so they had a nice clear, open space to grow. Play musical chairs with the pods if you need to!
Prune Regularly
As the plants in the Aerogarden start to grow, you’ll want to regularly prune in order to encourage denser, bushier growth.
For the herb kit, the two basil plants sprout first and grow the fastest. If you trim them right, they’ll grow wider and bushier so you have much more basil production than if you let the plants get ‘leggy’.
Pruning them back will also give the slower germinating plants some time to grow and catch up so that ideally all the plants in your Aerogarden can grow at roughly the same height and have access to the grow lights.
Don’t Neglect the Roots
One thing Aerogarden doesn’t explicitly make clear is that you should be checking on the roots.
The Aerogarden devices are meant to be compact and so they’ll fit nicely on a small kitchen counter. But that smaller space means the roots have less room to grow and over time, the plant roots will grow into wiry mushroom clouds underneath if you don’t check on them.
If you leave the plants’ roots to grow unchecked, they’ll tangle and grow into each other, and may also clog the reservoir pump, which will shut down and fail the entire system.
Usually I lift open the container every 14 days, on the day that I’m adding plant food.
Don’t be afraid to cut the roots back. Since these plants are growing directly in water, they don’t need as extensive root systems as if they were in soil.
It can be a little tricky to hold the top piece and cut, when it’s just yourself. Have someone help you hold the lid of plants while you cut back to the roots… OR you can try my DIY method ha.
I placed an empty clothes drying rack in the bathtub and laid the Aerogarden lid on top. That way I could clearly see all the roots, trim as needed and the dripping water didn’t damage my floors.
Is AeroGarden Safe?
Yes! One of the things that attracted me about the AeroGarden was the chance to grow my own pesticide free food.
All of the seeds are non-GMO, organically sourced when possible and the veggie pods tend to be heirloom varieties. The liquid plant food is natural as well, without any pesticides or herbicides.
How Much Does it Cost to Run an AeroGarden?
One funny question I get a lot is how much does the AeroGarden cost to run. Anytime someone comes over, they see the garden light on and wonder if it impacts my electric bill.
It doesn’t really. The AeroGarden is really efficient – it uses as much energy as a 60 watt light bulb.
I’m sure electricity bills vary depending on where you live, but where I live in NYC, we pay a fixed fee for the electric company to deliver service and then a variable charge based on usage.
The funny thing is the fixed delivery costs are pretty high – usually the same amount as my actual electric usage. So the Aerogarden really doesn’t cost anything additional to run!
And plus, I save a little bit by not having to buy herbs from the grocery store. You can’t even find Thai Basil where we live, and my Genovese Basil produces nice big leaves on par with what you could buy.
The only disappointment is the mint.
The Aerogarden mint leaves are quite small and don’t seem to have much flavor compared to the giant, minty leaves at the grocery store. I’m not sure why that is, maybe they need more nutrients or space?
How Long Does an AeroGarden Last?
The AeroGarden website says the herb kits will last about 4 months.
My garden is currently on its six month and it’s still doing fine. The basils and mint in particular are thriving, and I’ve fully raised the Harvest to its maximum 12″ height.
I do want to try growing some other herb and lettuce varieties though, so am thinking of changing out the pods. Maybe I can transplant the herbs to pots…
Have you ever wanted to grow a garden? What kind of space do you live in and would an AeroGarden work in your home?
Shop Aerogarden and Hydroponic Kits
Read More: in our Indoor Hydroponics series:
Aerogarden
Is the Aerogarden Worth It? Harvest Review
How To Guides
How to Easily Clean & Sanitize the Aerogarden Between Plantings
How to Assemble the Aerogarden Farm XL *Tips + Tricks*
How to Grow ANYTHING in the Aerogarden!

