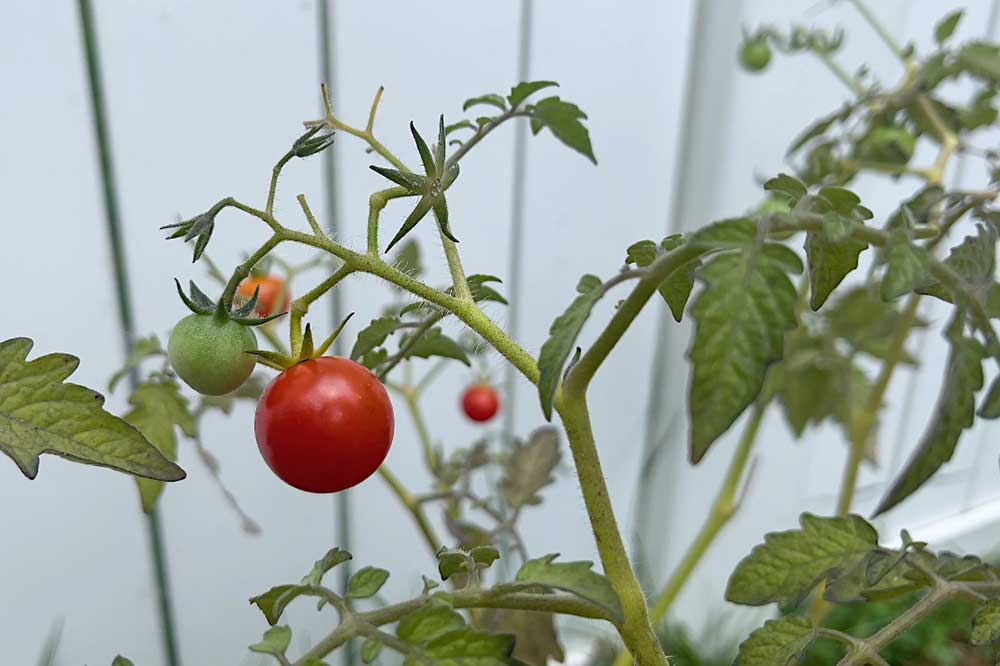
I prefer to grow vegetables indoors, from start to finish.
It’s cleaner, faster and bug free.
But sometimes you run out of space! If that’s the case, you can move a plant outdoors and grow it in soil.
Over the years, I’ve transplanted Aerogarden tomatoes to soil many times, so here are all my tips.
Transplanting from Hydro to Soil
The transplant process can be a little tricky, since plants grown in hydro grow differently from plants grown in soil.
Hydroponic tomato plants have water roots – thin long roots that are used to a wet, oxygenated environment.
They’re also used to growing down vertically, since that’s the way they access nutrient water in the Aerogarden.
Soil roots are thicker and stronger, as plants grown in soil have to push through soil to search for nutrition.
Abruptly changing a plant’s environment often sends it into shock, and they often don’t survive the transition.
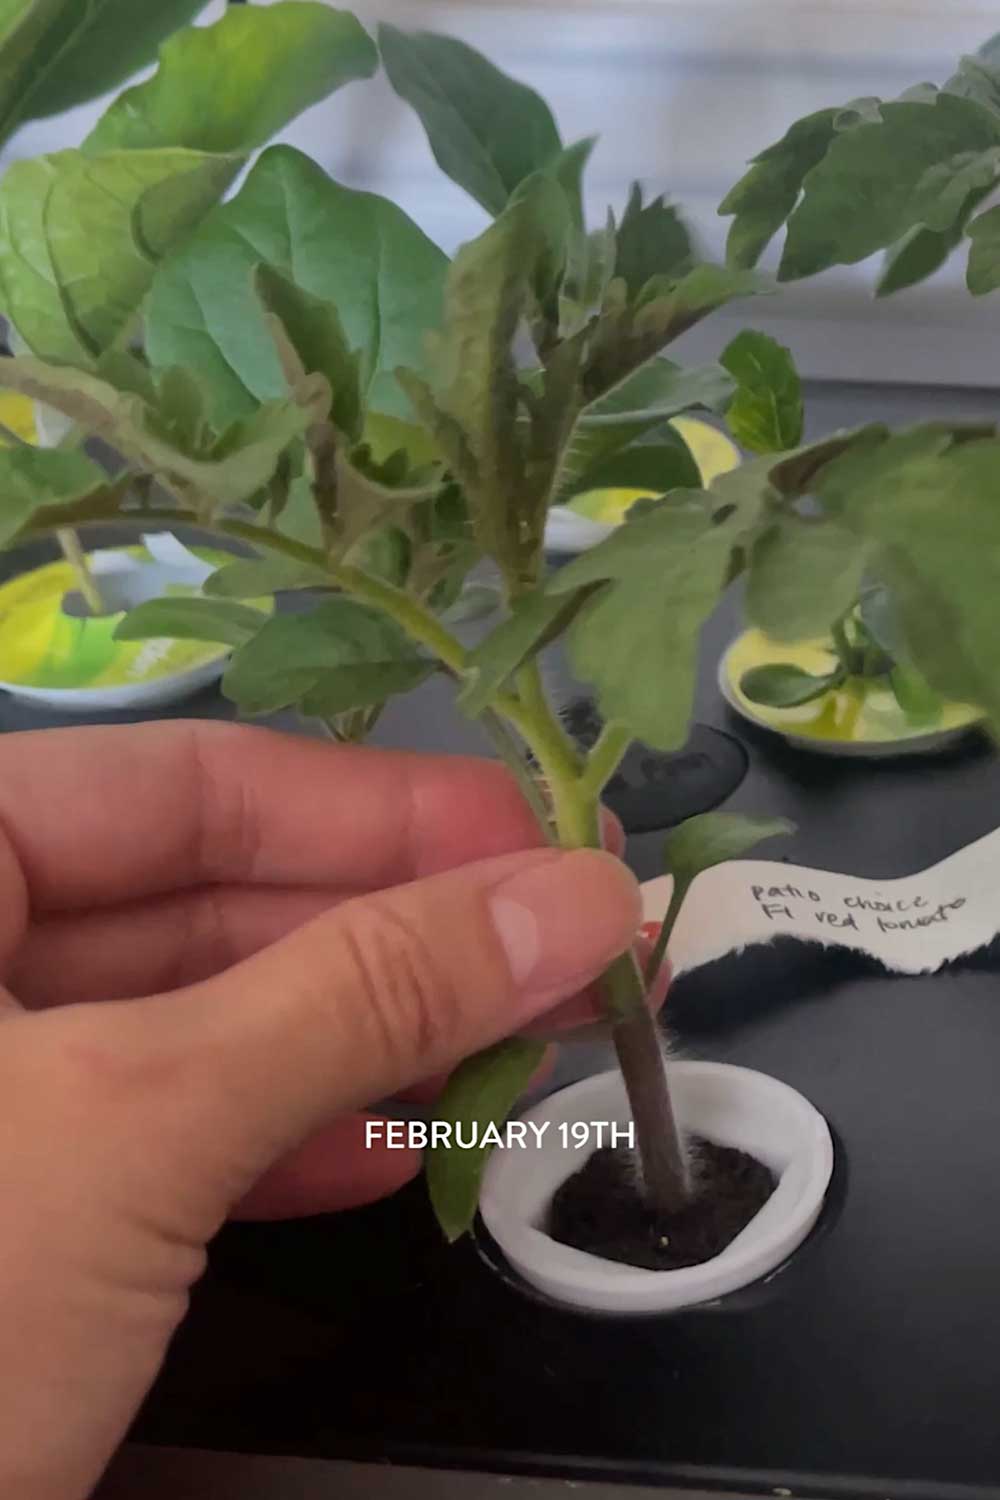
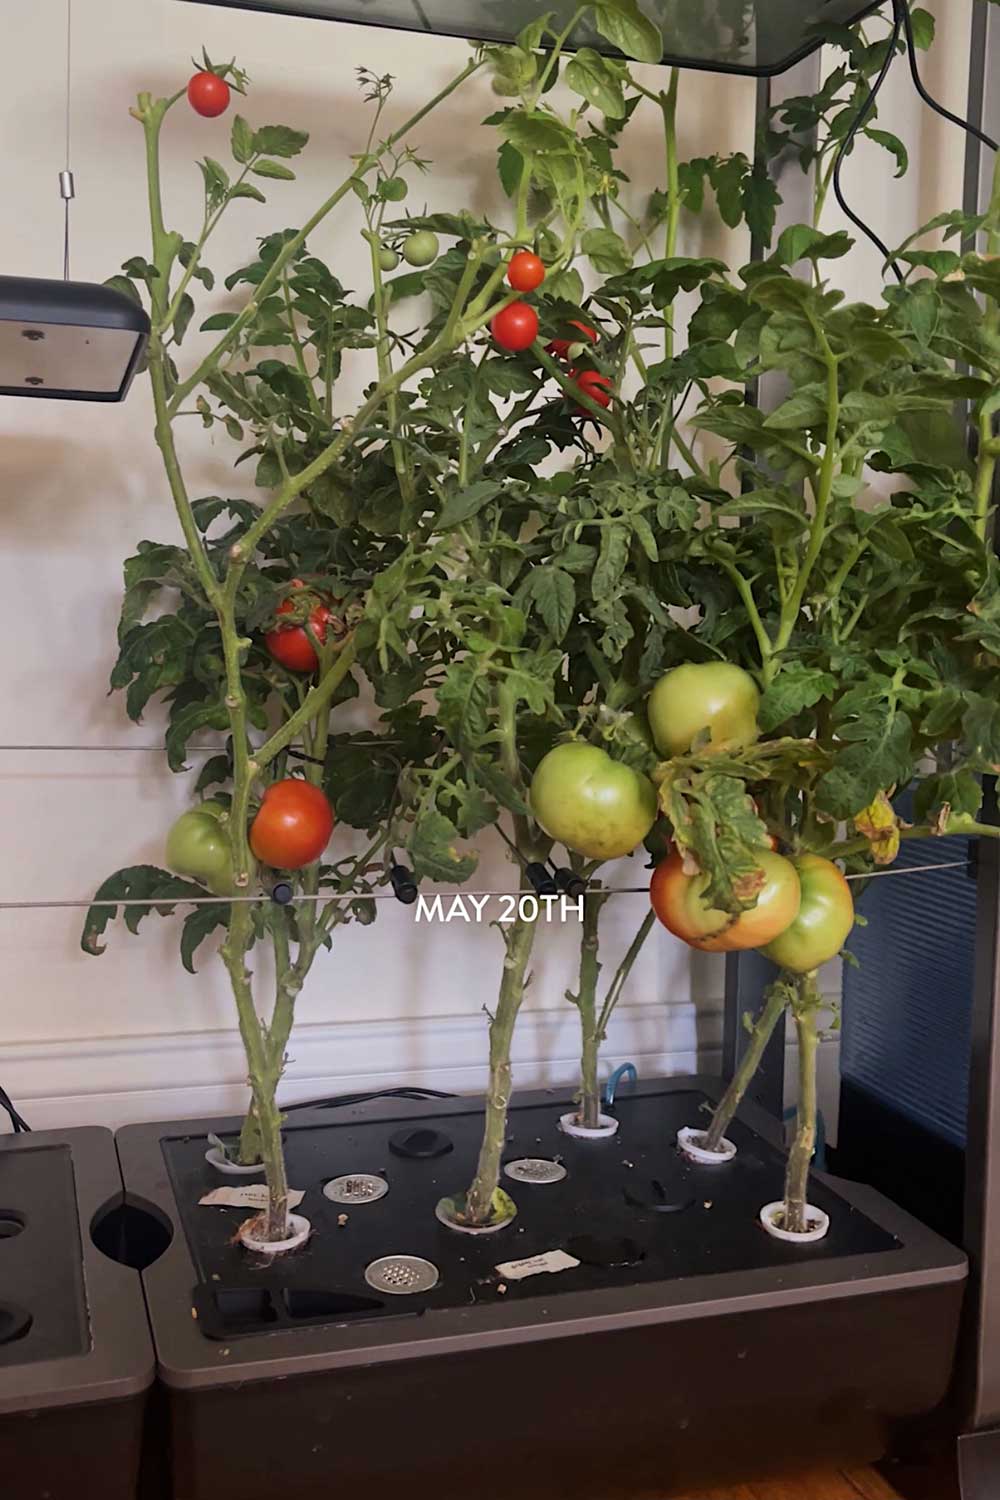
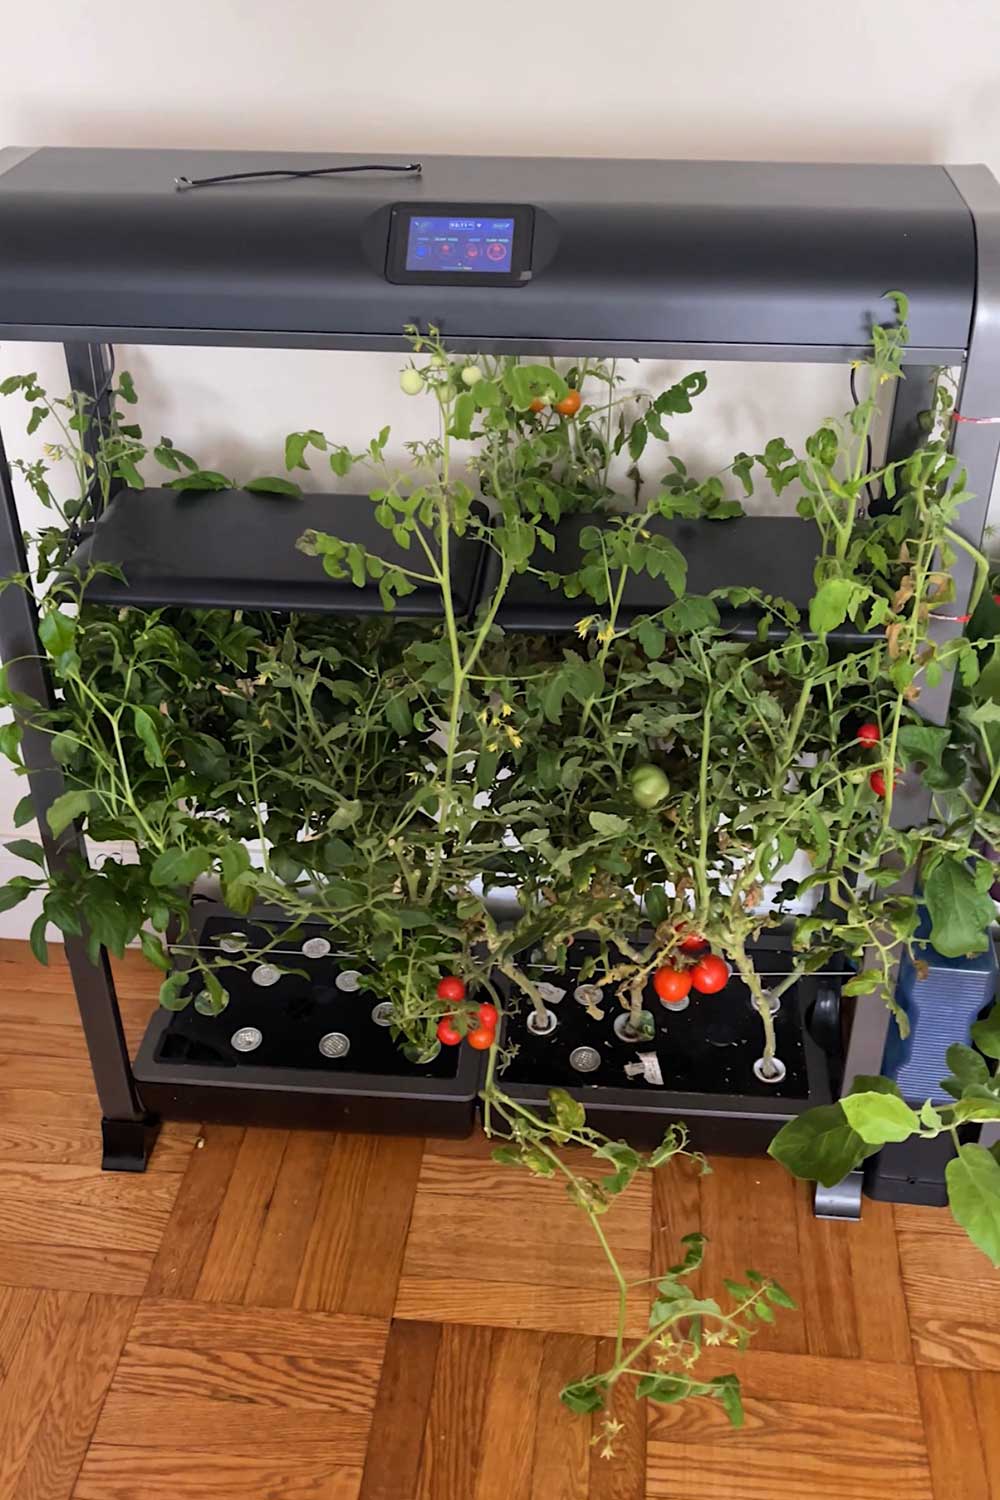
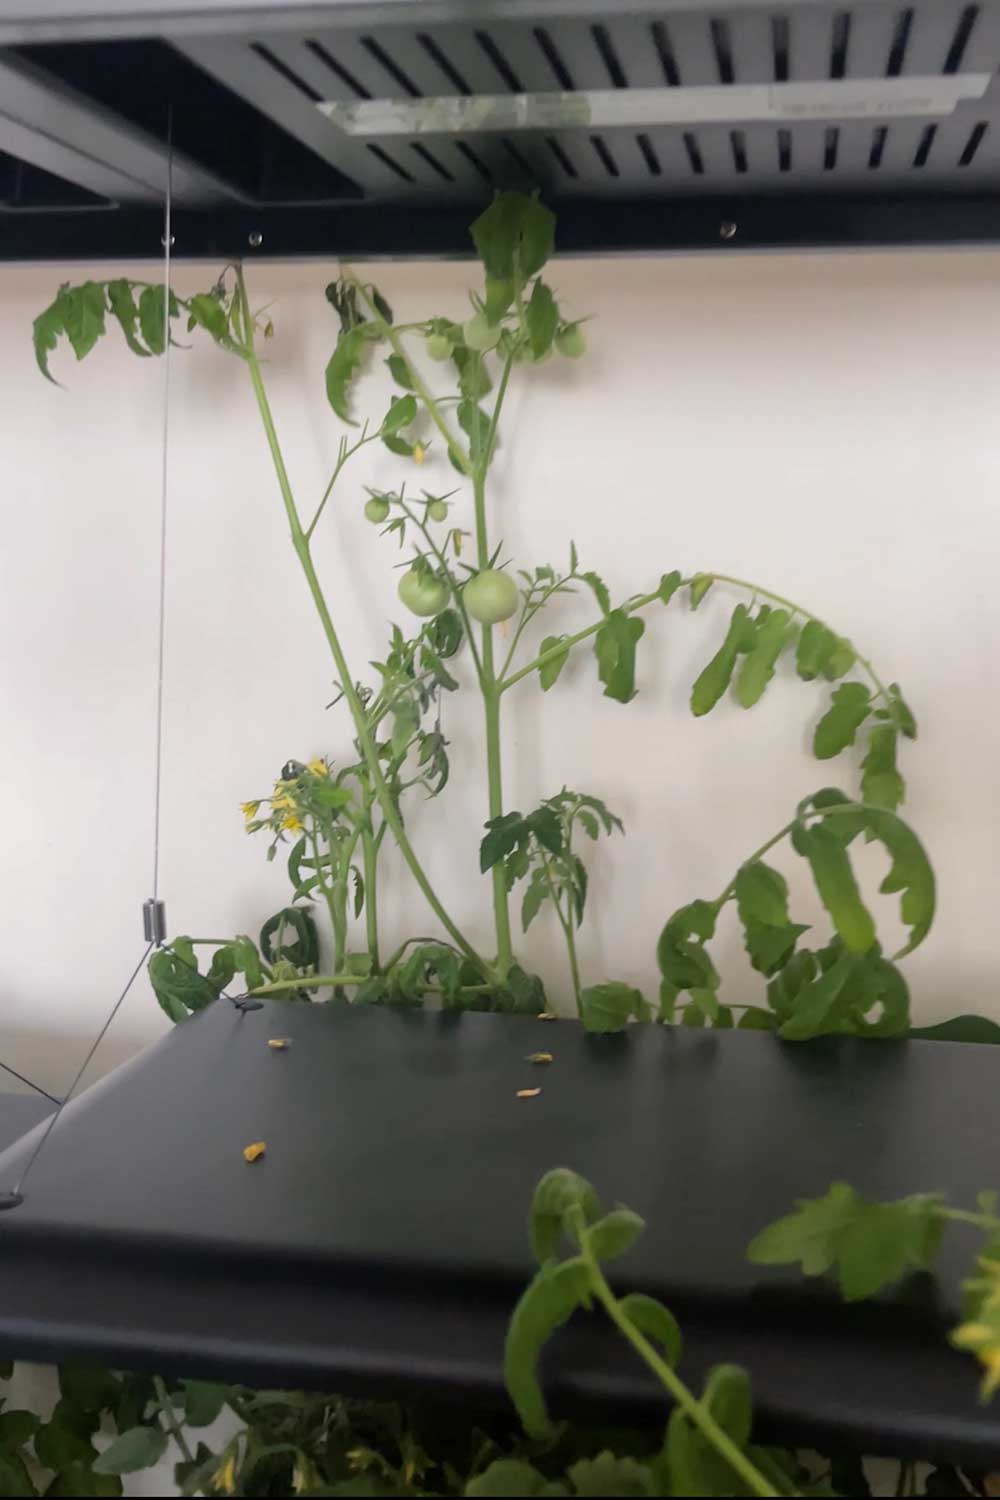
indoor tomato plants in 3 growth stages. tomato plants ~3 months in will be in a good stage to transplant
Aerogarden Tomatoes
Every plant is different but I find that tomatoes are one of the easiest to transplant.
I’ve grown several varieties of tomatoes inside my apartment, but for this experiment I transplanted these cherry tomatoes.
It’s super productive and produces medium sized red cherry tomatoes!
Tomatoes are one of the easiest plants to transplant because they have robust stems that can develop new roots extremely quickly.
While most other vegetables will only develop new roots at the base of a node, tomato plants have these little warty bumps all along the base of their stems.
Each of these tiny nubs are called adventitious roots, because if placed into water or soil, will turn into new roots.
So it’s almost like tomatoes have an advantage to adapting to new environments.
Transplanting Tomatoes from Hydro to Soil
While you can take an entire tomato plant and move it from hydro to soil, it has a higher failure rate.
A full grown tomato plant likely has a massive root ball, that’s difficult to even get out of the Aerogarden deck.
And because all those roots are predominantly water roots, you’ll need to wait for the tomato to produce air roots before transplanting to soil.
Water roots plunged into soil can easily suffocate and kill the plant.
If the tomato plant is flowering or in fruit production mode, the shock of the transplanting process will halt the process.
Instead, I recommend transplanting tomato plants when they’re young or transplanting cuttings.
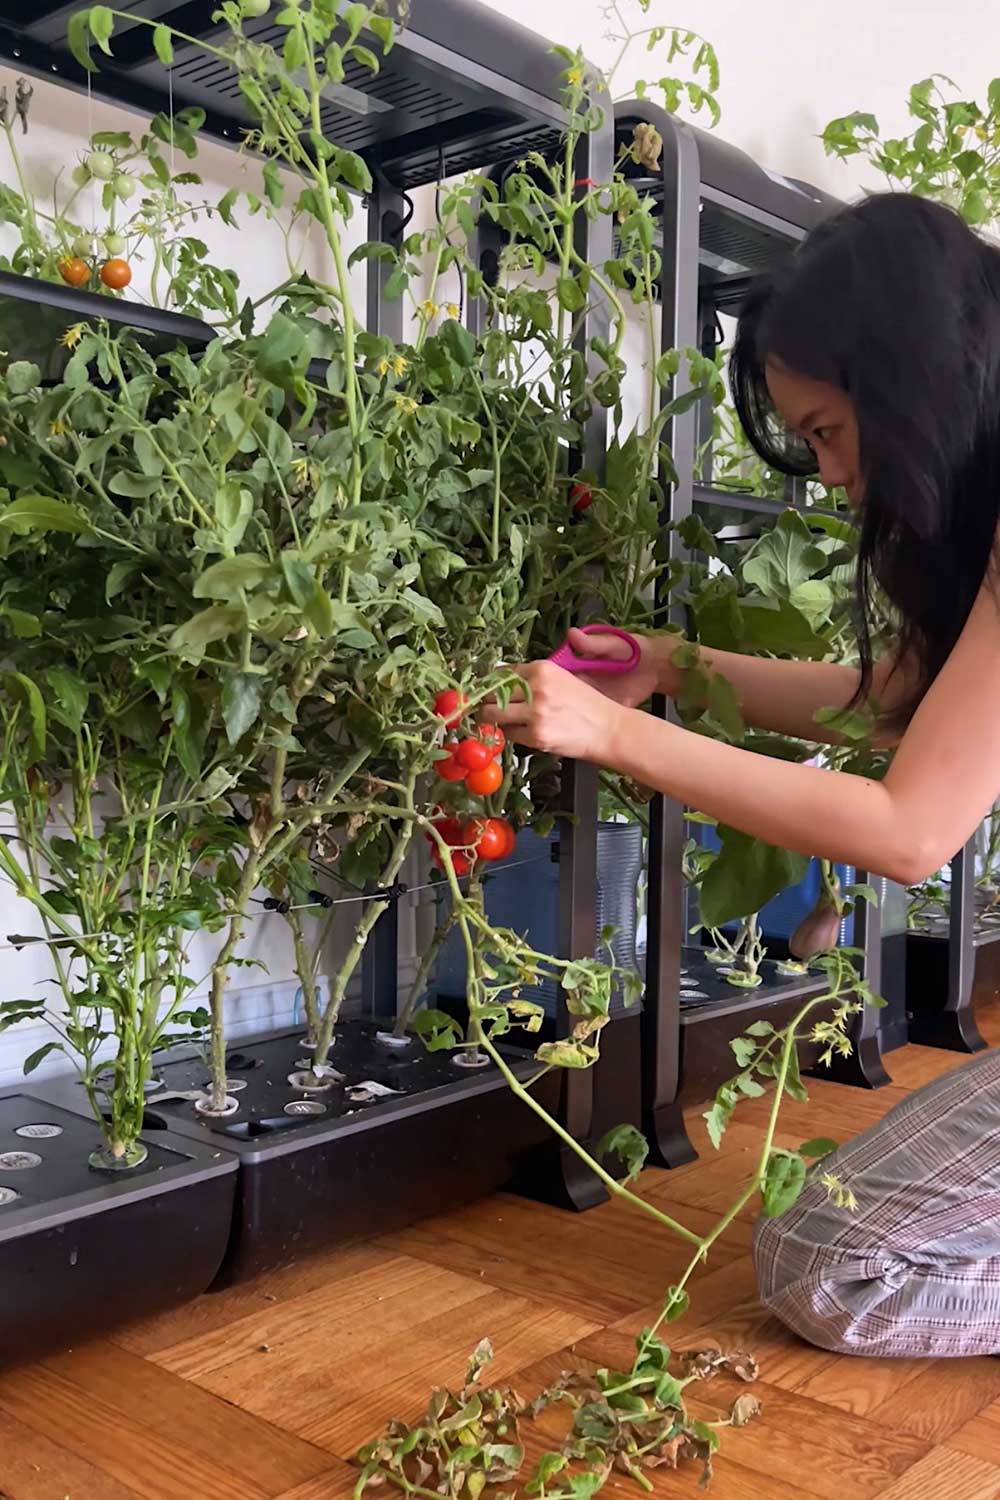
overgrown tomato branches make for the perfect transplant cuttings
Tomato Cuttings
I regularly prune my tomato plants, as they grow SO quickly in the Aerogarden and easily become a maze of branches and suckers.
From the clippings, I’ll take a couple stems that look promising and trim them down to cuttings.
The right kind of cutting is key.
You don’t want a stem that’s too young. If it’s thin and green, it’s too immature to form new roots.
But you also don’t want a stem that’s super old and woody – those are also difficult to propogate.
Look for a medium thickness stem with big knobs.
Here’s an example of the cuttings I like to take for transplant:
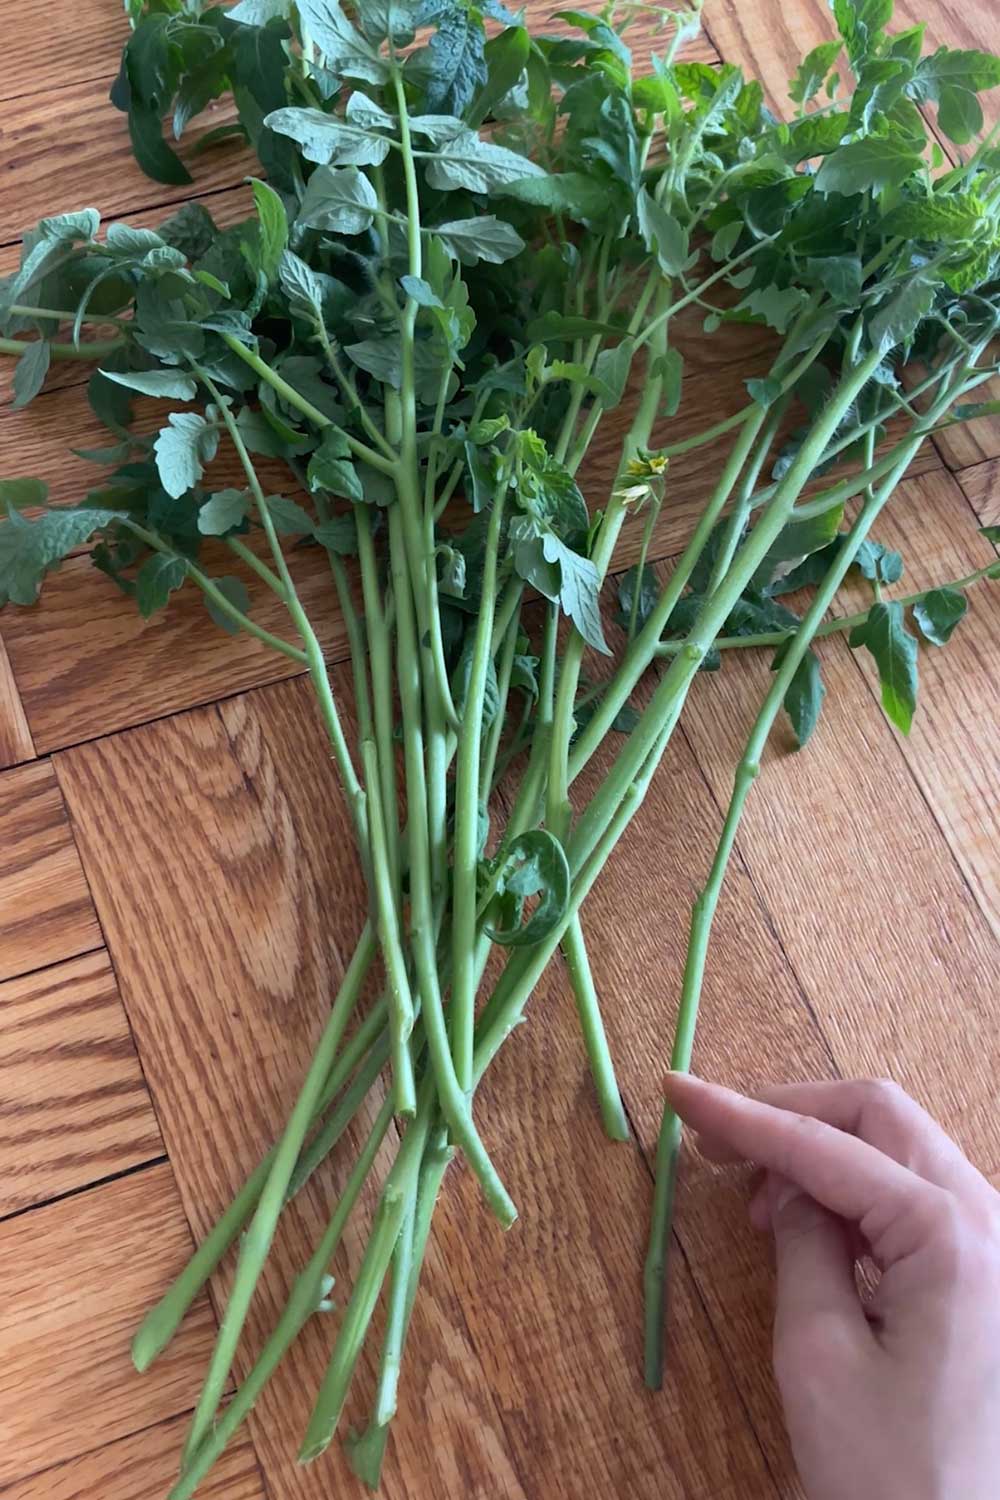
Remove any excess leaves, suckers or fruit from the cuttings.
These will take too much energy to support during the transition.
It’s kind of like moving –
it’s much easier to move with just a suitcase vs a whole house and basement of furniture, clothes, appliances and things.
I also like to trim the cuttings down to a manageable size, around 6 – 12 inches.
I often remove side branches to end up with a simple Y-shaped tomato cutting.
Root Tomato Cuttings
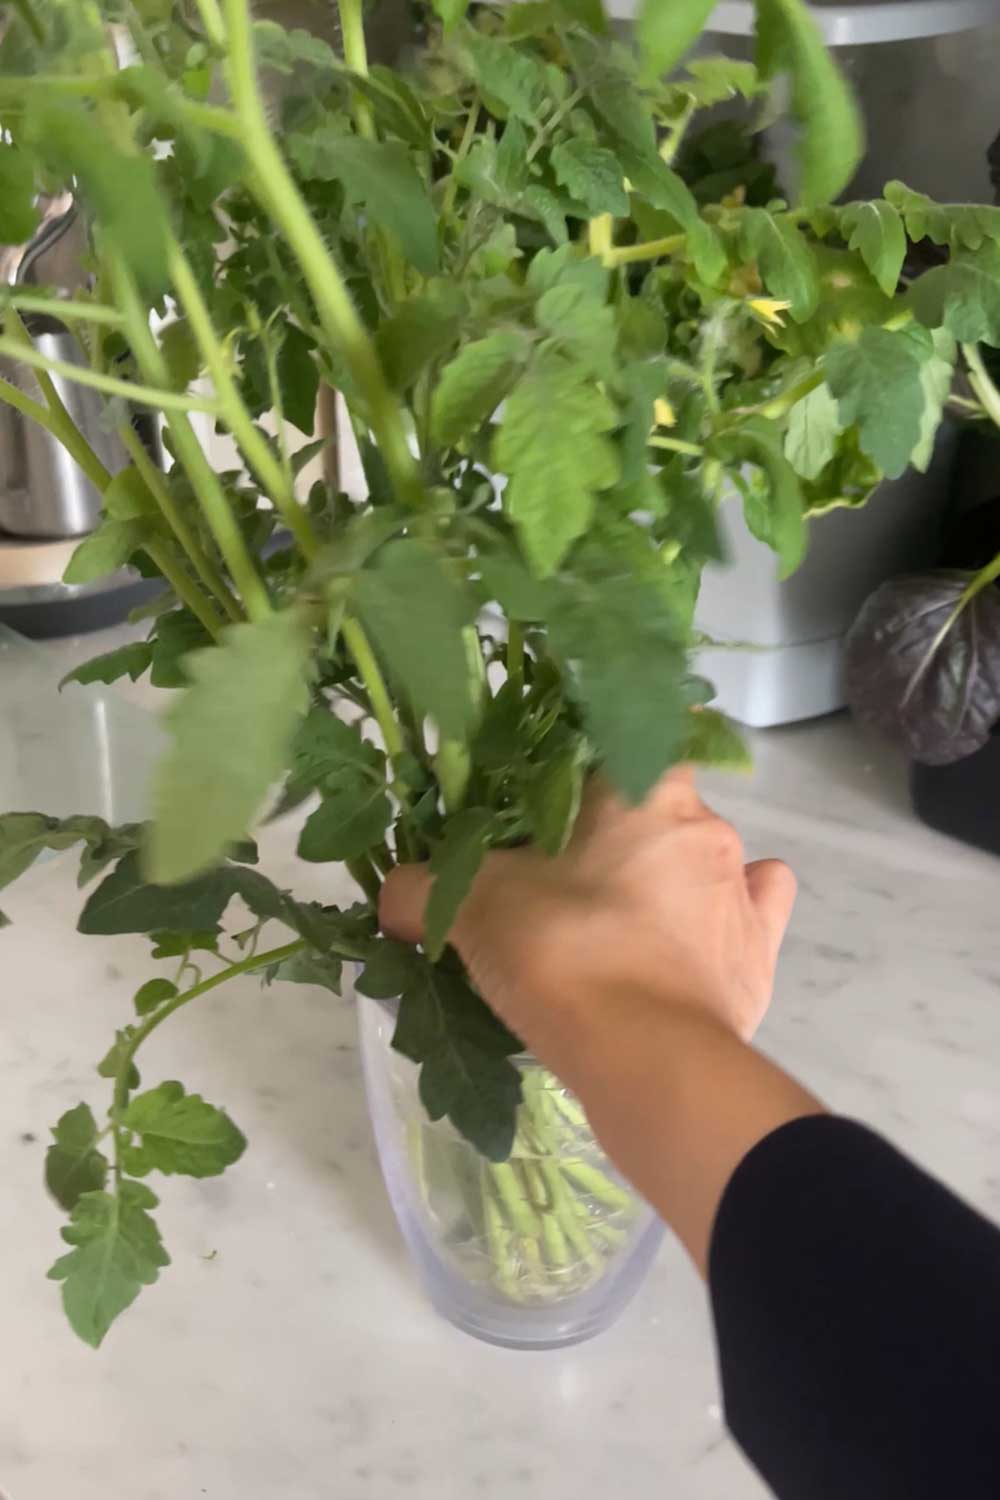
Place the cuttings in water and let them sit out for a couple days.
They don’t need lights or nutrition – I simply leave the cuttings in a cup of water on my kitchen counter.
Check on the plants every so often.
If you’ve left too many leaves on the cuttings, it’s normal for them to fall off.
The tomato plant is in shock and tries to conserve energy by shedding extra leaves.
If leaves fall into the water, make sure to remove them and change out the water.
Otherwise, the leaves will slowly rot and contaminate the water.
I’ve also noticed that temperature and air flow can have an affect on the process.
Keep the temperature around 70-80 degrees, with adequate airflow.
If the cuttings are left in a hot, stuffy room the stems start to rot. If the cuttings are left in a room that’s too cold, they struggle to form roots.
Tomato plants generally like it on the hotter side.
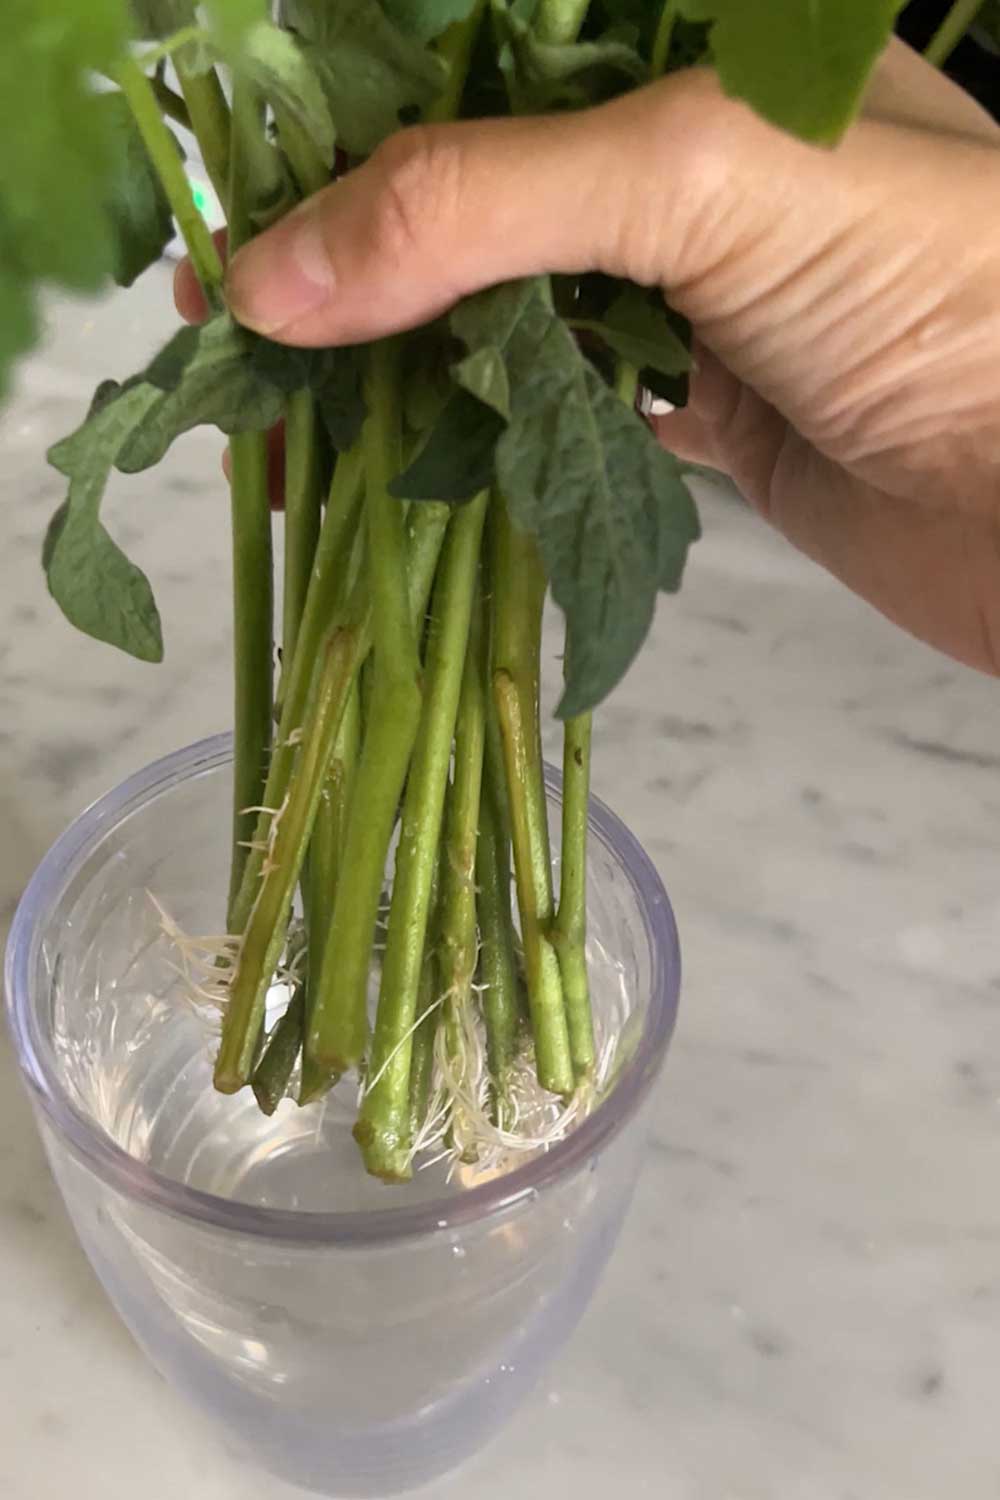
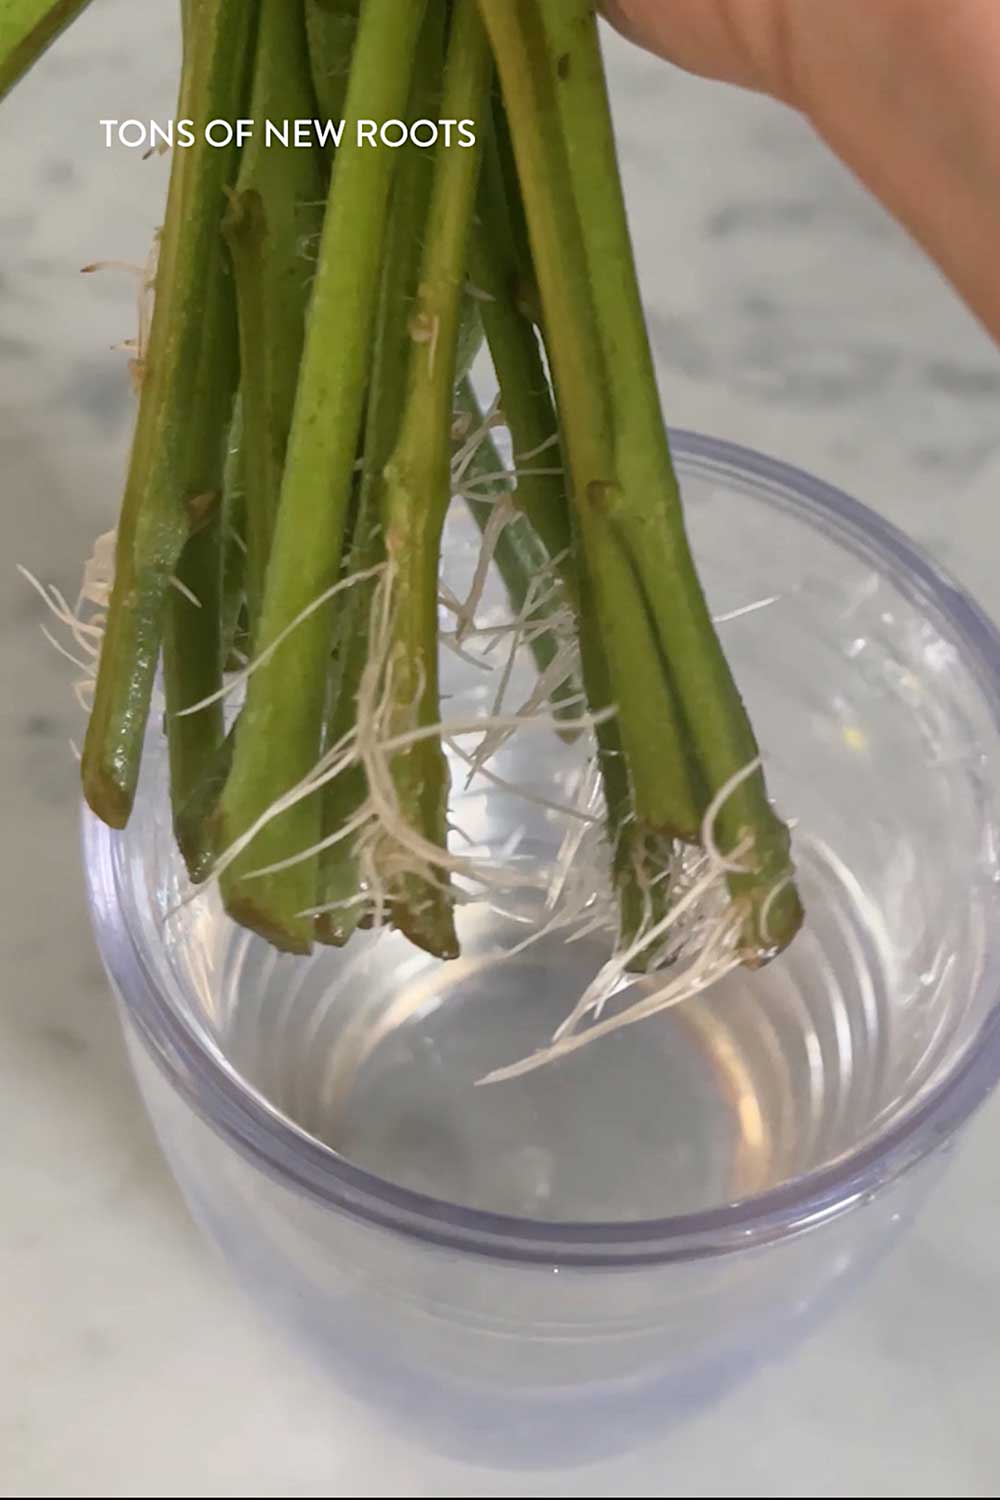
tomato plants will form new roots all up the base of the stem!
The rooting process can be slow, so often people will use a root hormone like this to speed up the process.
For this example, I didn’t use rooting powder so it took ~5 days to see tiny new roots form.
Most of the tomato cuttings had a single 1/4 inch root. One or two had developed multiple bright white roots.
Root hormone will cut the process in half and also help more new roots to form, so it’s a handy tool if you’re impatient.
Once each cutting has healthy white roots showing, the tomatoes are ready for transplant!
Planting Outdoors to Soil
Fill a container with soil and drop in your tomato cutting.
You can bury the stem quite deep, as tomatoes will form new roots all along the base.
I recommend a 5 gallon grow bag like this, and simple potting soil like this.
You can also amend the soil with perlite for better drainage and compost for extra nutrition.
And that’s it!
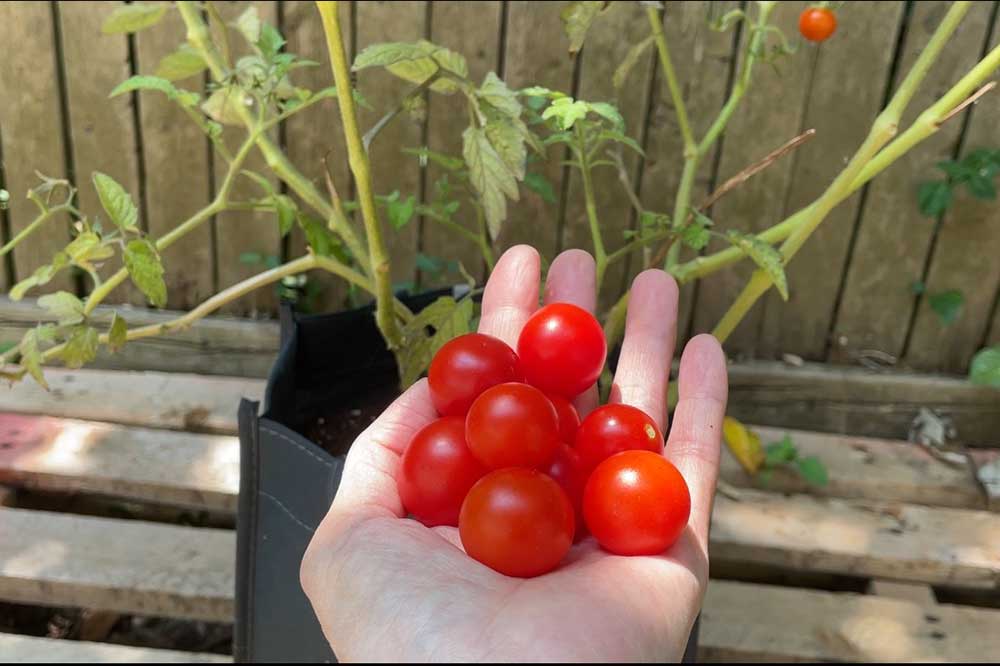
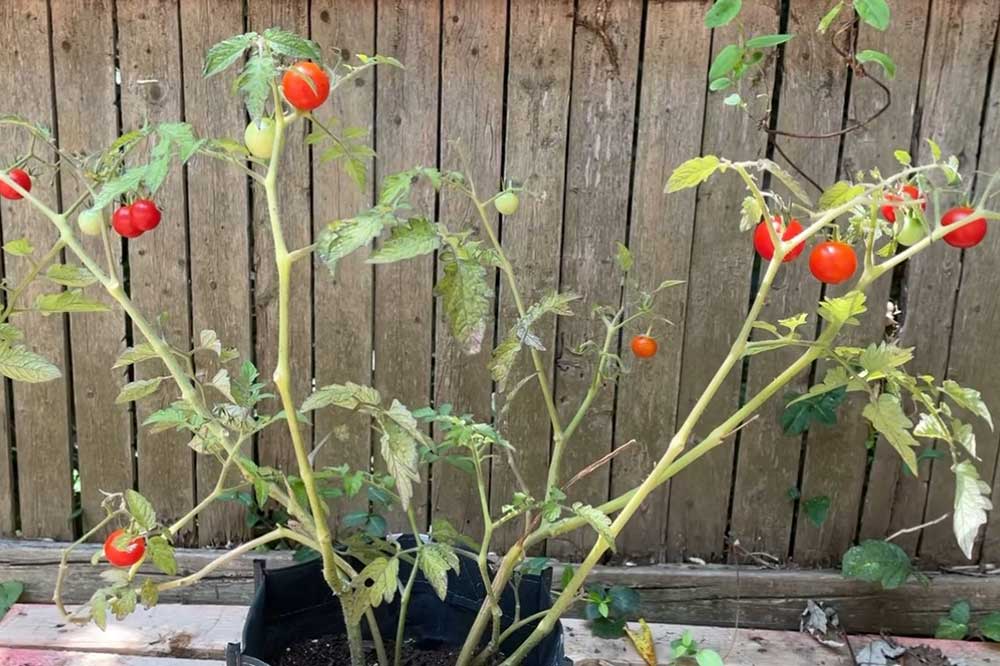
The tomato cuttings have had a 3 month head start indoors, and should start to flower and produce tomatoes.
Here’s how my Aerogarden tomato transplant looked ~45 days later:
I’ve gotten 3 harvests of cherry tomatoes since transplanting it outdoors and the plants are still producing.
Transplanting Aerogarden Tomatoes
Here’s a video tutorial with more transplanting tips!
Follow me on
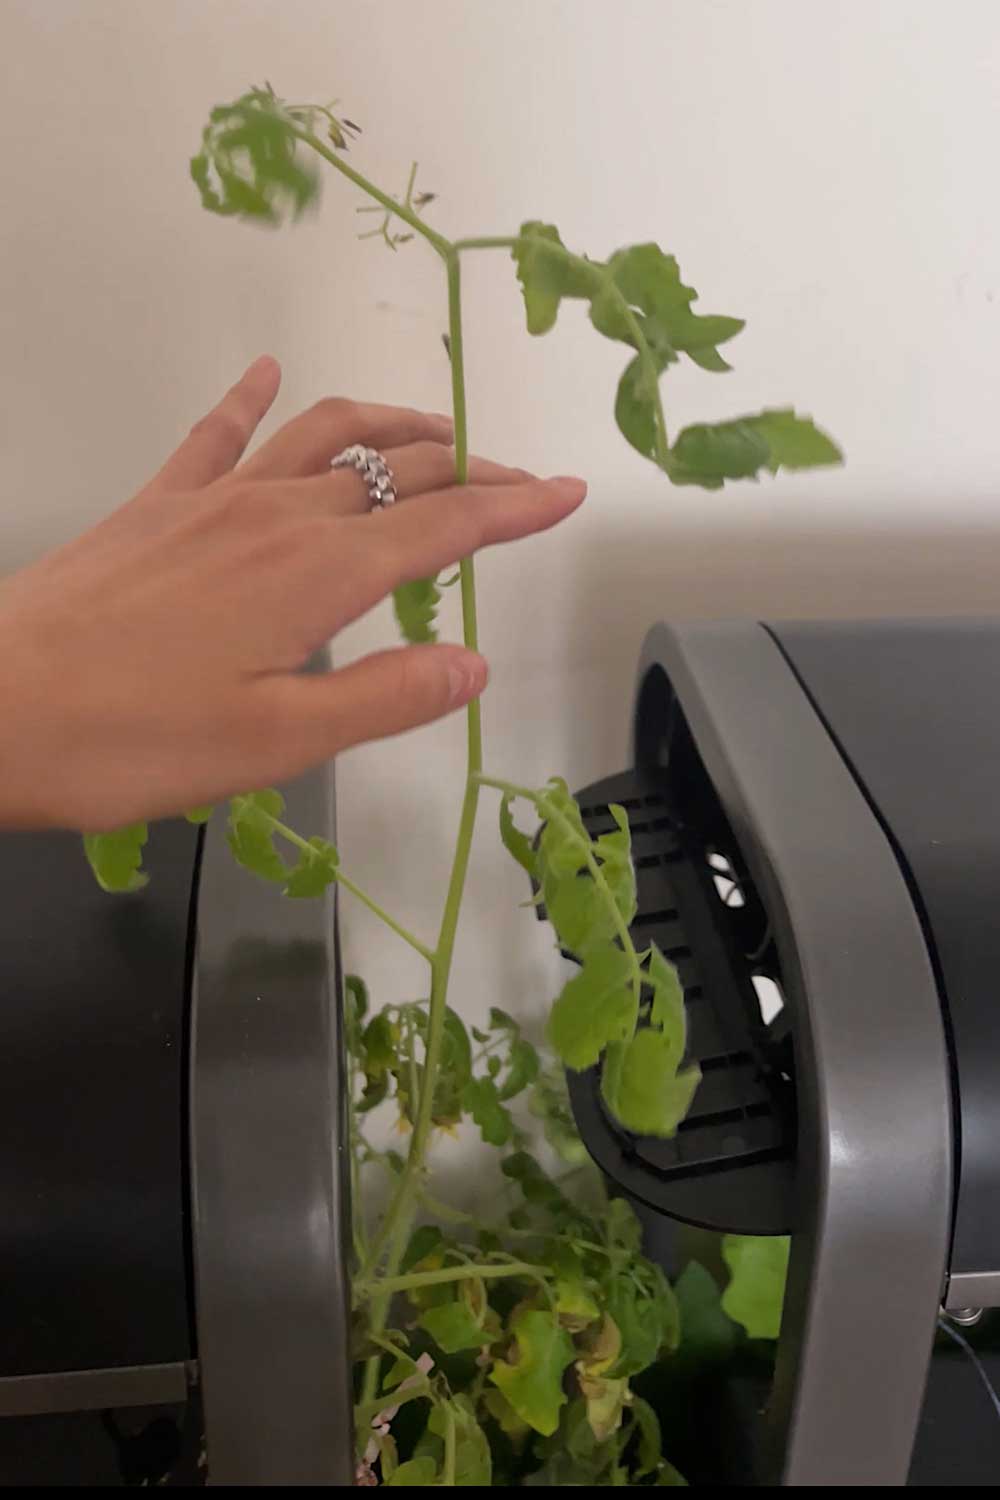
My aerogarden pump and lites died my tomato plants have green tomatoes not sure what to do now? So frustrating I hate to lose my tomatoes
if the lights and pump died its probably the power supply you might be able to just repalce that