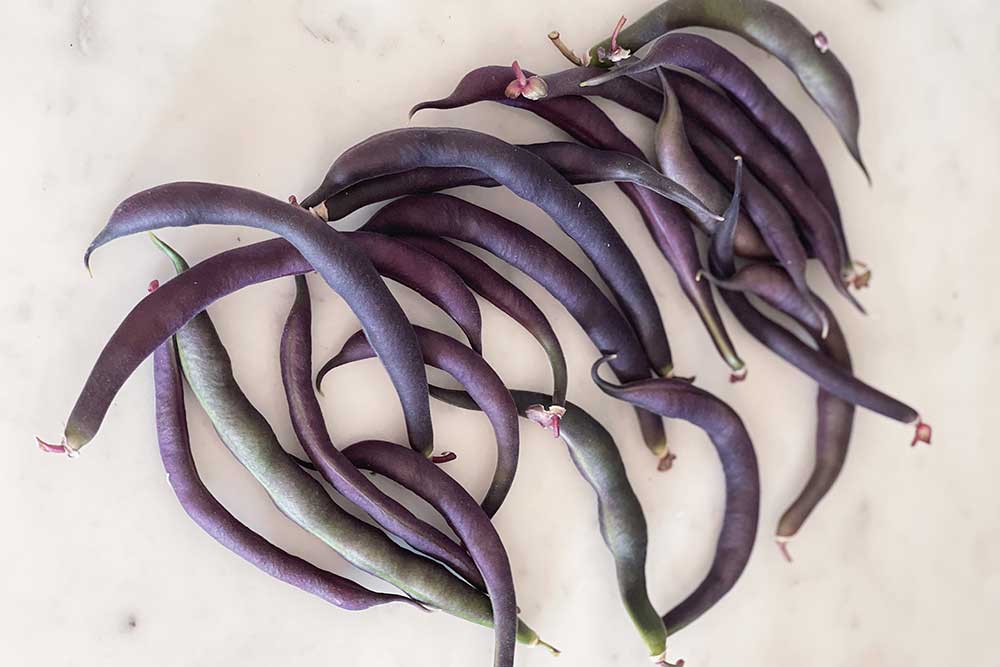
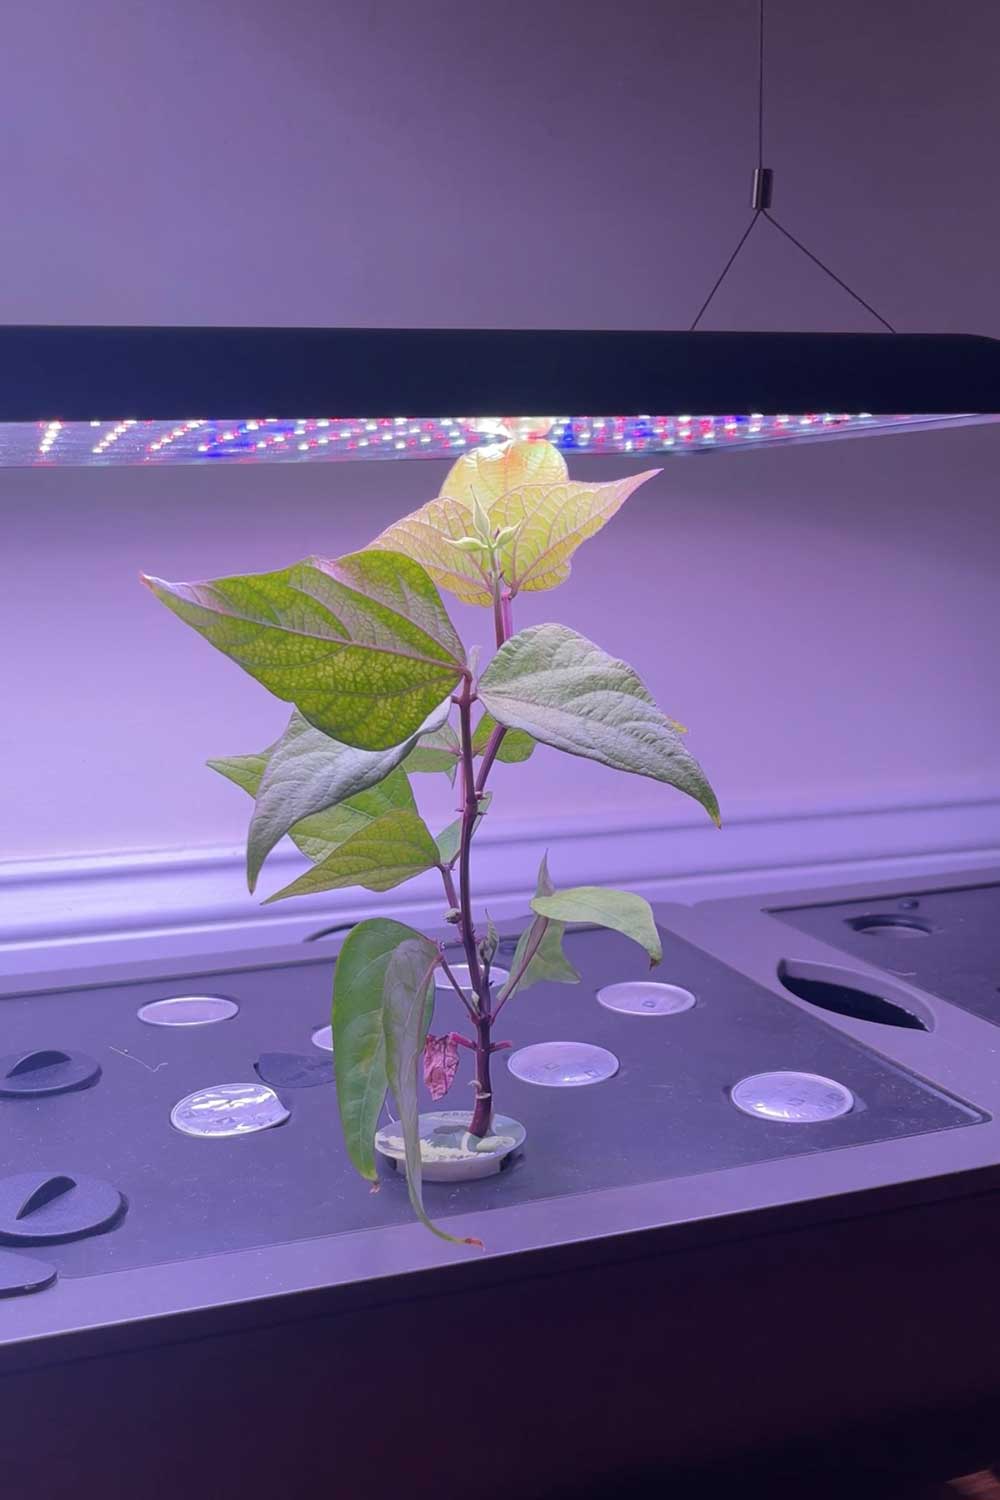
purple beans grown inside my apartment!
Growing Bush Beans Indoors
Lately I’ve been trying to grow as many different varieties of vegetables as possible in my hydroponic gardens.
So when I heard that beans were both easy to grow and quick to harvest, I was intrigued.
Bush beans are small, compact plants that can easily produce a ton of cute, colorful beans in a small footprint – so they’re perfect for Aerogardens.
And, best of all, they don’t require a lot of water, nutrition or maintenance!
If you’re looking for a tasty, easy to grow vegetable indoors, you have to try growing beans.
Here’s everything I’ve learned about growing bush beans in the Aerogarden.
Keep reading, or pin this article to save it for later ⇟
I went overboard on buying seeds this year and picked up a ton of new-to-me varieties, including a couple beans. It continues to amaze me how store-bought veggies can taste completely different from home-grown or farmer’s market produce. And ever since I realized that distinction, I’ve been obsessed with finding the tastiest varieties of vegetables I used to hate. For example, I used to think of eggplants as giant mushy things but I realized I was only used to eating American black beauty eggplants. It turns out Asian eggplants taste so much better! I came to a similar conclusion with green beans. The larger, chunkier green beans I grew up eating taste.. well, bland (both fresh and canned). Then I started eating the slimmer, more delicate French bean variety, haricots verts, and I realized not all beans tasted awful. So for my Aerogarden experiment to grow beans, I chose two colorful varieties: the Royal Burgundy bean that I’ve seen at farmer’s markets and the unique yellow Gold Rush beans. I figured that even if they didn’t taste great, they’d be colorful and pretty to look at! Quickly jump to: There’re so many varieties of beans out there, so you’re not limited to the varieties I chose. But the most important thing to consider when growing anything in the Aerogarden is size. Namely, the full grown size of the plant. There are four different sizes of Aerogardens, but they all have a max height capacity. So, height is the main limitation when it comes to growing indoors with smart gardens. In general, you’ll want to always choose compact seed varieties that are as small as possible. I generally look for the words ‘container friendly’ or ‘dwarf’ or compact on seed descriptions! Shop seeds: Amazon, Botanical Interests, True Leaf Market, West Coast Seeds & Etsy With beans, you have two main types: bush beans and pole beans. The main difference is in their growth habits – pole beans have climbing vines and grow upwards. Think Jack and the beanstalk and his magic beans that grew so tall they reached another world. Bush beans, on the other hand, are compact beans that grow like a little shrub. They’re much shorter, squatter plants that don’t need a trellis for support. When it comes to growing beans indoors, in something like the Aerogarden, you’ll want to buy bush bean seeds. One of the things I love most about the Aerogardens is the possibility to grow all sorts of unique, hard-to-find vegetable varieties. I pretty much exclusively buy heirloom seeds and it turns out there’s hundreds of different kinds of unique green beans. Some fun bush bean varieties to try growing include: If you’re looking to buy organic, non-GMO bean varieties, try browsing Botanical Interests and True Leaf Market. They’re some of my favorite places to buy heirloom seeds, but I also have an in-depth post on the best online seed companies here. Bush bean plants generally top out at 1 to 2 feet tall, so they’re pretty compact plants. The great thing about that is you can grow them in most of the Aerogardens. I would recommend the Bounty Elite, which has up to 2 feet of growing height and 50 watt LED lights that support flowering plants. Each bush bean plant needs about 3 spaces of room. Use SSG15 for 15% off any order of $50+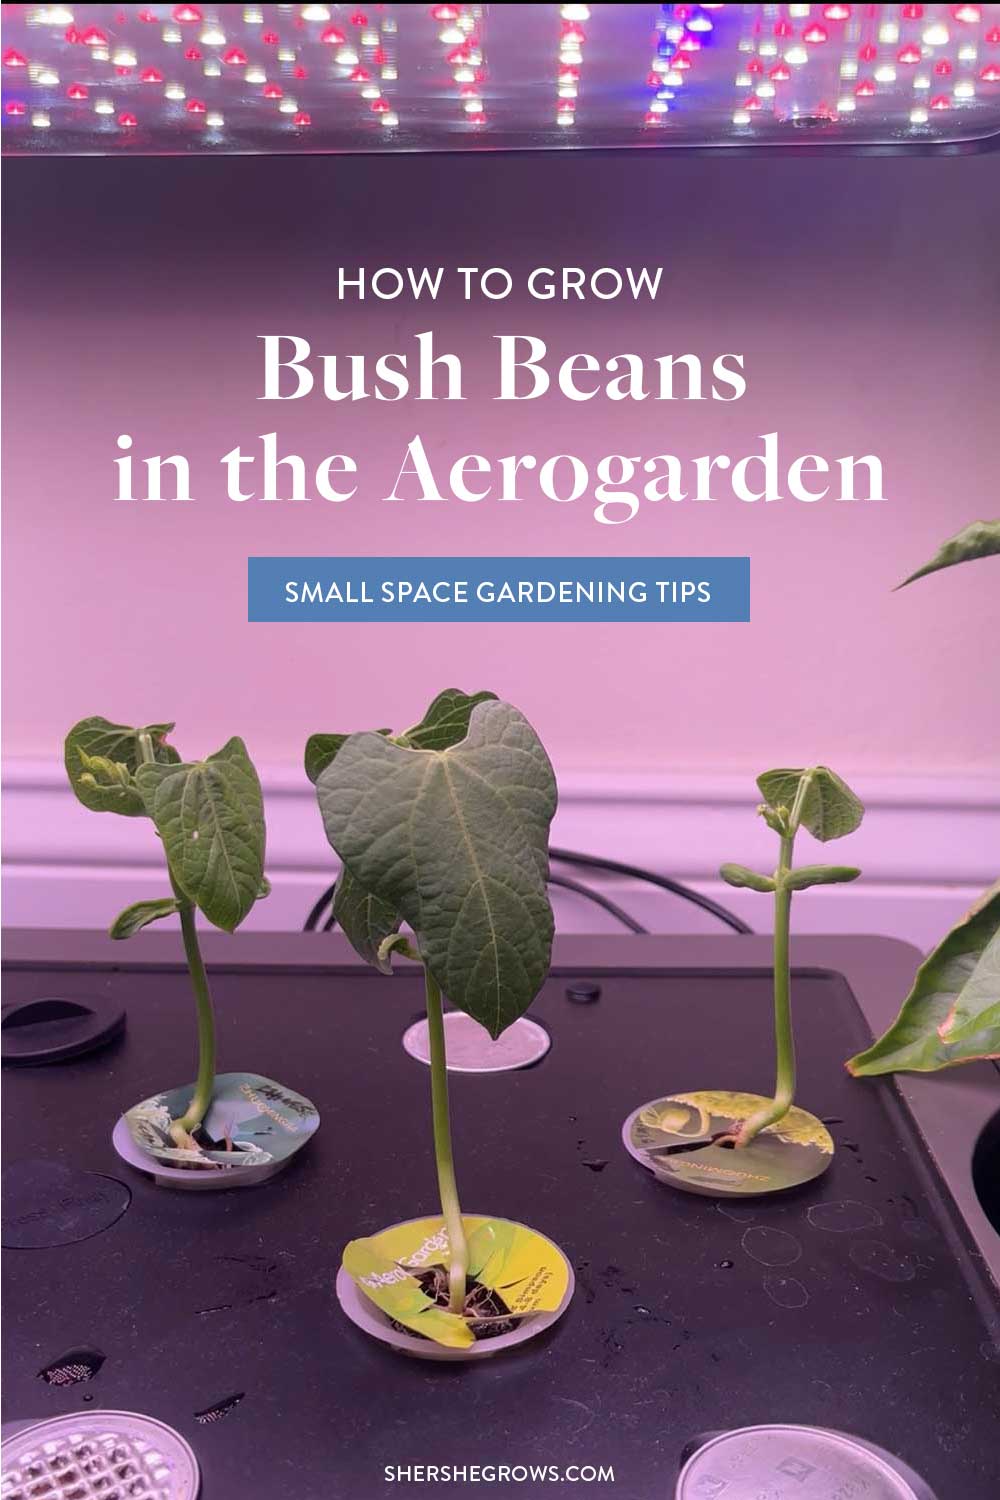
Growing Beans in the Aerogarden
Choosing the Right Seeds
Bush Beans vs Pole Beans
Bush Bean Varieties
Which Aerogarden Model is Best for Growing Bush Beans?
Aerogarden Discount Code
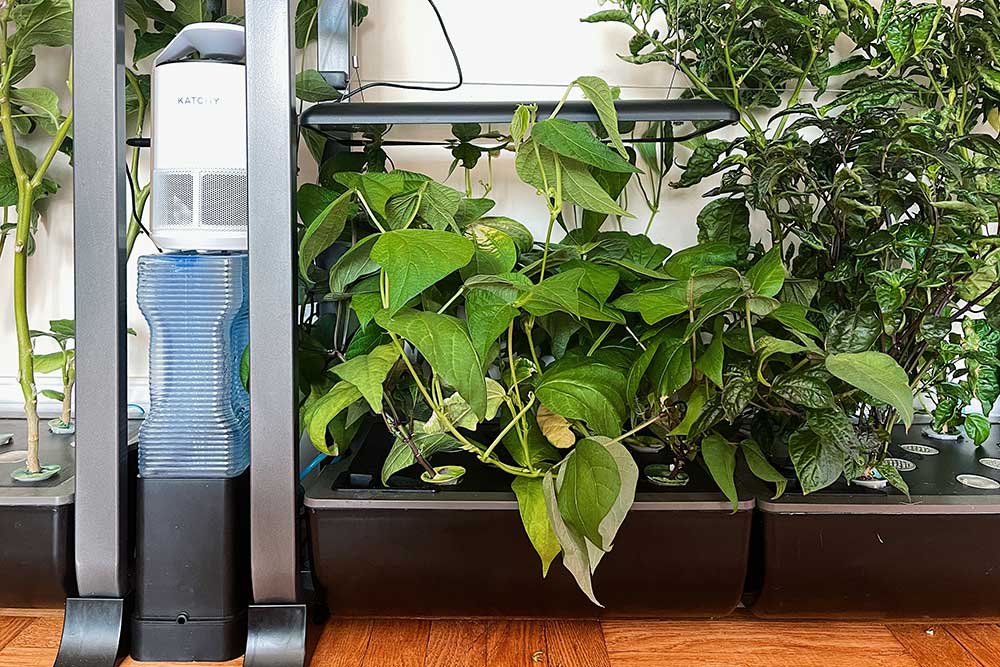
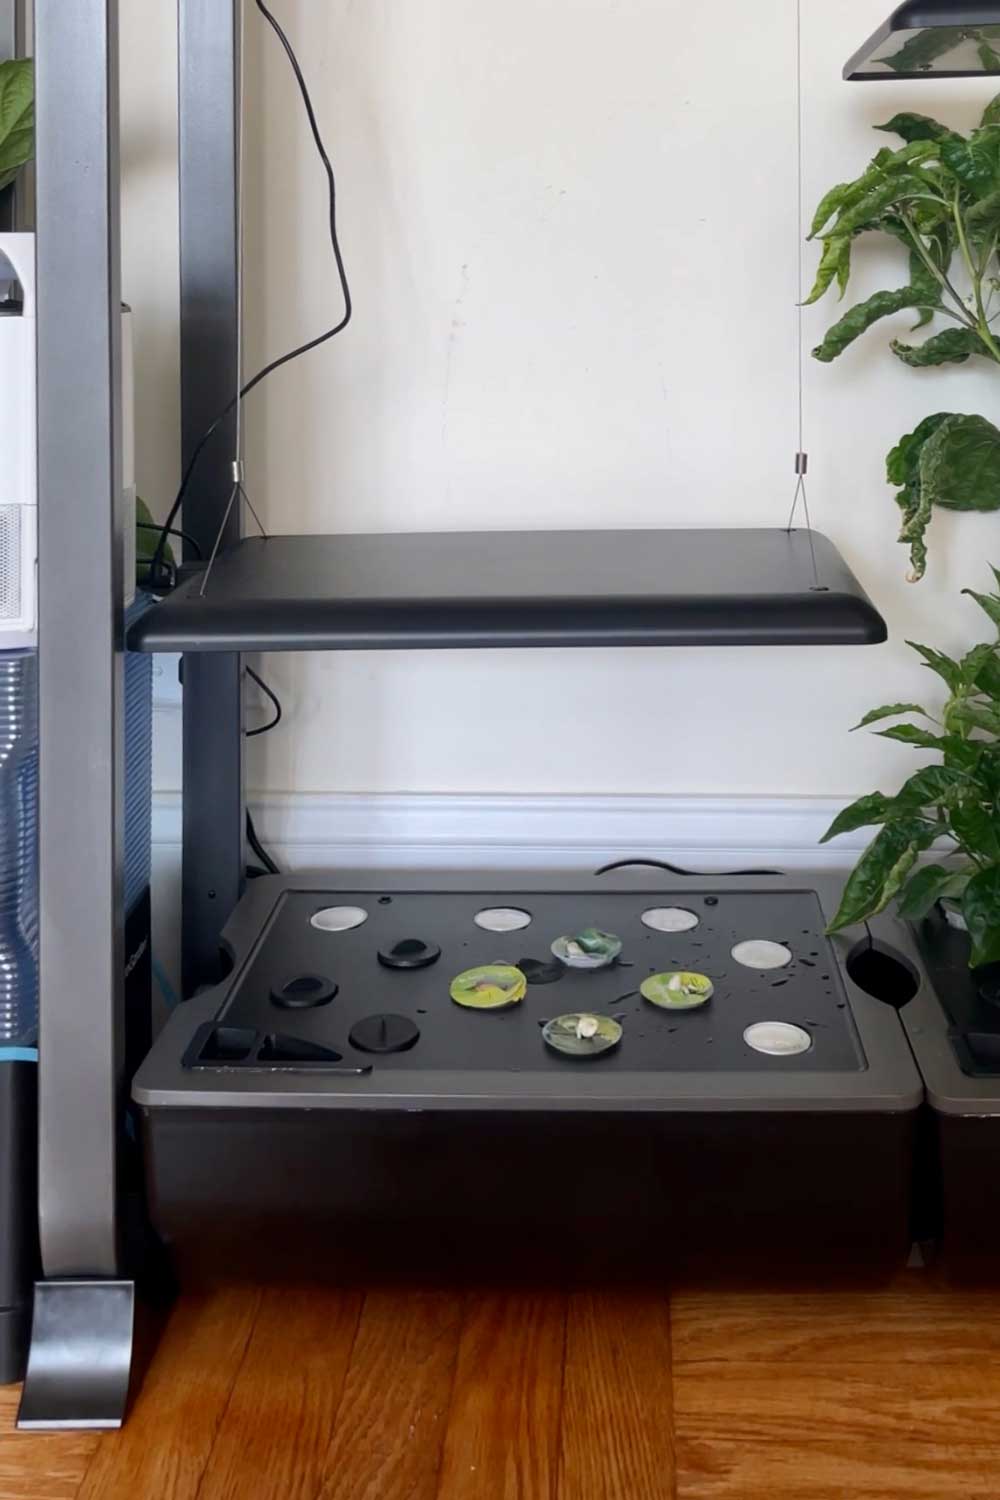
I planted my beans in the Aerogarden Farm, and fit 5 plants in one side of the Farm 24xl. In hindsight, the 3 foot capacity of the Farm xl is a bit overkill!
You could also grow beans in the Harvest. I’d recommend about 2 bush bean plants in the 6-unit Harvest.
Just remember to fill the empty spaces of the garden with space blockers, to prevent algae from forming in the grow bowl.
Seed Starting
When growing outdoors, the common advice is to directly sow beans in soil because the roots are sensitive to being disturbed.
But with hydroponics, we want to do things a little differently, because beans prefer a relatively dry environment.
Beans don’t require much water, especially in their early stages of growth. I find that when directly planting bush beans in the Aerogarden, the seeds tend to rot, not sprout at all, or even grow upside down.
Instead, I recommend starting seeds with the paper towel method.
(You can also seed start bush beans in potting soil and then wash off the soil before transplanting to the Aerogarden, but that’s a bit more messy).
Paper Towel Method to Start Seeds
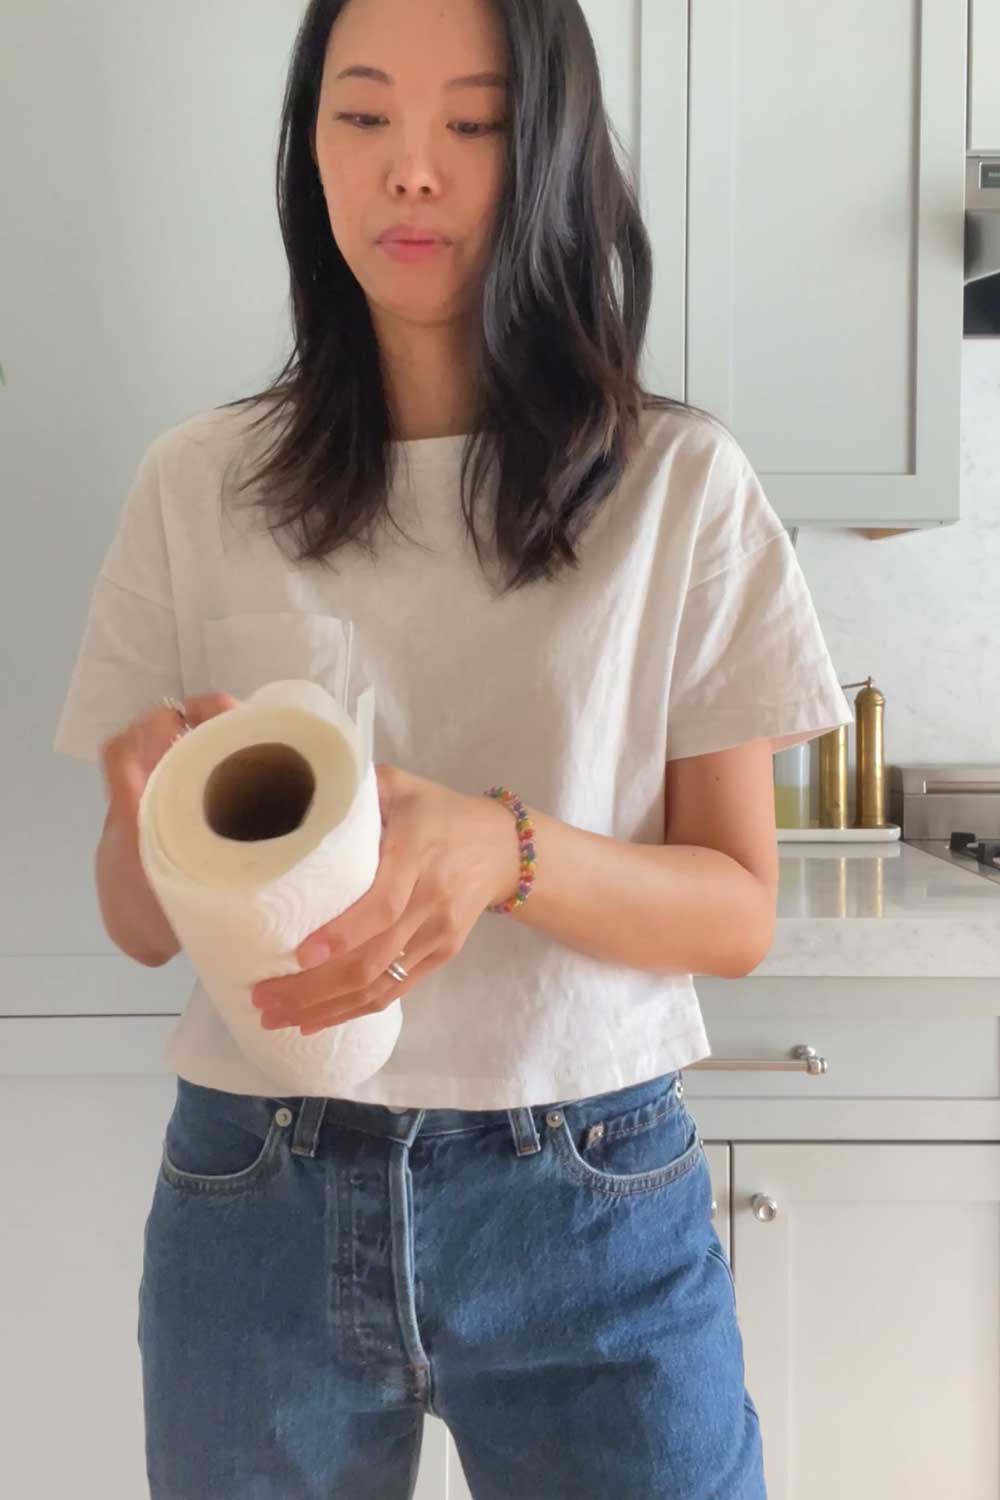
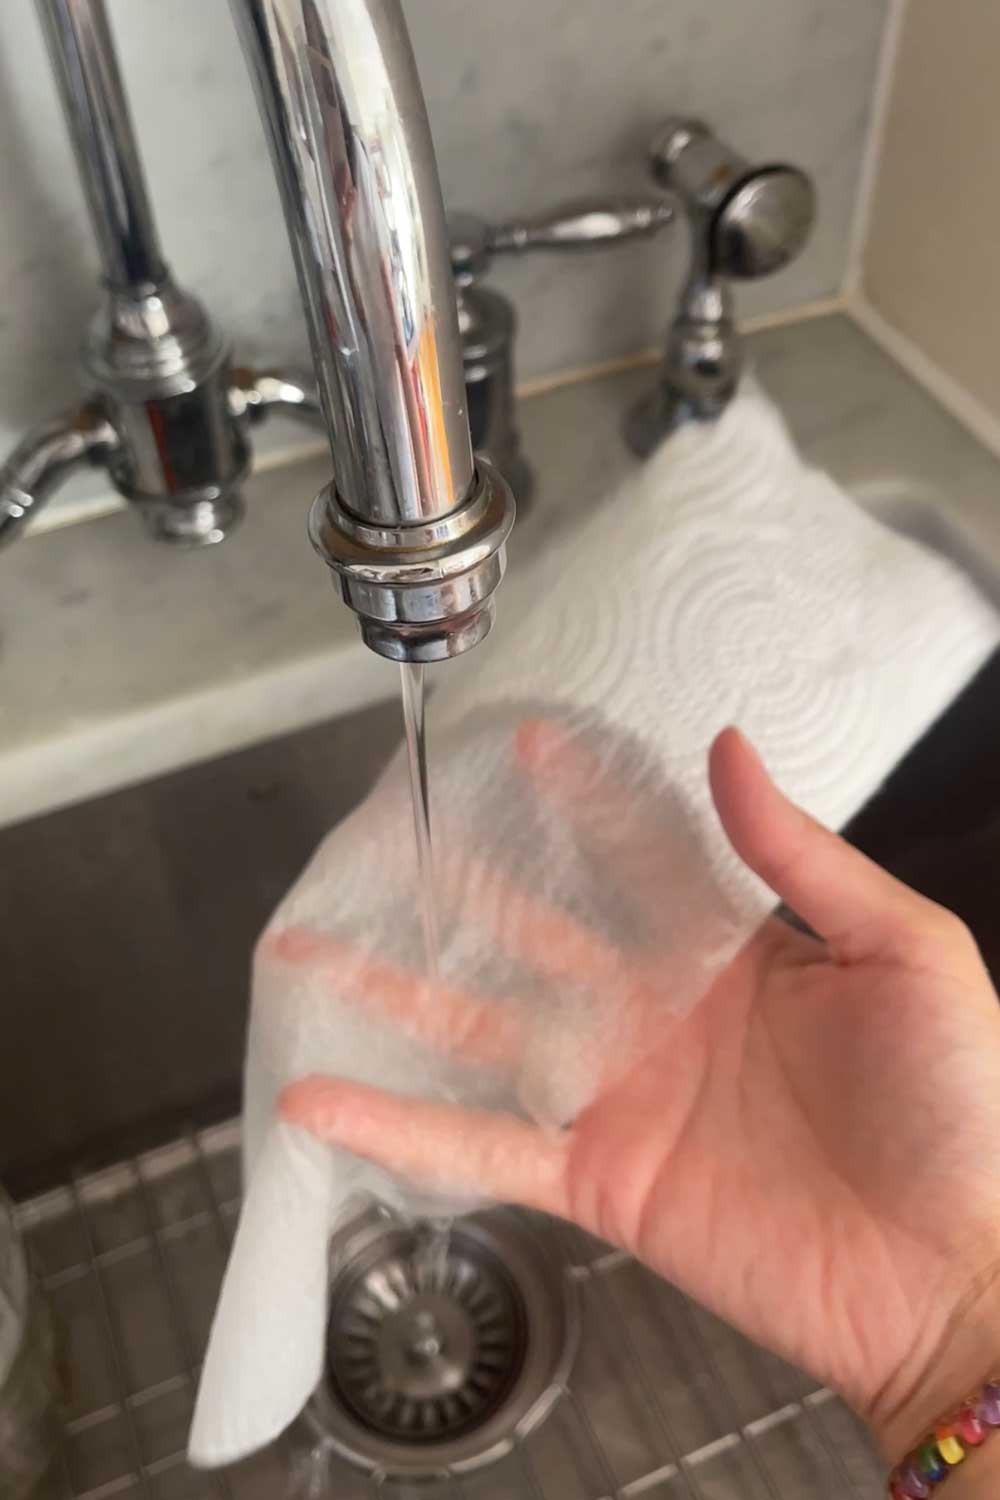
Wet a paper towel and wring out any excess moisture.
Place the beans in the center of the paper towel, and fold up the towel like a little packet, to keep the seeds in place.
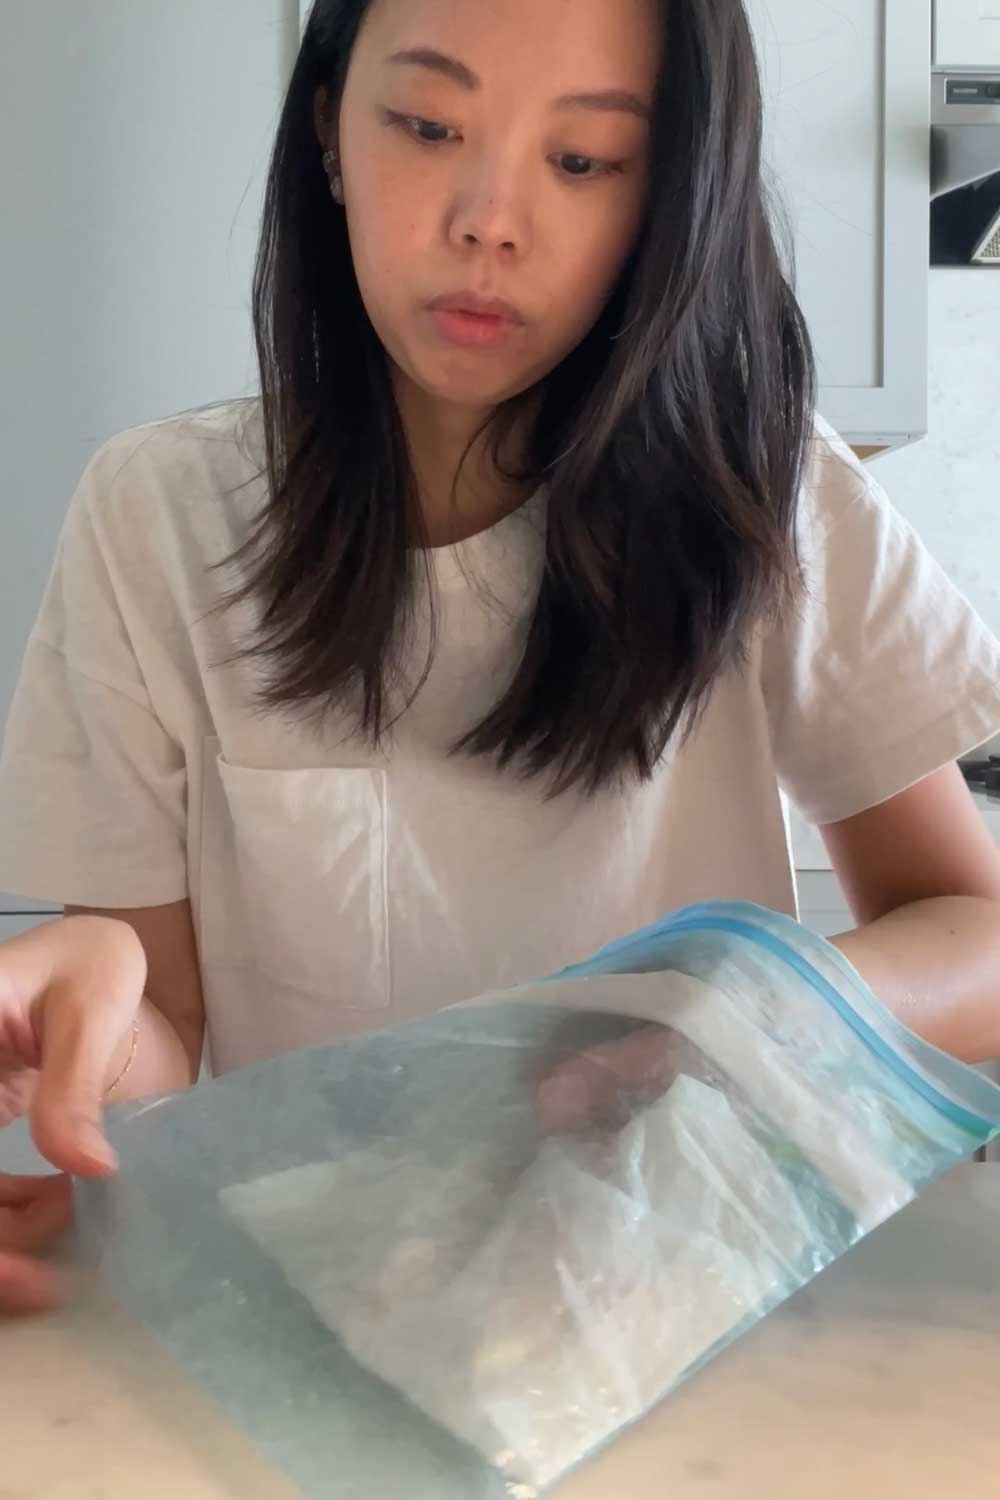
Then put the paper towel ‘envelope’ in a ziplock or plastic bag, to lock in moisture. Leave the bag in a dark spot, like a kitchen cupboard, and check on the seeds every couple days.
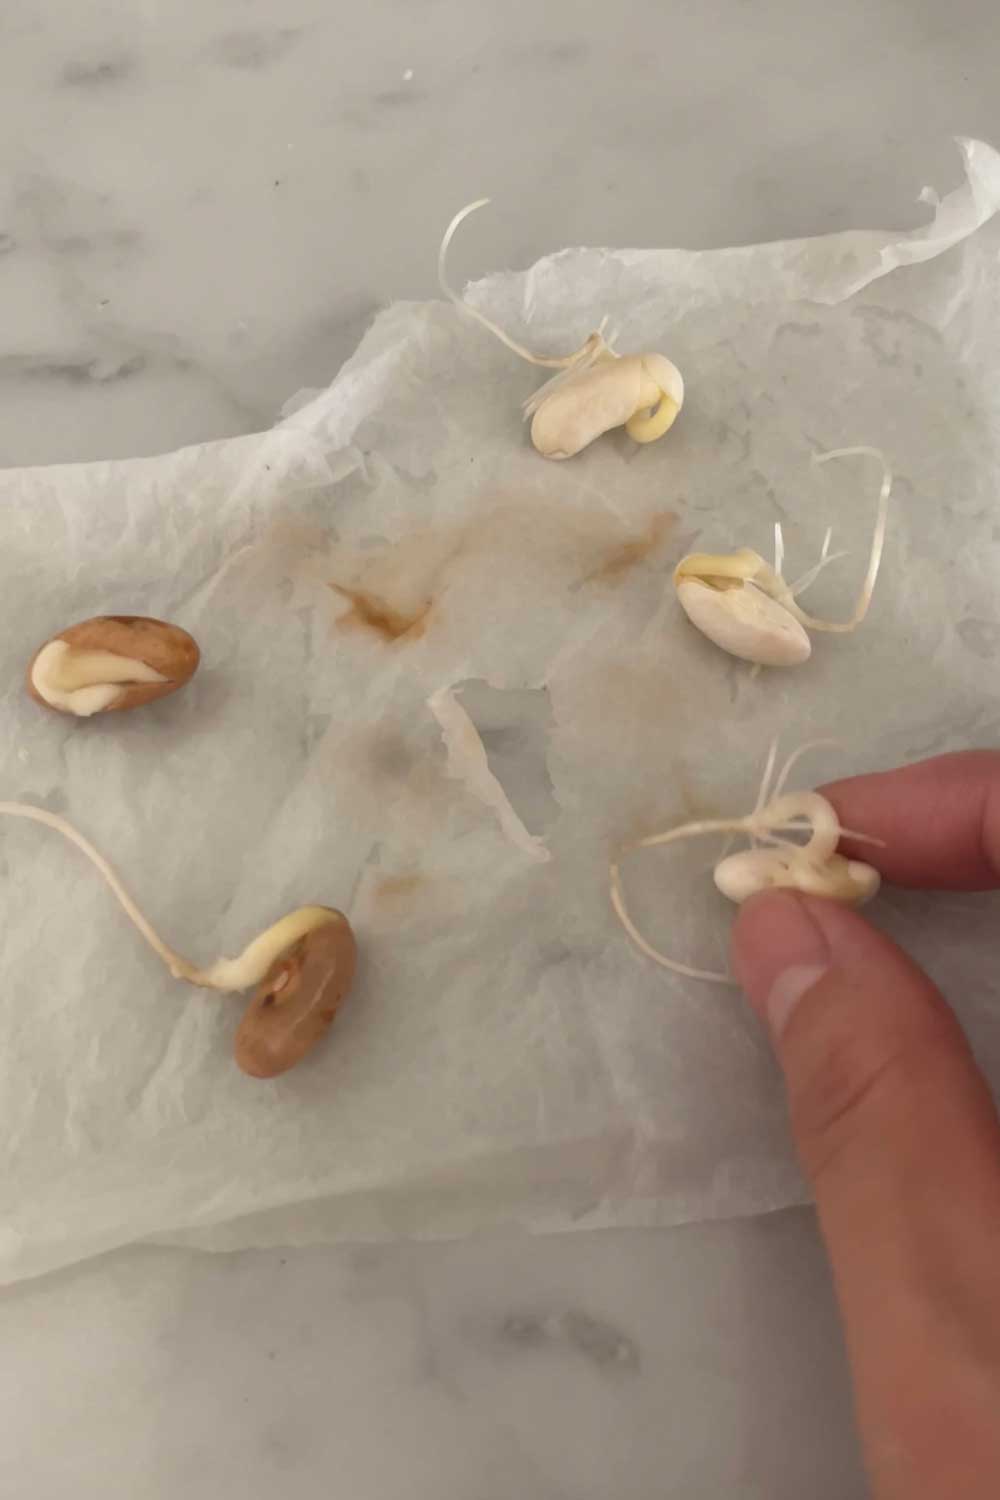
Bush beans are relatively quick-germinating seeds, so you should see growth in about 4-7 days.
take a paper towel sheet and get it damp, but squeeze out any excess moisture
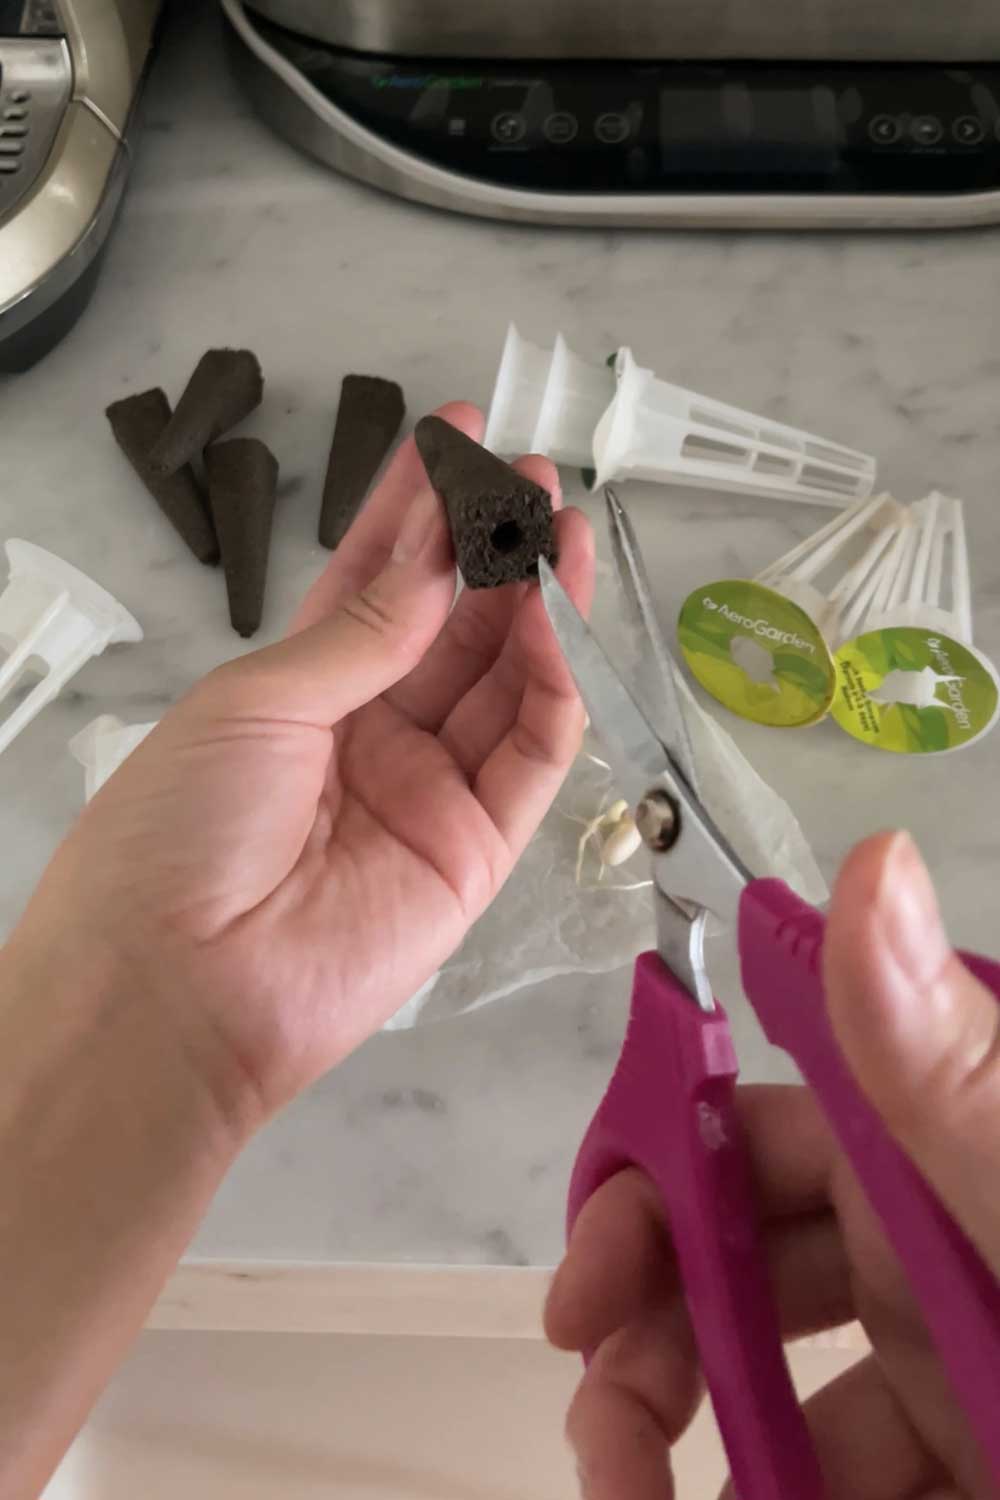
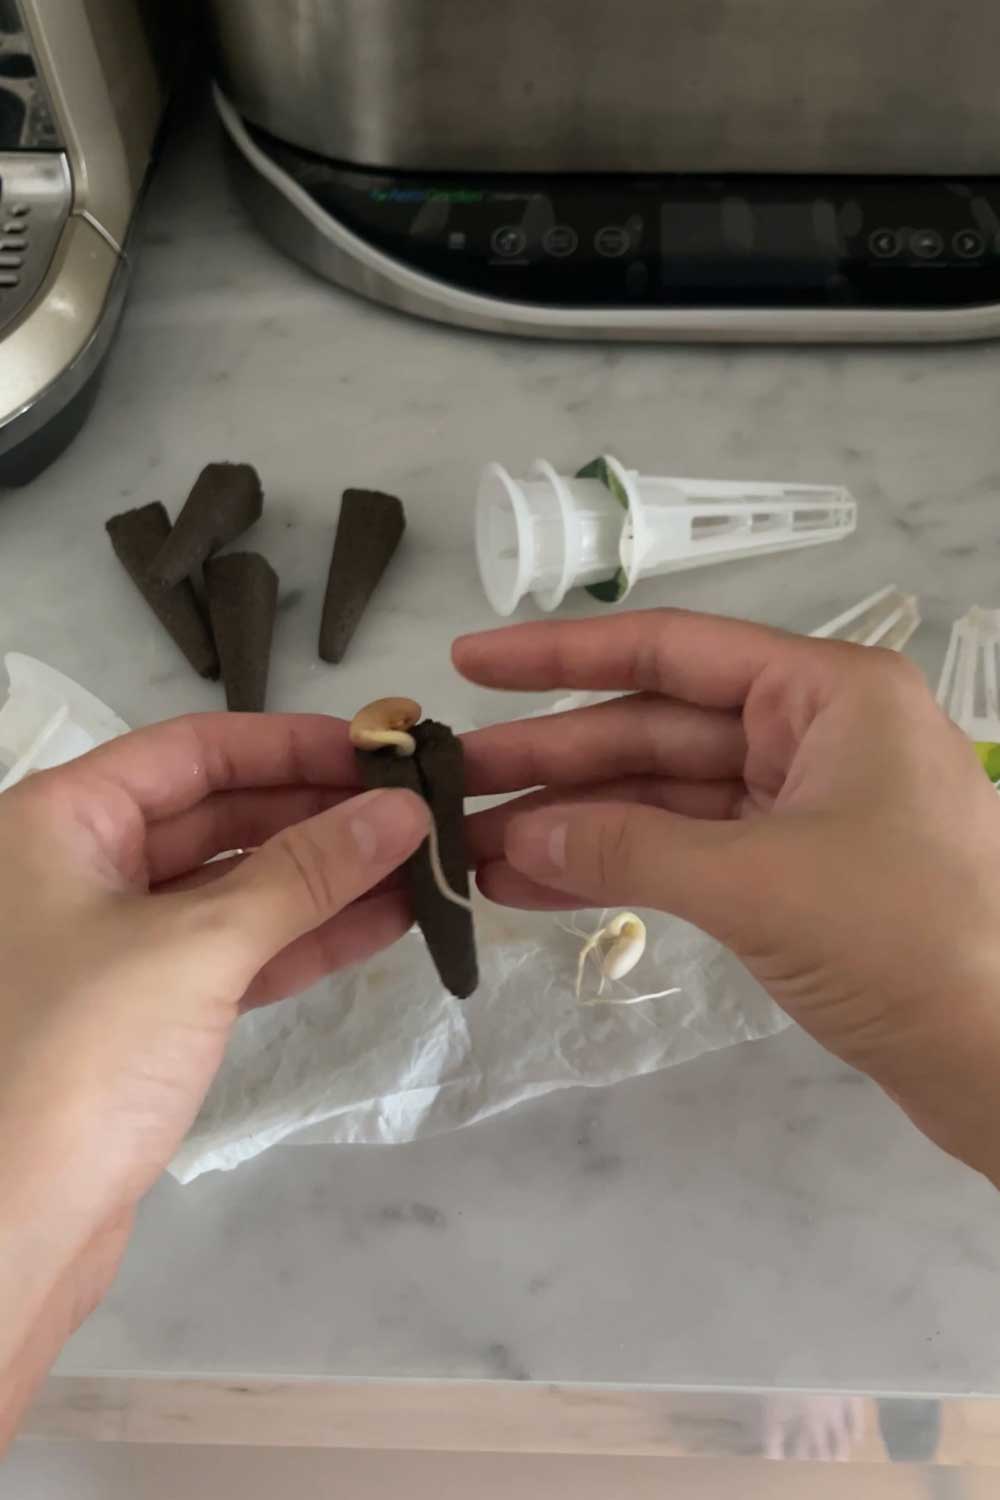
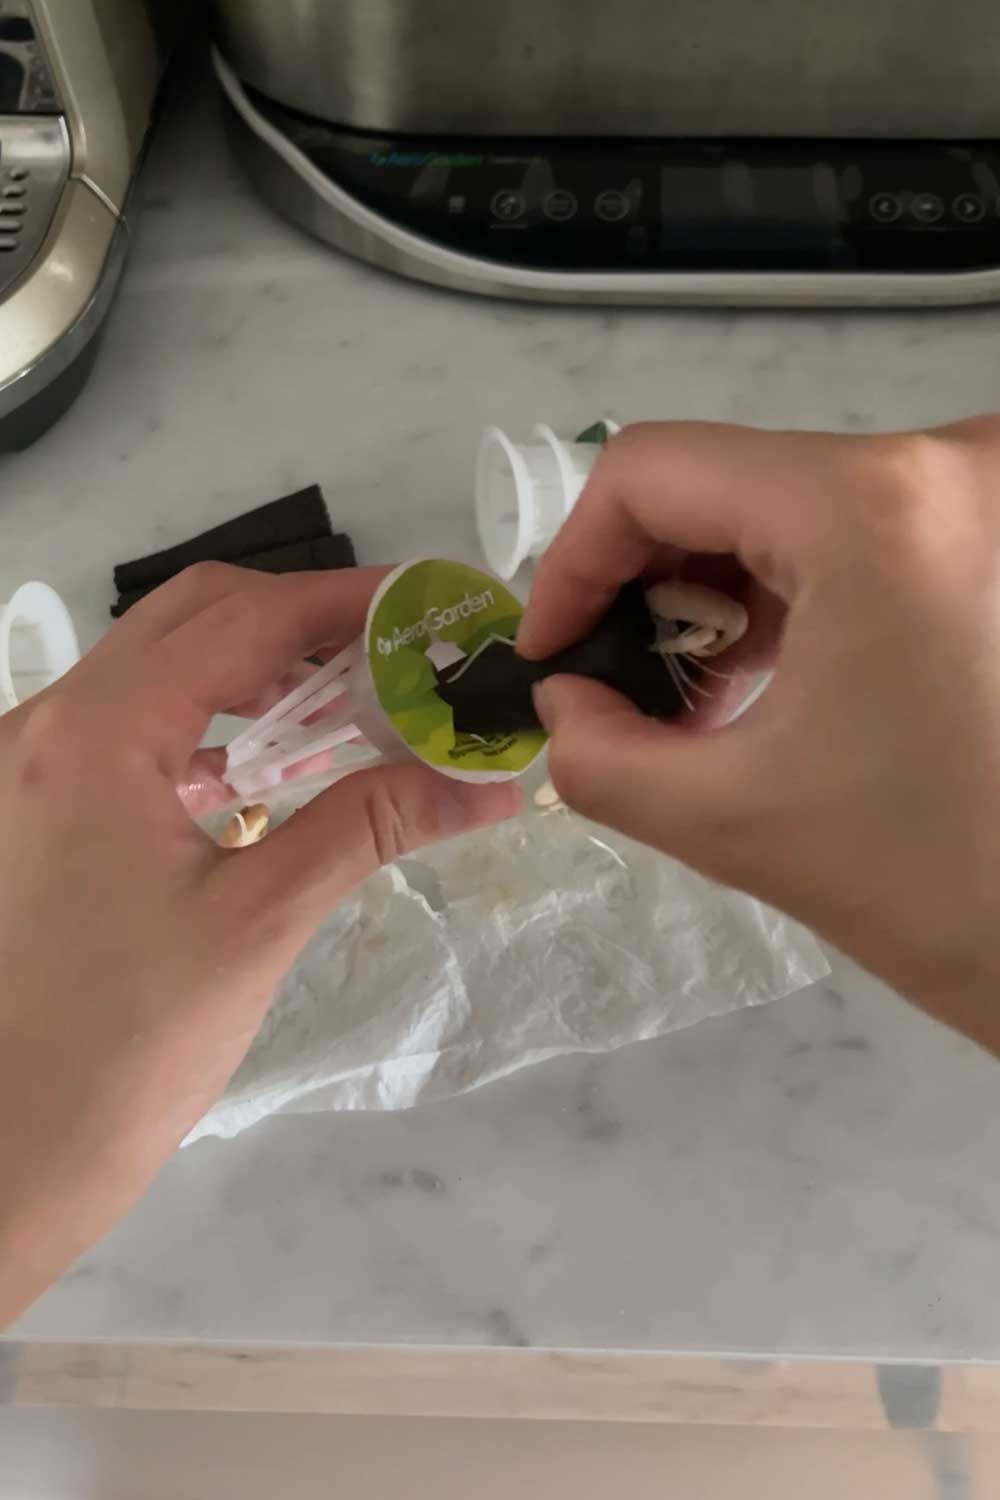
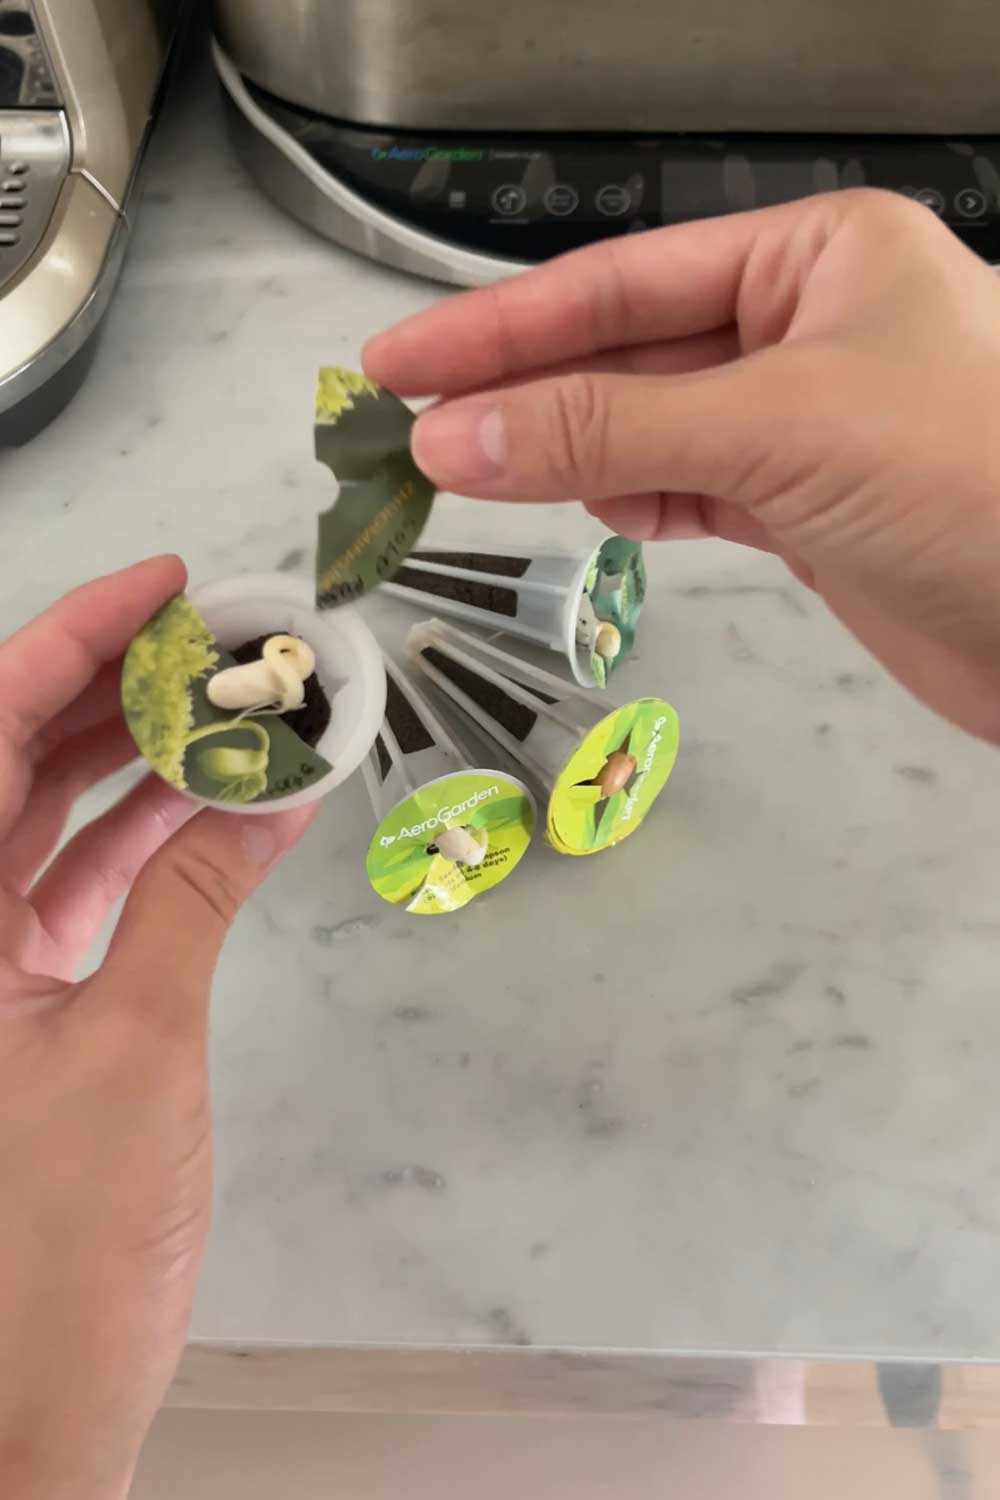
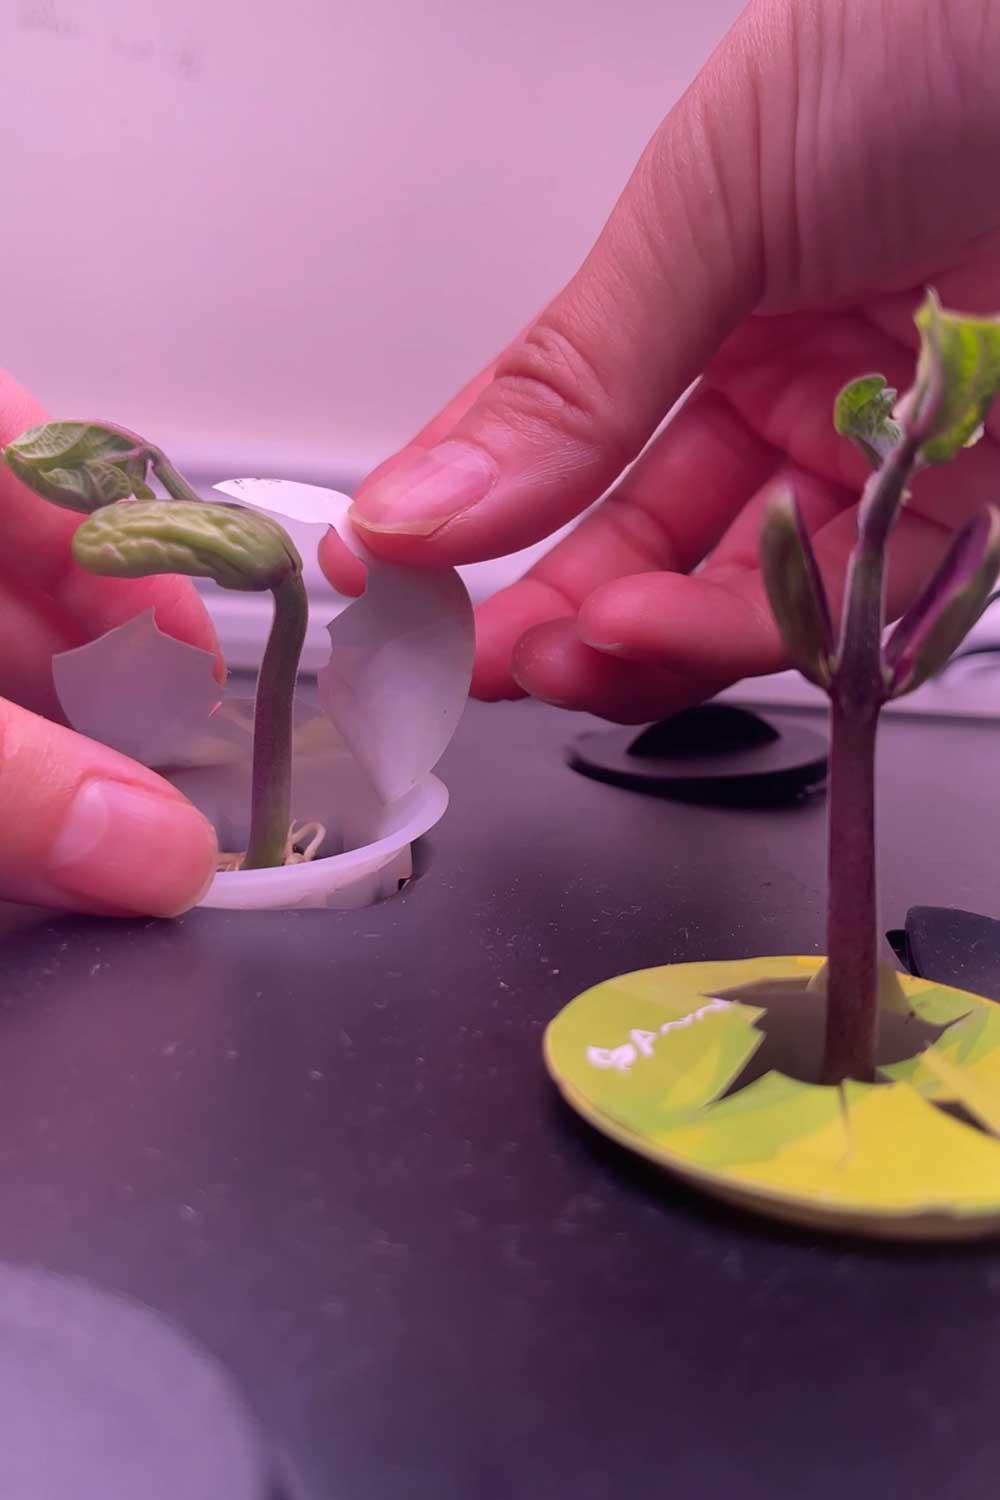
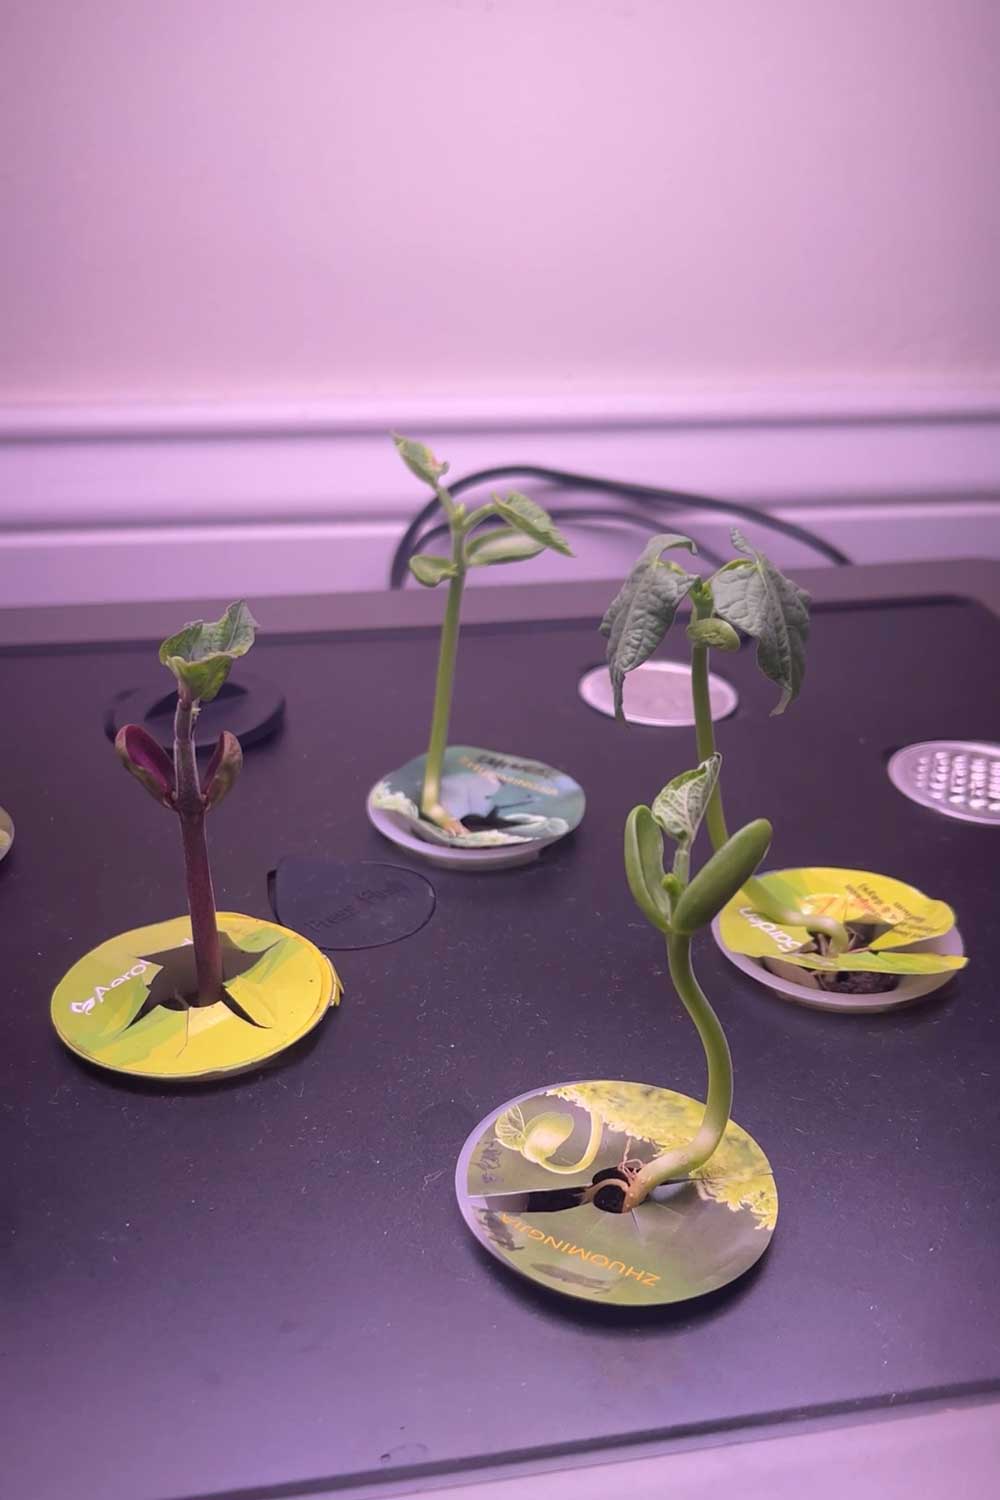
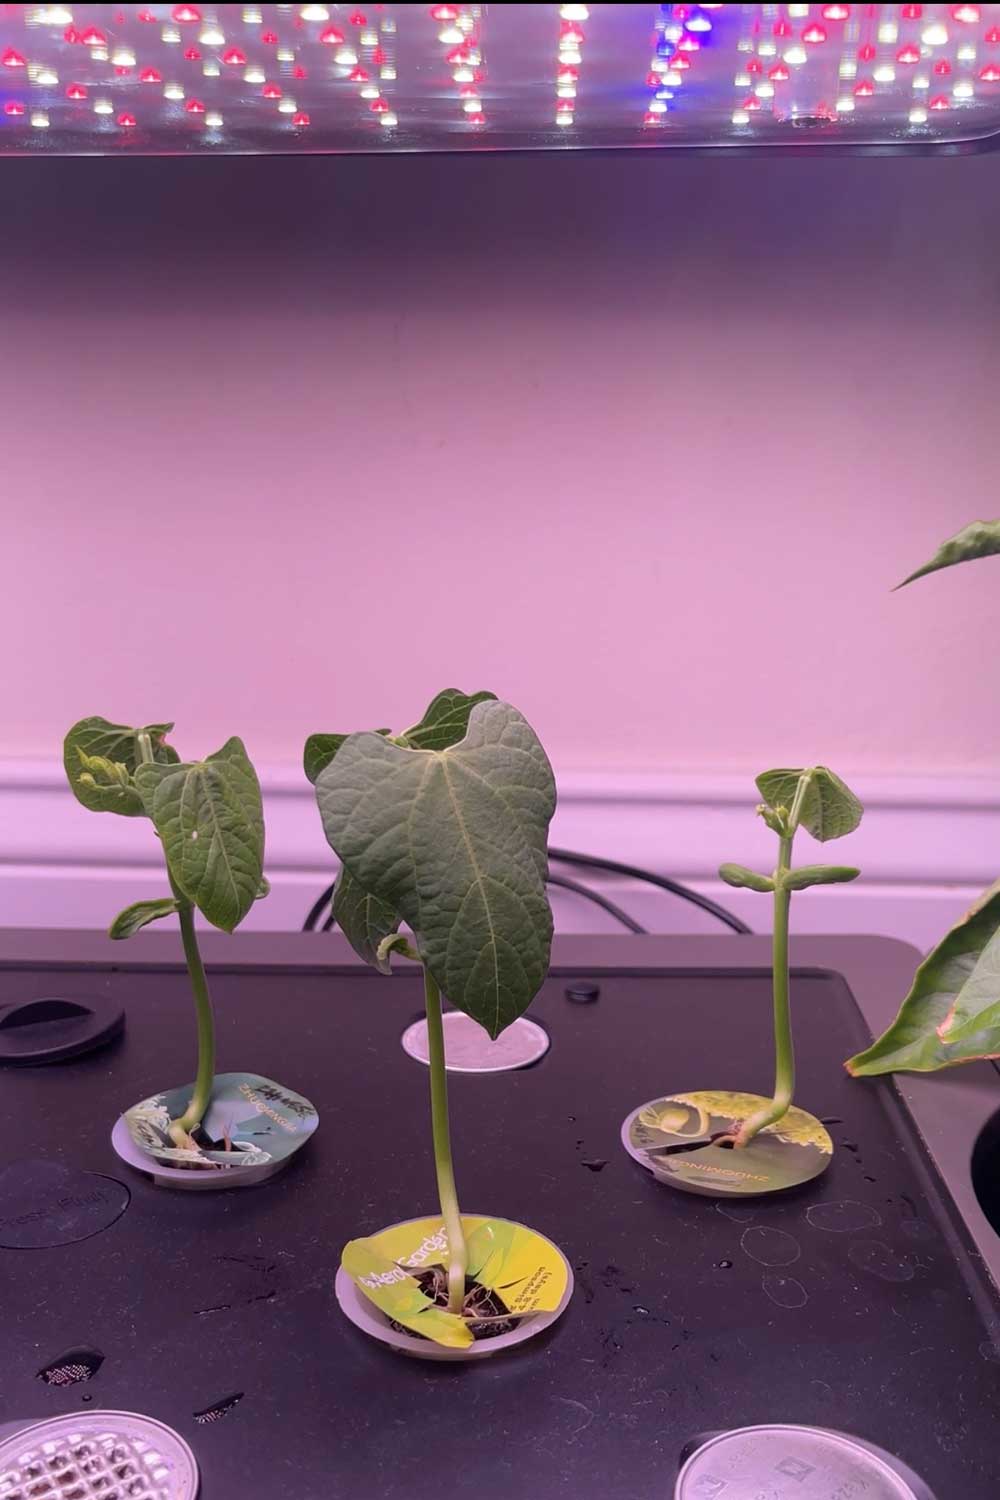
place your seeds in the center of the paper towel, fold it up so they don’t fall out and place it inside a sealed ziplock bag Once the bush bean seeds have sprouted, with nice long white roots, they can be transferred to the Aerogarden. I use the Grow Anything kit, which is essentially empty sponges, grow baskets and labels in order to use my own seeds. The bean sprouts are quite large, so you may need to cut the sponges open in order to fit the seeds inside. Make sure to gently nestle in the beans inside the sponge so that the roots have room to grow freely. Place the sponge inside the plastic pod, then add a sticker label on top.
my bush beans germinated in 5 days, then I transferred them to Aerogarden sponges
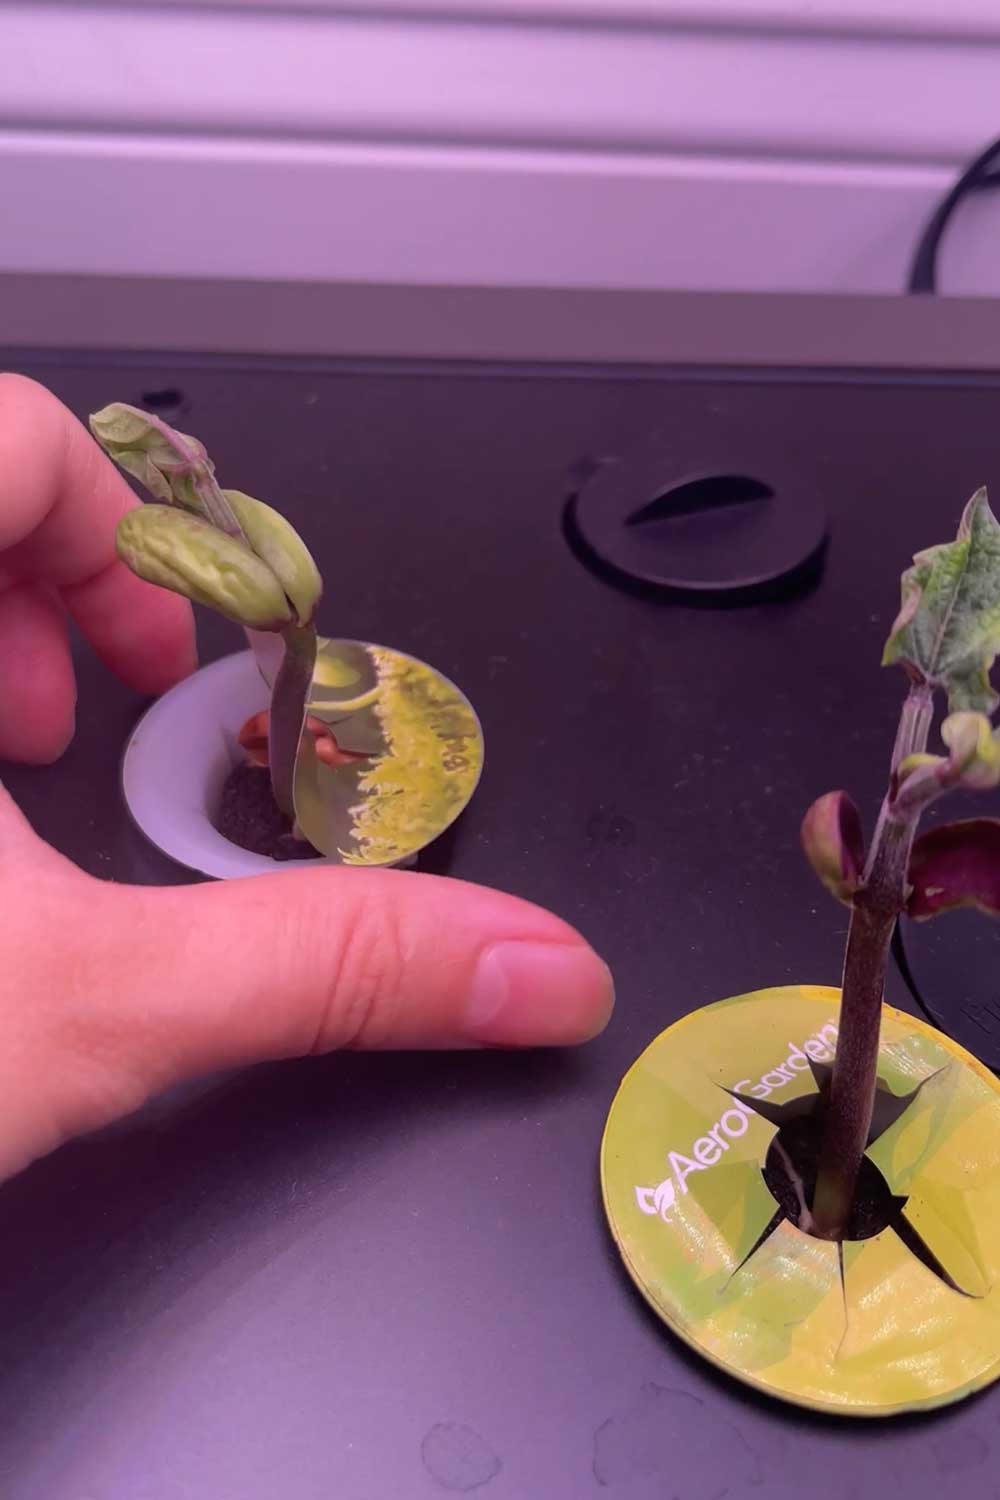
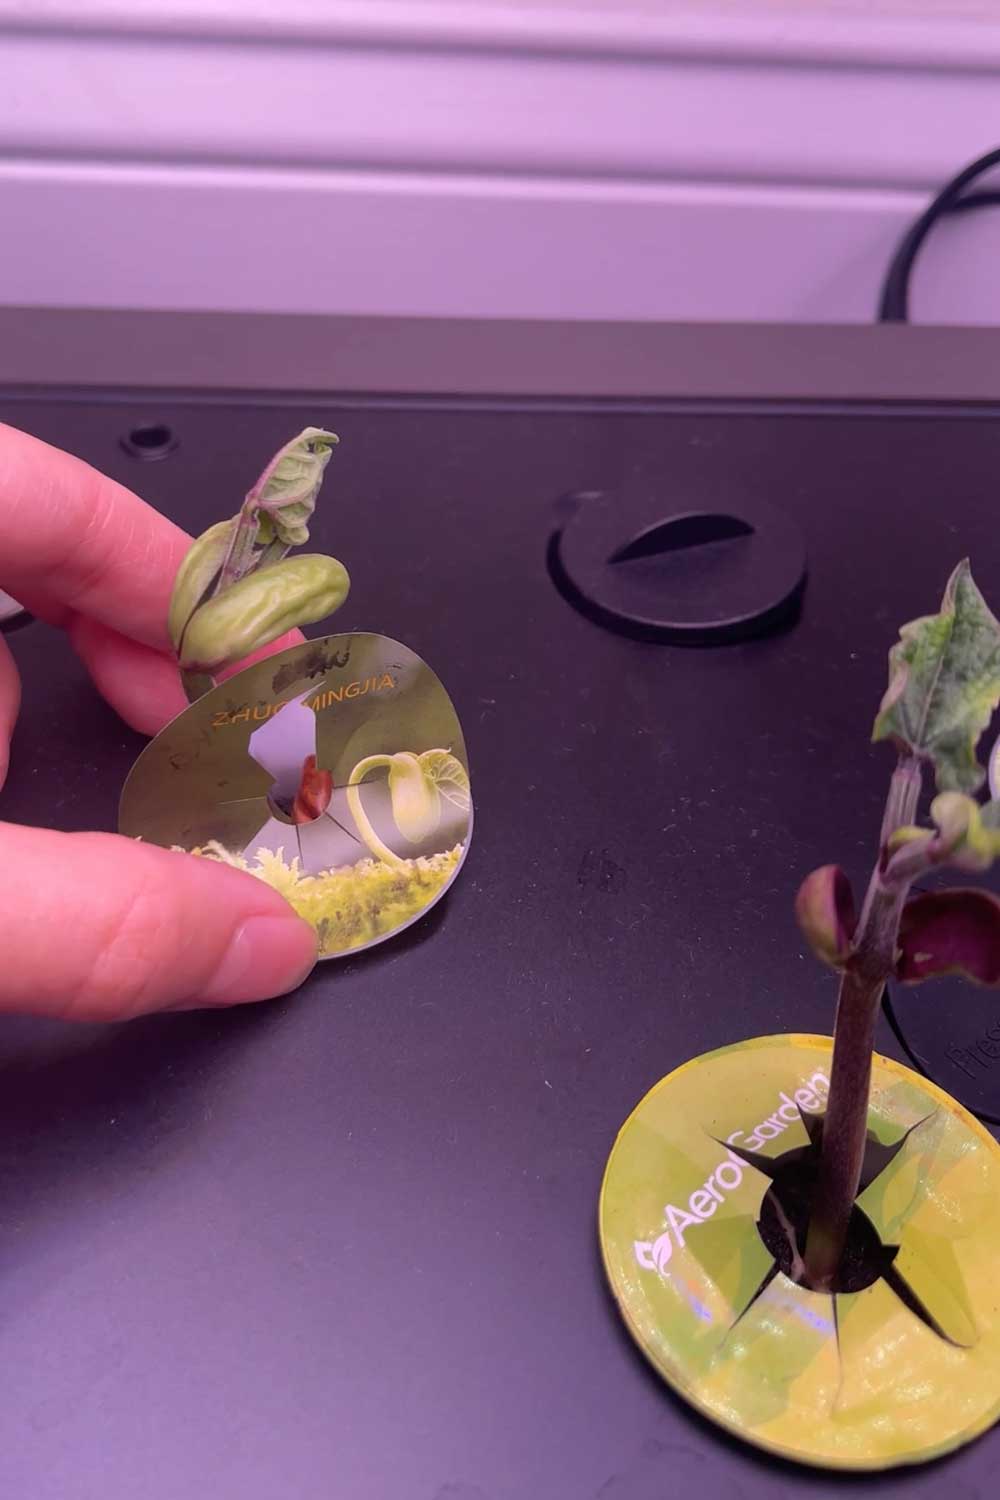
the sponges may need to be cut, and the labels as well, since bean seeds are so large I’ve used both Aerogarden labels and third-party knockoff labels and would recommend the Aerogarden labels specifically when growing bush beans. Since beans are so large, and slightly finicky in the early stages of growth, the Aerogarden labels seem to work best. They have better staying power on the pod cages as well as a wider central hole. The third party labels tend to have a very small center hole, which is too narrow for the bush beans. As a result, some of my baby bush bean seedlings grew sideways or outside of the hole and the labels had to be cut in half.
the sponges may need to be cut, and the labels as well, since bean seeds are so large Beans are part of the legume family and they don’t like too much water or nitrogen. Maintain adequate levels of water in the Aerogarden, but no need to overwater! I found that the 2 week Aerogarden nutrient schedule was almost too much for the plants. Beans typically produce nitrogen and fix nitrogen deficiencies when grown in soil (which is why they’re often companion planted with veggies like eggplants, peas and brassicas) so you don’t want to over fertilize. An excess of nitrogen will cause yellowing of the leaves – you’ll notice it right away. Try adding nutrition on a 3 week schedule, or as your plants seem to need a top up.
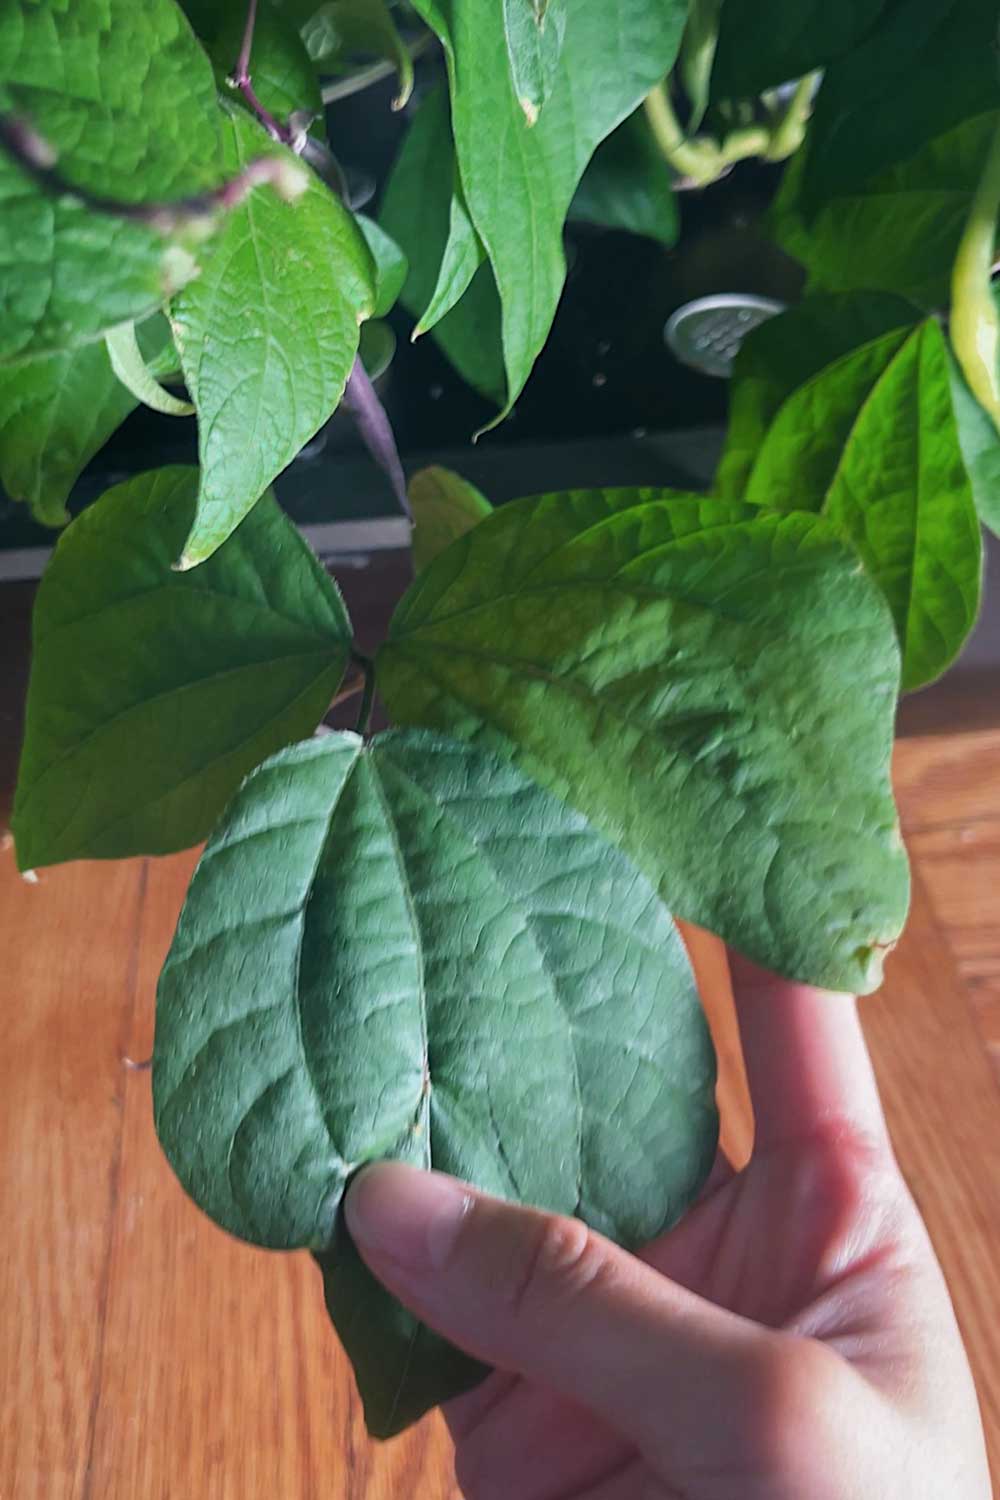
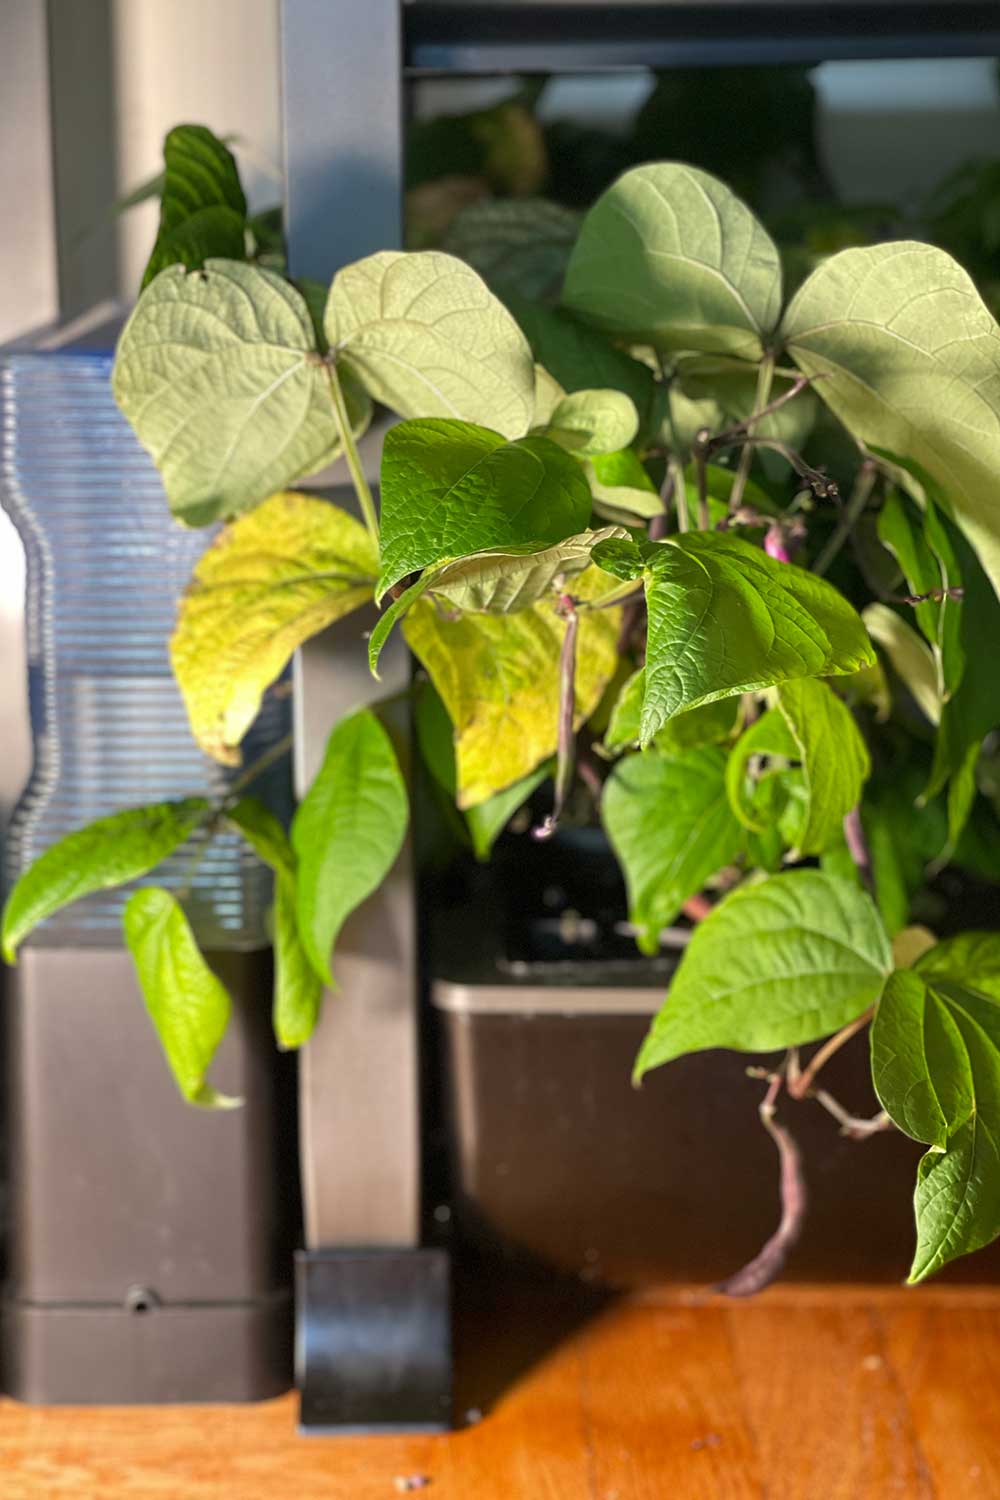
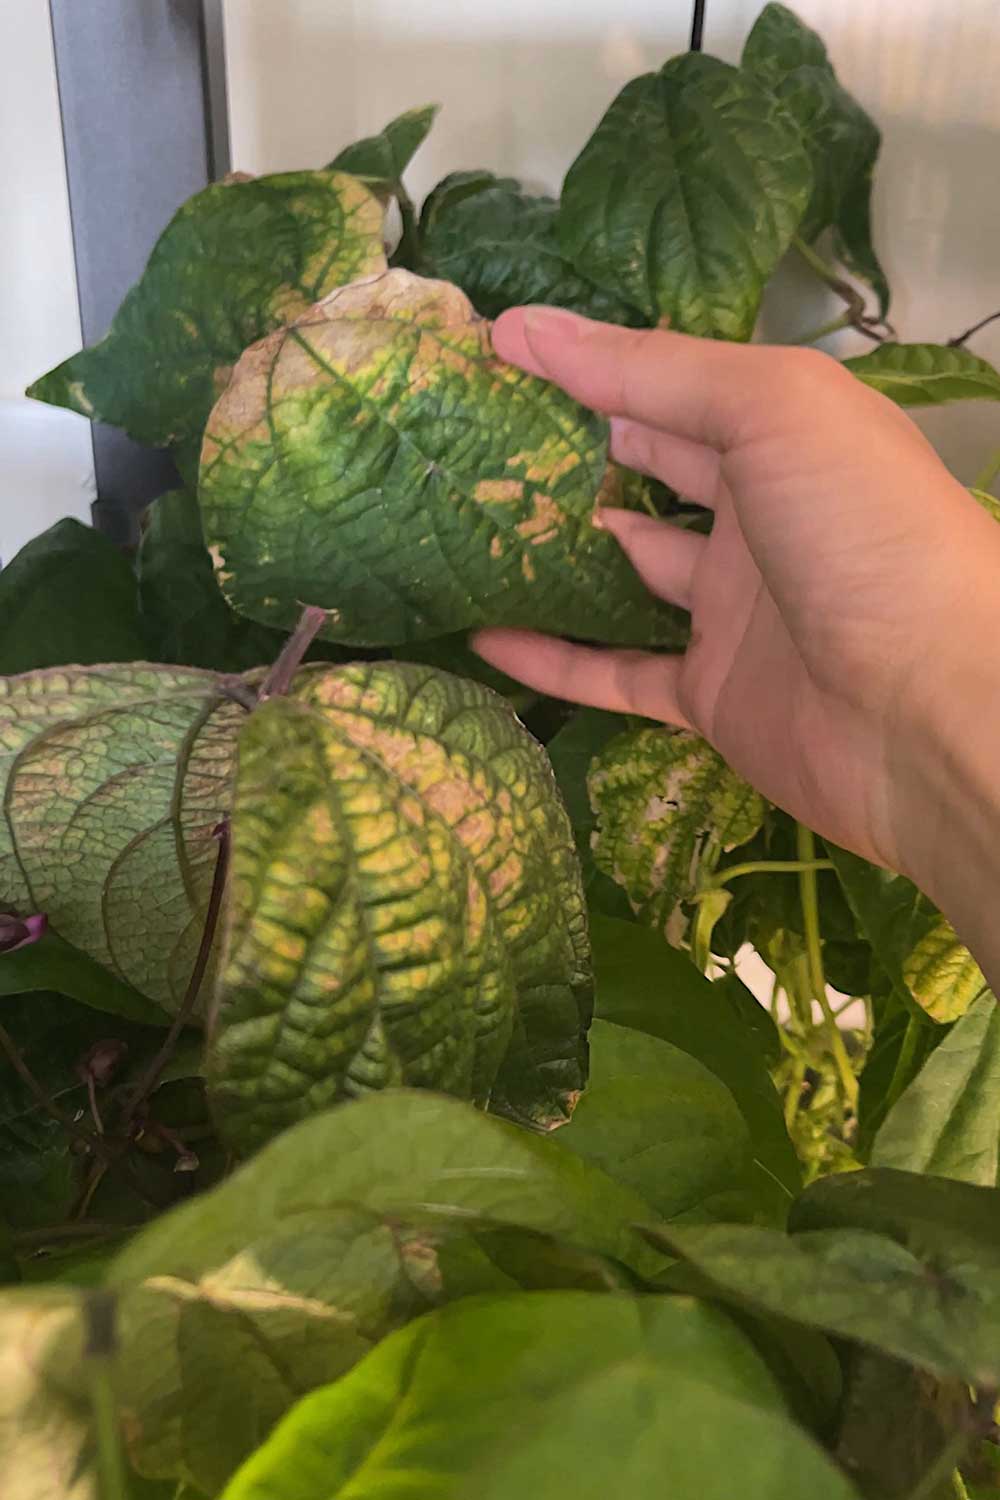
first: healthy green leaves on bean plant | second: yellow leaves due to over fertilization | last: spotty bleaches leaves due to spider mite damage If the plants flower but don’t set pods, they may be zinc deficient. If you do have trouble getting your bean plants to produce pods, you can add a fertilizer like this one that is high in phosphorous and potassium. I added this about once a month and it helped to dramatically increase the number of beans I got on each plant. Note – the bloom fertilizer is highly concentrated! Add just a 1/2 teaspoon to a gallon of water and don’t overfeed.
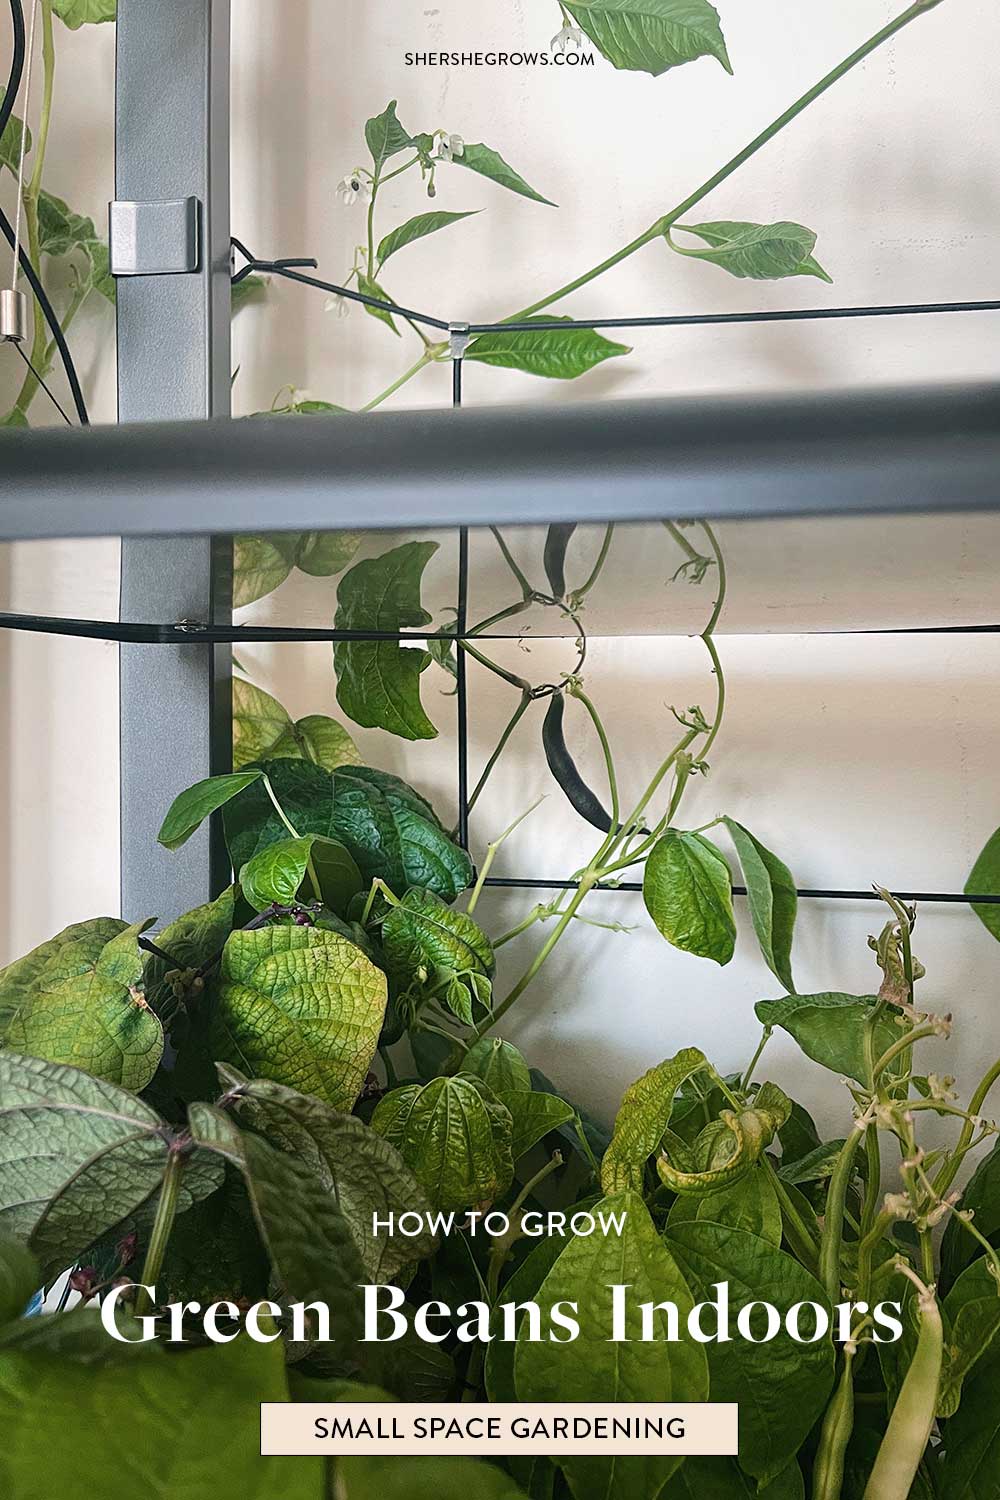
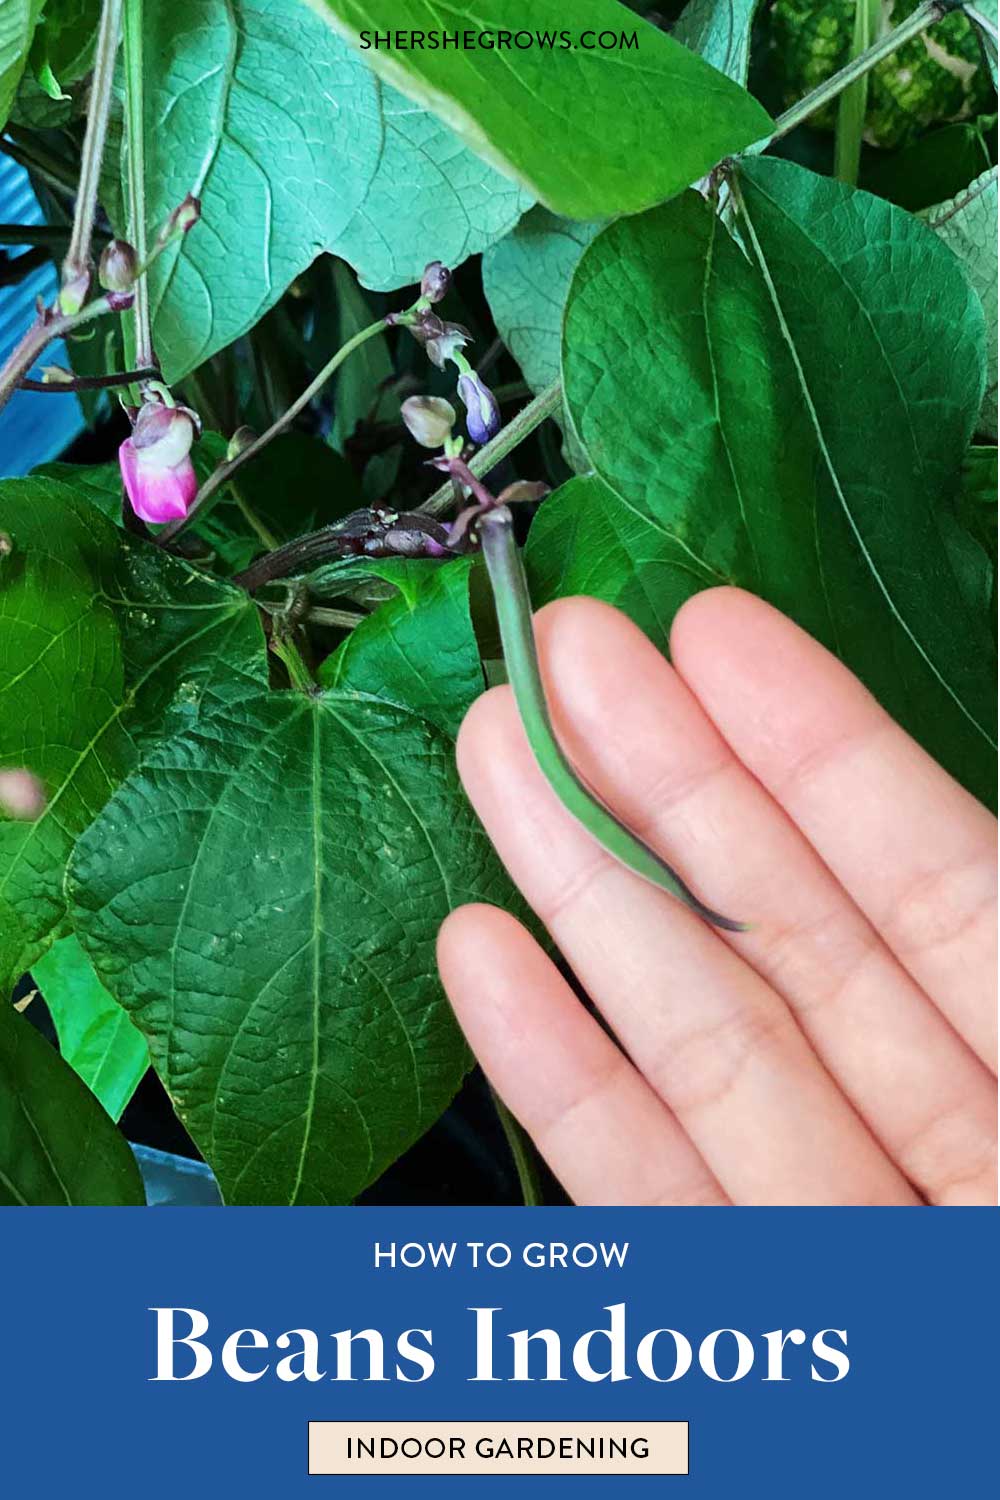
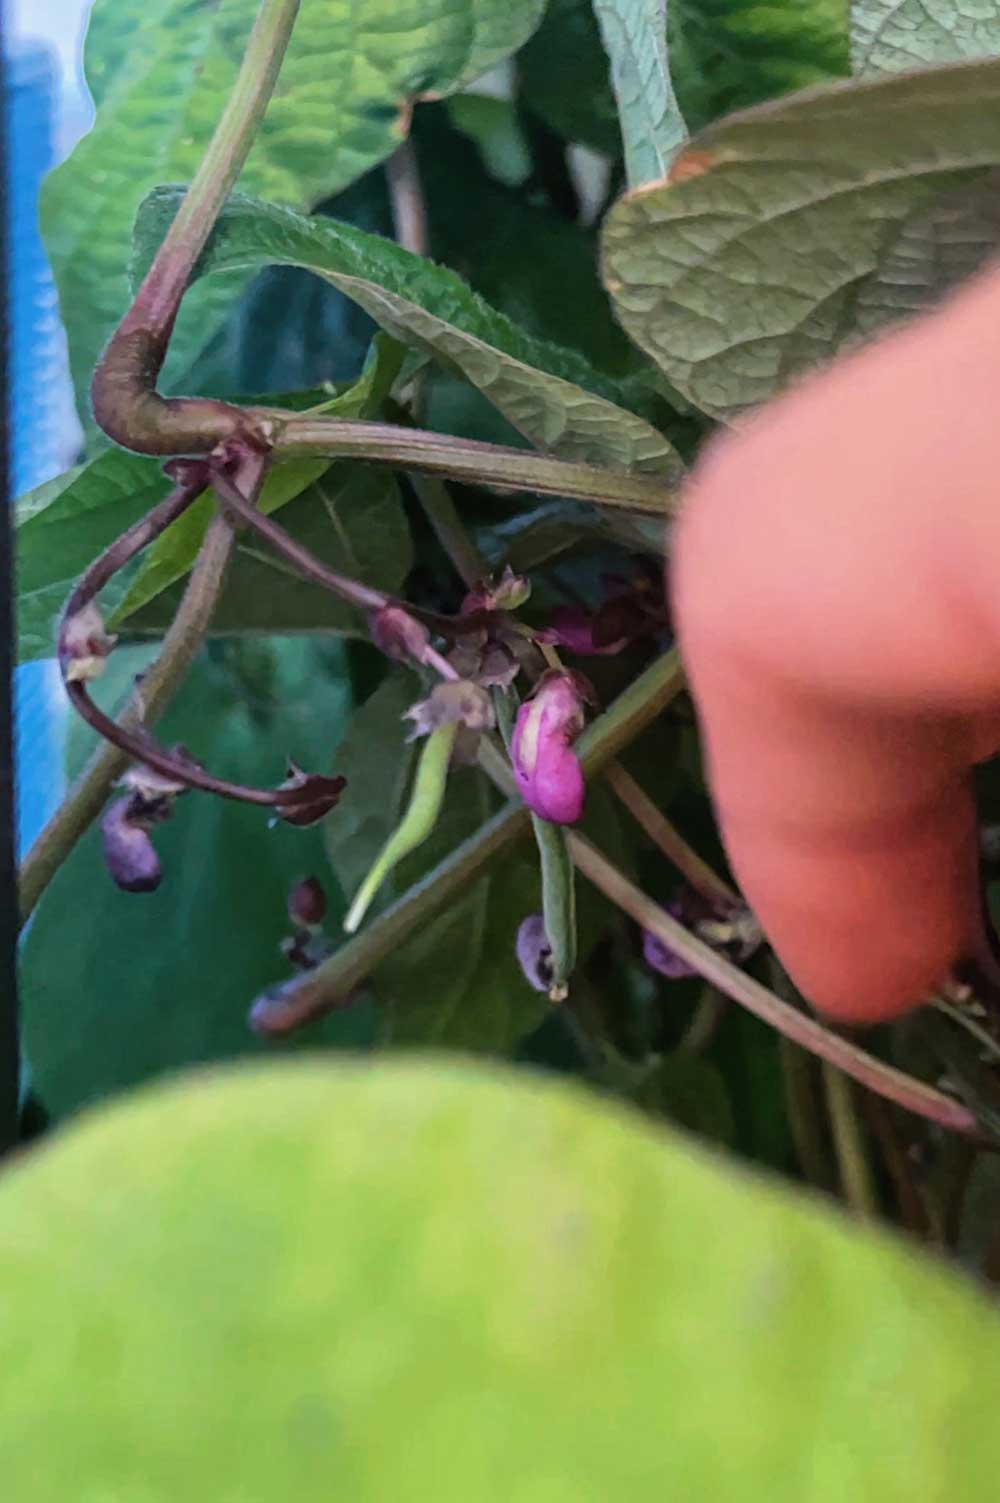
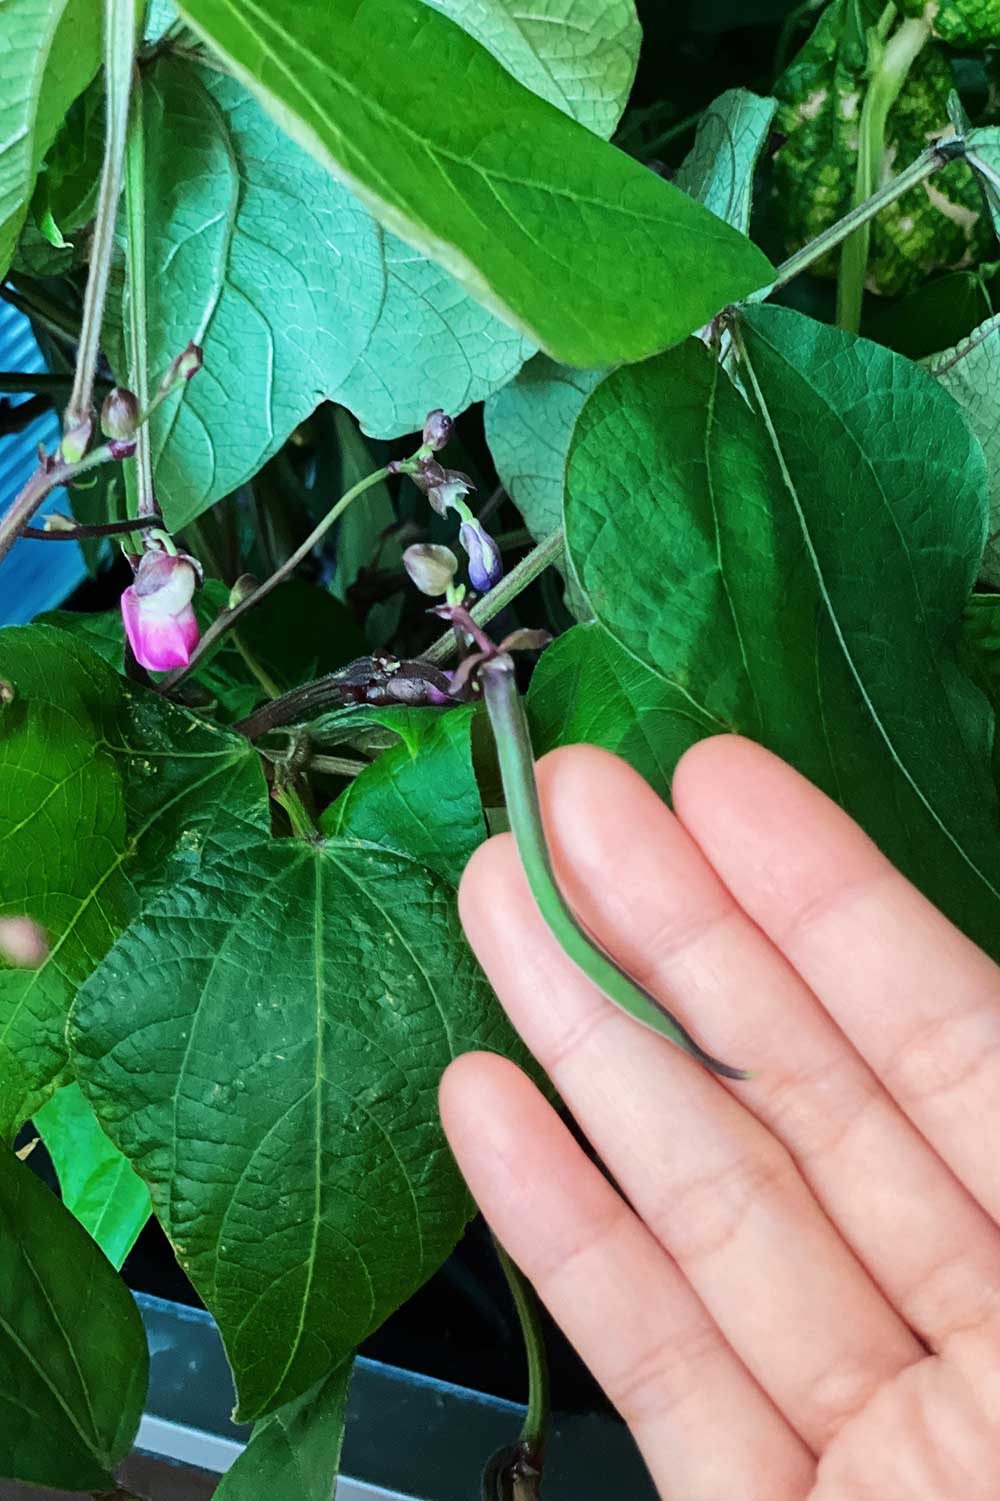
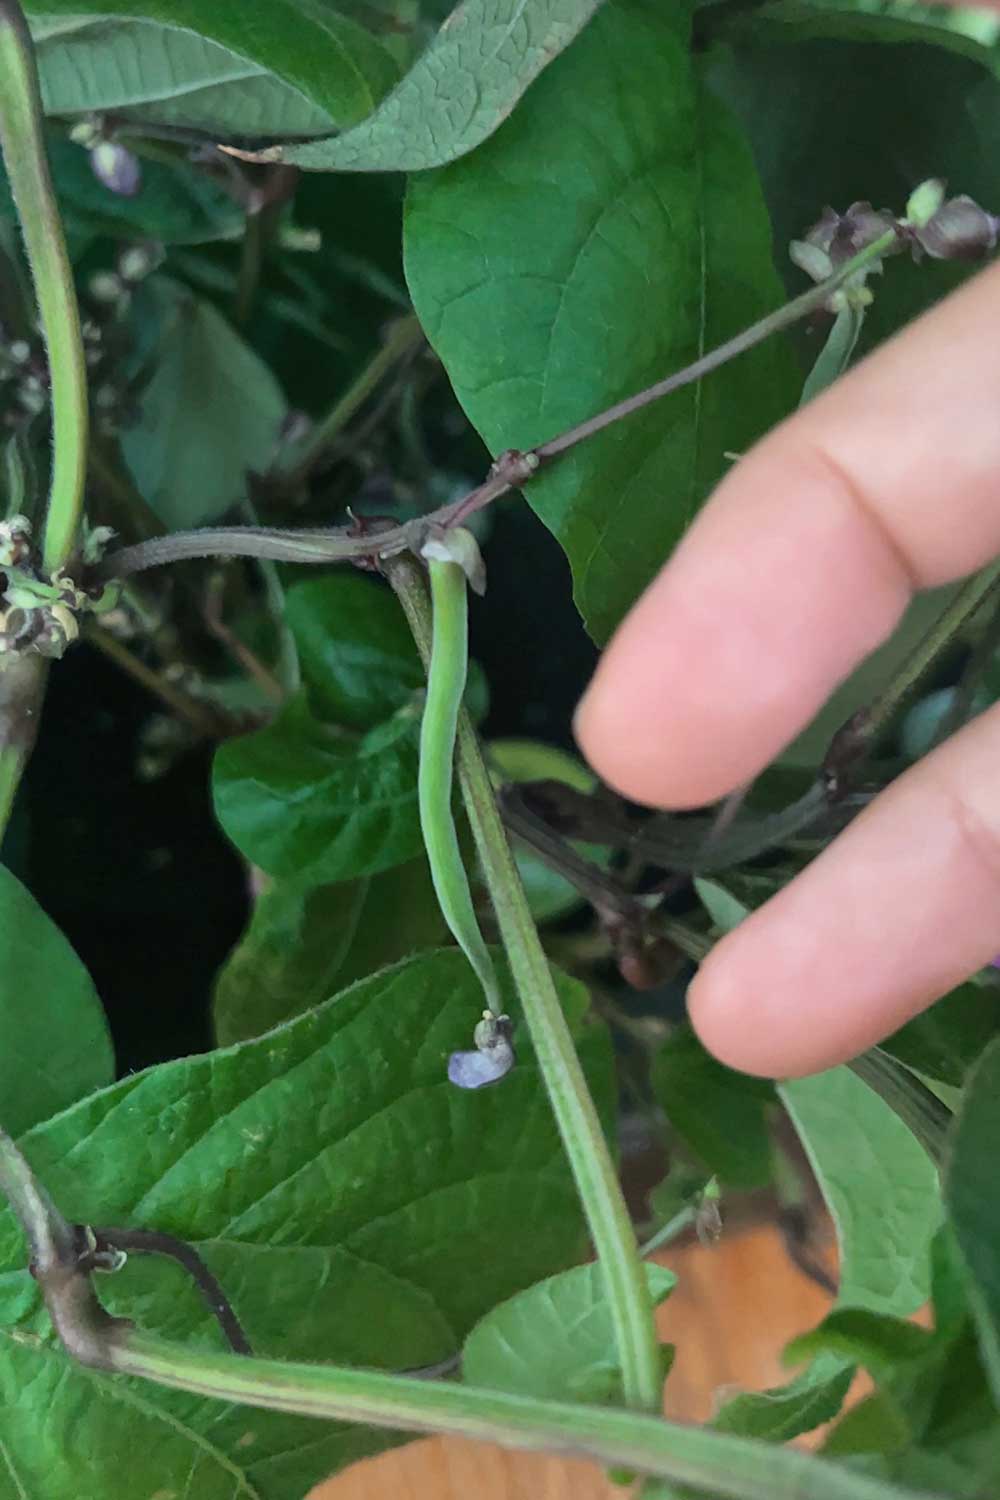
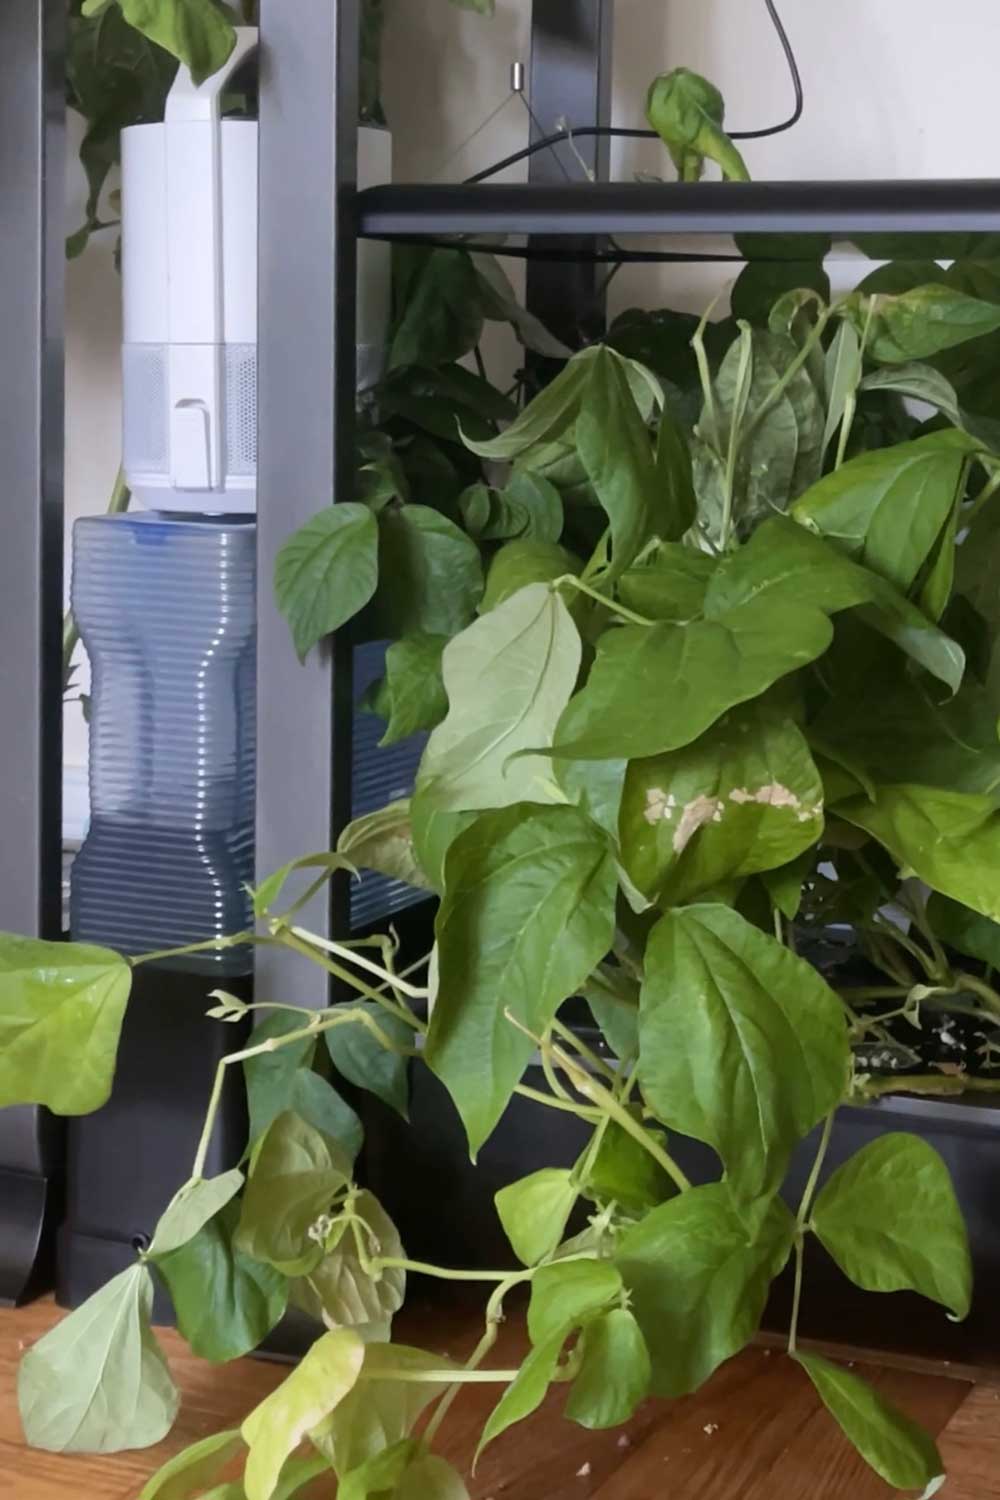
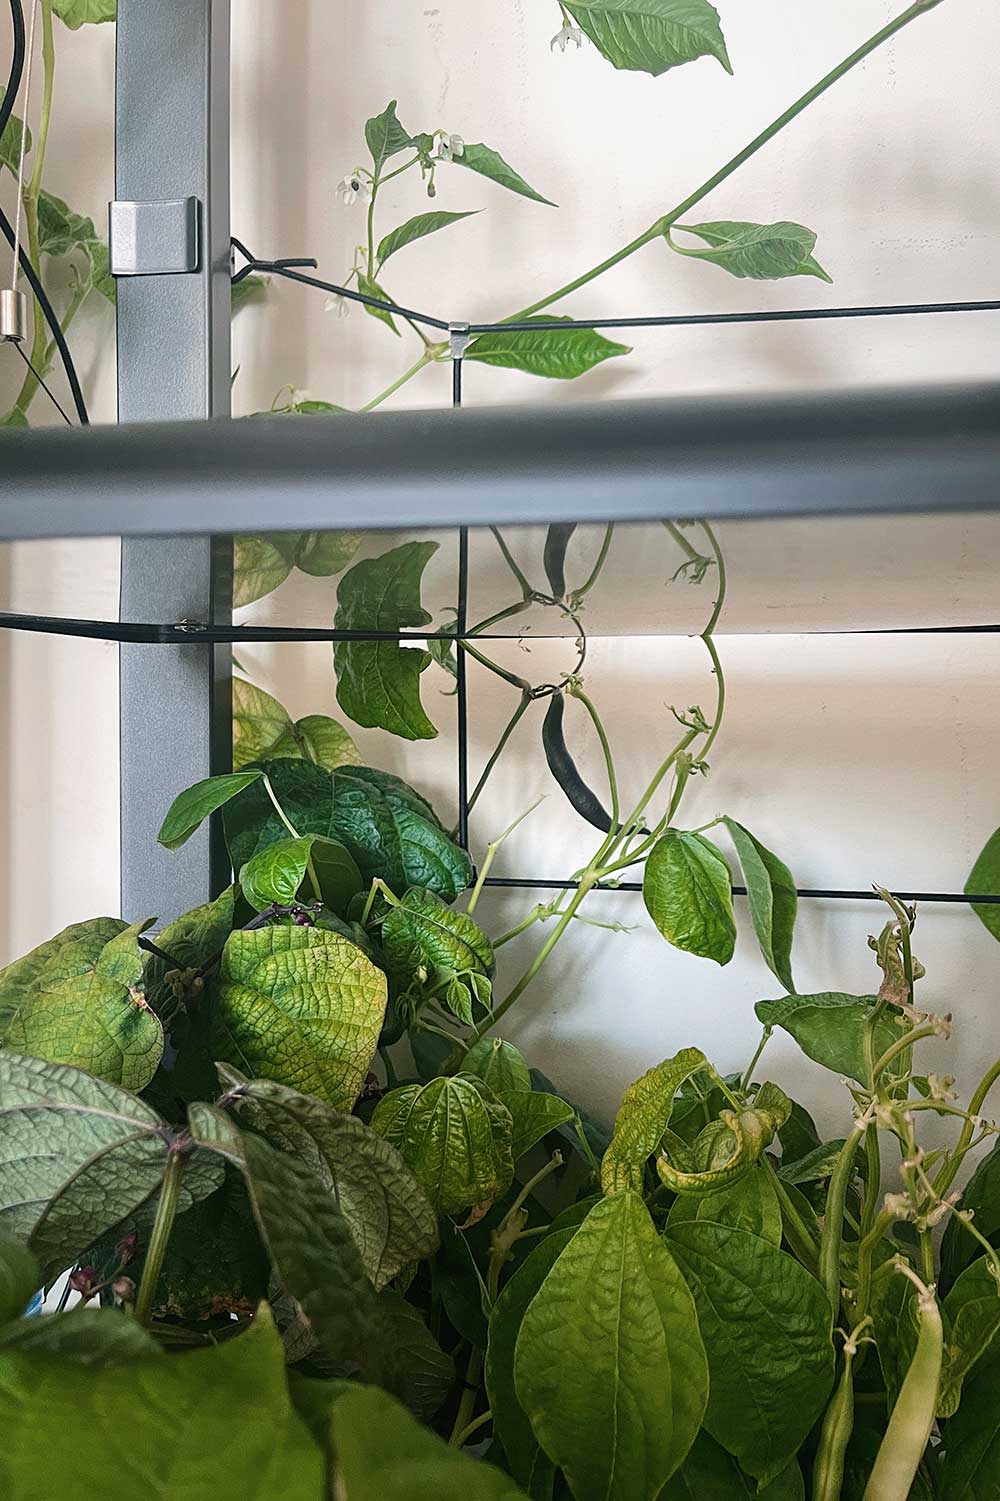
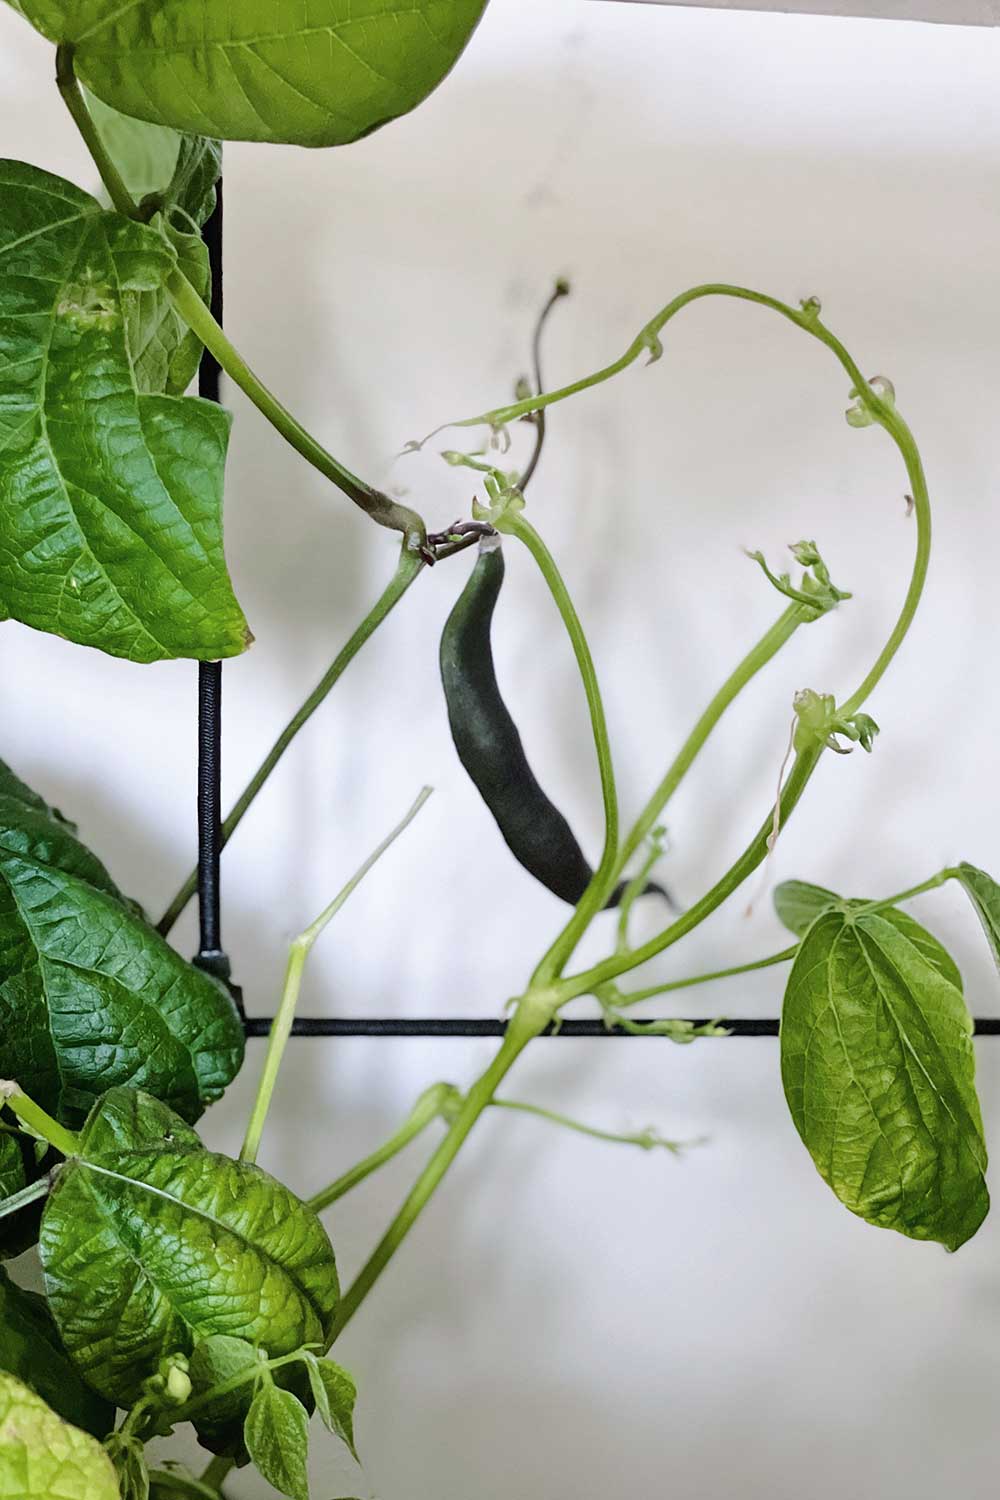
bean flowers + baby beans forming Typically bush beans don’t need to be pruned. However, if you find that the plants are getting overcrowded in the Aerogarden, with tons of leaves all over the place, you can thin some of the larger leaves to encourage air flow. Maintaining healthy leaves takes away energy from the plant, so I often like to remove excess leaves when the plant has beans already forming. It also helps me stay on top of maintenance, notice any issues right away, and easily identify beans. I found that growing 5 bean plants in half of the Farm was just pushing the limits of the garden. At some points the foliage would overtake the Farm and topple over onto the floor, so I did thin out the bean plants every so often. I also attempted to trellis the back row of plants, to give them some space to grow upwards and not overcrowd the grow deck. Bean leaves have a slightly sticky, tacky feel to the leaves and some of their vines are almost like climbing vines – they grew sideways, outwards and upwards trying to reach my other Farm machines. While I don’t think trellising is necessary, it did seem to help with crowding and airflow. The newest Farm machines come with Aerogarden’s updated trellis supports. It has two long horizontal bungee cords and 3 shorter vertical cords that you can hook together to form a grid pattern of sorts. If you have the older Farm models that didn’t come with the new trellis system, you can get something like this or this for extra climbing support.
bush bean spillage, so I set up the Aerogarden Farm trellis to give some vertical support A nickname for bush beans is ‘snap beans’ because the beans are ready to be harvested when they easily ‘snap’ off the vine. You actually don’t want to wait too long – the pods should be about a couple inches long, depending on the variety, without hugely visible seeds inside. To harvest, hold the stem in one hand and the pod in the other, and the bean should cleanly break off in half. Be careful not to just roughly pull with one hand or you might break off the branch itself, which will continue to produce beans. There are lots of different varieties of bush beans, with beans that come in all sizes, shapes and colors, but all varieties taste the best when they’re harvested early. The smaller the bean, the more tender! harvesting bush beans more hydroponics + recipes on tiktok @shershegrows Also, by harvesting early and regularly, you encourage the plant to keep producing. If the bush gets too fat with beans that are left to form seeds, the plant will stop producing new flowers. Bush beans tend to produce the bulk of their fruit in one main rotation that lasts for a few weeks. So you can succession plant, or stagger the planting of your bush beans, if you want to be able to continuously harvest beans for months at a time.
bush bean seedlings in various stages of growth Beans are also one of the easiest plants to save seeds from. Leave the beans to dry on the vine (they’ll turn brown and visibly dry looking) with large bulges inside the pod. You’ll know the beans are ready to save seeds when you rattle the bean and hear the seeds shake inside. Remove the seeds from the pods and let them completely dry. Then store in a cool, dry place. They should last for 1-2 years. Follow me onTransferring Bush Beans into the Aerogarden
Nutrition & Maintenance
Pruning
Trellising Beans
Harvesting
Succession planting
Saving Seeds



How many French Green Bean Plants should I plant in my Bounty Basic?
Thank You