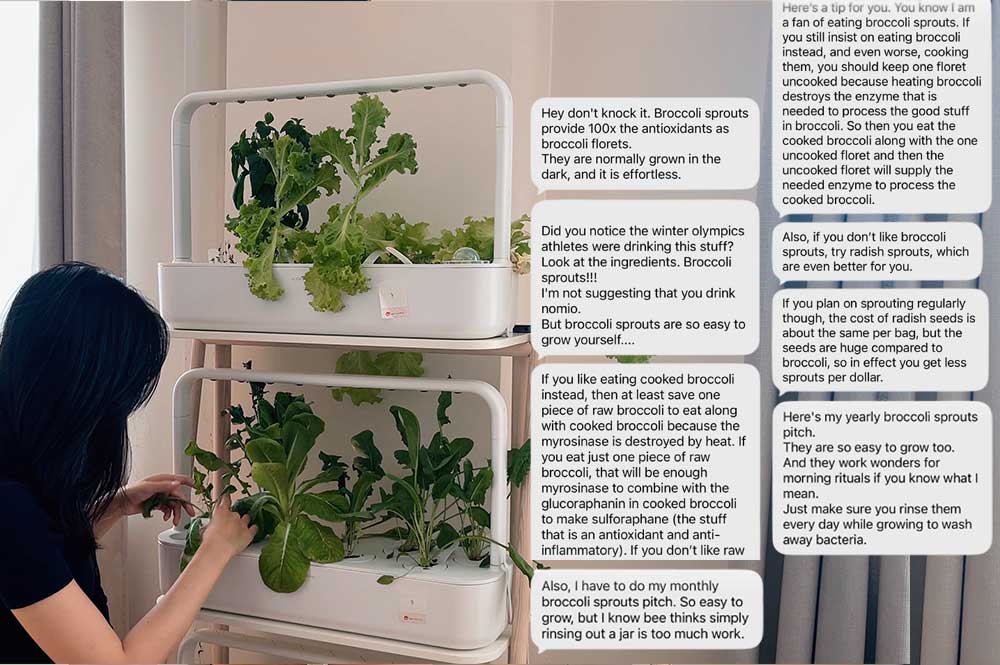
For years, my uncle has been texting the family group chat about the benefits of sprouts and micro greens.
He’s particularly fond of broccoli sprouts.
I’ve mostly focused on growing large vegetables in my NYC apartment – tomatoes, hot peppers, etc.
It turns out I shouldn’t have waited so long, because growing micro greens at home is really easy and super rewarding!
Here’s my quick guide to everything you should know about growing microgreens!
What are Microgreens?
Microgreens are the young seedlings of vegetables and herbs, harvested just 7–14 days after germination
Essentially it’s just a fancy word for baby plants.
If you continued to let them grow, they’d turn into full size vegetables. With microgreens, you’re just eating the baby stem and baby leaves.
Note: microgreens and sprouts are different! Sprouts are grown in water, while microgreens are grown in a growing medium.
Microgreens are popular as a fancy topping or garnish in high end restaurants. You can also add them to salads, sandwiches or toast or just even them raw right from the container.
And as my uncle noted – they’re packed with nutrients!
It’s a little surprising how much more nutrient dense they are compared to their full grown counterparts.
And considering they take just 2-3 weeks, it’s nice to know that you can get a lot of reward for a very small time investment!
Getting Started with Microgreens
Compared to growing vegetables in my apartment, microgreens are much easier. No need for an indoor garden or any fancy equipment.
You just need a couple things to get going:
- a shallow tray or container to grow in
- growing medium
- good lighting
- seeds
- a spray bottle for watering
Shallow Tray
Sprouting trays come in a wide range of types and sizes, so you can create a setup that works for your needs.
A small tray works well for a beginner or solo grower, while larger trays are better suited for feeding a family.
Personally, I like these sectional trays.
It’s one 10″x20″ bottom tray (the standard size for indoor seed starting), but the top tray is divided into 8 sections. This way, you can neatly grow multiple microgreen varieties at the same time.
I’m only one person, so I like having variety. The kit, which grows small squares of multiple microgreen types, is perfect for my needs!
You can find microgreen trays and kits just about anywhere though, like True Leaf Market, Park Seed, High Mowing and even Amazon.
You can also get creative and repurpose food containers for a DIY approach.
Whatever you choose, the key is to have two trays that nest together. The top one should have drainage holes, and the solid bottom tray without so it can catch water.
Growing Medium
Microgreens thrive in water alone through hydroponic gardening. It’s a cleaner, soil-free option that keeps your home tidy (and the method I use to grow all my vegetables indoors!)
You just need a growing medium to play inside the trays. This supports the seeds and prevents them from falling straight through the top tray’s drainage holes.
My favorite option is ready-made growing sheets like this. They’re pre-cut to size, simple to use, and inexpensive.
If you have a large 10″ x 20″ tray, these large sheets are similar, with a texture similar to extra sturdy paper towel.
If you’d prefer something reusable, mesh trays are a good alternative (though keep in mind that very fine seeds can slip through the gaps)
Or, if you want a soil-like substance, you can use coconut coir.
These come in bricks that are easy to ship. To use them, lightly soak with water until the brick crumbles apart into a soil-esque format.
Coco coir can also be used for indoor seed starting, so if you like to start seeds for your outdoor garden, this is a great multi-purpose growing medium (just a little messier and more time intensive)
I do not recommend potting mix or any kind of garden soil inside your home – you will get bugs.
Seeds
Make sure to buy microgreen specific seeds or seeds explicitly labeled as ‘untreated’.
For one, it’s much more cost effective. You’ll typically get a bulk bag of seeds for less than the cost of buying individual seed packets.
You also want to avoid the fungicides that are sometimes present on regular seeds. Because you’re harvesting microgreens as young seedlings and eating the whole plant, any chemical coating on the seed is still present at the time you eat it.
With a full-size vegetable, that’s less of a concern, as the plant has months to grow beyond the treated seed stage, and you’re eating fruit or leaves that developed long after germination. With microgreens, there’s no such buffer.
Many seed packets don’t make this obvious, so when in doubt, look for seeds explicitly labeled “untreated” or sold for sprouting and microgreen use.
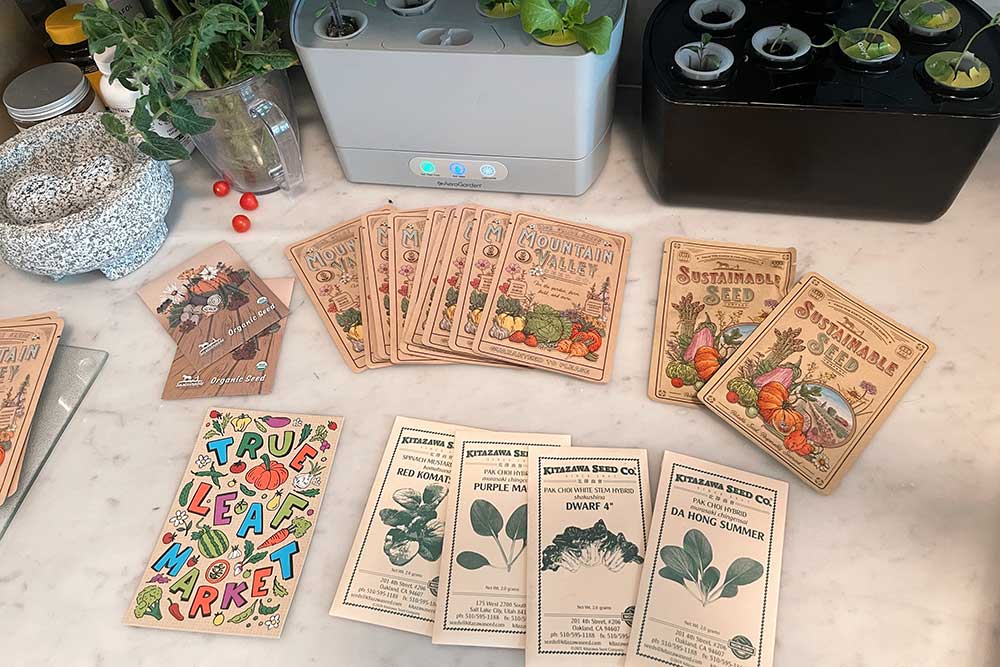
My go-to seed company for buying microgreens is True Leaf Market.
I find they have the most extensive variety at very competitive prices. They also carry lots of high quality garden supplies (trays, grow lights etc).
I tried cheaper options from Amazon but they were flimsy and broke quickly. I’ve gotten most of my seed starting supplies through True Leaf Market since I find them to be better quality.
Other great online seed companies that carry microgreens:
Spray Bottle
For gentle watering without disturbing the seeds, it’s best to use a spray bottle. I like these, which generate a continuous even spray.
Light Source
A sunny windowsill (south-facing is best) or a simple LED grow light if your home doesn’t get much natural light
Small Kitchen Scale
Optional, but useful for measuring seed amounts consistently.
I’ve had this one for over a decade and use it to weigh all my indoor garden harvests as well as for baking.
What you don’t need: nutrients!
Microgreens are harvested when they’re still baby seedlings, typically between 7-21 days, so you don’t need to worry about adding nutrients.
Microgreens are also a ‘one and done’ crop. Once you cut them, they won’t grow back.
If you want, you can harvest ~90% of your micro greens and leave a couple of the baby plants to continue growing.
You can transplant them out of the microgreen trays to use either in your indoor gardens or outdoors into a classic soil garden. If you want to keep the microgreens growing for transplanting, you will need nutrients.
Read more: Everything You Should Know about Plant Nutrients
Overall, the startup cost for growing microgreens is small and most of the equipment is reusable for future grows.
Where to Buy Microgreen Seeds
There are literally hundreds of varieties of microgreens seeds to choose from.
They’re usually sold in large packs, because the idea is that you plant them densely to get a nice mat of small sprouts.
I’ve tried seeds from a variety of places:
True Leaf Market
True Leaf is one of the most trusted names in the industry, with a huge selection of non-GMO, organic and heirloom varieties.
I shop from True Leaf often, for regular seeds as well as microgreens.
For microgreens specifically, they have the biggest selection that I’ve seen – ranging from flowers to herbs to colorful options to low-cost options.
They acquired Kitazawa, an Asian specialty seed company so they also offer some great Asian microgreen options.
Whereas most microgreen suppliers sell huge packs, True Leaf offers both small and bulk quantities (ranging from 1 oz to 25 lbs).
Something unique to True Leaf Market is their microgreens assortment packs.
They’ll bundle together a variety of microgreens so you can get a ‘sampler’ of sorts, and try out all different varieties for a good price.
And True Leaf Market sells a huge variety of kits and supplies.
I’ve bought a couple seedling trays from them because theirs are made from a stiffer, thicker plastic that holds up to the weight of seeds and soil without warping or cracking.
If you’re just getting into microgreens, I think True Leaf is a great all-around first stop.
Shop microgreens: True Leaf Market & Amazon
High Mowing Seeds
High Mowing is great for someone who loves microgreens and wants to grow them often.
They’re a certified organic seed company offering varieties suited for both home and commercial microgreen production.
High Mowing is known for their flavorful microgreen varieties, all of which have great texture and color. They have some unique options to try like pizzo mustard and tokyo bekana.
They also carry mixes if you just want to grow a bunch of varieties together, like this silk road mix and this spicy mix.
High Mowing’s microgreens are sold in large packs, with the smallest option being 1/4 pound all the way up to 20 pounds.
They’re a great option if organic seeds are important to you, and/or you’re looking to buy in bulk at an economical price point.
Park Seed
If you want smaller packs of microgreen seeds, to get an idea of what you like or if you live in a small space, check out Park Seed.
Their prices are very affordable!
I also really like their kits, where they bundle their popular microgreen trays with their pre-sown grow mats. The sheets are pre-seeded, so all you have to do to get started is lightly mist them with water and cover.
As the seeds grow, the tissue mats gently dissolve.
And since the sheets are pre-sown in a nice, even layer, the microgreens are evenly spaced out. You don’t get any of the bunching or clumping that happens when you sow yourself.
I think Park Seed offers nice microgreen varieties too, like radish sangria and black kale tuscany.
The kits are small and compact, making them good for 1-2 person households or small spaces.
Best Microgreens for Beginners
Not all microgreens are created equal. Some are quicker, easier, and more forgiving than others.
Here are three varieties that are ideal for first-time growers:
Radish
The easiest and fastest microgreen to grow. Radish seeds germinate in as little as 2–3 days and are ready to harvest in about 7 days.
They have a mild, peppery flavor that’s great on salads, sandwiches, and tacos.
Shop radish microgreen varieties here.
Sunflower
A beginner favorite thanks to their large seeds and quick, reliable growth. sunflower microgreens are thick, crunchy, and slightly nutty. They’re ready in around 10–12 days and are incredibly satisfying to grow.
Shop sunflower microgreen varieties here.
Pea Shoots
Tender and sweet with a fresh, green flavor, pea shoots are one of the most delicious microgreens you can grow.
They’re one of my favorite vegetables and I eat them both in microgreen form as well as full grown in stir-frys and hot pot.
In my opinion, pea shoots taste better than peas! They’re a popular (and kind of pricey) Asian vegetable so it’s nice to grow your own.
Pea shoot microgreens take a little longer (12–14 days) to grow but are still very easy to manage and produce a generous harvest.
Shop pea microgreen varieties here.
Once you’re comfortable with these, you can experiment with broccoli, kale, basil, or beet microgreens.
How to Grow Microgreens: Step by Step Step
Step 1: Prep Your Tray
Fill your tray with a microgreen mat or growing medium of your choice.
Step 2: Sow Your Seeds
Sprinkle your seeds evenly across the surface.
For most varieties, you want a dense but single layer. The seeds should be close together but not piled on top of each other.
Larger seeds like sunflower and peas can be pre-soaked in water for 8–12 hours before sowing to speed up germination.
Step 3: Cover and Blackout
Mist the seeds with your spray bottle.
Then place an empty tray on top to block out light. This creates a dark, humid environment that encourages germination.
Leave it for 2–3 days.
Step 4: Move to Light
Once your seeds have sprouted and have small white roots, remove the cover and move the tray to your light source.
A south-facing window or a grow light positioned 2–4 inches above the tray works great.
Aim for 12–16 hours of light per day.
Step 5: Water Daily
Water your microgreens by pouring a small amount of water into the bottom tray and letting the soil absorb it from below (bottom watering).
This keeps the leaves dry, which reduces the risk of mold.
Check the mats daily. They should feel moist but never waterlogged.
How to Harvest Microgreens
Microgreens are ready to harvest when they’ve developed their first set of true leaves. Usually, they’ll be about 1–3 inches tall.
Here’s how to harvest them:
- Use clean scissors or a sharp knife. Cut just above the soil line, taking the stems and leaves.
- Rinse gently under cool water and pat dry, or use a salad spinner
- Use immediately, or store in an airtight container lined with a paper towel in the fridge for up to 5 days.
Note: microgreens are a “cut once” crop. Unlike herbs, they don’t regrow after harvesting.
To always have fresh microgreens on hand, start a new tray immediately and stagger your grows!
How to Use Microgreens
The simplest and most delicious way to enjoy microgreens is raw, so their flavor and nutrients are fully intact.
Try them:
- Piled onto avocado toast or scrambled eggs
- Mixed into salads for texture and flavor
- Tucked into sandwiches, wraps, and burgers
- As a garnish on soups, pasta, or grain bowls
- Blended into smoothies (pea shoots and sunflower work especially well)
Quick Troubleshooting Tips
Mold growing?
First, white fuzz near the roots isn’t mold and is totally normal. They’re fuzzy air roots.
If you see actual mold (or notice a smell) then you can spray hydrogen peroxide to kill the mold.
You’ll want to prevent mold from recurring by improving airflow. Remove the humidity dome after most of the seeds sprout.
Also take care not to overload the seeds. Use just the recommended amount for planting and spread everything out in a single even layer.
You can add extra airflow and circulation in your home by using a fan. I use these large floor fans in the summer but small fans near the trays can also help.
Be sure to bottom water to prevent extra moisture from splashing the leaves.
Leggy, pale growth?
Your microgreens need more light. Your window might not have enough light for your plants, in which case you should use a grow light.
Amazon has inexpensive grow lights.
Seeds not sprouting?
Check that your growing medium is moist (not dry or waterlogged) and that the temperature is above 65°F (18°C).
Seeds drying out?
Check water levels every other day to prevent the seeds from drying out.
In the beginning, you want the water level to sit high enough to touch your growing medium and get the seeds wet.
Once the sprouts start growing, keep the water level a little lower so only the roots get moist.
Follow me on
Youtube | Tiktok | Instagram | Substack | ShopMy
![]()
