I love living in NYC but it’s hard to have a vegetable garden living in a concrete jungle.
I always thought I needed to wait until I could upgrade to a larger apartment with outdoor space before my fantasy of growing purple striped heirloom tomatoes would materialize.
When I learned you could grow veggies indoors, I felt like I had unlocked a secret.
And when I found out a method of soil-less gardening existed, that virtually eliminated bugs, I was hooked.
Growing your own veggies can be incredibly simple, if you do it my way.
Here’s my beginner guide to getting started with indoor gardening.
1. Get an Indoor Garden Machine
When I first started, most people were making DIY builds.
Buying buckets and storage containers from the hardware store, stringing together aquarium tubing and water pumps from the pet store and piece-meal assembling everything together.
It was a bit complicated and quite frankly, looked.. ugly.
(sorry! i said it..)
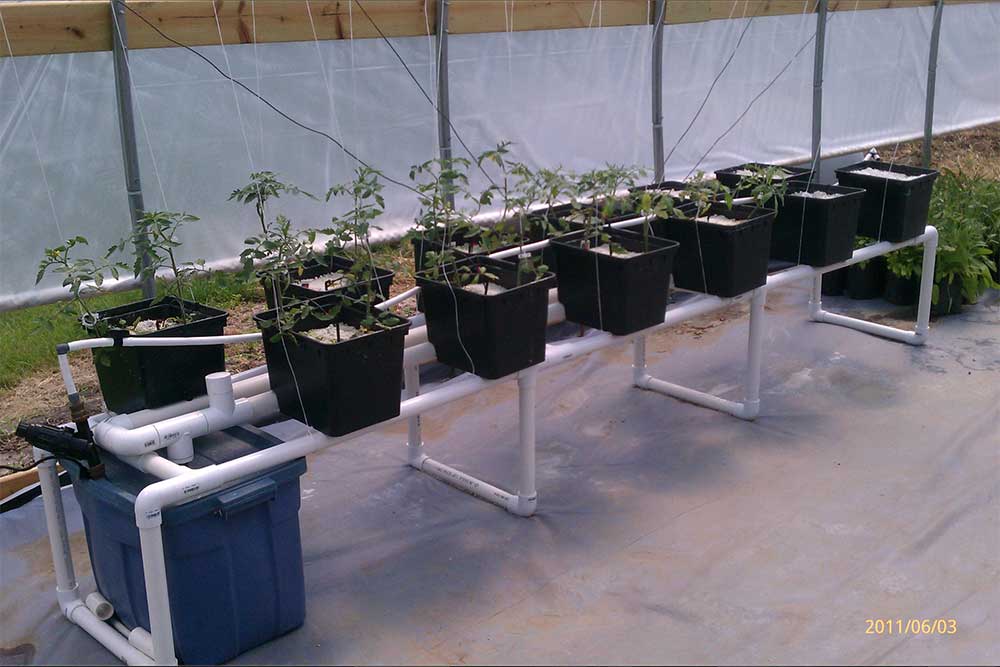
an outdoor DIY hydroponic build. pc: hydroponic answers
I much prefer to use indoor garden machines.
They’re sleek, well made and do all the heavy lifting for you. Assembly is minimal and they come in all different sizes, shapes and colors.
Especially if you’ve never been able to keep a plant alive, these all-in-one machines are a game changer.
They have built-in timers, high-powered LED lights and an integrated water pump to simulate the sun and rain for you.
All you have to do is plant seeds, and do bi-weekly maintenance like re-filling the tank with water and adding nutrients.
Read more: The Best Affordable Indoor Gardens
It makes it almost foolproof!
I recommend this machine if you’re a beginner.
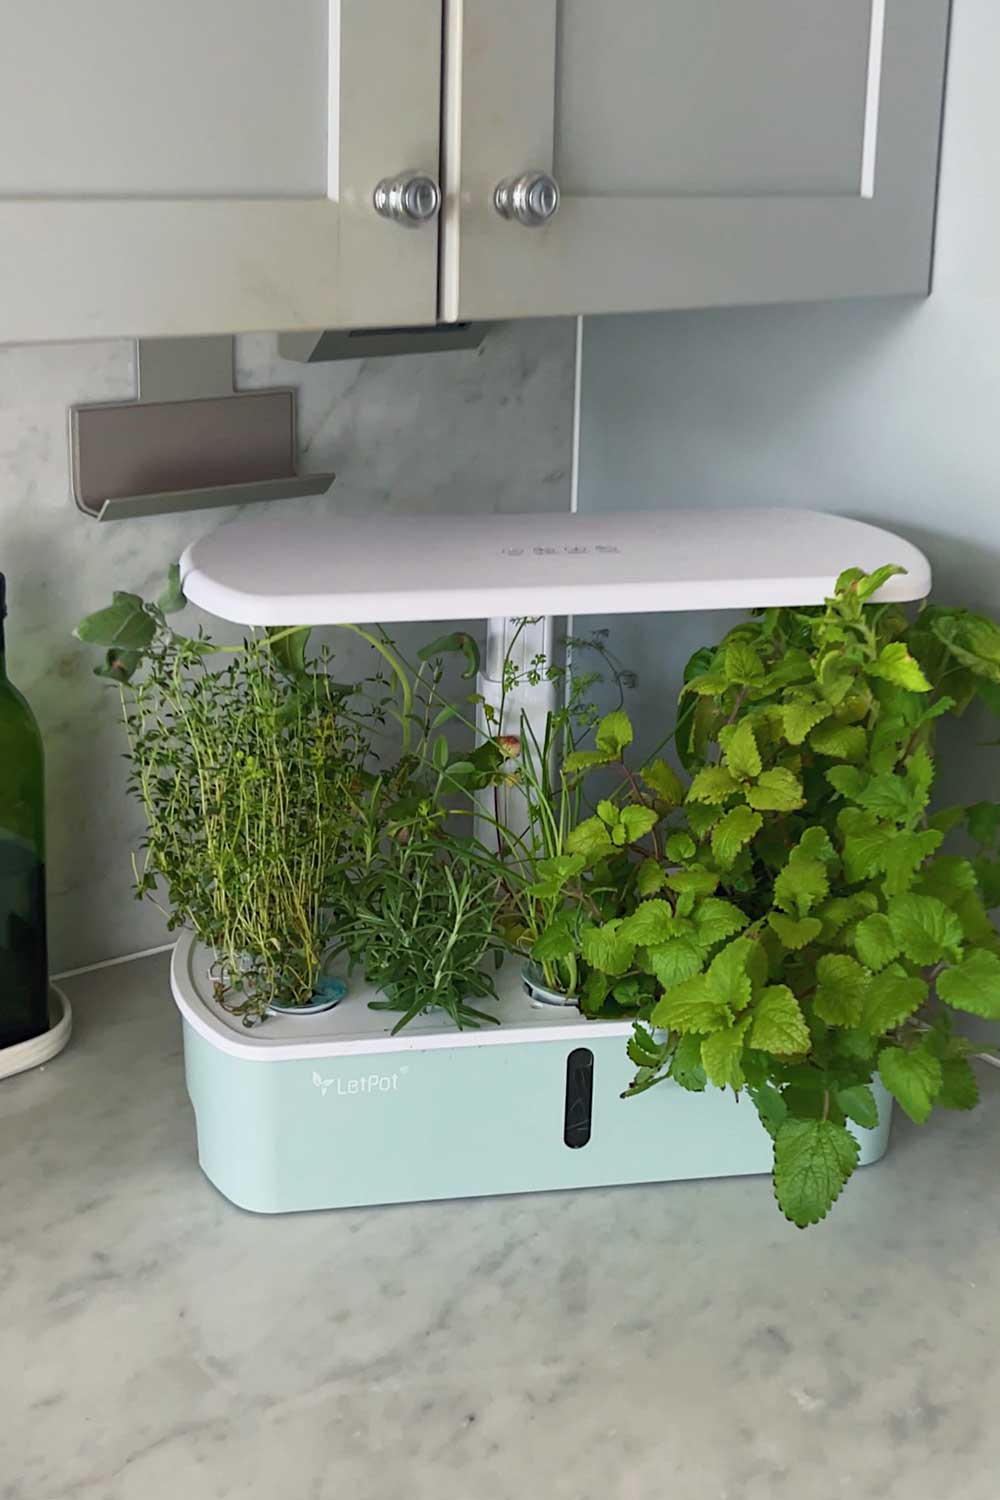
It’s very affordable, looks cute and is compact enough to sit on even the smallest kitchen counter.
It also has space for up to 10 plants, so you can grow a decent variety with your first grow.
And, it’s currently on sale!
P.S. You can also stack discount code INFLUEN10 for an additional 10% off.
It’s the most affordable garden I’ve come across that doesn’t skimp on quality or features.
2. Buy Your Own Seeds
The indoor garden comes with everything you need to get started except seeds.
You’ll need to purchase your own, but I actually prefer that!
This way, you can choose exactly what you want to grow and pick up unique plant varieties that aren’t available at the grocery store.
I think it’s more fun to grow things you can’t even buy :)
** Note: Not all seed packets are the same! I’ve tried seeds from the dollar store, various grocery and hardware stores and the germination rate was really poor.
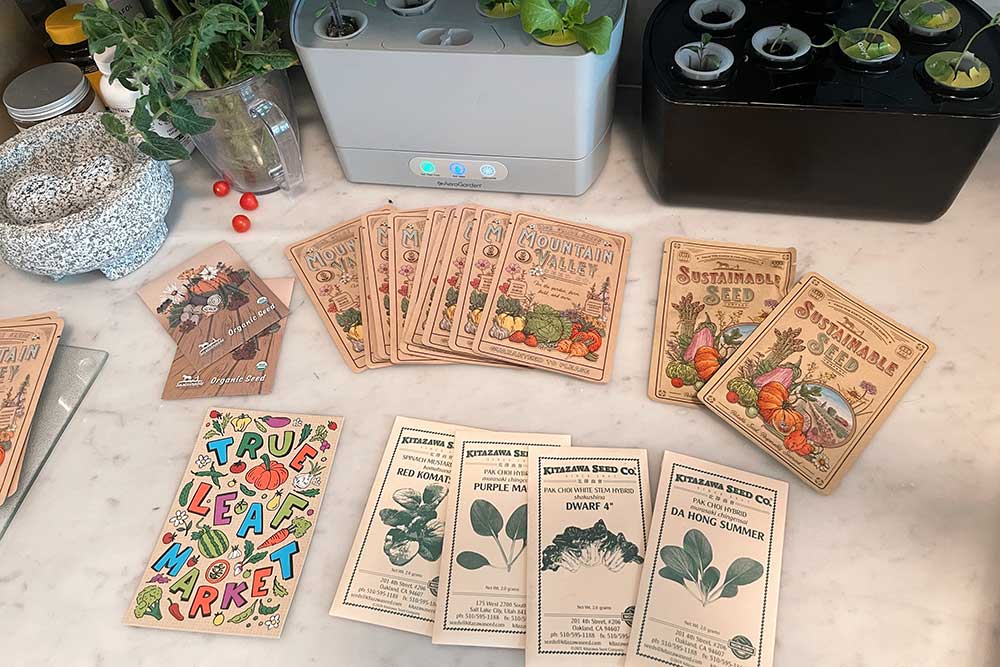
my most recent seed order! you can see a full list of everything I bought in this post
Now I primarily buy from heirloom seed companies.
They offer non-GMO plants, send out fresh, high quality seeds and offer a huge selection of unique varieties.
These are some of my favorites places to buy seeds:
I have a more in-depth seed guide here, if you want my full list of all the best online seed companies.
3. Choose the Right Varieties
A lot of people want to jump right into growing everything all at once.
I recommend starting slow, with something beginner-friendly like herbs or lettuces. Fruiting plants like eggplants and peppers are a bit more complicated.
It’s also easiest to stick to all one type, or plant ‘family’ for your first garden.
So instead of cramming a tomato plant, pepper plant, 3 kinds of herbs and 5 lettuces in one garden, stick to all herbs or all lettuces.
Different plant varieties have different nutrient requirements and varying growth rates, so it makes it simpler if you stick to plants within the same family.
Best Herbs for an Indoor Garden
Best Lettuce Varieties for an Indoor Garden
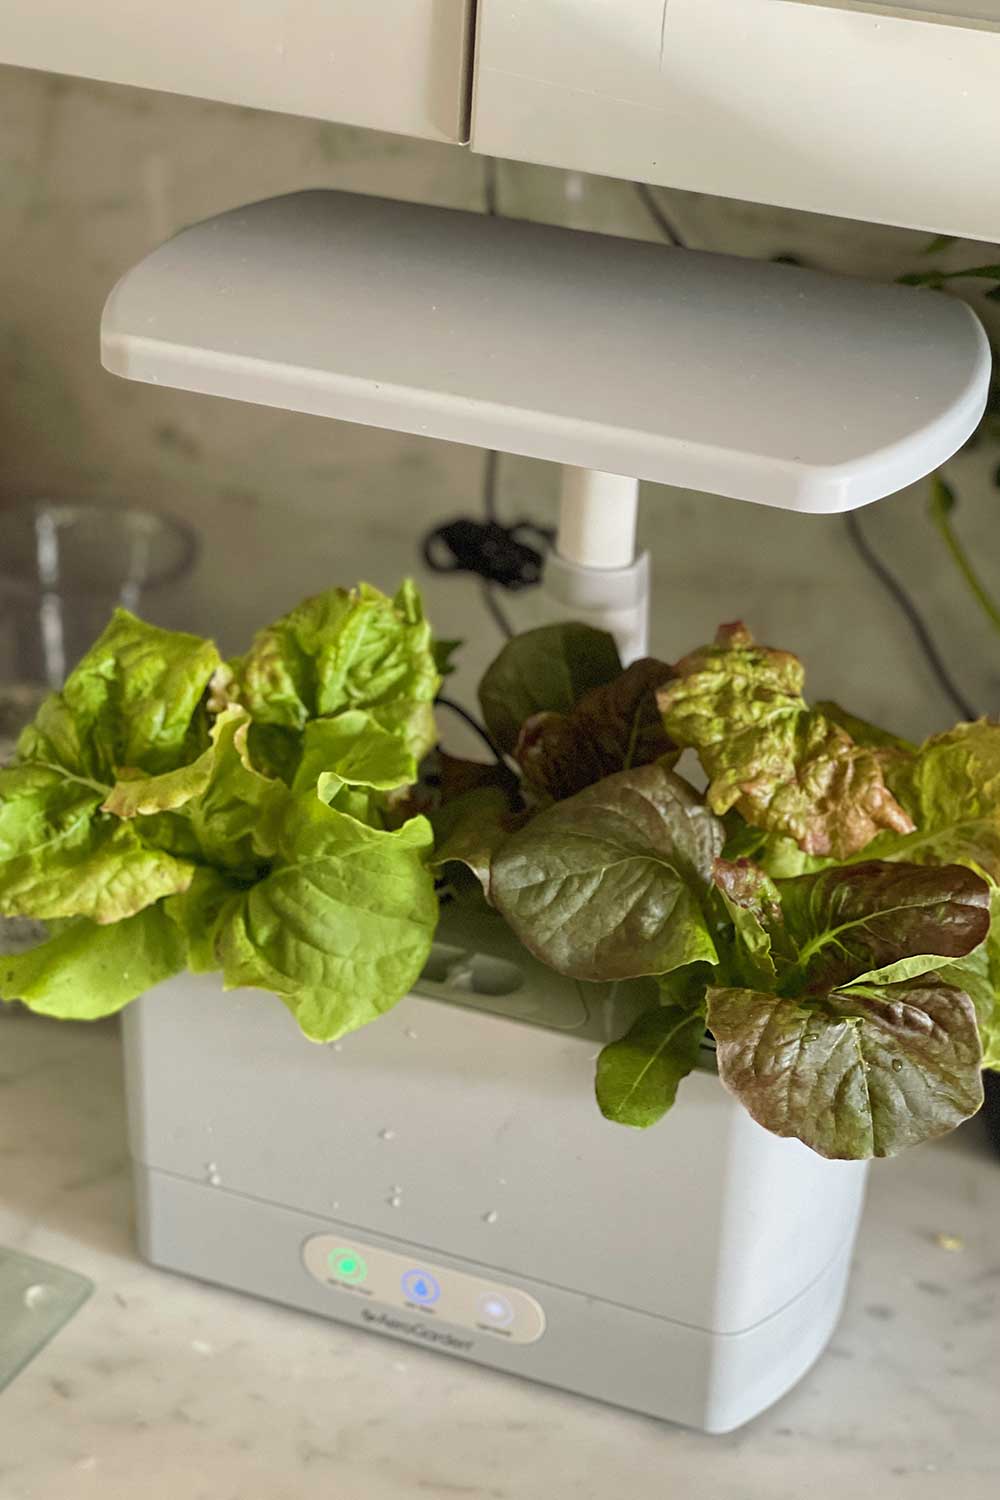
Or if you prefer lettuces and greens, here are some of my suggestions for beginner friendly varieties:
4. Assemble the Machine
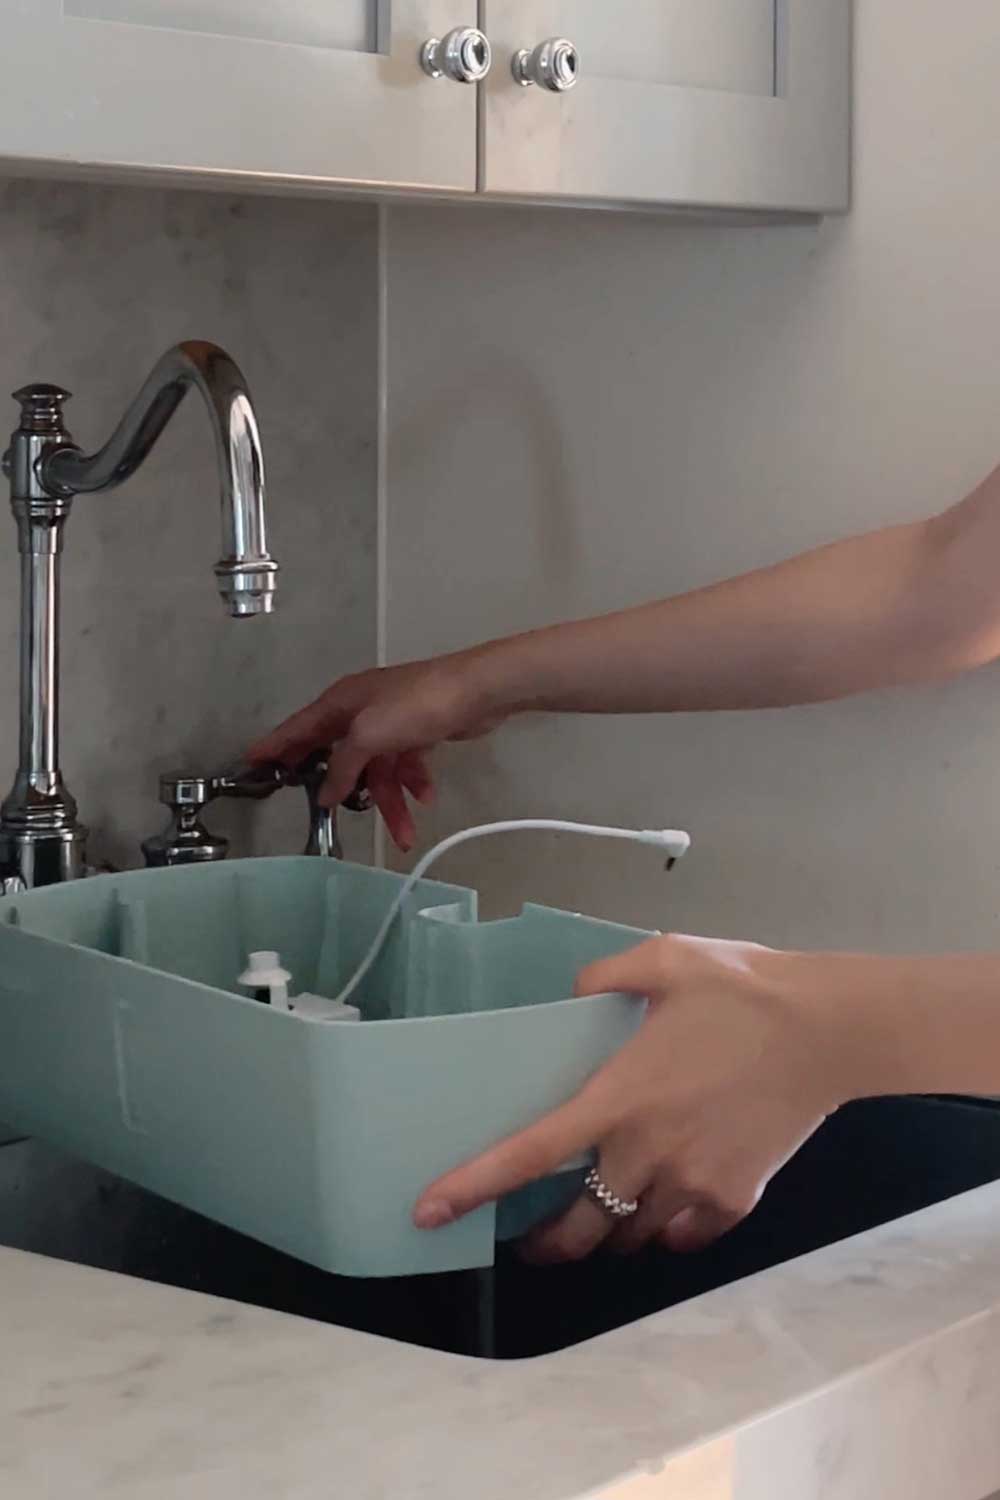
Once your indoor garden and seeds arrive, it’s time to get planting!
The machine doesn’t require much, if any, assembly.
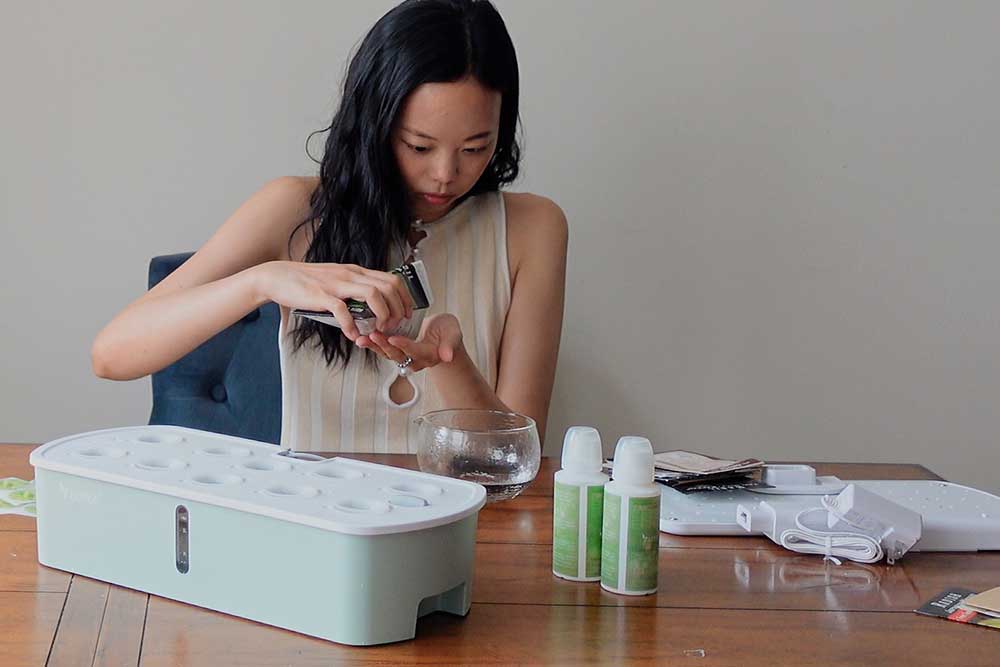
The grow bowl is all one piece so you just have to add water.
I find it easiest to fill up the bowl first.
5. Add Grow Baskets and Sponges
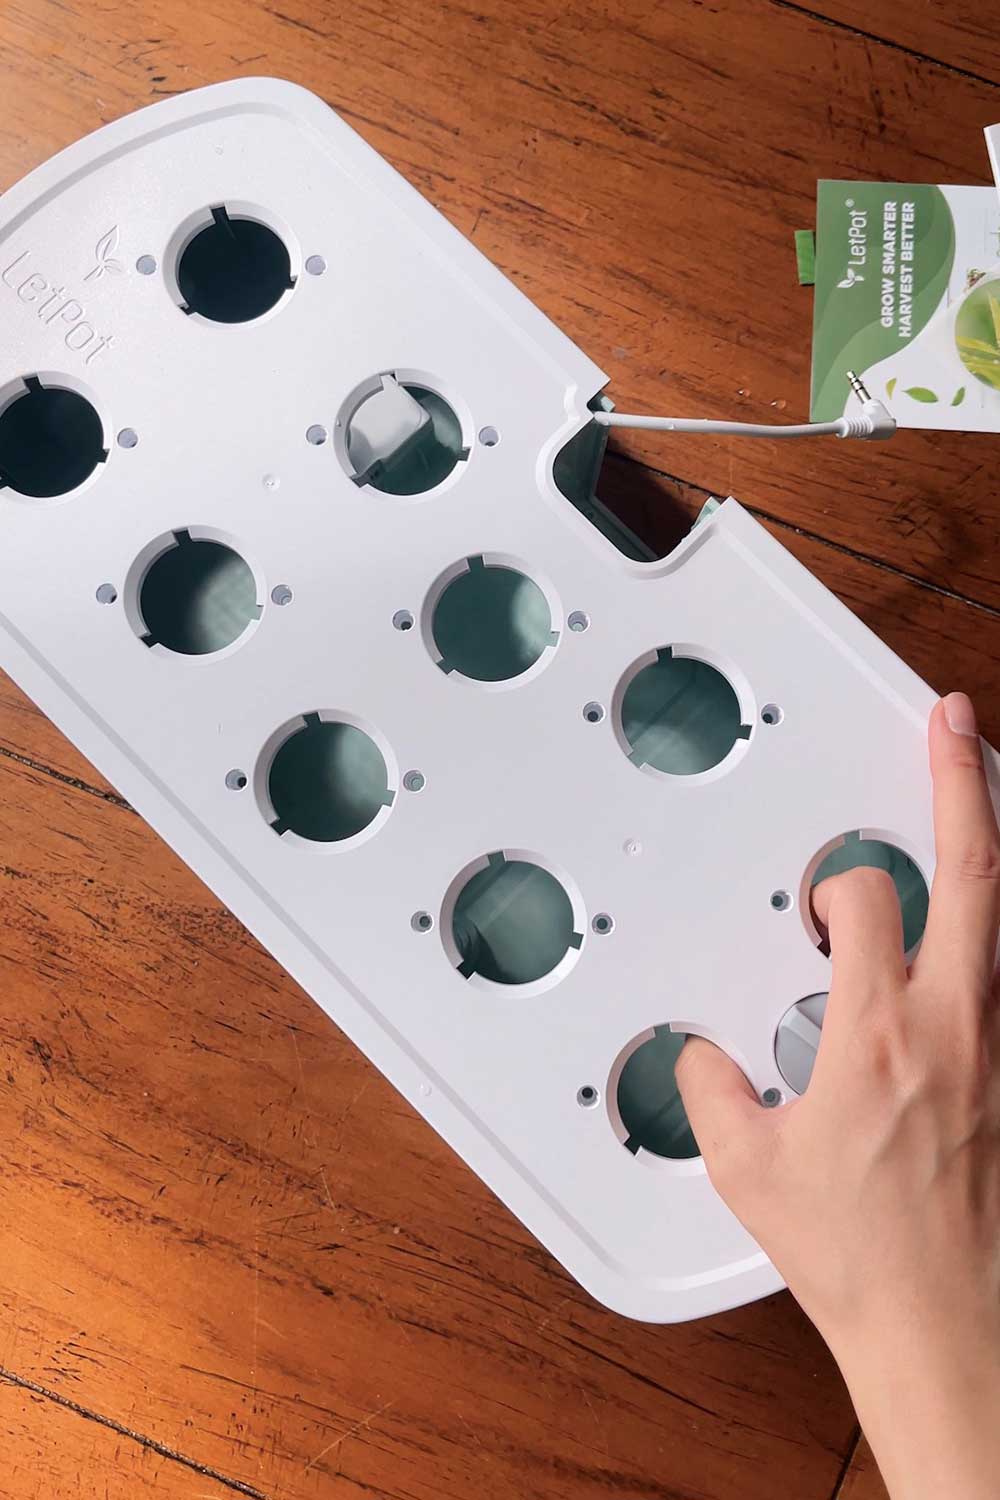
Determine how many grow spaces you’ll be using.
A general rule of thumb is that plants grow to the size of their space, so the more space you give them, the bigger they’ll get.
If you leave some spaces empty, you’ll end up with larger plants.
But, I know for me, it’s tempting to fill up every grow space..
I always want to try to grow as many different varieties as possible!
So, here’s my tip:
For herbs and lettuces, it’s ok to plant every single hole. Herbs and greens don’t get that large so you can get away with filling every space.
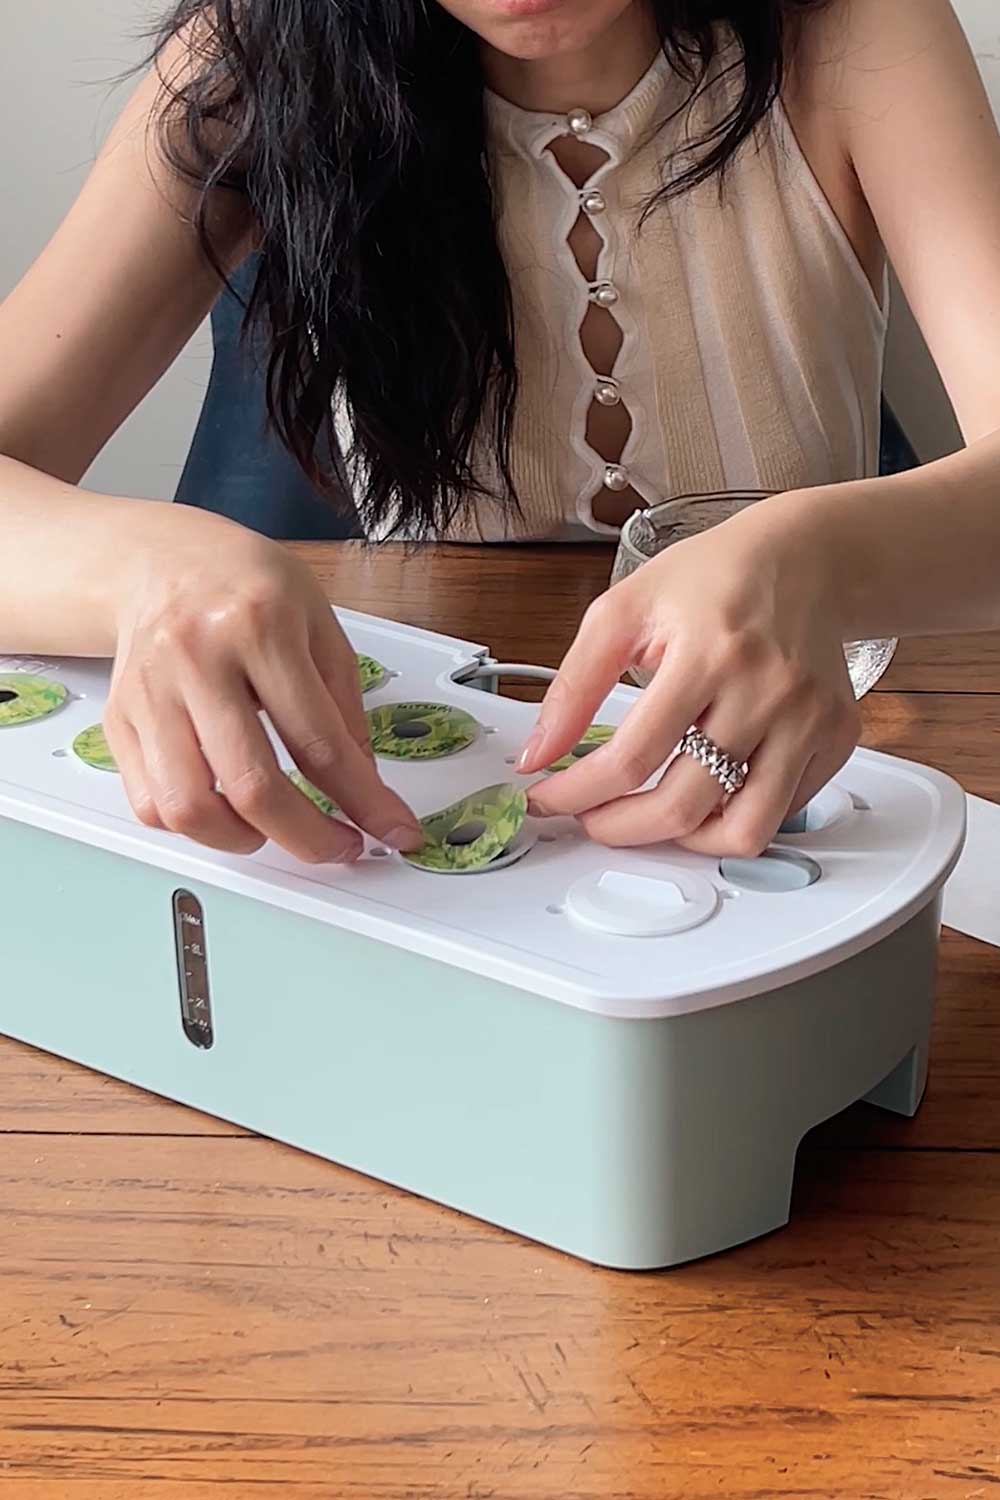
Once you’ve decided on how many grow spots you’re using, drop a grow basket and sponge in each space.
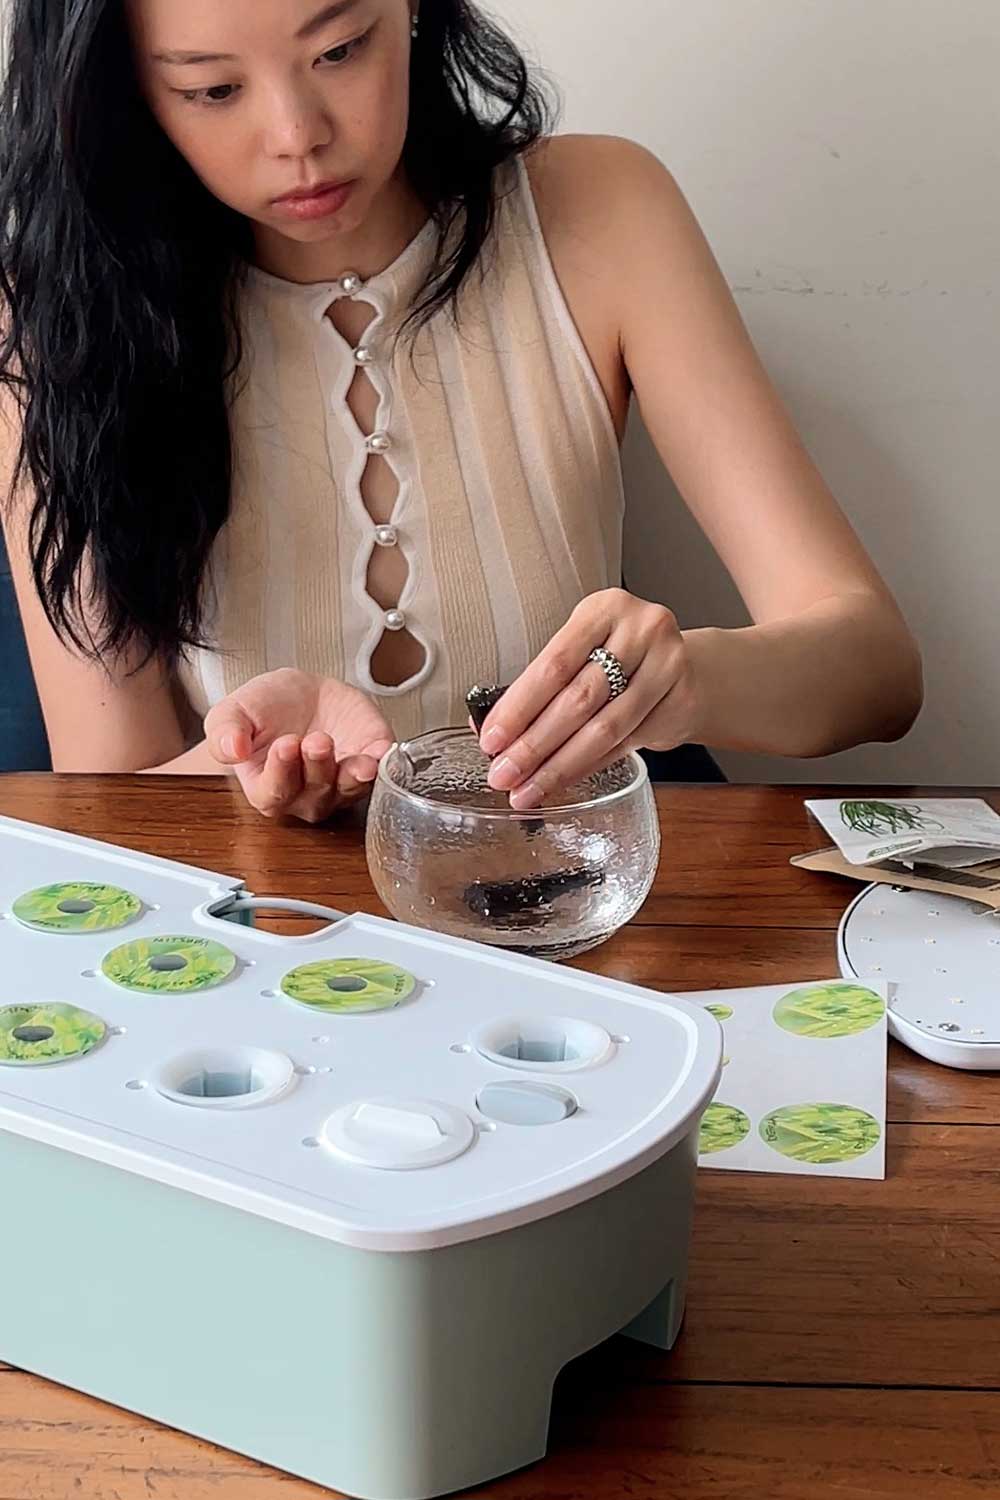
I find it helpful to lightly soak the sponges in a shallow bowl of water. Wring out any excess water.
6. Plant Your Seeds
If you’ve purchased seeds from the seed companies I recommended, the seeds are high quality with excellent germination rates.
However, if you’ve purchased seeds elsewhere, or are using old seeds, the germination rate may be lower.
In those instances, drop extra seeds in each sponge (so more than 1 for lettuce, more than 3-4 for herbs) and then if extra seeds germinate, cull the rest.
7. Add sticker labels
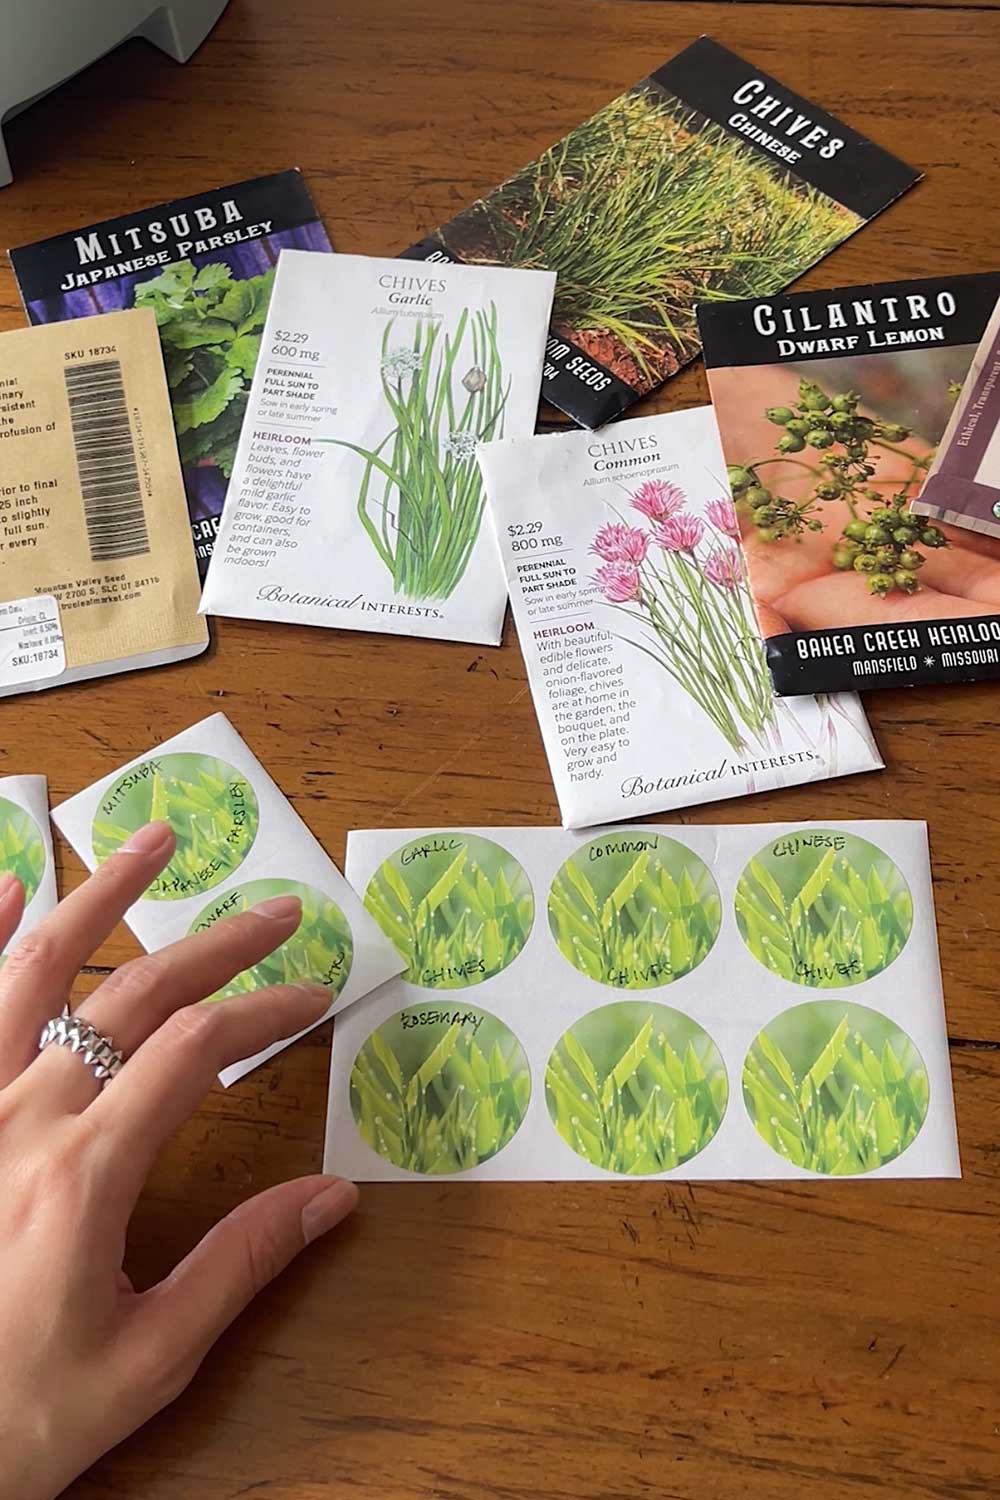
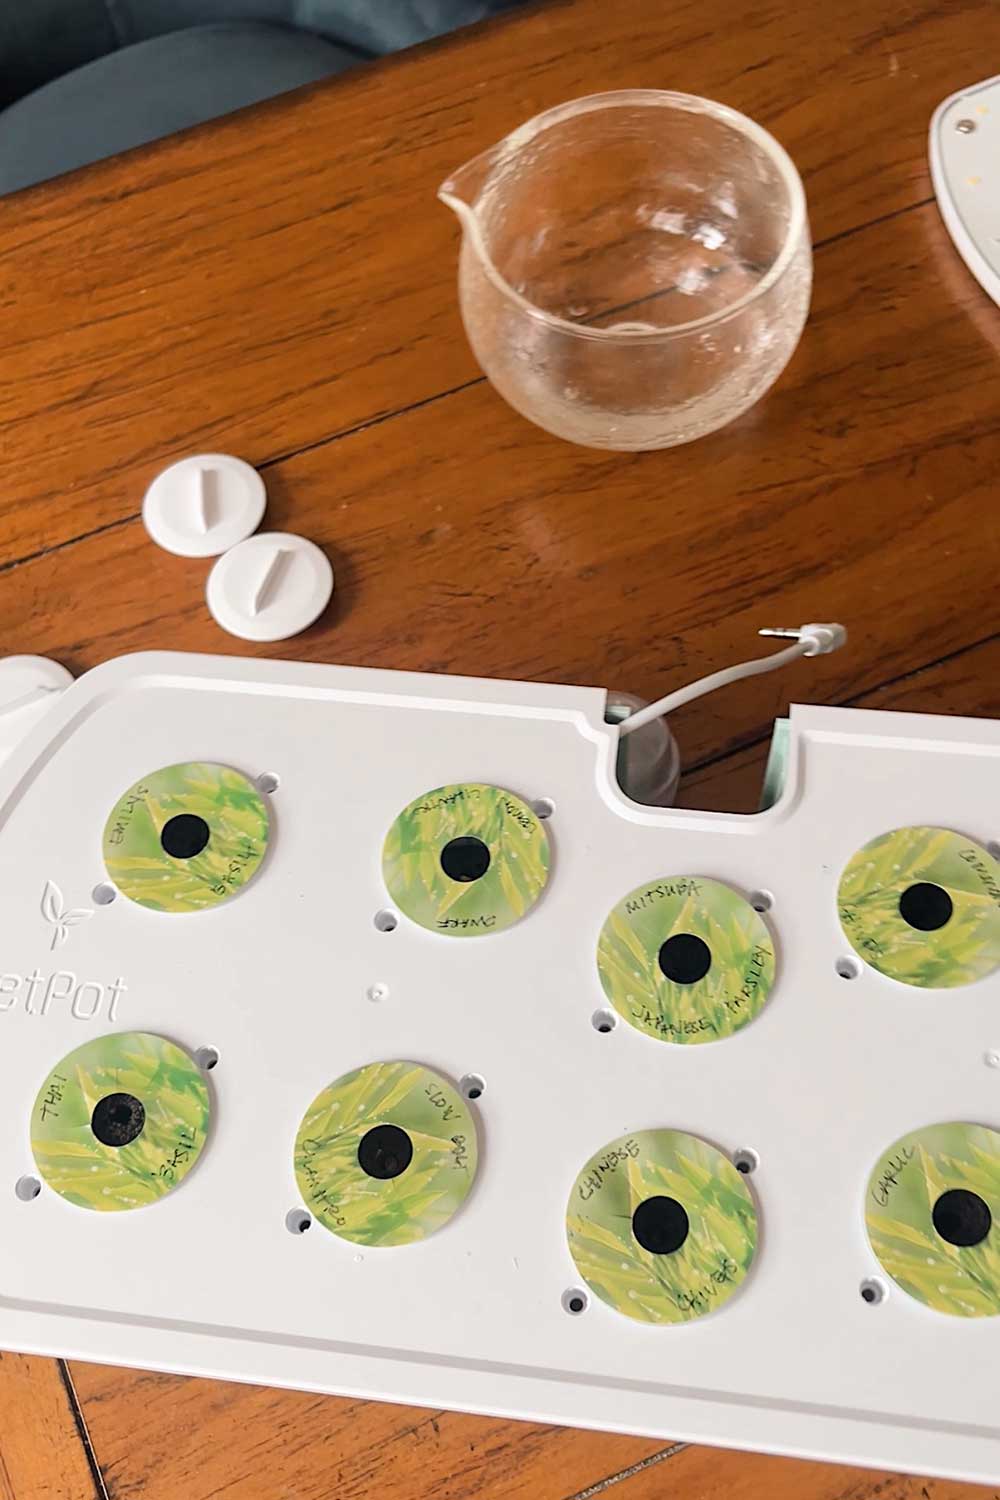
I find it helpful to write the names of each plant on the included stickers.
Sometimes I forget, think I’ll remember the plant type, and I never do… so labeling at the beginning is key!
Make sure the sticker has a small hole in the center for the plant to grow through. You may need to pop out the inner circle.
Add the sticker label to the rim of each grow basket.
8. Attach the light
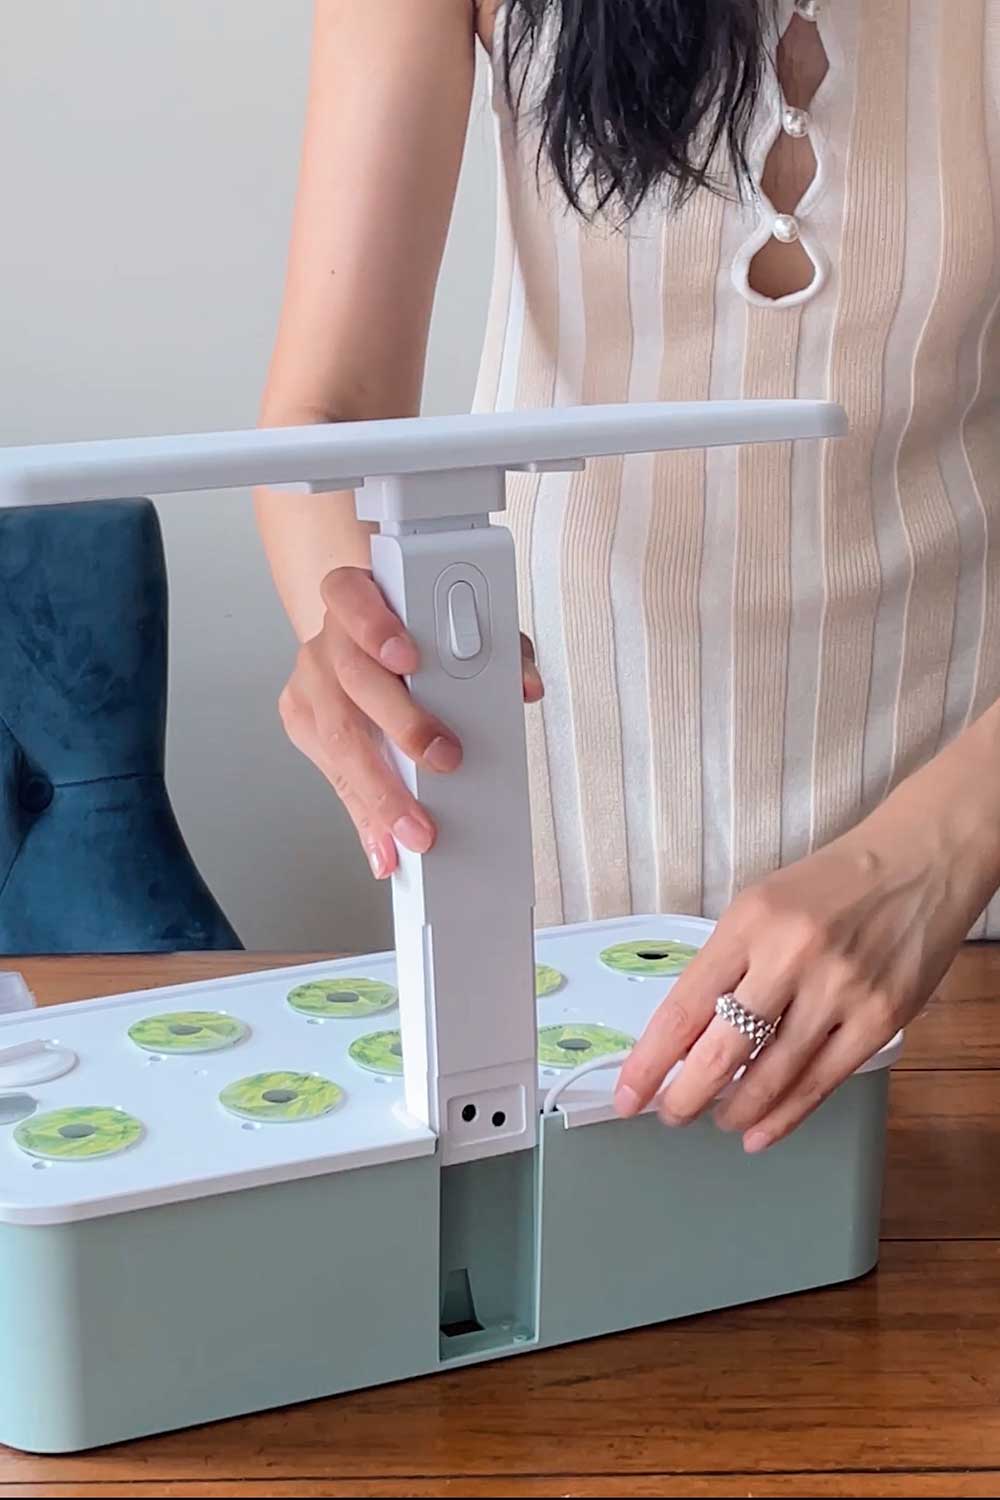
The LED comes detached from the garden (for easy cleaning).
Assemble the light and make sure to leave it at the lowest height setting, so that it’s as close to the base of the garden as possible.
You want the LED light to be about 4-6 inches from the height of the plants.
As the herbs and lettuces grow, you’ll gradually raise the lights, always maintaining the 4-6 inch distance.
9. Place the clear domes
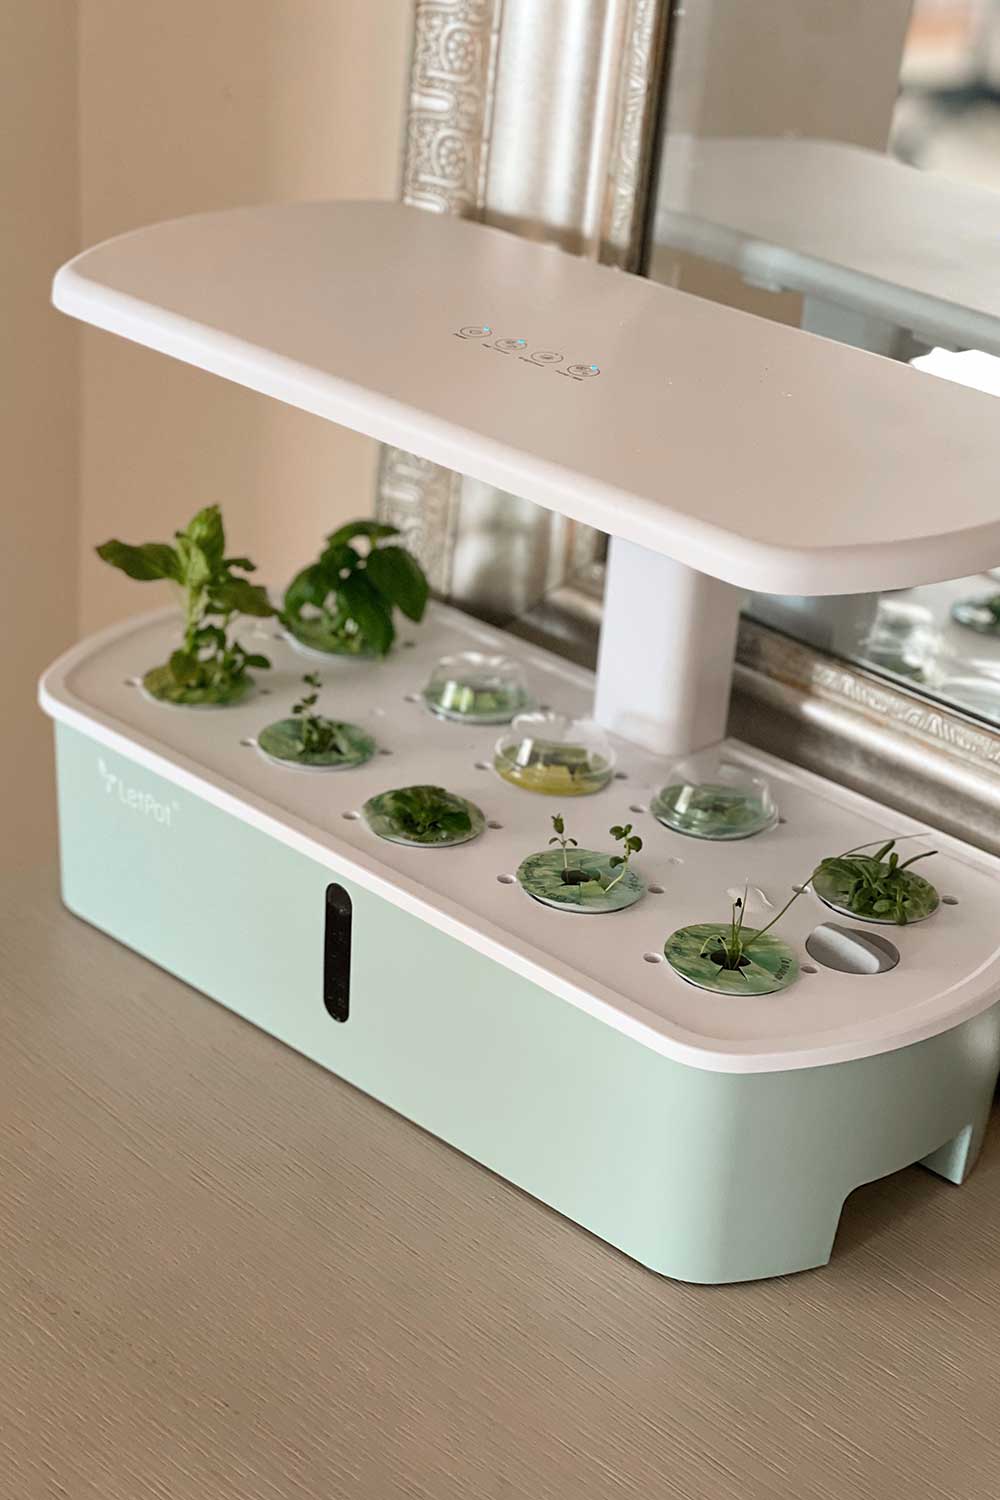
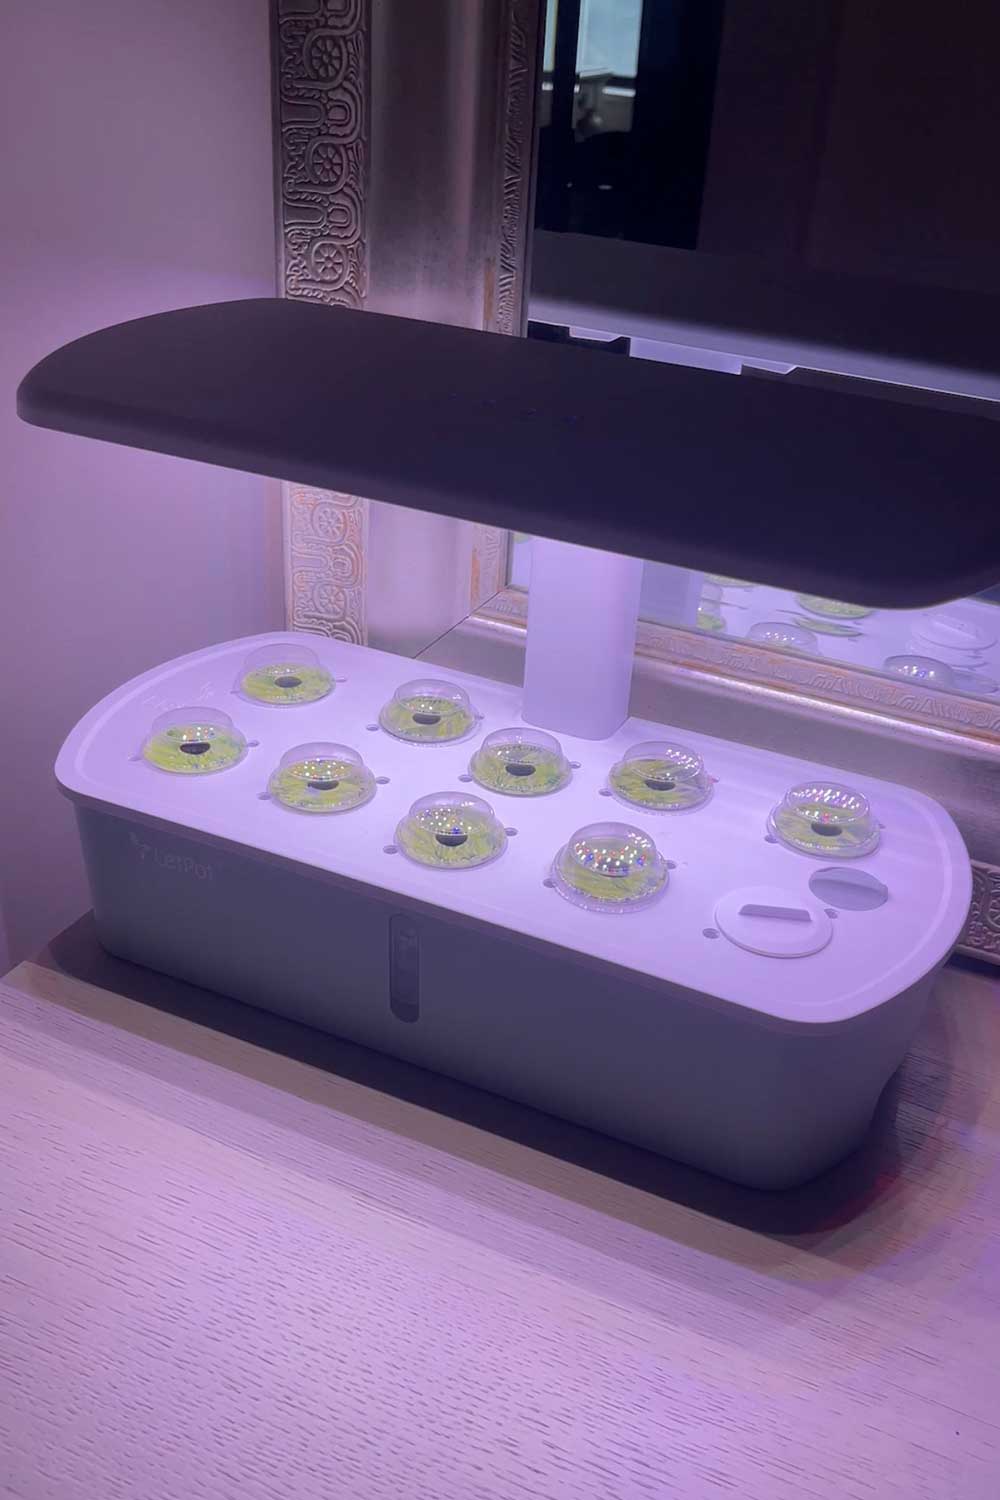
To help with seed germination, the indoor garden comes with clear domes.
These act as a mini greenhouse, creating humidity and warmth for the baby seedlings.
When each seedling grows to the height of the clear cover, you can remove the domes.
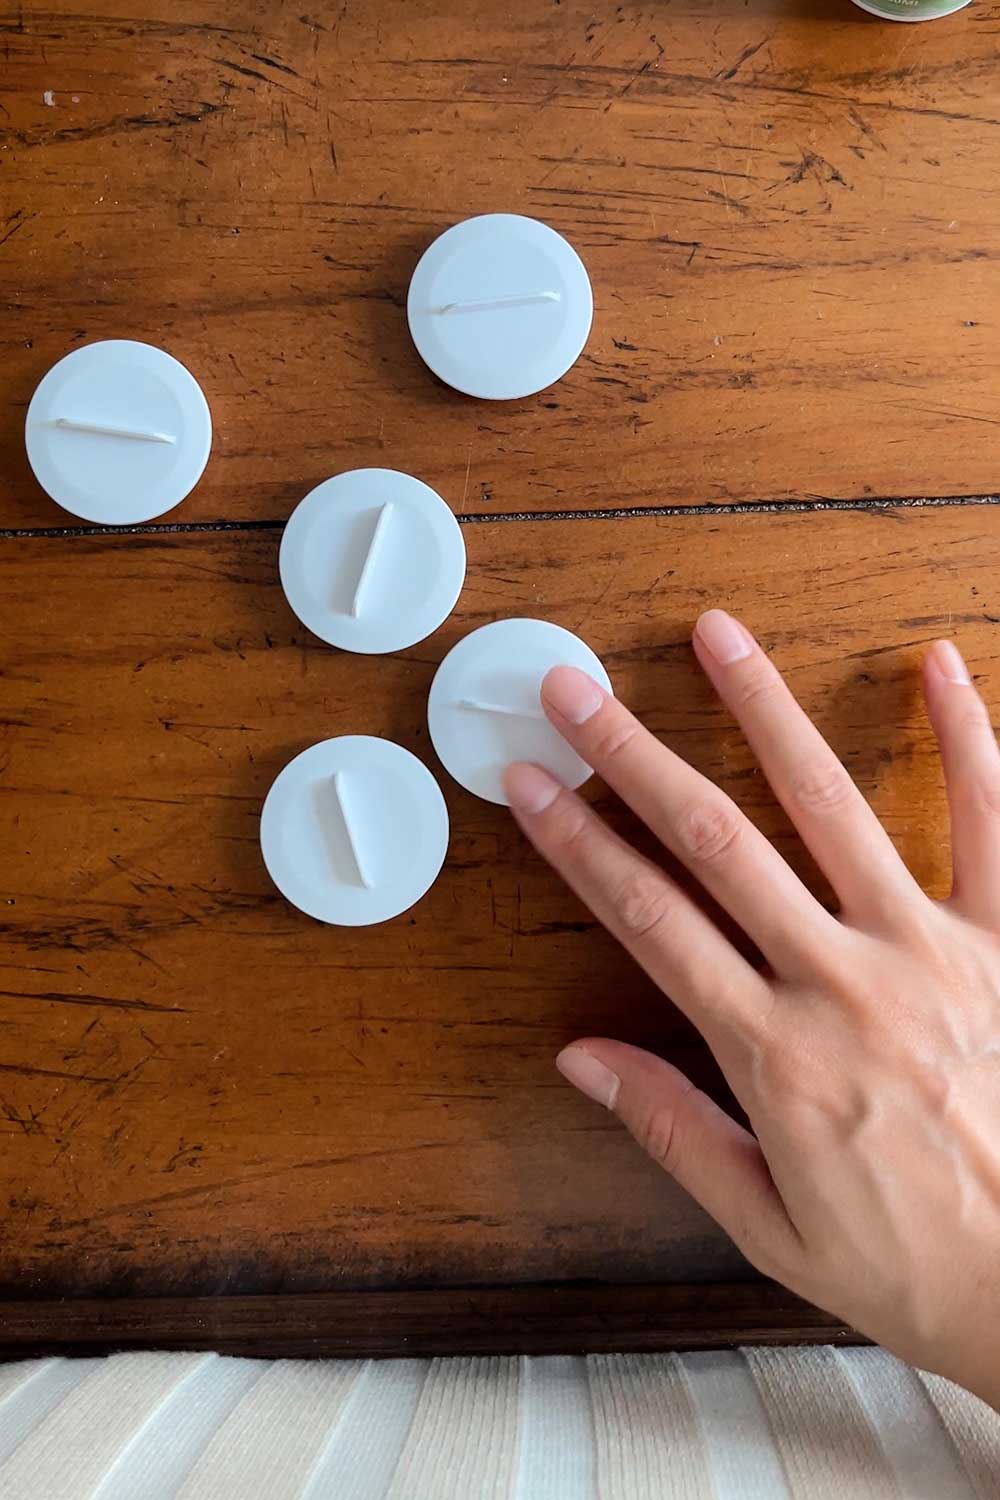
If you’ve left any grow spaces unplanted, you’ll also want to cover the open hole. The indoor garden comes with space covers.
You can purchase more here if you don’t have enough.
Personally, I’ve found that Nespresso capsules fit perfectly so I often re-use my empty coffee cups.
10. Set up the light schedule
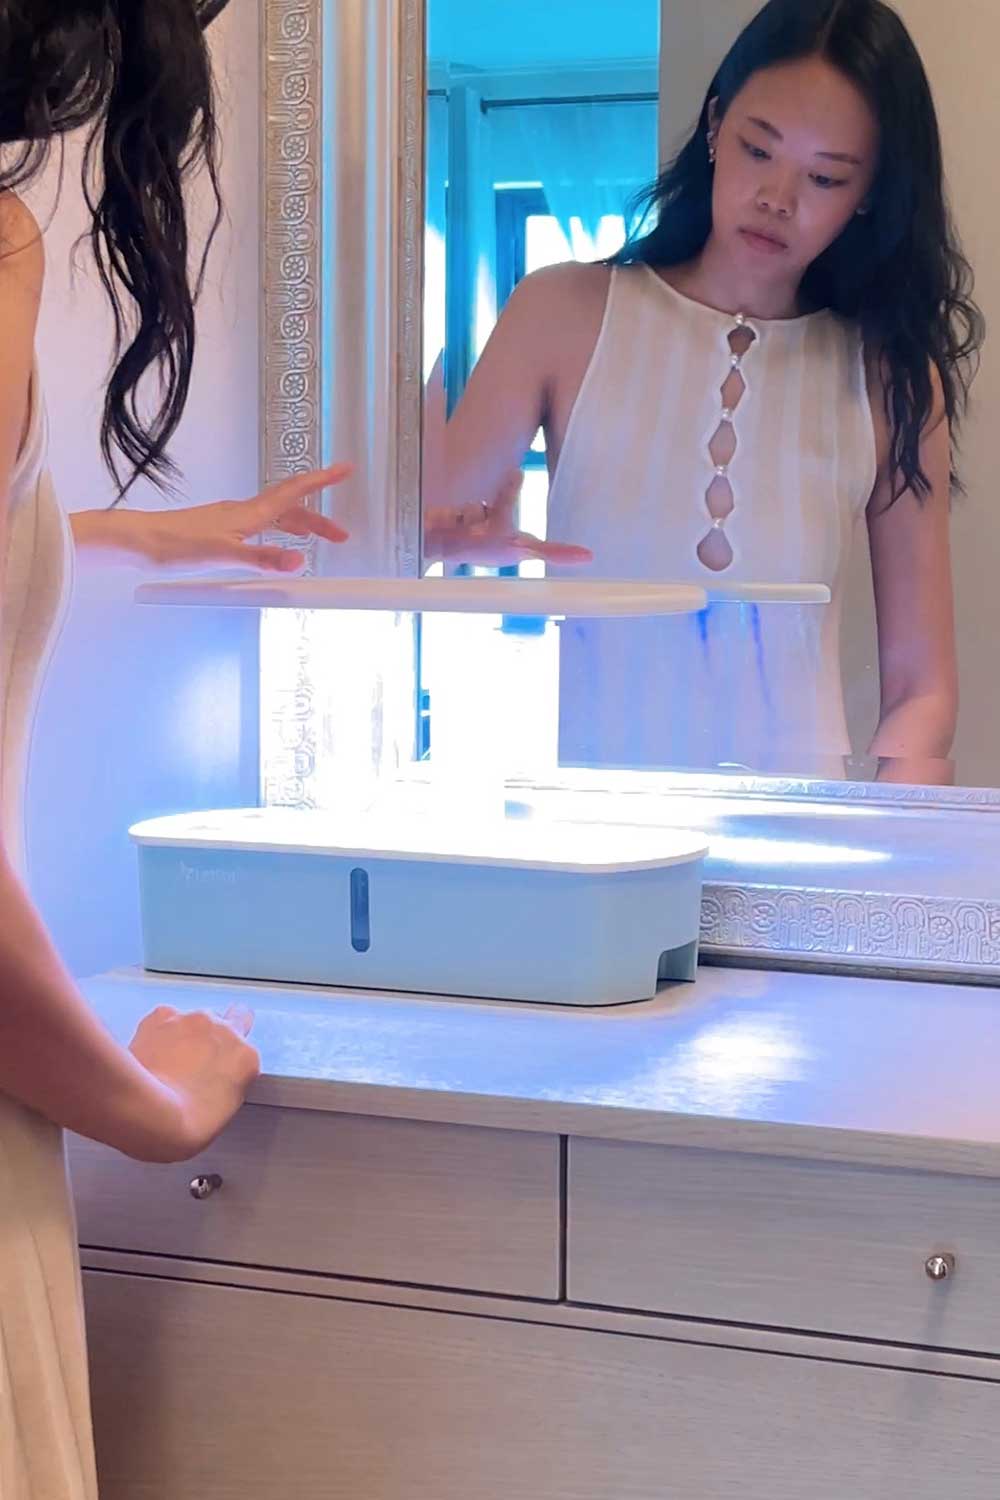
Place the garden where you want it to permanently sit, then plug in the machine.
Some gardens work by automatically starting the lights when the electrical cord is plugged in.
Fancier machines allow you to custom set the light schedule.
I really like and recommend this indoor garden because it’s a beginner friendly machine at a cheaper price point but still has the ‘upgrade’ of letting you custom set the lights.
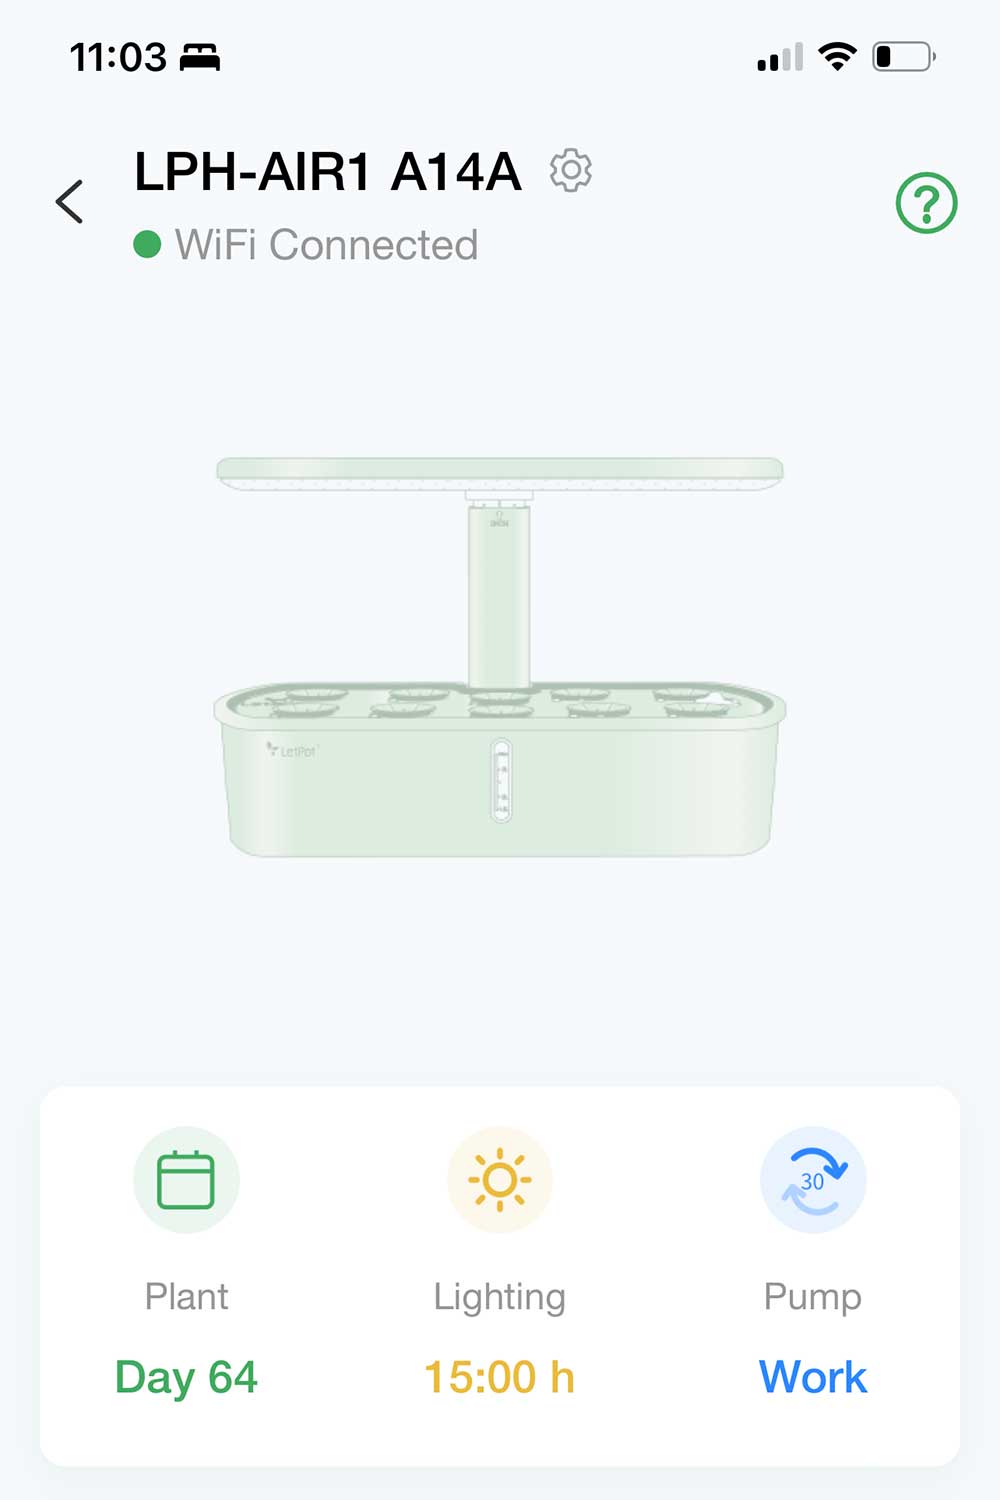
You just have to download the company app and sync the hydroponic garden to your home wifi.
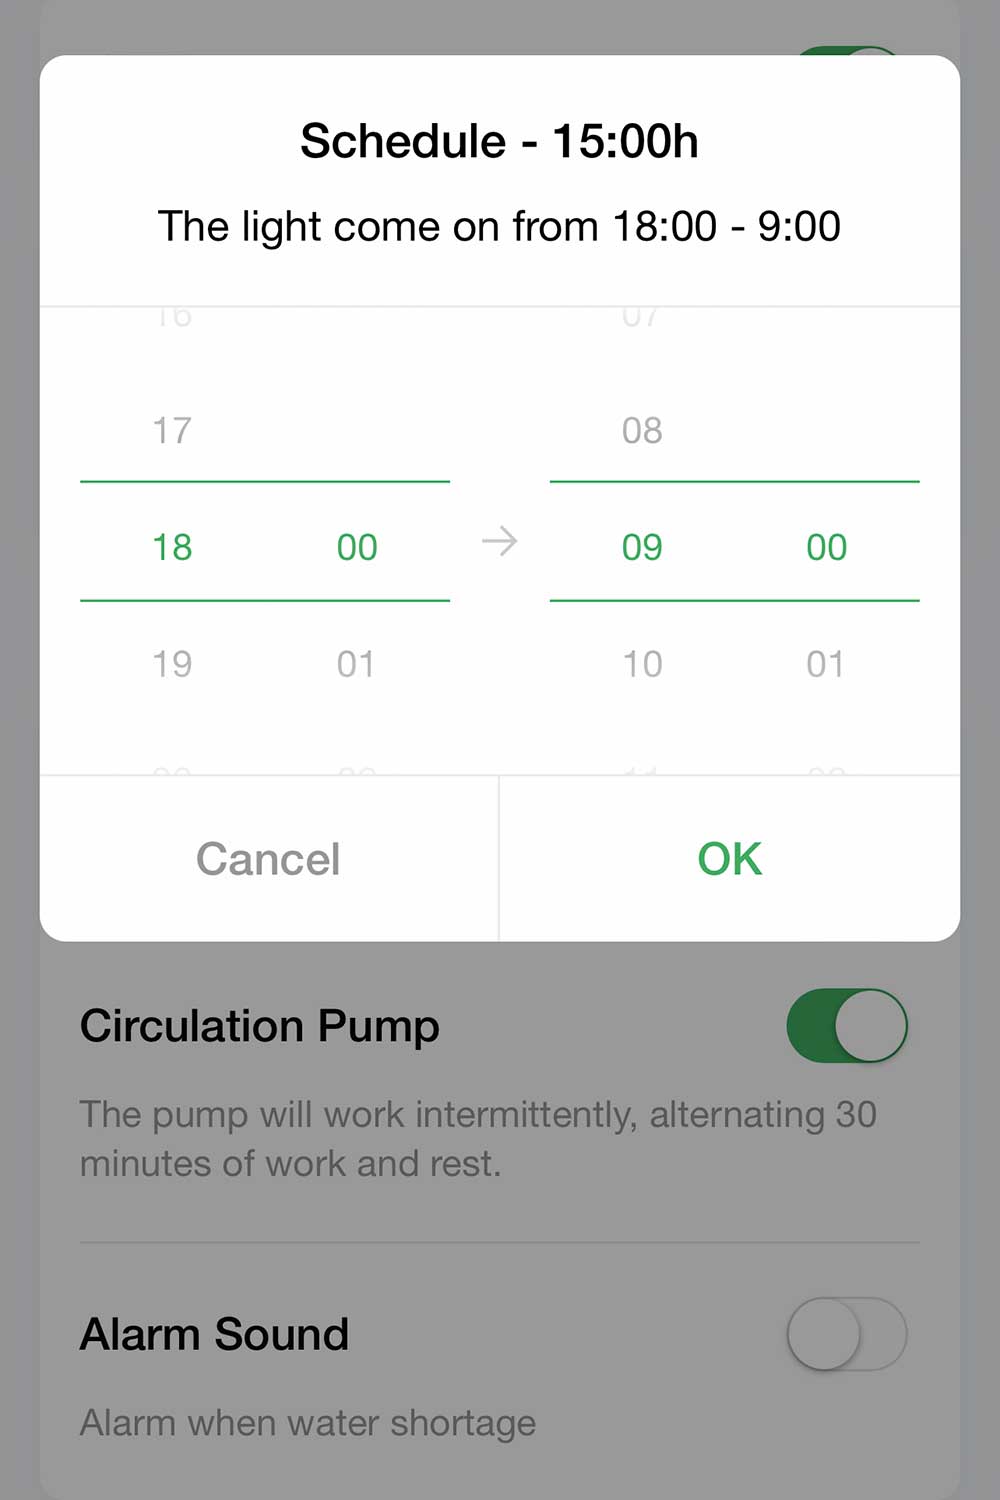
From the app, you can set the light start time, light end time and light brightness.
For the seed germination phase, the dimmer light setting works just fine.
After the plants have sprouted and grown to the height of the humidity domes, you can switch the light to full brightness.
A 15 hour light schedule works well for most plants.
I personally set all my gardens to run at night, from 6pm to 9am.
I work from home and find the LED lights to be distracting if on during the day.
By running them at night, I find that I use less house lights because the garden lights are bright enough.
So they do double duty and keep my electric bills a little bit lower, ha.
But if you don’t work from home, it is ideal to run the lights during the day and have them off at night so your plants can get full darkness.
Plants need “sleep” time to recover just like humans!
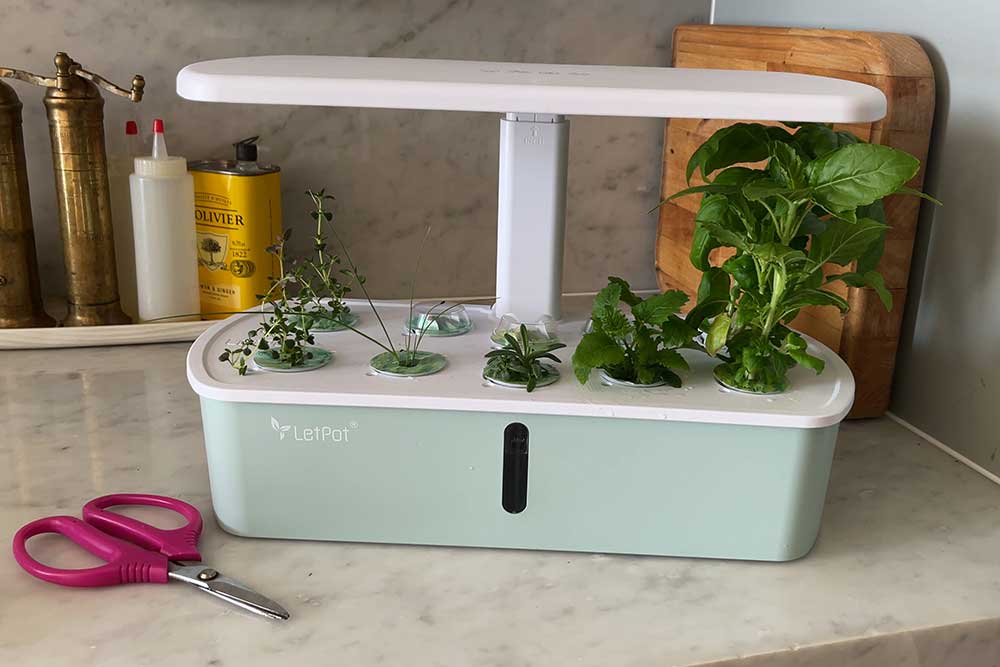
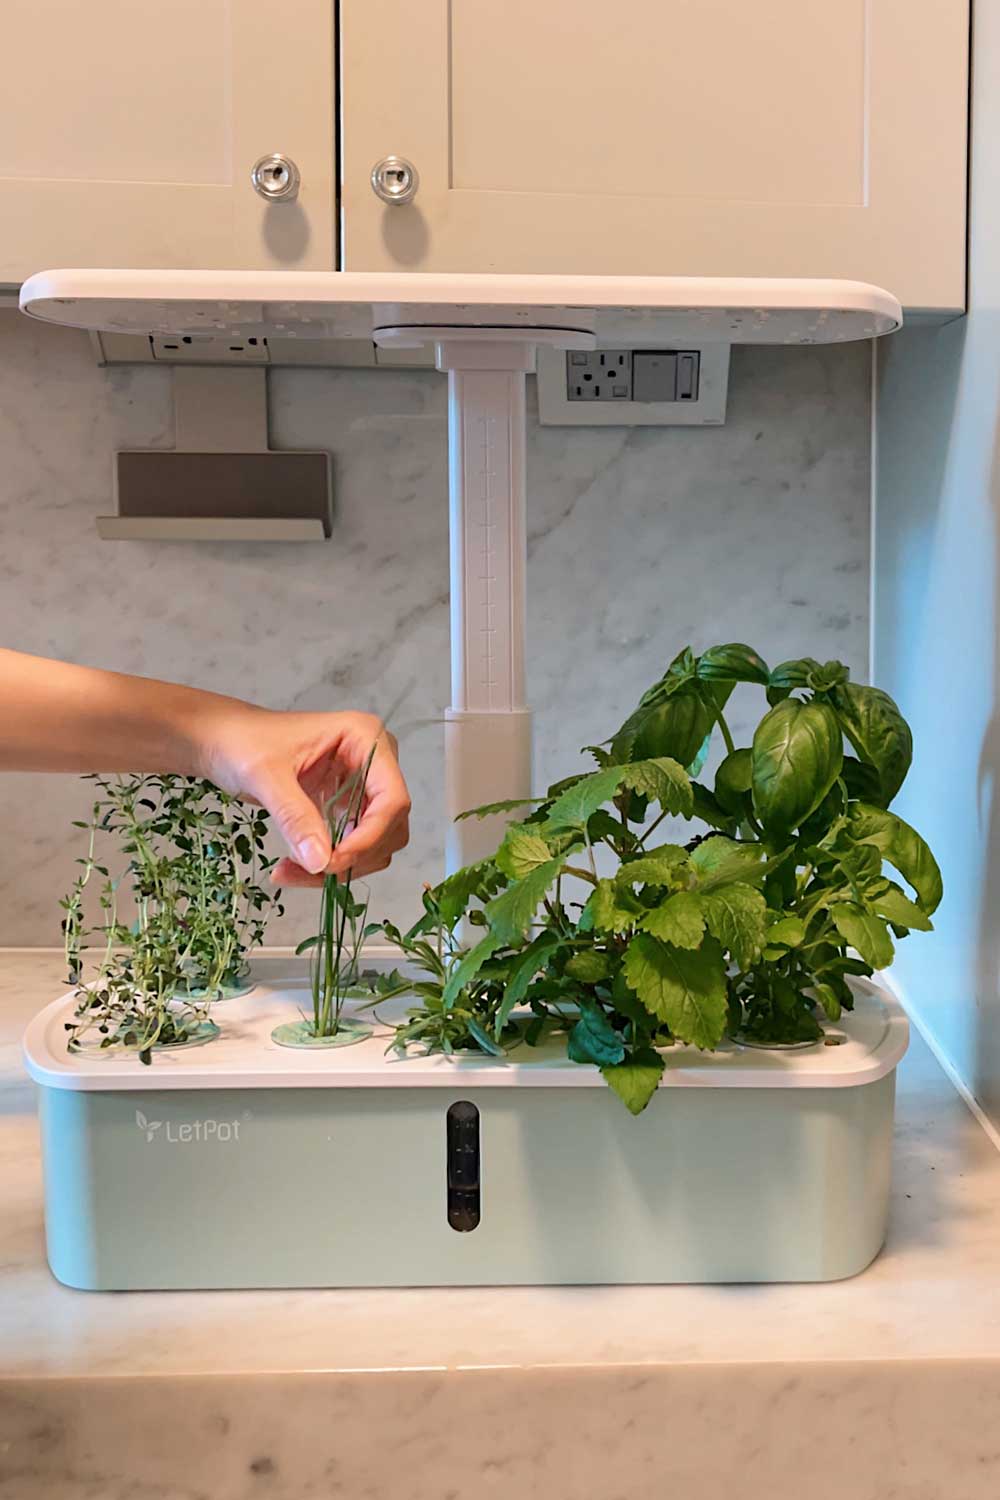
In a couple weeks, the garden should look something like this!
And that’s it!
Set up is very easy and should take about 15 minutes.
From here, it’s a waiting game until the plants sprout.
Depending on the variety you’ve planted, seed germination can take place anywhere from 1 – 21 days. (The back of each seed packet will give you a time estimate)
in part 2, I’ll cover the next phase: growth, pruning and harvesting
The varieties I suggested above are all fast germinating plants, and most should sprout within 4-7 days.
I’ll cover more indoor gardening tips and tricks in part 2!
Follow me on
