Aerogarden Herbs
The #1 question I get from people looking to start an indoor garden is… how do I start?
I always recommend getting a small Aerogarden and growing herbs.
Herbs are beginner friendly, fast growing and easy to consume.
In about 30 days, you’ll have a full blown herb garden.
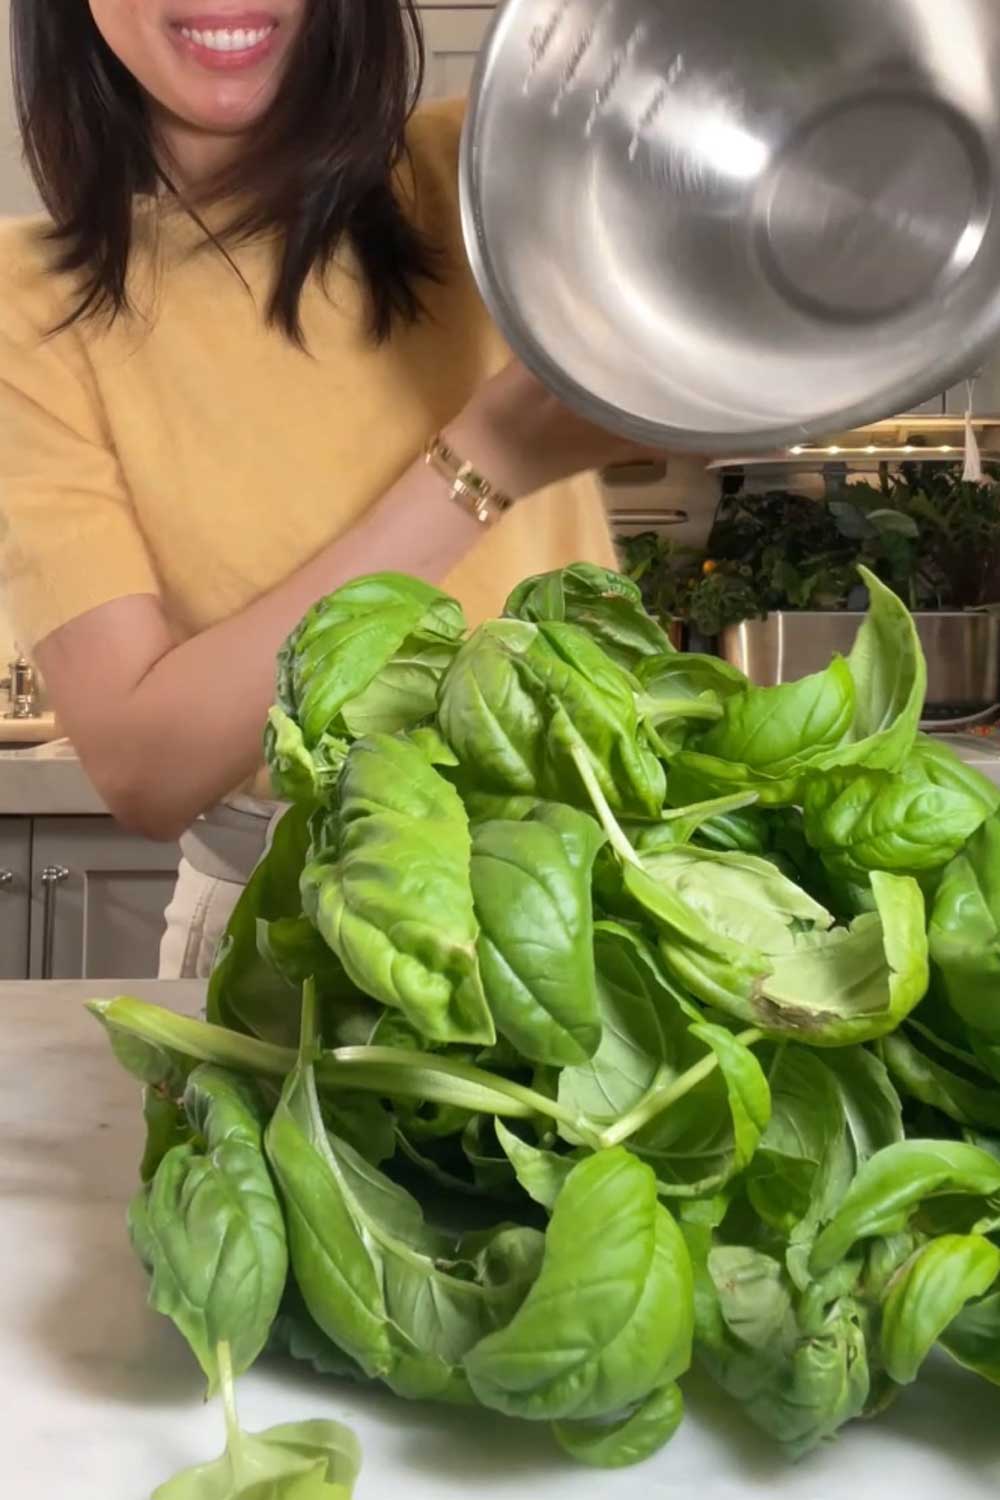
And trust me – the first time you try pesto made from fresh basil, you’ll never buy the pre-made store stuff again.
Of course, if basil’s not your thing, you can grow whatever herbs you like!
Today’s post will cover everything you need to know about growing herbs in an Aerogarden.
Herb Seed Pod Kit
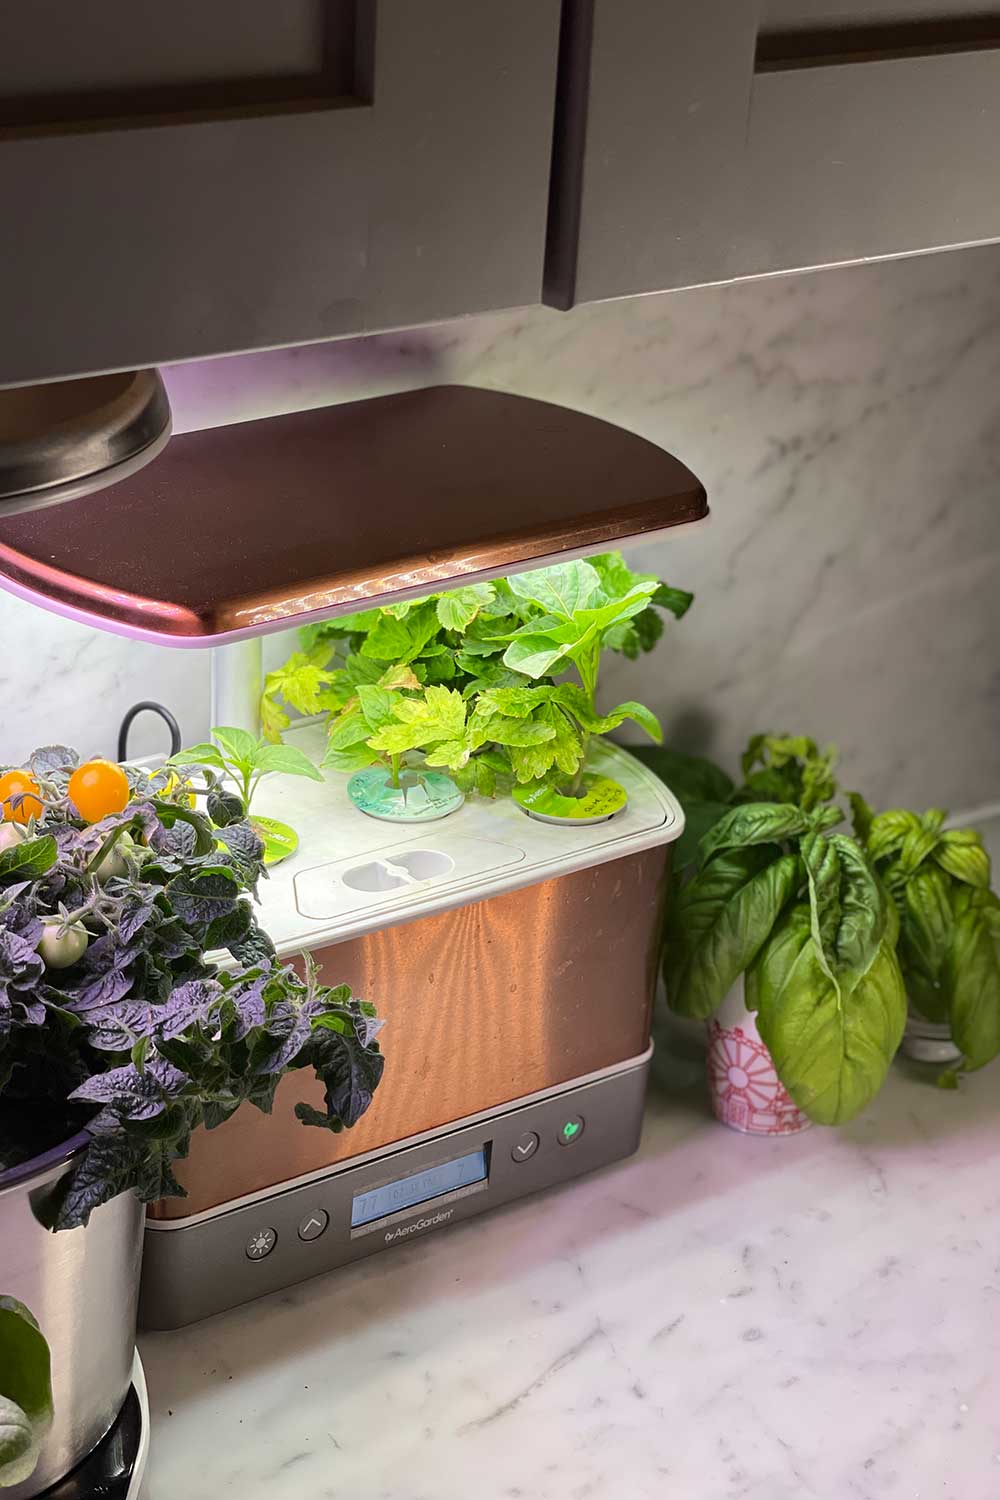
When I got my first Aerogarden (a cute copper Harvest model), the garden came with 6 pre-seeded pods containing:
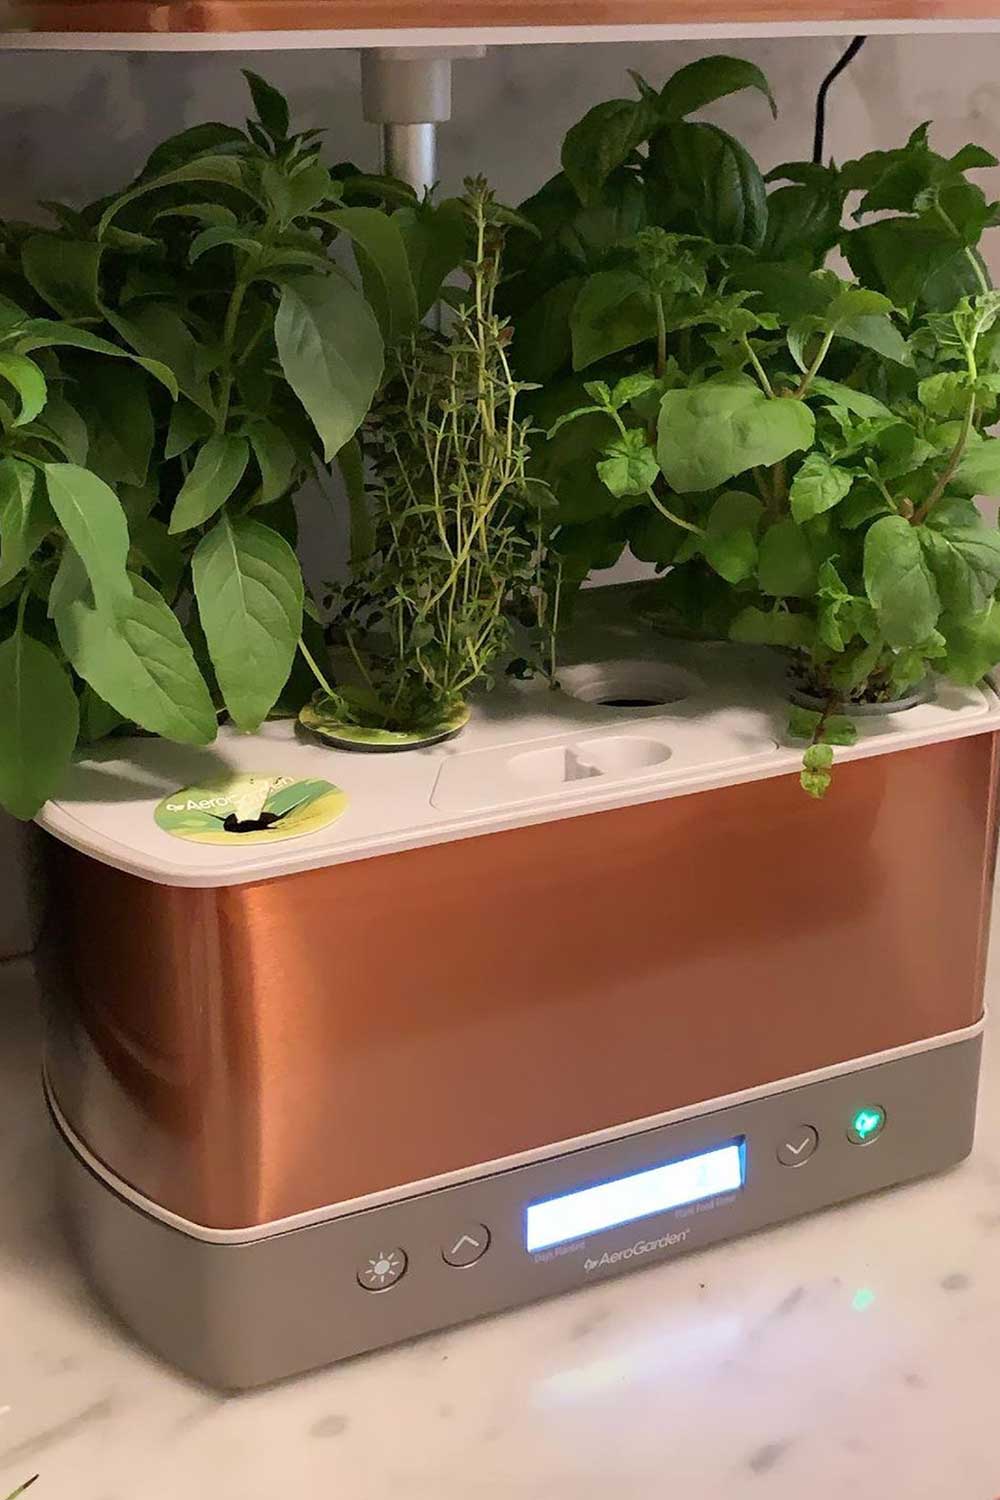
Herbs
- genovese basil
- thai basil
- curly parsley
- thyme
- dill
- mint
I had no idea what I was doing, so the fact that Aerogarden included pre-seeded pods with each garden was really helpful.
Note: Nowadays, the herb set comes with chives instead of dill.
There are cheaper ‘knock off’ smart gardens on Amazon, but they don’t come with seeds.
So, I think the more affordable ‘Aerogarden Alternative’ gardens are better suited for people already familiar with gardening and growing outdoors.
4 of the 6 herbs sprouted – basil is the fastest to germinate and I saw little sprouts in ~4 days.
Parsley and dill can take up to 21 days so those required a bit of patience.
If for any reason a pod doesn’t germinate, you can contact Aerogarden’s customer service and they’ll ship you a replacement pod.
I reached out to them and got replacements for the dill and parsley, that I used in my next round of planting.
Read more:The Best Affordable Aerogarden Alternatives
What herbs grow best in an AeroGarden?
Herbs are very beginner friendly.
At 60 days in, I had a full blown herb garden full of bright, fresh aromatics.
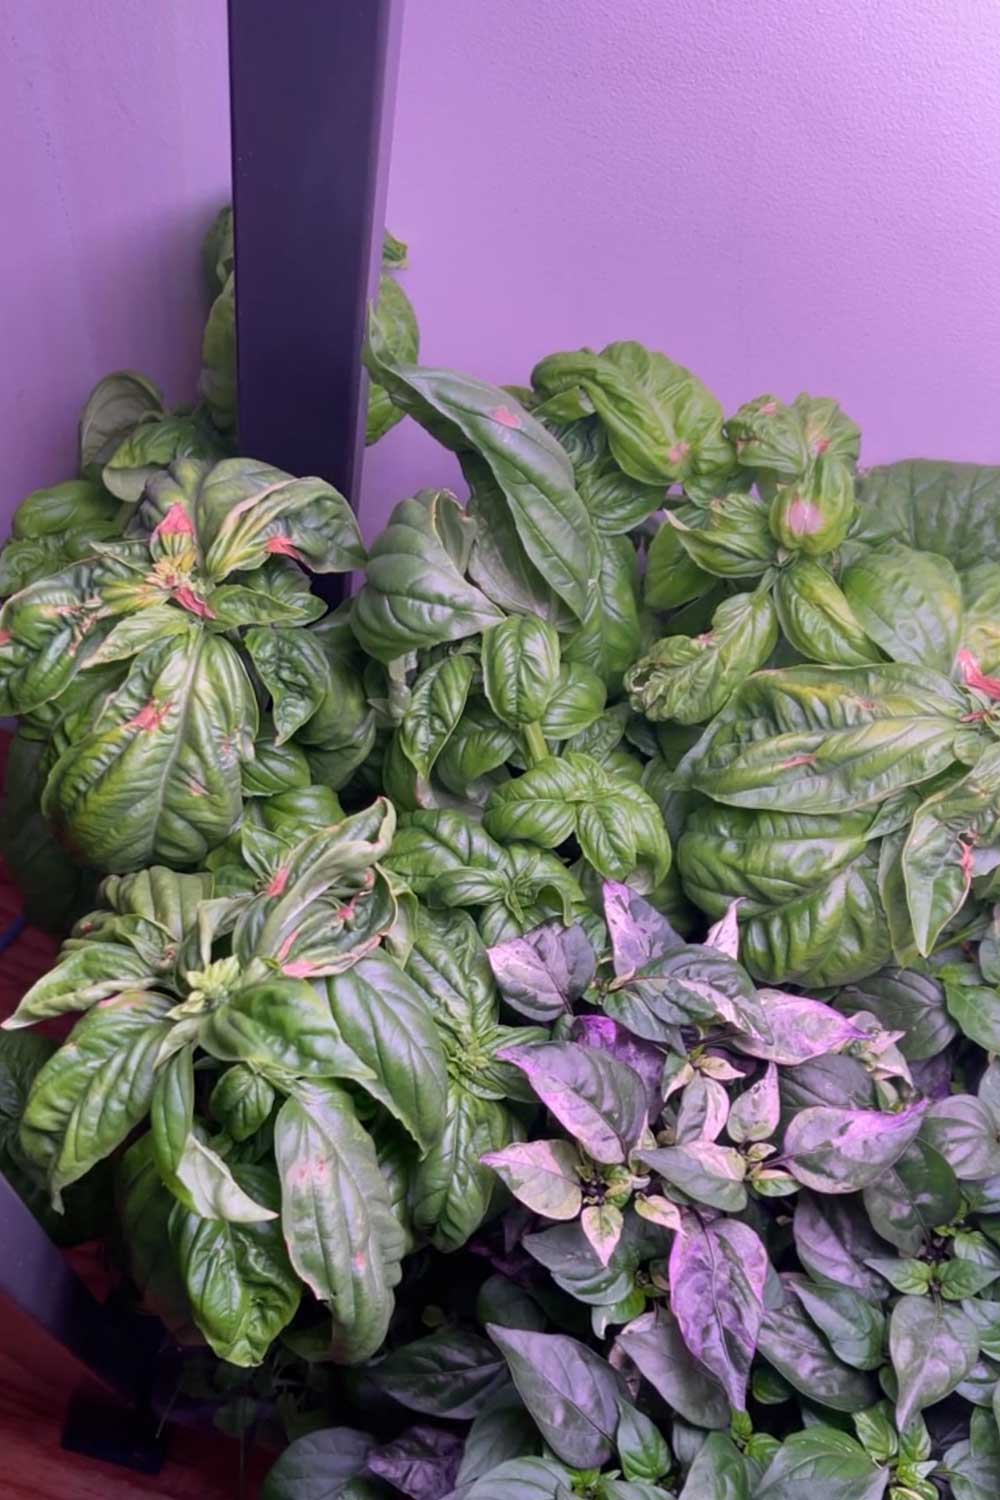
Basil grows like a weed, so I recommend pruning both the genovese basil and thai basil to trim the plants back.
Pruning helps ensure that they don’t crowd out the other herbs.
Regular pruning also encourages low, bushy growth so the herbs will produce more!
Pruning Herbs
When growing outdoors, you can often let herbs go wild.
But indoors, pruning is essential to maximize the harvest and space in an Aerogarden.
Certain herbs, like basil, will grow faster and more quickly than the others. So pruning helps ensure all the herbs can grow together, at roughly the same height.
It also prevents one herb from hogging the light and crowding out its neighbors. When you see an herb reach the light, it’s time to prune.
Each cut made to an herb will also result in the plant forking off into two branches – so pruning leads to double the growth and gives you more!
How to Prune Aerogarden Herbs
Once the plants have grown to ~2 inches tall, you can start to prune.
Never take more than ⅓ of the plant at a time.
Cut just above a node on the plant stem.
How long do AeroGarden herbs last?
Herbs typically last around 6 months in the Aerogarden.
The key to ensuring herbs last as long as possible is regular pruning and maintaining adequate water and nutrition levels.
Harvest often so the plants continue to produce more.
You may also need to remove flower buds to prevent the herbs from going to seed.
Any type of basil will produce little small flowers – remove those to force the plant to keep growing.
If growing your own seeds, look for ‘slow bolting’ varieties of herbs like basil and cilantro. They’ll take longer to reach maturity and ensure you have herbs for a longer length of time.
Around 6 months, the herbs will start to get pretty tall.
They may reach the max height capacity of smaller models like the Harvest.
If you’re using an Aerogarden with a taller height capacity, like the Bounty or the Farm, then the herbs will have more time to grow even bigger!
But you can also transplant your herbs into a separate container or outside into a raised bed.
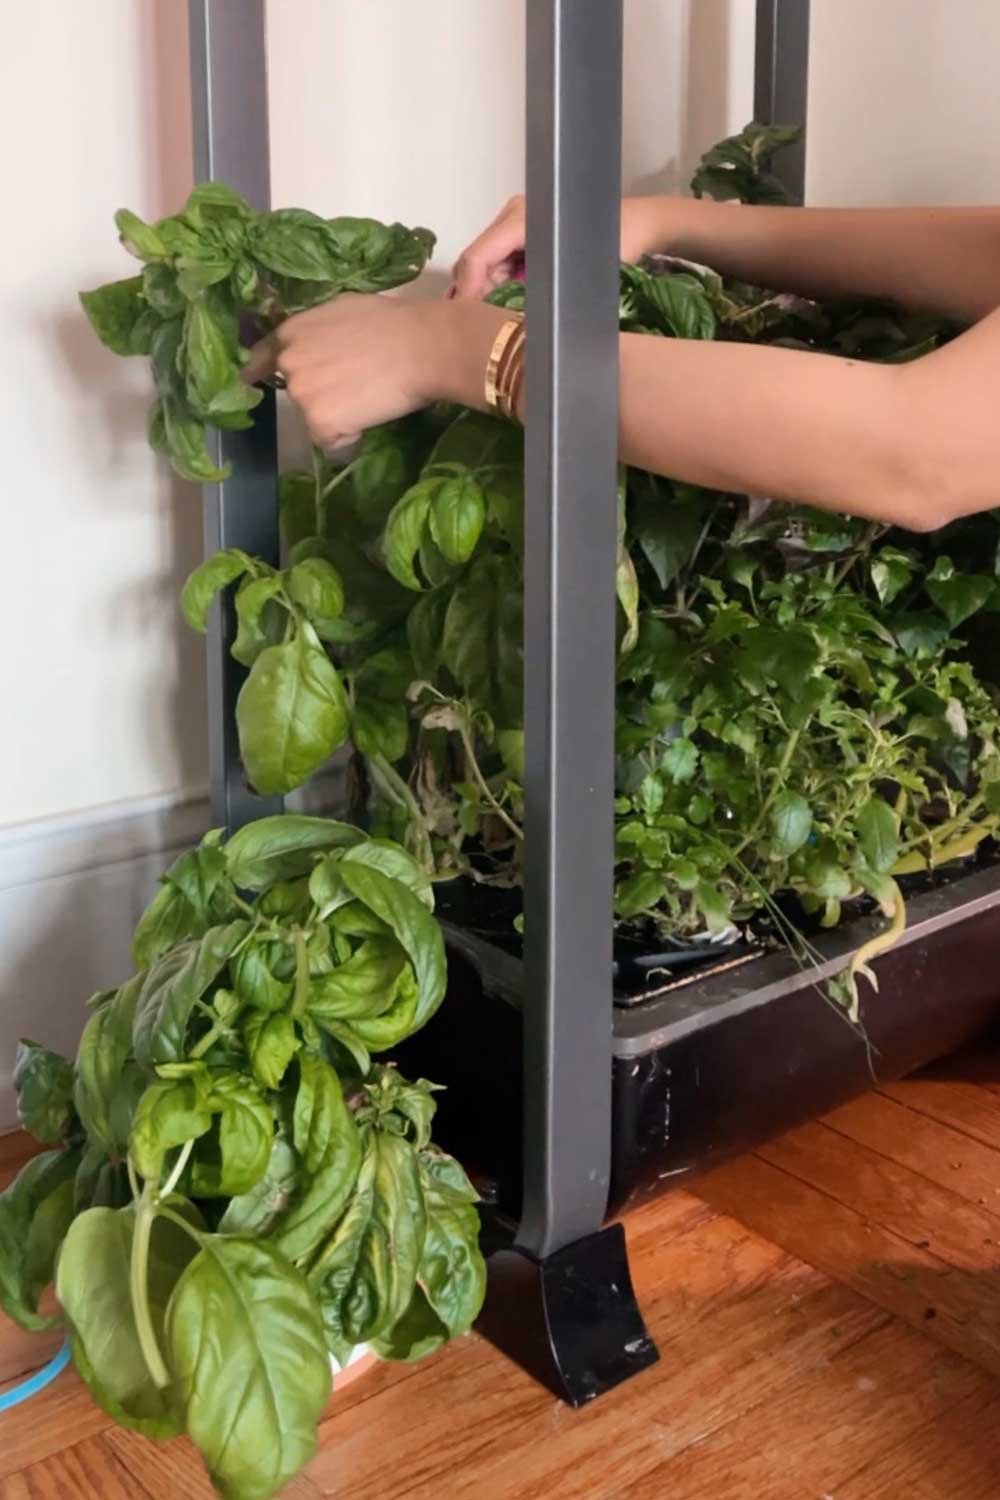

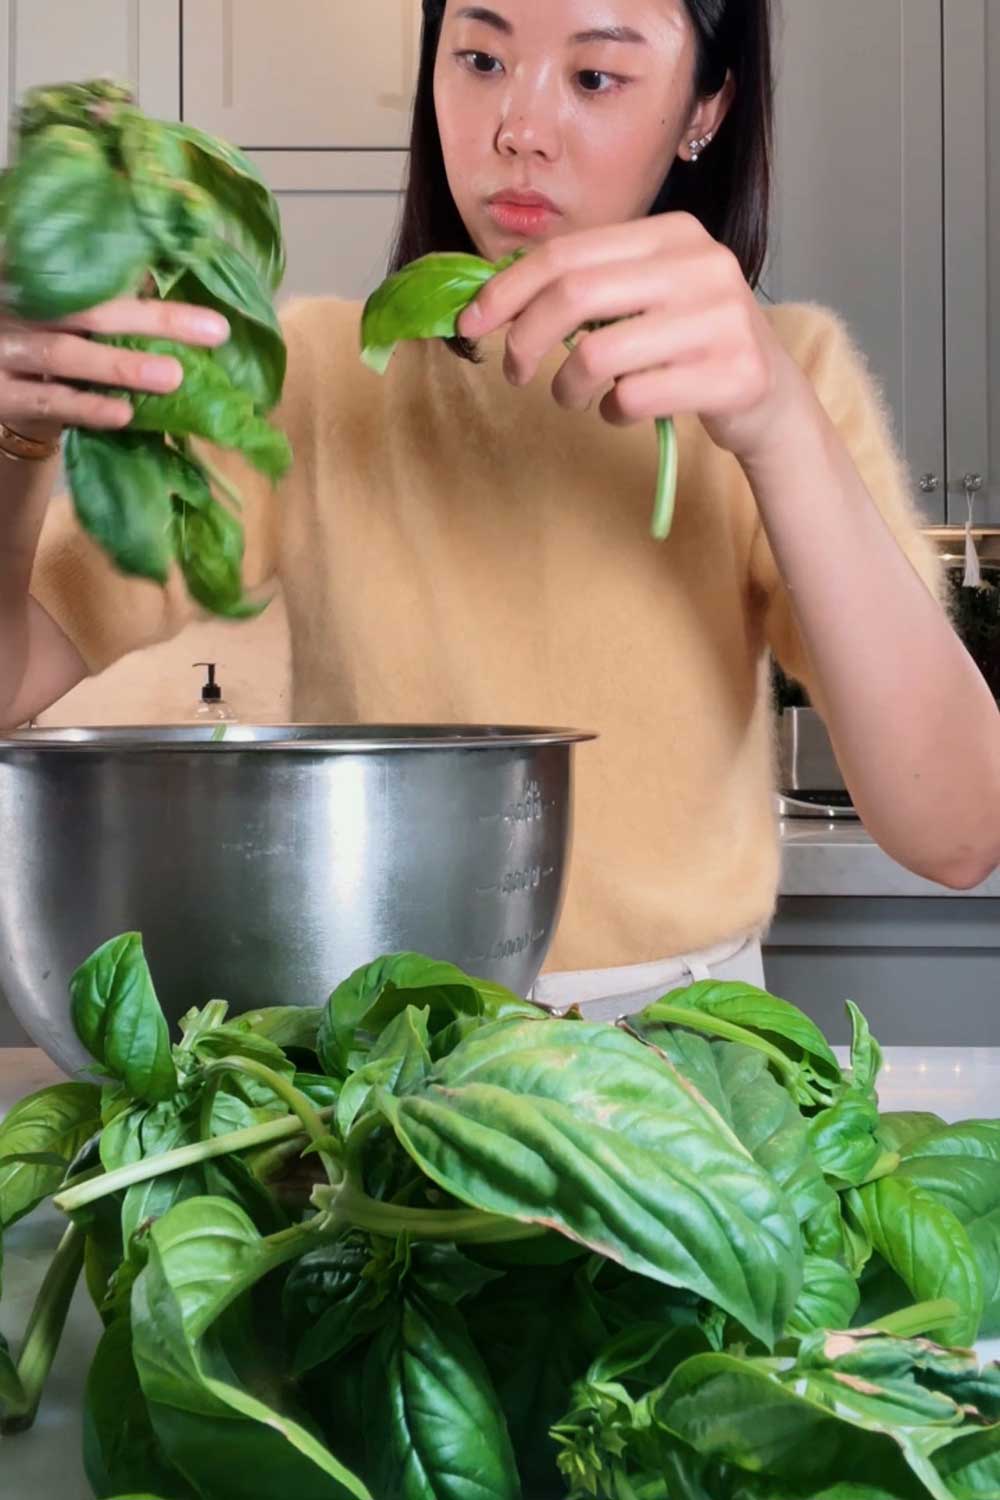
the more room you give a plant, the bigger it’ll get! huge basil harvest from my Farm
Is AeroGarden worth it for herbs?
Yes!
Herbs can get quite pricey at the grocery store. A small packet will cost $2-3, with herbs that are half dried out and rot within days.
Fresh herbs have a visible difference in looks and taste.
So personally, I’ll always choose fresh herbs cut straight from an Aerogarden to grocery-bought herbs.
Each Aerogarden machine ranges in cost, from ~$70 to $500.
They often go on sale throughout the year, so you can pick them up for a great deal (and you can also use my discount code SSG to save more $$$!)
Aerogarden Discount Code
Use SSG15 for 15% off any order of $50+
I would recommend getting one of the smaller, affordable countertop units to grow herbs, like the Sprout or Harvest.
Harvesting 1 round of fresh herbs from an Aerogarden Harvest is equal to ~$12
($2 per herb with 6 herbs in the Harvest).
Since the herbs re-grow and produce for up to 6 months, you can easily get 6 harvests (one per month) for a value of $72.
So, you’ll essentially break even with the first round of planting!
The machine can also be cleaned and re-used to grow new things.
I’ve had my oldest machines for 5 years now and have used it to grow herbs, salad greens, lettuces and cherry tomatoes!
So after the one-time purchase cost, and the minimal cost of on-going seeds and sponges, an indoor garden is very cost effective!
So yes, I think the Aerogarden is very much worth it.
Why does AeroGarden not have cilantro?
Cilantro is one of the more difficult herbs to grow.
The seeds are hard shells and typically take about a month to germinate.
So, the company doesn’t include them in their pre-seeded pods because they don’t want you to wait quite so long.
Cilantro is also one herb in particular that doesn’t do as well in a hydroponic environment. The herb doesn’t like moist environments and can rot.
That’s not to say you should give up on fresh cilantro!
You can buy your own seeds and grow cilantro using Aerogarden’s grow anything kit.
I’ve done that and had great success.
I used these seeds to grow lemon cilantro and the plant smells incredible. Bright and zesty, with classic cilantro flavor but slow to bolt.
I smashed the seeds open, planted them in coco coir to get started, then transferred them to my Amazon indoor garden and it took off like a weed.
Read more:The Best Places to Buy Seeds Online
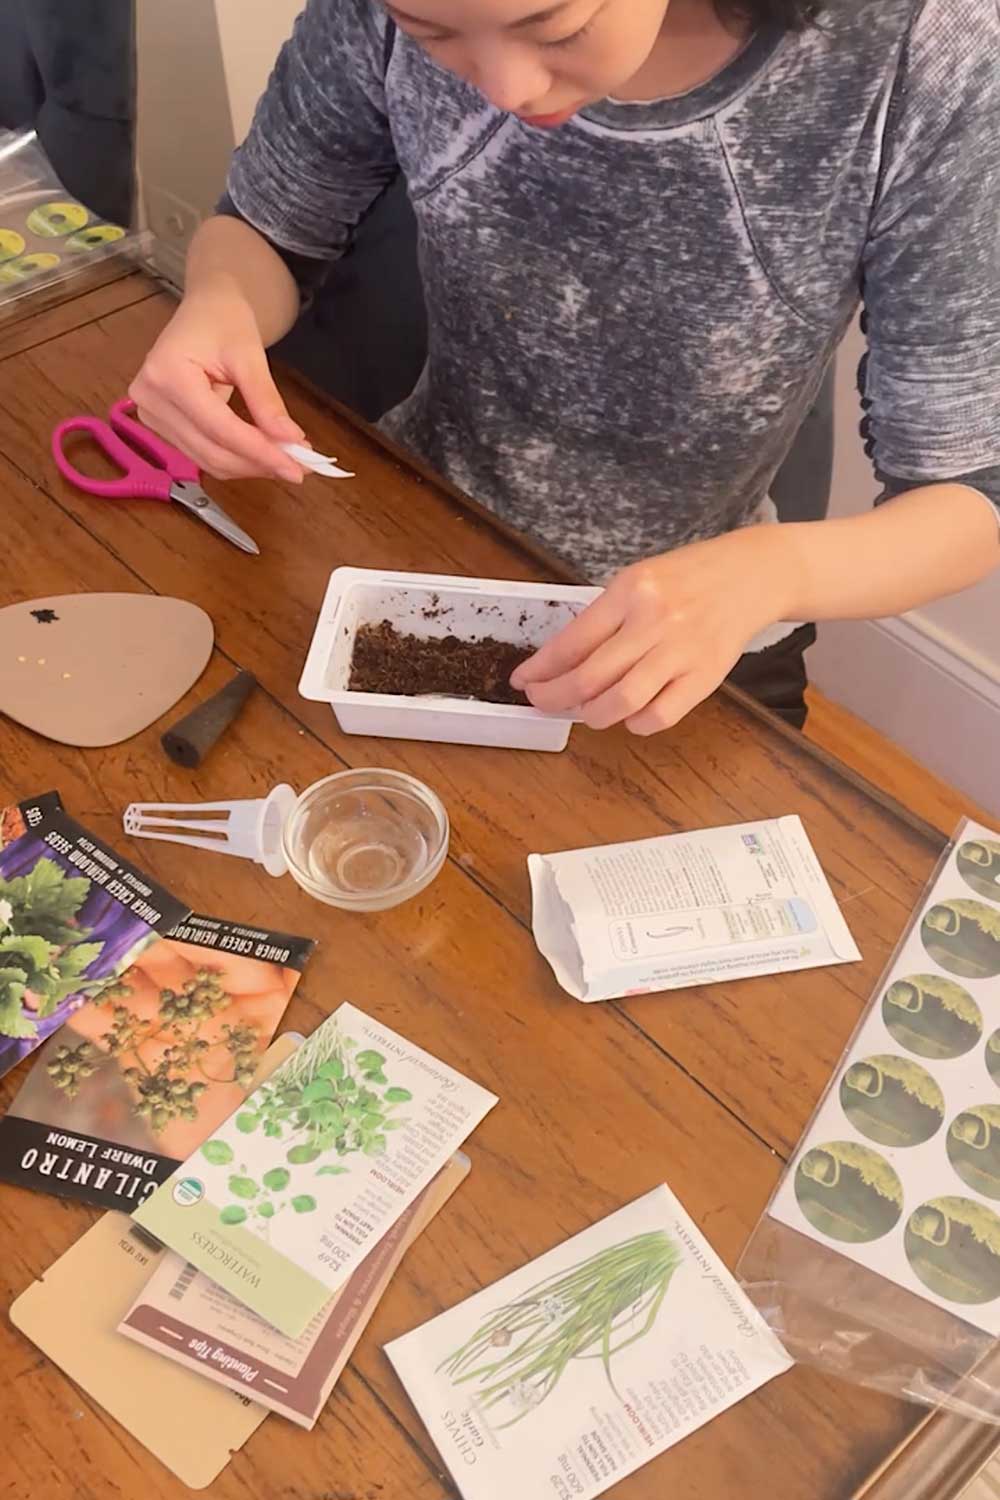
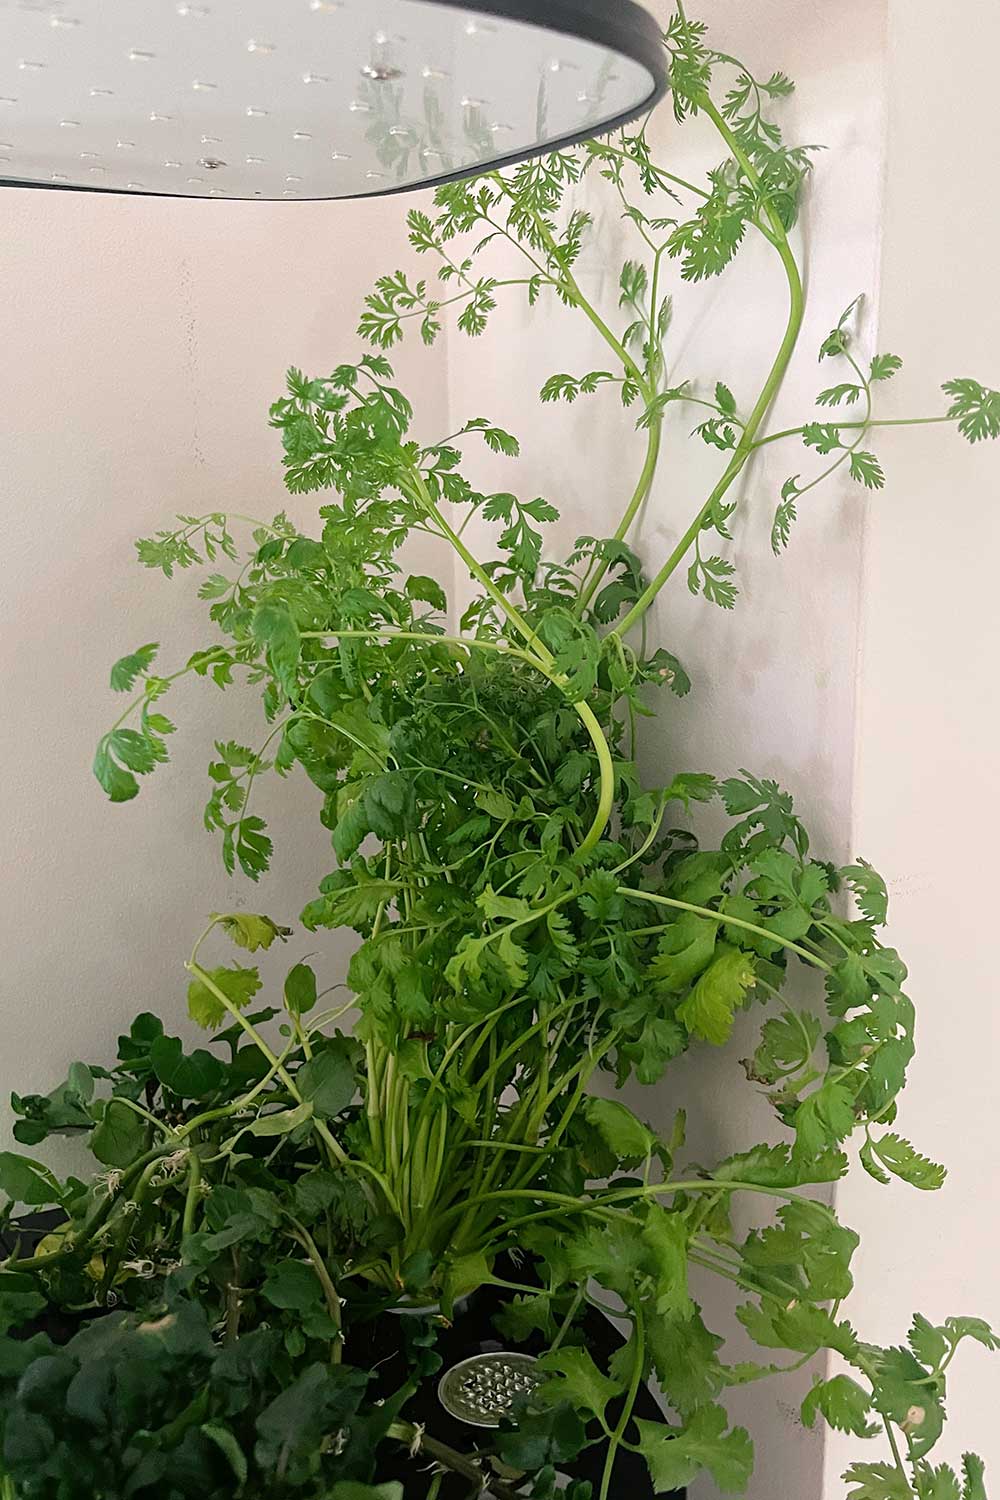
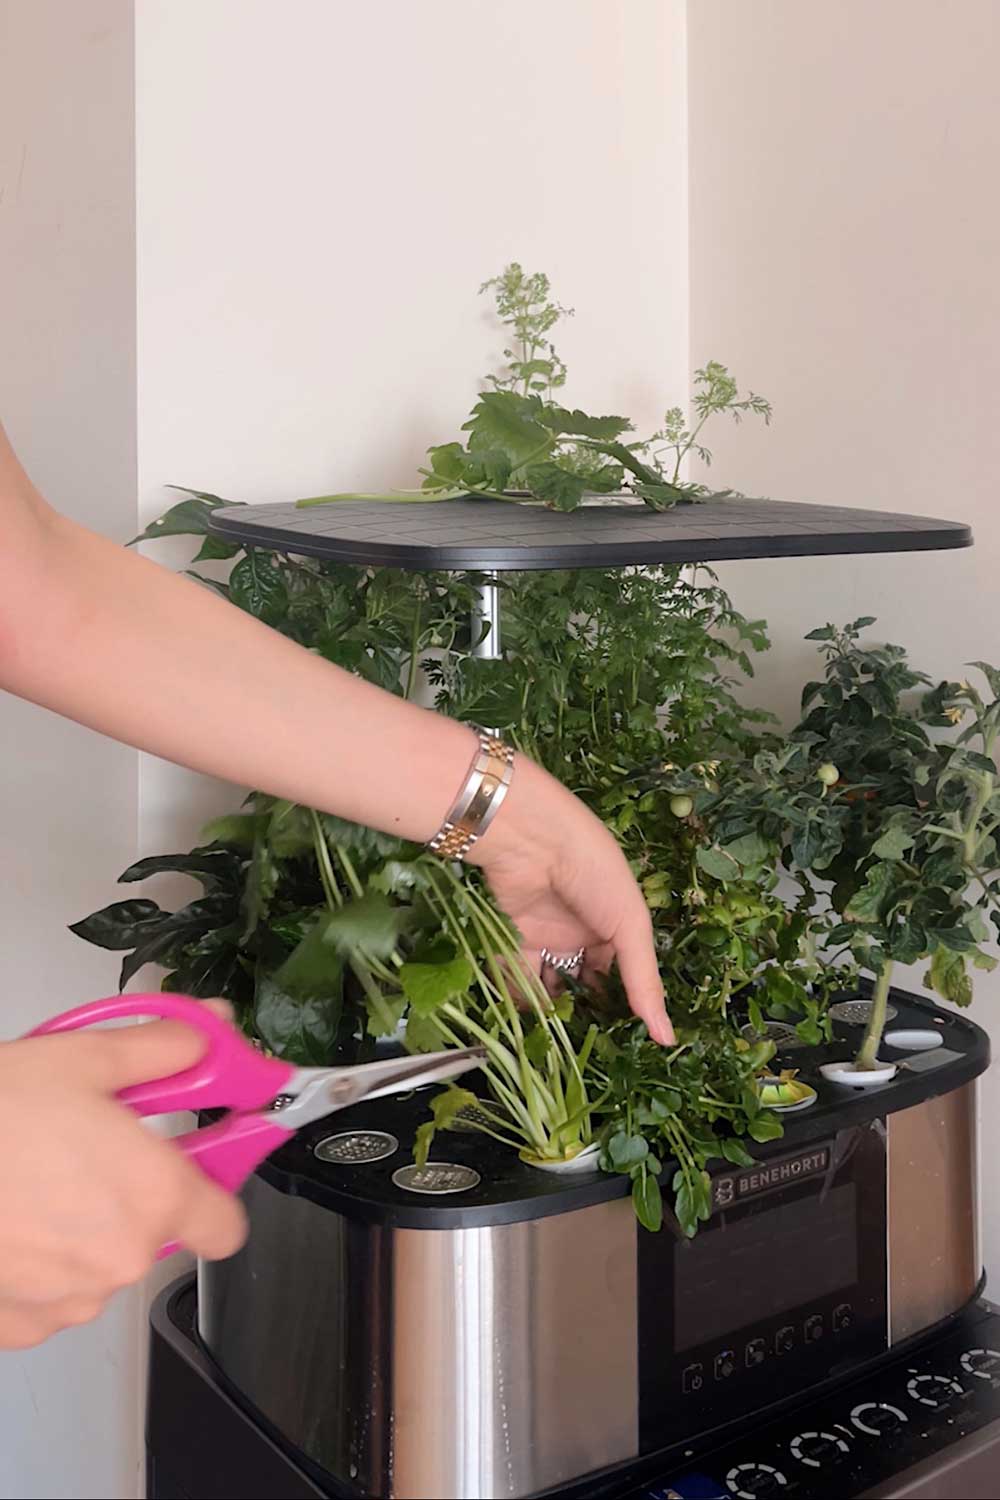
although Aerogarden doesn’t offer cilantro, you can easily grow it indoors using your own seeds
If you prefer an easier way to grow cilantro indoors, I recommend Click & Grow’s smart garden 9 and their cilantro plant pods.
I planted two of these and was shocked at how fast they grew.
Click & Grow Discount Code
Use SSG for 25% off site wide
Most cilantro seeds take about 3 weeks to germinated, but somehow the Click & Grow variety took just a week.
And once it sprouted, it took off fast.
Within a month, I had plenty of cilantro to harvest for guac, cabbage slaws, etc.
And the best part is, Click & Grow’s indoor gardens are more ‘hands-off’, so the cilantro grew bushy and tall with literally zero input from me.
About once a month, I harvest some cilantro to eat (regular pruning helps it grow back fuller) and top up the water.
Super productive and low maintenance!
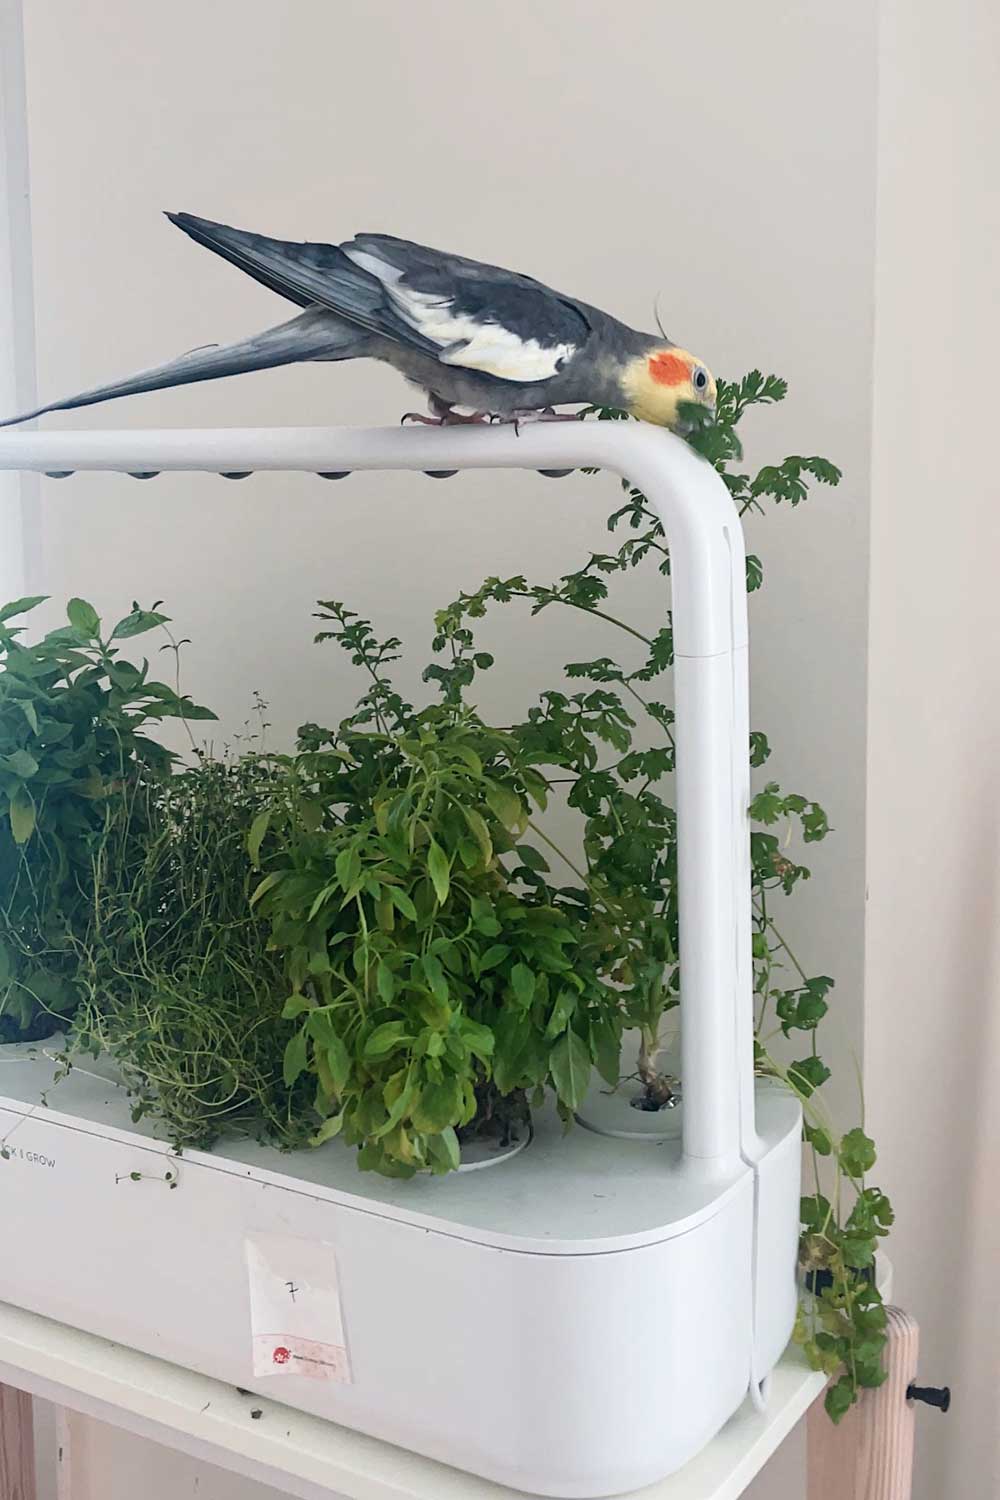

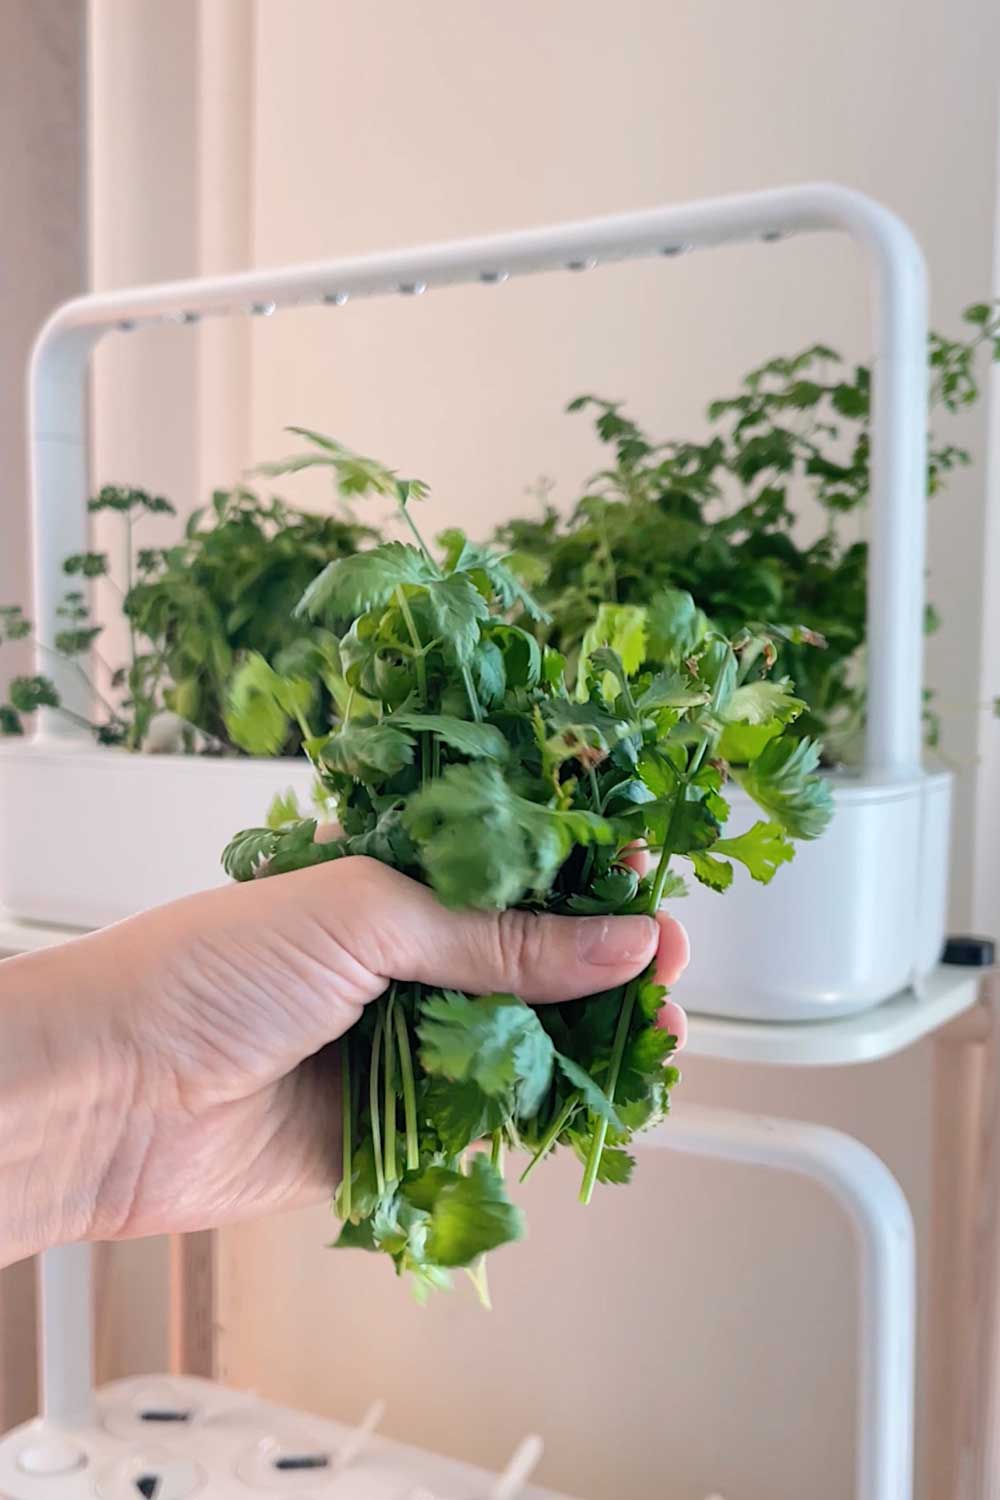
Click & Grow’s cilantro pods work really well – much quicker than using your own seeds
Aerogarden Grow Anything Kit
Aerogarden makes it easy for beginner gardeners to try out hydroponics by including pre-seeded pods with their gardens.
But you’re not limited to using their pods!
You can use your own seeds and grow whatever you’d like in their gardens.
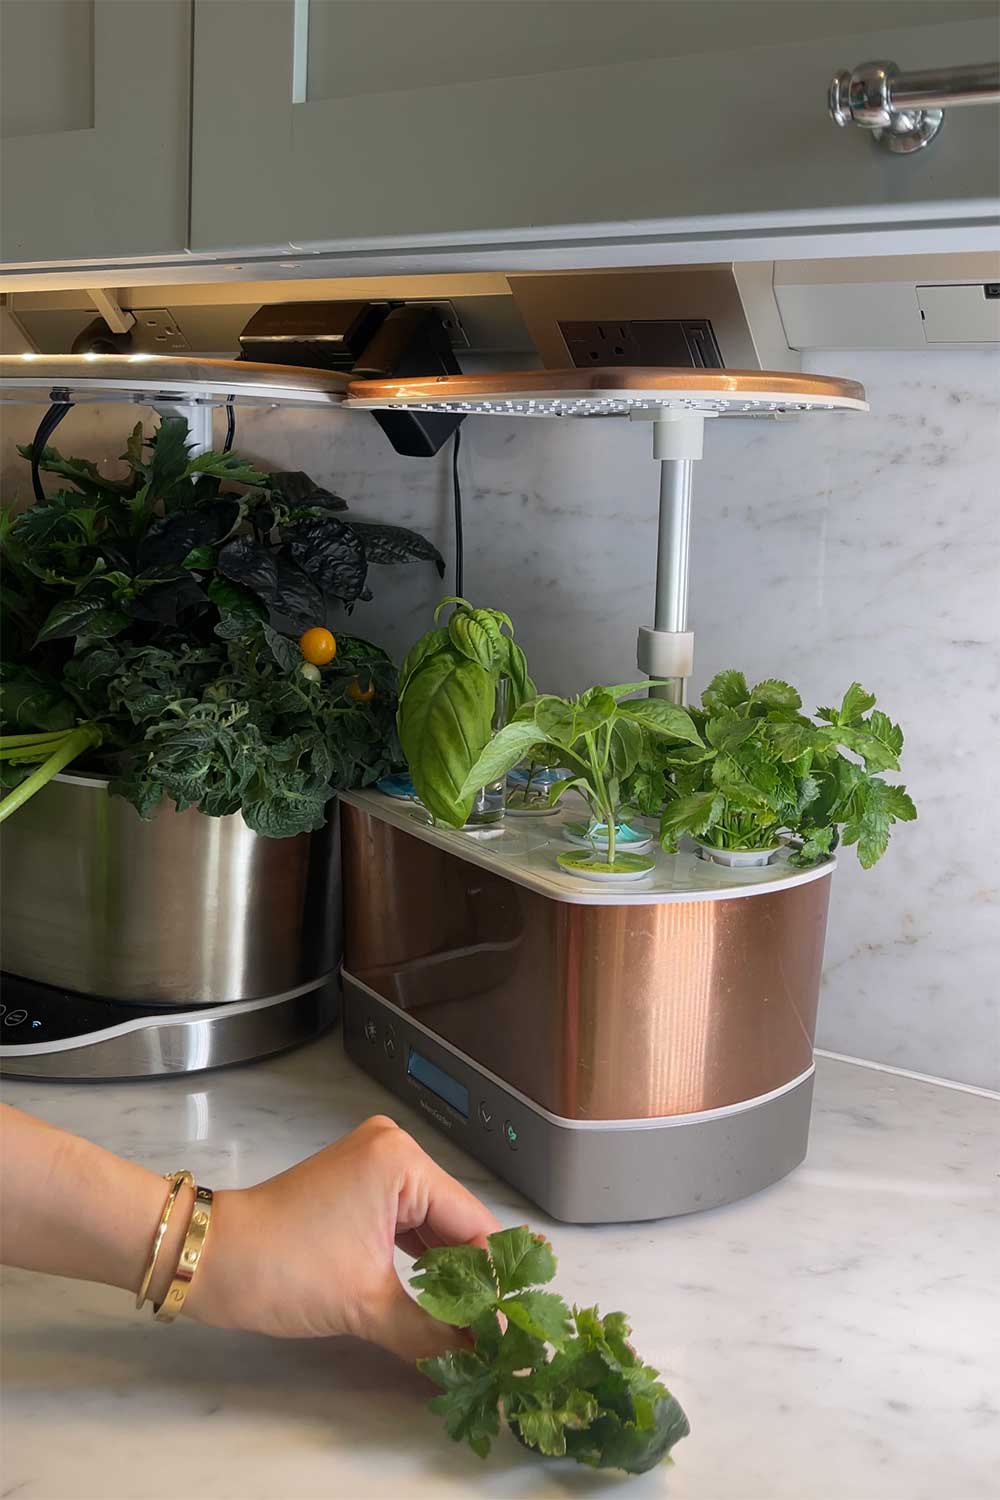
using my own seeds to grow Mitsuba and Emily’s Basil
How to Use Aerogarden’s Grow Anything Kit
It’s very easy.
Here’s how to use your own seeds in the Aerogarden:
- Soak the sponges in a bowl of water.
- Wring out excess moisture and plant 1-3 seeds per pod.
- Place the sponge inside the plastic cage, and attach a sticker label to the top.
- Drop the pods in the Aerogarden, set the light schedule and fill the bowl with water.
- Then just wait for them to germinate!
I have a more in-depth tutorial on using your own seeds, or you can watch the video below:
And I have a specific guide on growing your own herbs in the Aerogarden, with more tips and tricks, in this post!
Follow me on
